1. Safety Information
Please read this entire manual carefully before using the UP2800-14S charger. Failure to follow these instructions may result in property damage, personal injury, or death. Keep this manual for future reference.
- Always operate the charger in a well-ventilated area, away from flammable materials.
- Never leave the charger unattended during operation.
- Ensure the charger is compatible with the battery type and cell count before connecting. Incorrect settings can cause severe damage.
- Do not attempt to charge damaged, swollen, or leaking batteries.
- Keep the charger away from moisture, dust, and direct sunlight.
- Use only original or approved accessories and cables.
- Disconnect the power supply before performing any maintenance or when the charger is not in use.
- This device is not intended for use by persons with reduced physical, sensory, or mental capabilities, or lack of experience and knowledge, unless they have been given supervision or instruction concerning use of the device by a person responsible for their safety.
2. Product Overview
The Generic UP2800-14S is a high-power dual-channel battery charger designed for LiPo, LiHv, and intelligent batteries, specifically for UAV drones. It features a maximum output power of 2800W (1400W per channel) and supports 6-14S cell counts, with compatibility for 2S/3S radio batteries.
2.1 Key Features
- Input Voltage: AC 100V-240V
- Charge Output Power: 2800W (1400W x2)
- Discharge Power: 140W (70W x2)
- Charge Current: 10A/15A/20A/25A/28A (Adjustable)
- Balance Current: 1.5A/cell (Max)
- Battery Type Support: LiPo, LiHv, Intelligent Battery
- Cell Count Support: 6-14S (also 2S/3S radio battery)
- Working Modes: Charge, Storage
- Dual Channels: Simultaneous charging of two batteries.
- Multiple Protection Functions: Over-current, over-voltage, short-circuit, over-heat, reverse polarity protection.
- LCD Display: 3.2" HD display for real-time status.
2.2 Package Contents

Image 2.2.1: The image displays the UP2800-14S charger along with its accessories. Included are the main charger unit, a power cord, two 6-14S balance boards, and an instruction manual.
- UP2800-14S Charger Unit
- AC Power Cord
- 6-14S Balance Boards (2 pcs)
- Instruction Manual
2.3 Charger Components

Image 2.3.1: This image shows the front panel of the UP2800-14S charger, highlighting the dual charging ports (AS150U type), balance sockets, LCD display, and control buttons for each channel.

Image 2.3.2: This image illustrates the rear panel of the charger, showing the AC input port, power switch, and cooling fans. It also indicates a radio battery connection port.
- LCD Display Screen: Shows real-time charging status, battery voltage, current, capacity, and cell voltage.
- AS150U Battery Ports: Two main output ports for connecting batteries.
- Balance Sockets: For connecting balance leads of batteries.
- Mode Buttons: To select charging modes (Charge/Storage).
- Start/Stop Buttons: To initiate or terminate charging/discharging for each channel.
- AC Input Port: For connecting the power cord (AC 100V-240V).
- Power Switch: To turn the charger on or off.
- Cooling Fans: Integrated fans for heat dissipation during operation.
3. Setup
3.1 Connecting Power
- Ensure the charger's power switch is in the OFF position.
- Connect the provided AC power cord to the AC input port on the rear of the charger.
- Plug the other end of the AC power cord into a suitable wall outlet (AC 100V-240V).
- Flip the power switch to the ON position. The LCD display should illuminate.
3.2 Connecting Batteries
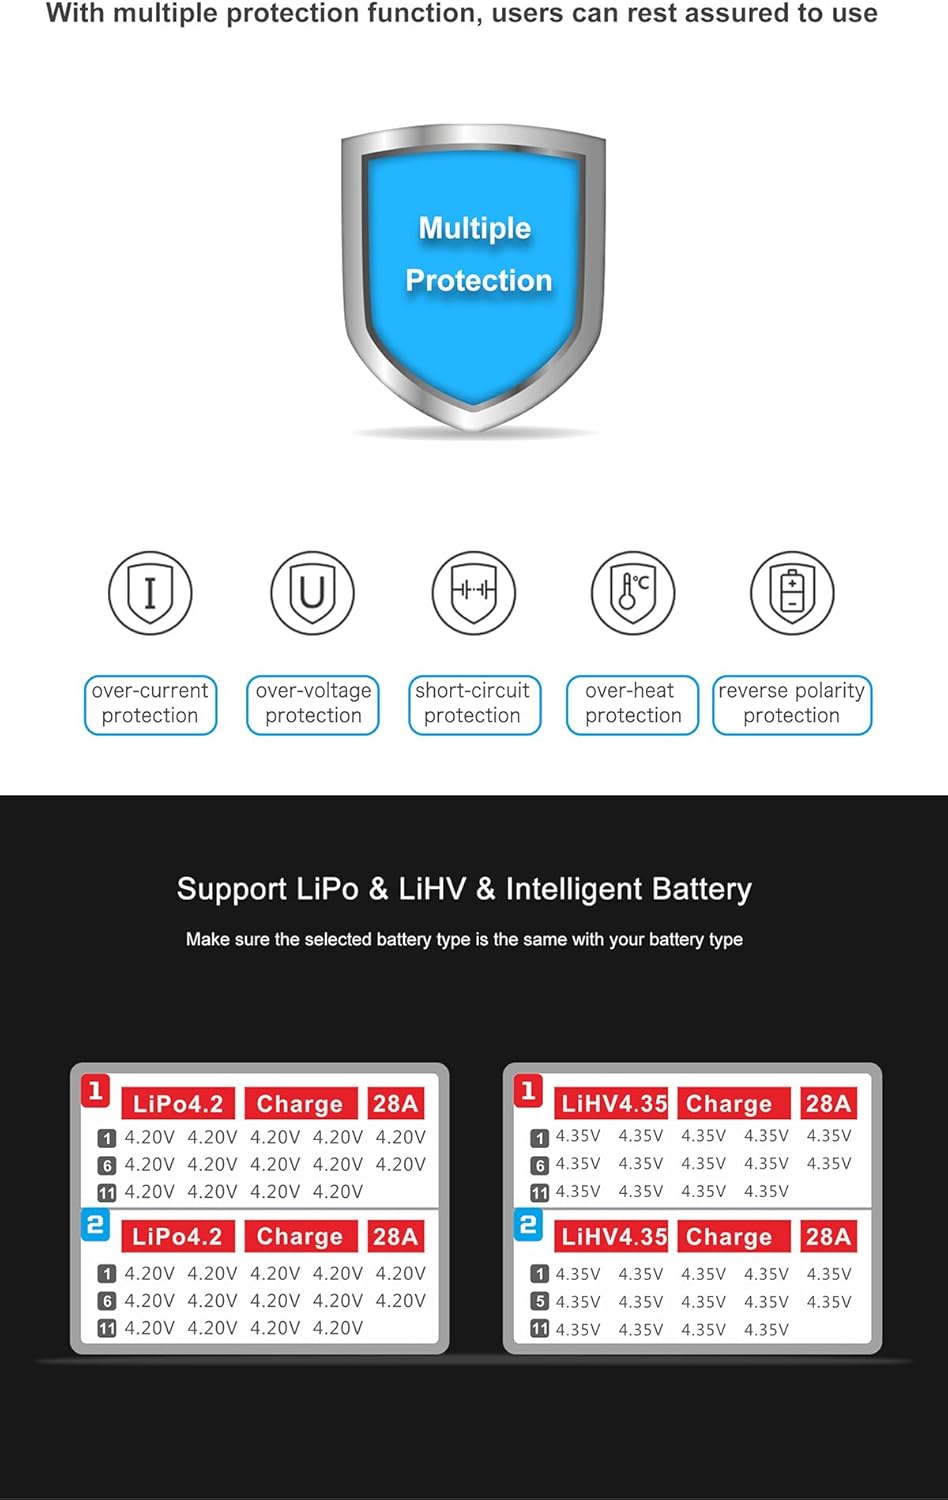
Image 3.2.1: This image demonstrates how to connect two batteries to the dual-channel charger. Each battery's main power connector is plugged into an AS150U port, and its balance lead is connected to the corresponding balance socket.
- Identify the correct battery type (LiPo, LiHv, Intelligent Battery) and cell count (e.g., 6S, 12S, 14S) of the battery you intend to charge.
- Connect the main power connector of the battery to one of the AS150U battery ports on the front of the charger. Ensure correct polarity (+ to + and - to -).
- Connect the balance lead of the battery to the corresponding balance socket. Ensure the balance board is correctly inserted if using one.
- Repeat for the second battery if charging two simultaneously.
4. Operating Instructions
4.1 Selecting Battery Type and Mode
The charger supports LiPo, LiHv, and Intelligent Battery types. It offers two main working modes: Charge and Storage.

Image 4.1.1: This image illustrates the charger's display showing options for LiPo 4.2V and LiHv 4.35V charging, along with the selected charge current of 28A. It emphasizes the importance of selecting the correct battery type.
- After connecting the battery, use the "Mode" button for the respective channel to cycle through the available battery types (LiPo, LiHv, Intelligent Battery) and working modes (Charge, Storage).
- Ensure the selected battery type on the charger matches the actual battery connected. Charging a LiPo battery with LiHv settings or vice-versa can be dangerous.
- Balance Charging Mode: This mode charges the battery while balancing the voltage of individual cells. The charger will automatically stop when fully charged.
- Storage Mode: This mode charges or discharges the battery to a specific voltage level suitable for long-term storage, which helps prolong battery life.
4.2 Setting Charge Current
The charge current can be adjusted to 10A, 15A, 20A, 25A, or 28A.
- Once the battery type and mode are selected, use the "Current" button for the respective channel to adjust the desired charge current.
- Refer to your battery's specifications for the recommended charge rate. Overcharging or charging at too high a current can damage the battery.
4.3 Starting and Stopping Operation

Image 4.3.1: This image highlights the "Start/Stop" button on the charger, indicating its use for initiating the charging process after selecting the correct current. The display shows two batteries actively charging.
- After all settings (battery type, mode, current) are configured, press the "Start/Stop" button for the corresponding channel to begin the operation.
- The LCD display will show real-time charging progress, including voltage, current, capacity, and remaining time.
- To stop the operation at any time, press the "Start/Stop" button again for that channel.
- The charger will automatically stop when the battery is fully charged in "Charge" mode or reaches the storage voltage in "Storage" mode.
4.4 Understanding the Display

Image 4.4.1: This image shows the charger's 3.2" HD LCD display, which intelligently switches between showing overall battery status (voltage, current, capacity, percentage) and individual cell voltages every five seconds during charging.
The 3.2" HD LCD display provides comprehensive information about the charging process. It intelligently switches between different views every five seconds to show:
- Real-time total battery voltage
- Charging current
- Charged capacity (mAh)
- Working time
- Battery type
- Battery capacity percentage
- Individual battery cell voltages (for balance charging)
The charger automatically balances battery cell voltage. It monitors the voltage of each cell and adjusts charging to maintain balance, which extends battery life.
5. Maintenance
- Cleaning: Regularly clean the charger's exterior with a soft, dry cloth. Do not use solvents or abrasive cleaners. Ensure ventilation openings are free from dust and debris.
- Storage: When not in use, store the charger in a cool, dry place, away from direct sunlight and extreme temperatures.
- Cable Inspection: Periodically inspect all cables and connectors for signs of wear, damage, or corrosion. Replace any damaged components immediately.
- Firmware Updates: Check the manufacturer's website for any available firmware updates for optimal performance and compatibility.
6. Troubleshooting
| Problem | Possible Cause | Solution |
|---|---|---|
| Charger does not power on. | No power from outlet; power cord loose; power switch off. | Check wall outlet; ensure power cord is securely connected; turn power switch ON. |
| Charging does not start. | Battery not connected correctly; incorrect battery type/mode selected; "Start/Stop" button not pressed. | Verify battery connections (main and balance); confirm correct battery type and mode; press "Start/Stop" button. |
| Error message on display. | Battery fault; connection issue; internal charger error. | Refer to the specific error code (if displayed) in the full manual; check battery condition; re-connect battery; contact support if persistent. |
| Battery not balancing. | Balance lead not connected; damaged balance lead/port; severely unbalanced battery. | Ensure balance lead is fully inserted; inspect balance lead for damage; some severely unbalanced batteries may require specific recovery procedures or replacement. |
The charger includes multiple protection functions such as over-current, over-voltage, short-circuit, over-heat, and reverse polarity protection. If an issue occurs, the charger may display an error or cease operation to protect itself and the battery.
7. Specifications
| Feature | Specification |
|---|---|
| Input Voltage | AC 100V-240V |
| Charge Output Power | 2800W (1400W x2) |
| Discharge Power | 140W (70W x2) |
| Charge Current | 10A/15A/20A/25A/28A |
| Balance Current | Max. 1.5A/cell |
| Battery Type Support | LiPo / LiHv / Intelligent Battery |
| Cell Count Support | 6-14S (also 2S/3S radio battery) |
| Working Modes | Charge / Storage |
| Dimensions | 303mm x 262mm x 140mm (approx. 12"D x 10.3"W x 5.5"H) |
| Net Weight | 7.4KG (approx. 16.3 lbs) |
| Operating Temperature | 0-40°C |
| Storage Temperature | -20-60°C |
8. Warranty and Support
For warranty information and technical support, please refer to the documentation included with your purchase or contact the manufacturer directly. The manufacturer is FLTHOBBY (Brand: Generic).
Keep your proof of purchase for any warranty claims.