
Introduction
This manual provides detailed instructions for the safe and effective use of your Anysun Sewer Camera System, model anysun-9DX1-512T-R. This system is designed for professional pipe and drain inspection, featuring a 512Hz sonde, 7MM cable, self-leveling camera, distance counter, 32GB DVR, and a 9-inch HD monitor. Please read this manual thoroughly before operation to ensure proper functionality and to prevent damage.
Safety Information
Always observe the following safety precautions to reduce the risk of injury or damage to the equipment:
- Electrical Safety: Do not operate the camera system in wet conditions or near flammable liquids or gases. Ensure all connections are secure before powering on.
- Cable Handling: Handle the pushrod cable carefully. Avoid sharp bends or kinks that could damage the internal wiring.
- Water Resistance: The camera head is IP68 waterproof. However, the monitor unit and other electronic components are not. Keep them dry.
- Battery Safety: Use only the provided charger. Do not expose the battery to extreme temperatures or attempt to disassemble it.
- Personal Protective Equipment: Wear appropriate PPE, such as gloves and eye protection, during inspection tasks.
- Environmental Considerations: Dispose of batteries and electronic components according to local regulations.
Product Overview and Components
The Anysun Sewer Camera System is a comprehensive tool for inspecting various pipe systems. Key components include:
- 9-inch HD Monitor: For clear viewing of inspection footage.
- Camera Head: IP68 waterproof, self-leveling, with 12 adjustable LEDs and a built-in 512Hz sonde.
- 7MM Fiberglass Pushrod Cable: Flexible and durable, available in 100Ft length for this model.
- Cable Reel with Wheels and Handle: For easy transport and deployment of the cable.
- Control Box with DVR: Integrated recording function with a 32GB TF card (expandable up to 128GB).
- Rechargeable Li-ion Battery: 5000mAh capacity for extended operation.
- Protective Skids: Two sizes (36mm & 104mm) to protect the camera head.

Image: Overview of the Anysun Sewer Camera System, showing the monitor, cable reel, and camera head.

Image: Detailed view of the Anysun Sewer Camera System components, including the monitor, cable reel, camera, and accessories.

Image: The sewer camera system featuring a robust frame with wheels and a pull handle for enhanced portability.
Setup
- Unpacking: Carefully remove all components from the packaging. Verify that all parts listed in the product overview are present.
- Assembly:
- Attach the wheels and handle to the cable reel frame if not already assembled. Ensure they are securely fastened.
- Connect the monitor unit to the cable reel's control box using the provided cable.

Image: The sewer camera system with its integrated wheels and telescopic handle, designed for easy transport.
- Charging the Battery: Connect the power adapter to the control box and a power outlet. The charging indicator will show the charging status. Charge fully before first use (approximately 10 hours of operation per full charge).
- Inserting the TF Card: Locate the TF card slot on the monitor unit. Insert the provided 32GB TF card with the contacts facing down until it clicks into place. This card is essential for recording video and capturing images.
- Attaching Camera Skids: Select the appropriate protective skid (36mm or 104mm) based on the pipe diameter and attach it to the camera head to prevent damage and center the camera.

Image: The camera head with various protective skids, illustrating how they are used to center and protect the camera within different pipe sizes.
Operating Instructions
- Powering On: Press and hold the power button on the monitor unit until the screen illuminates.
- Camera Deployment:
- Carefully feed the 7MM fiberglass pushrod cable into the pipe.
- The camera head features a self-leveling function, ensuring the image remains upright on the monitor regardless of the camera's rotation within the pipe.

Image: Demonstration of the self-leveling camera feature, showing how the image remains upright even when the camera rotates.
- Adjusting LEDs: Use the LED brightness control buttons on the monitor to adjust the illumination from the camera head's 12 LEDs. This optimizes visibility in dark pipe environments.
- Using the 512Hz Sonde:
- The camera head has a built-in 512Hz transmitter (sonde).
- To locate the camera's position underground, use a compatible 512Hz locator (not included). The locator will detect the signal from the sonde, helping to pinpoint blockages or pipe damage.

Image: Illustration of the 512Hz sonde transmitting a signal from within a pipe, detectable by an external locator.
- Distance Counter:
- The monitor displays an on-screen footage counter, indicating the distance the camera has traveled into the pipe.
- This feature provides precise location information for identified issues.
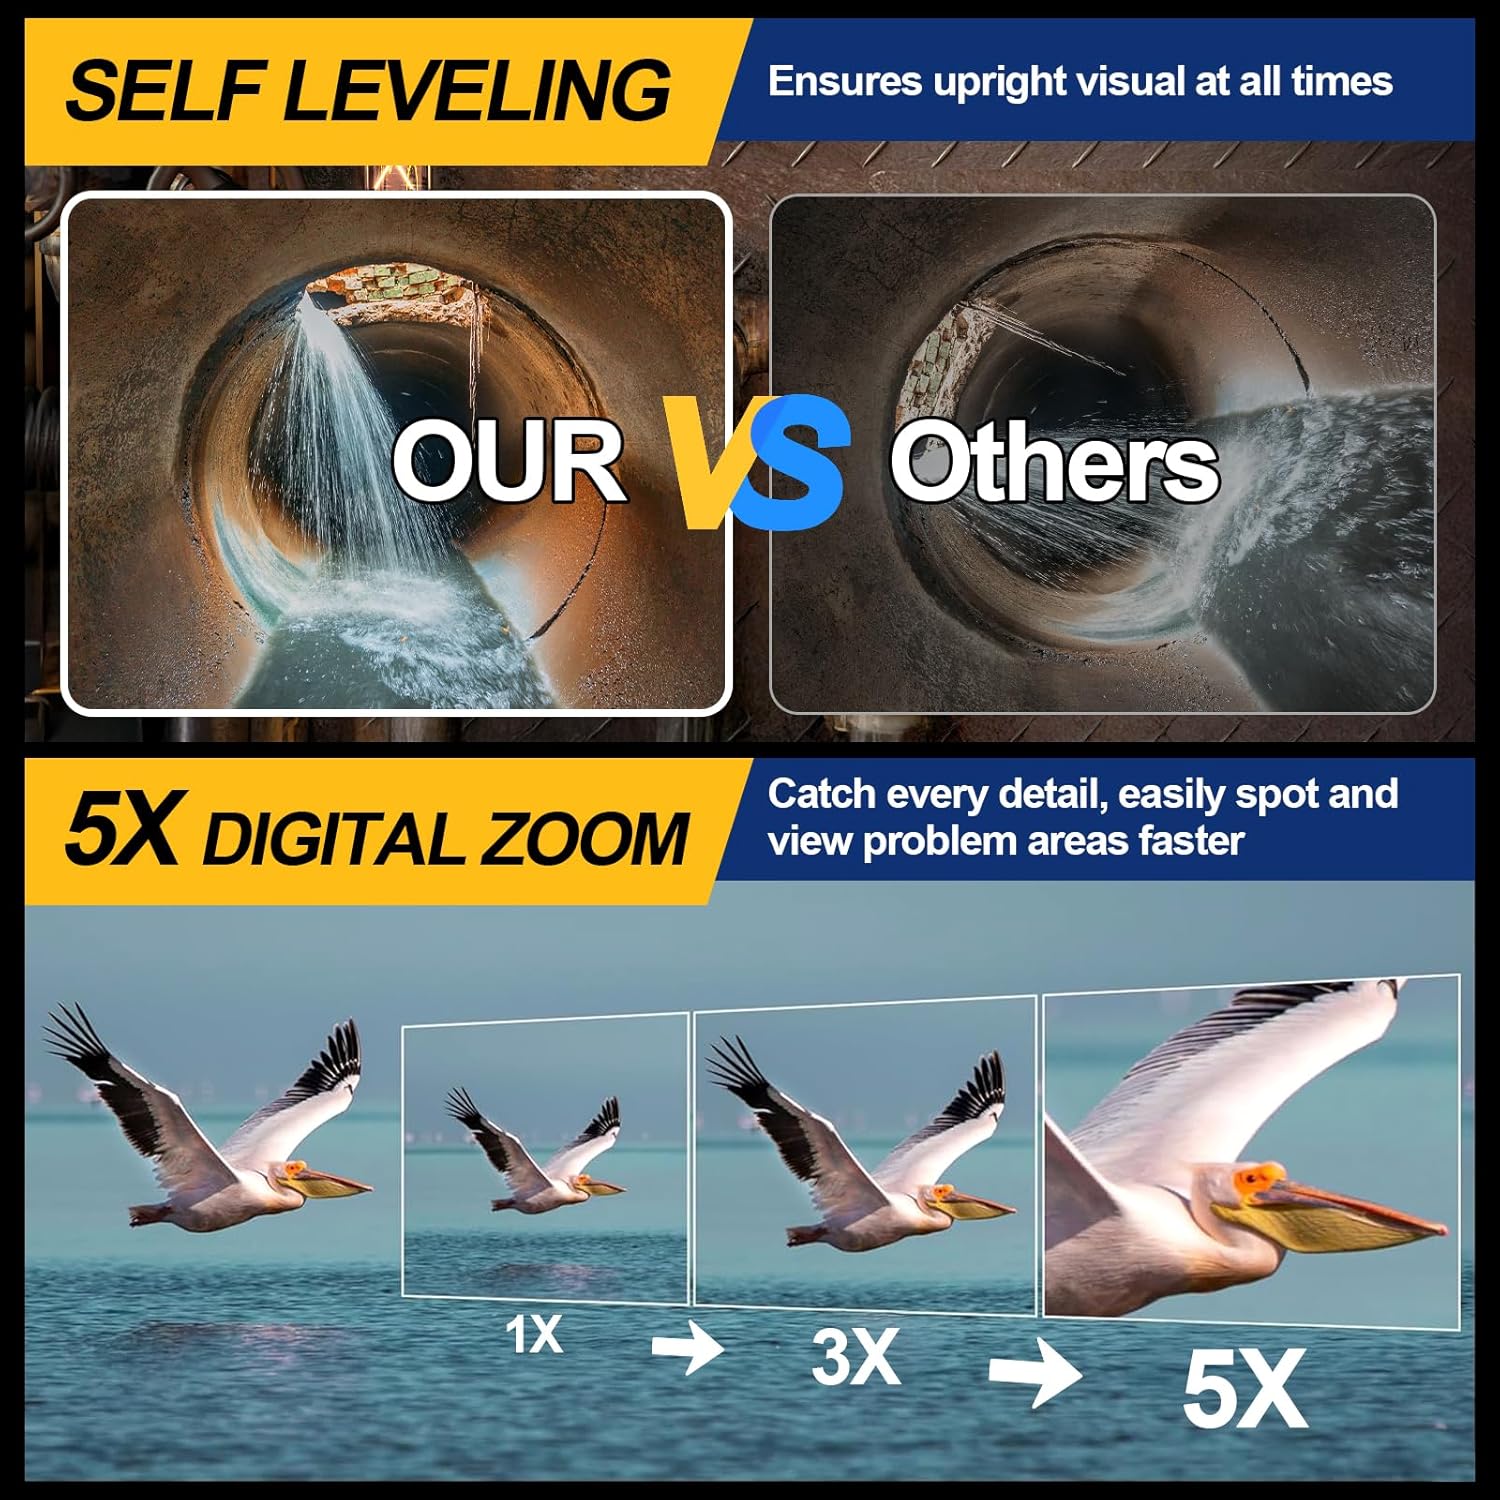
Image: The monitor displaying the distance counter, showing the length of cable deployed into the pipe.
- DVR Function (Recording & Image Capture):
- Press the "REC" button to start/stop video recording.
- Press the "PHOTO" button to capture still images.
- All recordings and images are saved to the inserted TF card.
- To review media, access the playback menu on the monitor.

Image: Close-up of the monitor showing the DVR function buttons and the TF card slot for recording and saving inspection data.
- Powering Off: Press and hold the power button until the screen turns off.
Maintenance
- Cleaning the Camera Head and Cable: After each use, gently clean the camera head and the entire length of the pushrod cable with a damp cloth. Avoid harsh chemicals.
- Battery Care: Recharge the battery regularly, even if not in frequent use, to maintain its lifespan. Store the unit with a partially charged battery (around 50%).
- Storage: Store the camera system in a clean, dry place, away from direct sunlight and extreme temperatures. Ensure the cable is neatly wound on the reel.
- TF Card Management: Regularly back up important data from the TF card to a computer and format the card periodically to ensure optimal recording performance.
Troubleshooting
| Problem | Possible Cause | Solution |
|---|---|---|
| No image on monitor | Power off; loose connection; damaged cable/camera. | Ensure unit is powered on and battery is charged. Check all cable connections. If problem persists, contact support. |
| Cannot record video/capture images | TF card full; TF card not inserted correctly; TF card corrupted. | Check TF card capacity. Reinsert TF card. Format TF card (after backing up data). Try a different TF card. |
| Poor image quality | Insufficient lighting; dirty camera lens; water on lens. | Adjust LED brightness. Clean camera lens. Ensure camera head is dry. |
| 512Hz sonde not detected | Locator not compatible; locator not functioning; sonde malfunction. | Ensure you are using a compatible 512Hz locator. Check locator battery. If sonde is suspected to be faulty, contact support. |
Specifications
| Feature | Detail |
|---|---|
| Model Number | anysun-9DX1-512T-R |
| Cable Length | 100Ft (30 meters) |
| Cable Diameter | 7MM |
| Camera Head | IP68 Waterproof, Self-Leveling, 12 Adjustable LEDs |
| Sonde Frequency | 512Hz (Transmitter built-in) |
| Monitor Size | 9-inch HD |
| Recording | DVR Function, 32GB TF Card (supports up to 128GB) |
| Battery | 5000mAh Rechargeable Li-ion, up to 10 hours working time |
| Weight | 26.5 pounds (approx. 12 kg) |
| Dimensions | 22 x 18.5 x 15 inches (approx. 56 x 47 x 38 cm) |
Warranty and Support
For warranty information, technical support, or service inquiries, please refer to the contact information provided with your purchase or visit the official Anysun website. Keep your purchase receipt as proof of purchase for warranty claims.
Manufacturer: anysun


