
1. Introduction
This manual provides essential information for the safe and effective operation, maintenance, and troubleshooting of your Alloyman CJBS2000 2000N Impact Wrench. Please read this manual thoroughly before using the tool and retain it for future reference.
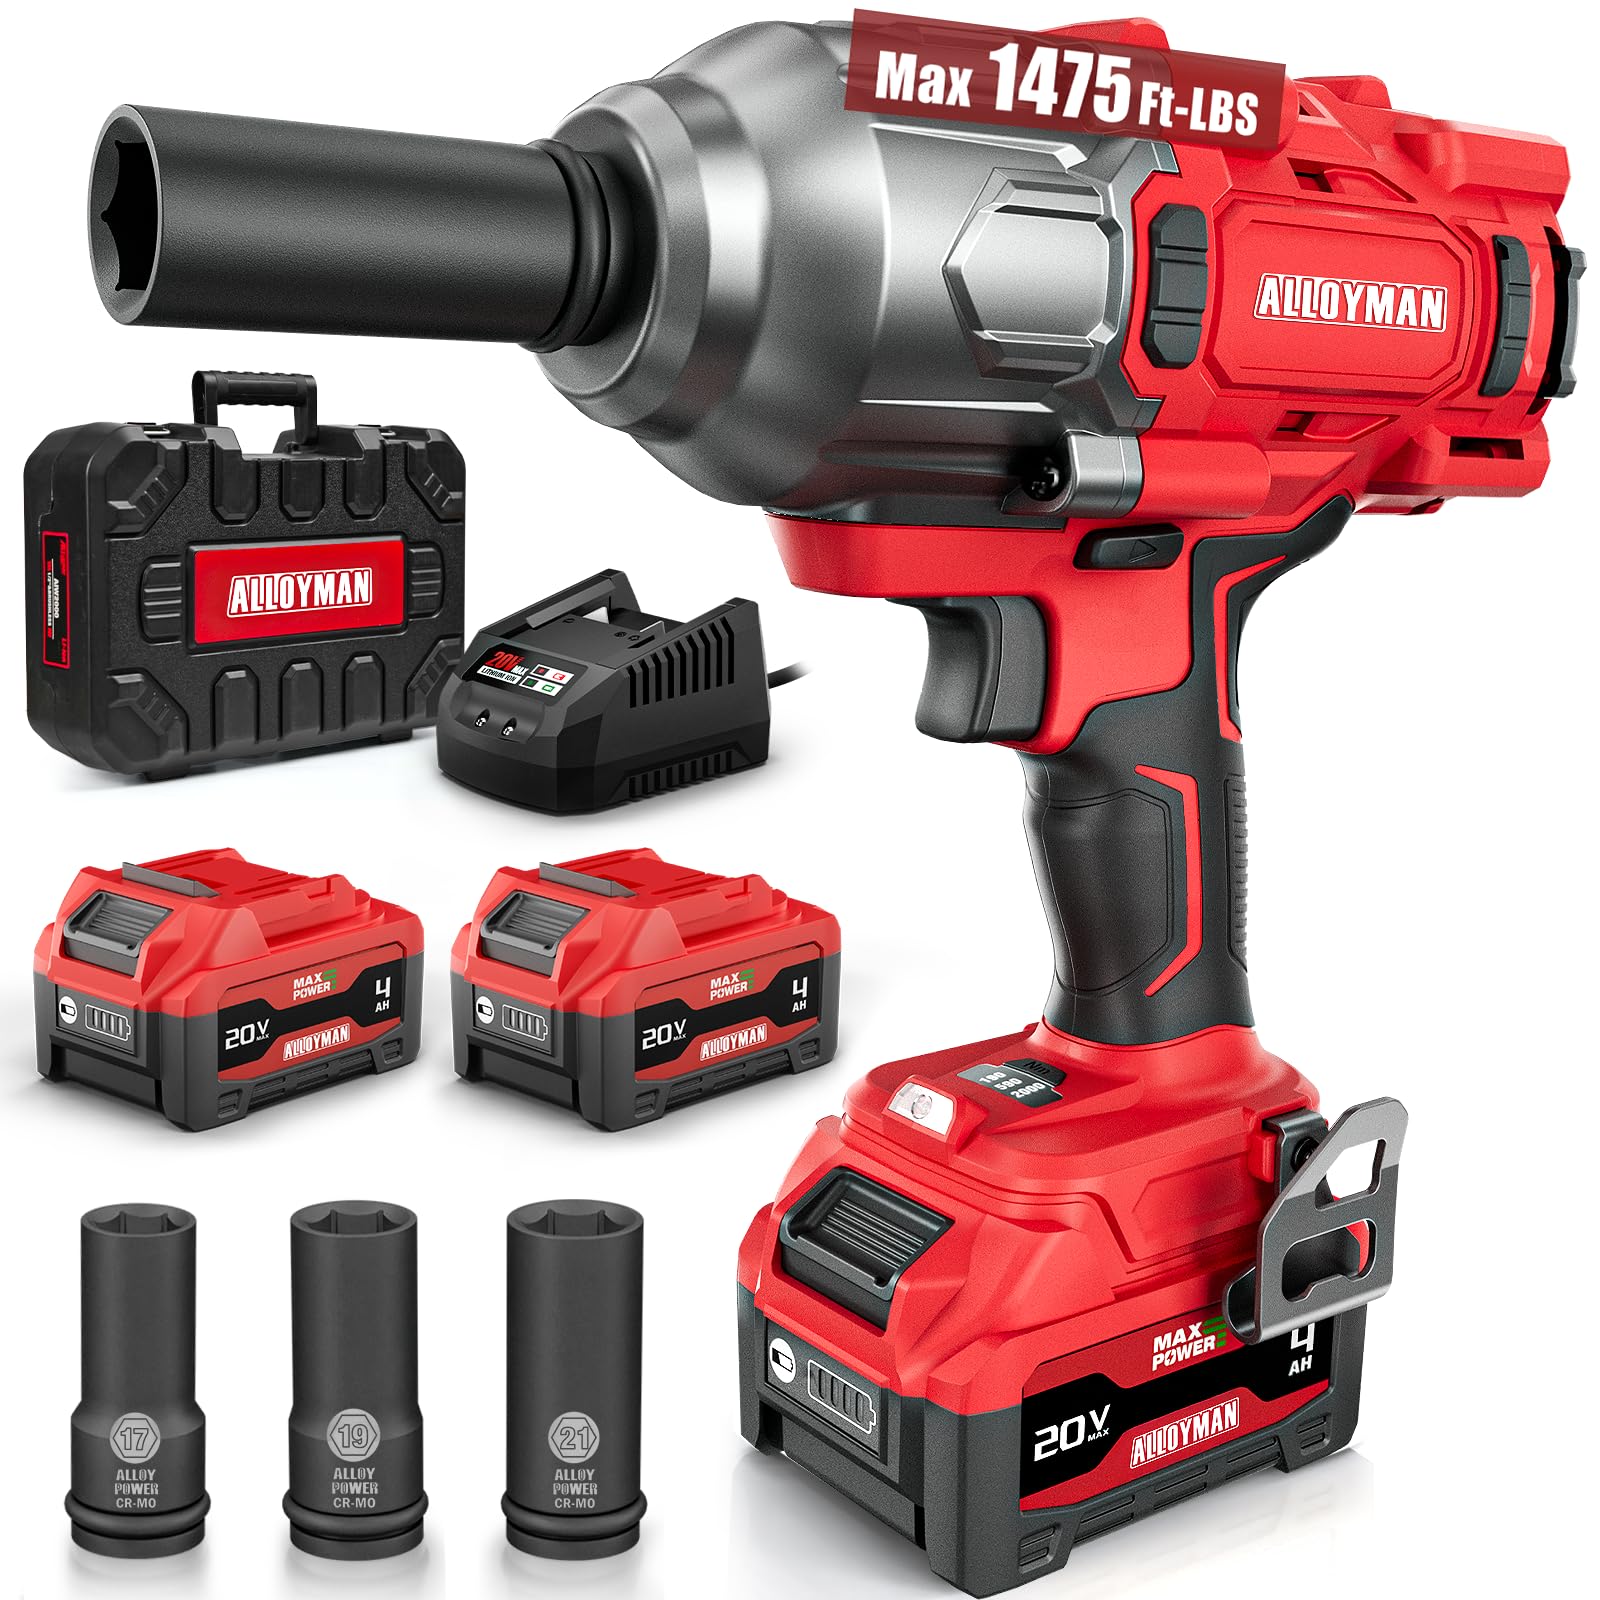
Figure 1.1: Alloyman CJBS2000 Impact Wrench in operation, demonstrating its use for automotive tasks.
2. Safety Information
Always observe basic safety precautions to reduce the risk of fire, electric shock, and personal injury. Keep this manual for future reference.
General Safety Rules:
- Work Area Safety: Keep your work area clean and well-lit. Cluttered or dark areas invite accidents. Do not operate power tools in explosive atmospheres, such as in the presence of flammable liquids, gases, or dust.
- Electrical Safety: Avoid body contact with earthed or grounded surfaces such as pipes, radiators, ranges, and refrigerators. Do not expose power tools to rain or wet conditions.
- Personal Safety: Always wear eye protection. Use safety glasses, goggles, or a face shield. Wear hearing protection when operating power tools for extended periods. Dress properly; do not wear loose clothing or jewelry. Keep hair, clothing, and gloves away from moving parts.
- Tool Use and Care: Do not force the power tool. Use the correct power tool for your application. Disconnect the battery pack from the power tool before making any adjustments, changing accessories, or storing power tools.
- Battery Pack Use and Care: Recharge only with the charger specified by the manufacturer. Do not use battery packs with any other power tools. When the battery pack is not in use, keep it away from other metal objects.
3. Package Contents
Verify that all items listed below are included in your package. If any items are missing or damaged, please contact customer support.
- 1 x Alloyman Impact Wrench
- 2 x 4.0AH Li-ion Battery Packs
- 1 x Fast Charger
- 3 x Impact Sockets (17mm, 19mm, 21mm)
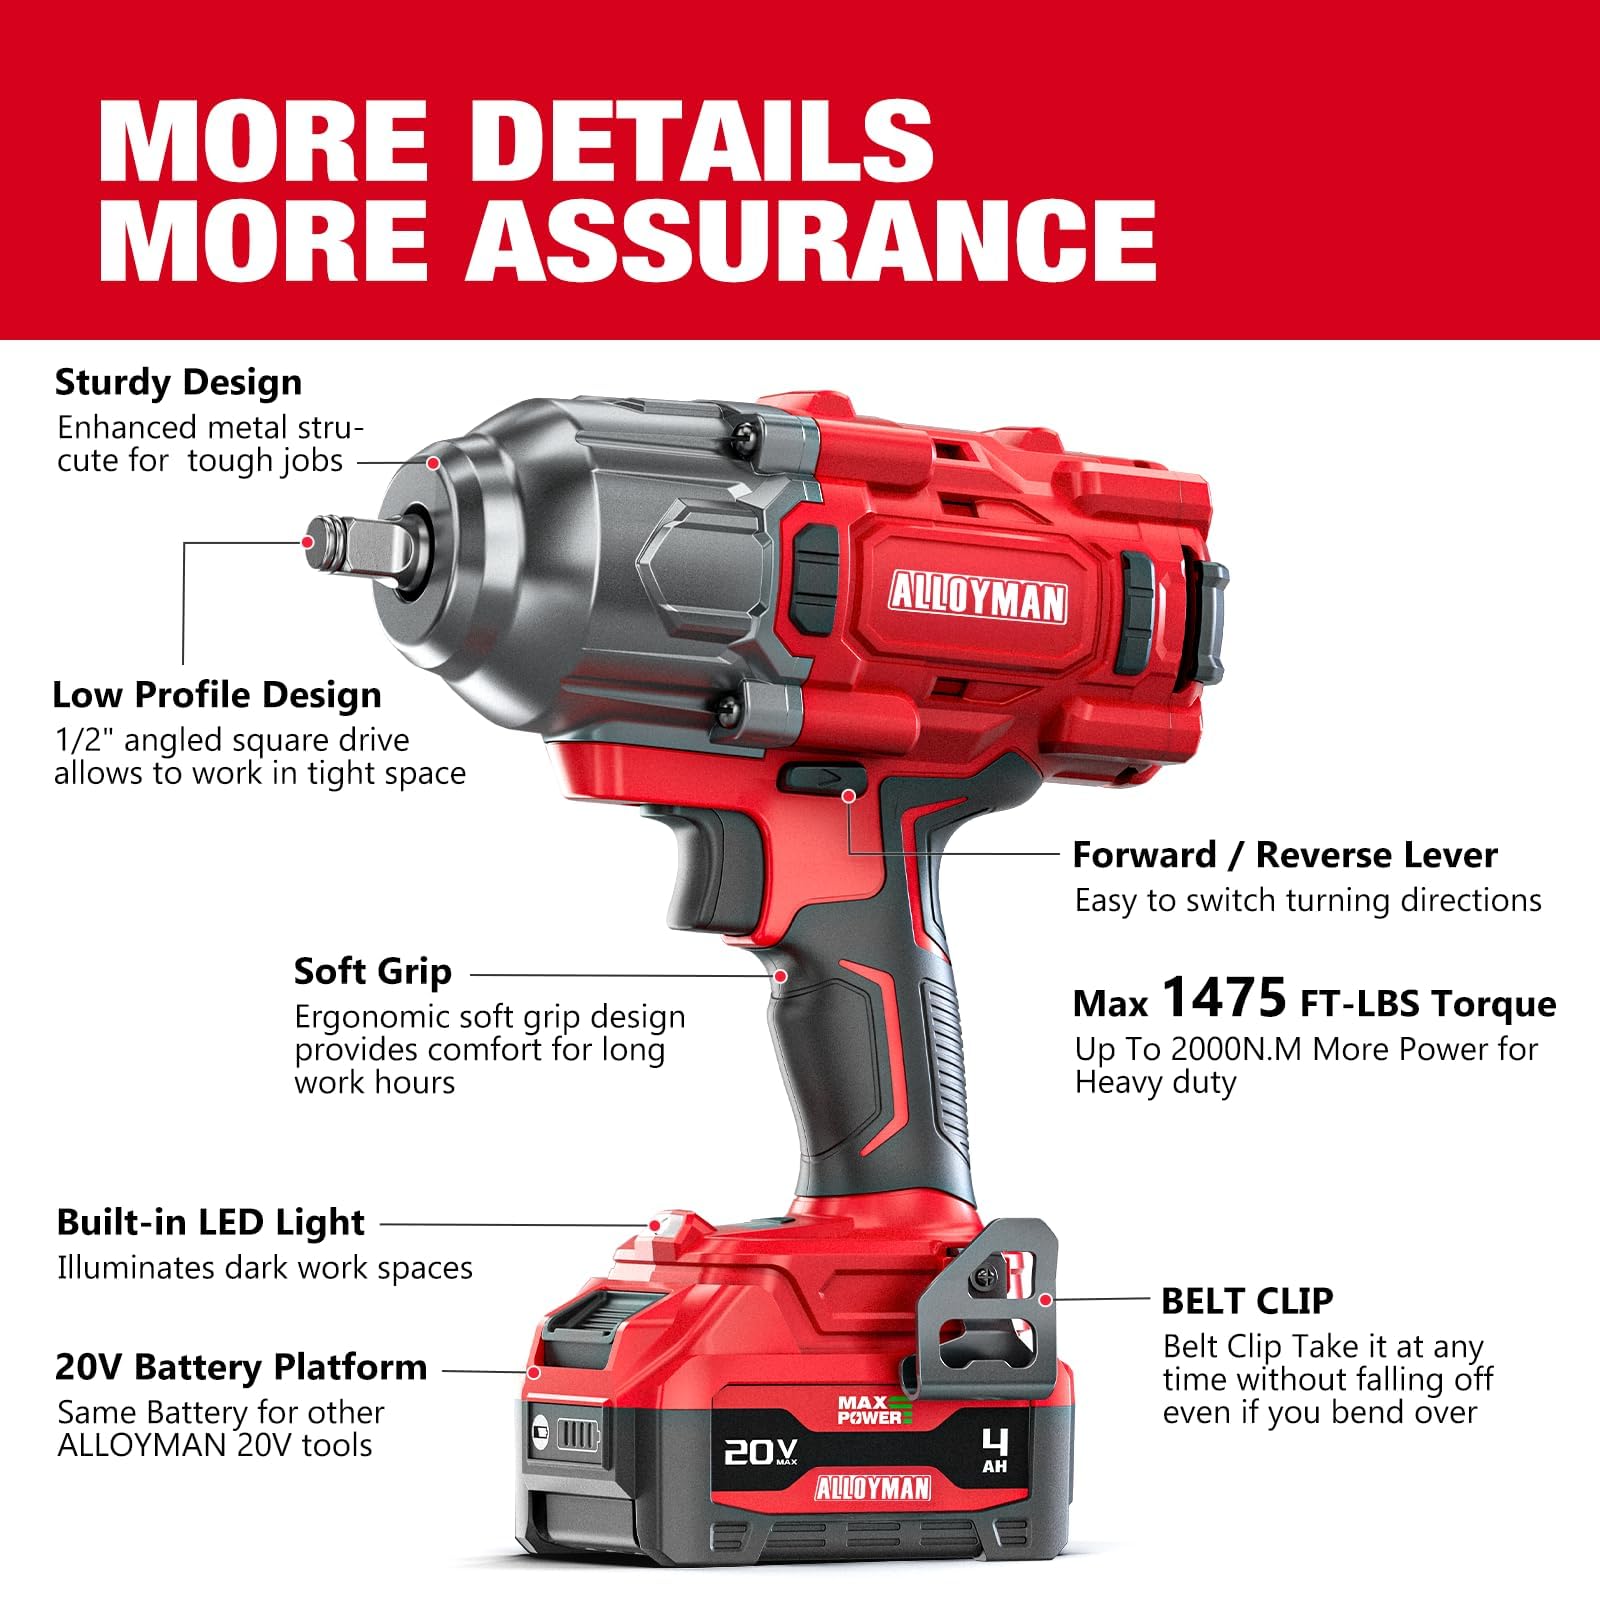
Figure 3.1: Complete package contents of the Alloyman Impact Wrench kit.
4. Specifications
| Feature | Specification |
|---|---|
| Brand | Alloyman |
| Model Number | CJBS2000 |
| Breakaway Torque | 2000 N.m (1475 ft-lbs) |
| Motor Type | Brushless |
| Voltage | 20 Volts |
| Battery Capacity | 4000mAh Li-ion |
| Speed Control | 3-Speed (1050 RPM, 1500 RPM, 2100 RPM) |
| Head Style | Hex |
| Item Weight | 6.62 kg |
| Material | Metal |
5. Setup and Charging
5.1 Battery Installation and Charging
- Ensure the impact wrench is turned off before installing or removing the battery.
- Align the battery pack with the base of the tool and slide it in until it clicks securely into place.
- To remove, press the battery release button and slide the battery out.
- Connect the charger to a power outlet. Insert the battery pack into the charger. The indicator light on the charger will show the charging status.
- A full charge typically takes 2 hours for the 4000mAh battery.

Figure 5.1: Features of the 4000mAh high-capacity battery.
5.2 Bit Installation
- Ensure the tool is off and the battery is removed.
- Pull back the collar on the chuck.
- Insert the desired impact socket or drill bit into the chuck.
- Release the collar to lock the bit in place. Tug on the bit to ensure it is securely fastened.
Video 5.2: This video demonstrates the installation of the battery, changing speeds, and installing various bits for drilling and driving screws. It also shows the tool being used for automotive maintenance.
6. Operating Instructions
6.1 Powering On/Off and Speed Control
The impact wrench features a variable speed trigger and a 3-speed selection switch on the battery base.
- To Power On: Press the trigger. The speed is variable based on trigger pressure.
- To Power Off: Release the trigger.
- Speed Selection: Use the button on the battery base to cycle through three preset modes:
- Mode 1 (Low): 159 N.m / 0–1050 RPM for delicate tasks.
- Mode 2 (Medium): 590 N.m / 0–1500 RPM for general repairs.
- Mode 3 (High): 2000 N.m / 0–2100 RPM for heavy-duty applications like truck lug nuts.

Figure 6.1: Three variable speed control settings for different applications.
6.2 Forward and Reverse Function
The tool features a forward/reverse lever located above the trigger for easy direction changes.
- Forward (Tighten): Push the lever to the left side of the tool.
- Reverse (Loosen): Push the lever to the right side of the tool.
- Lock Position: Center the lever to lock the trigger and prevent accidental operation.
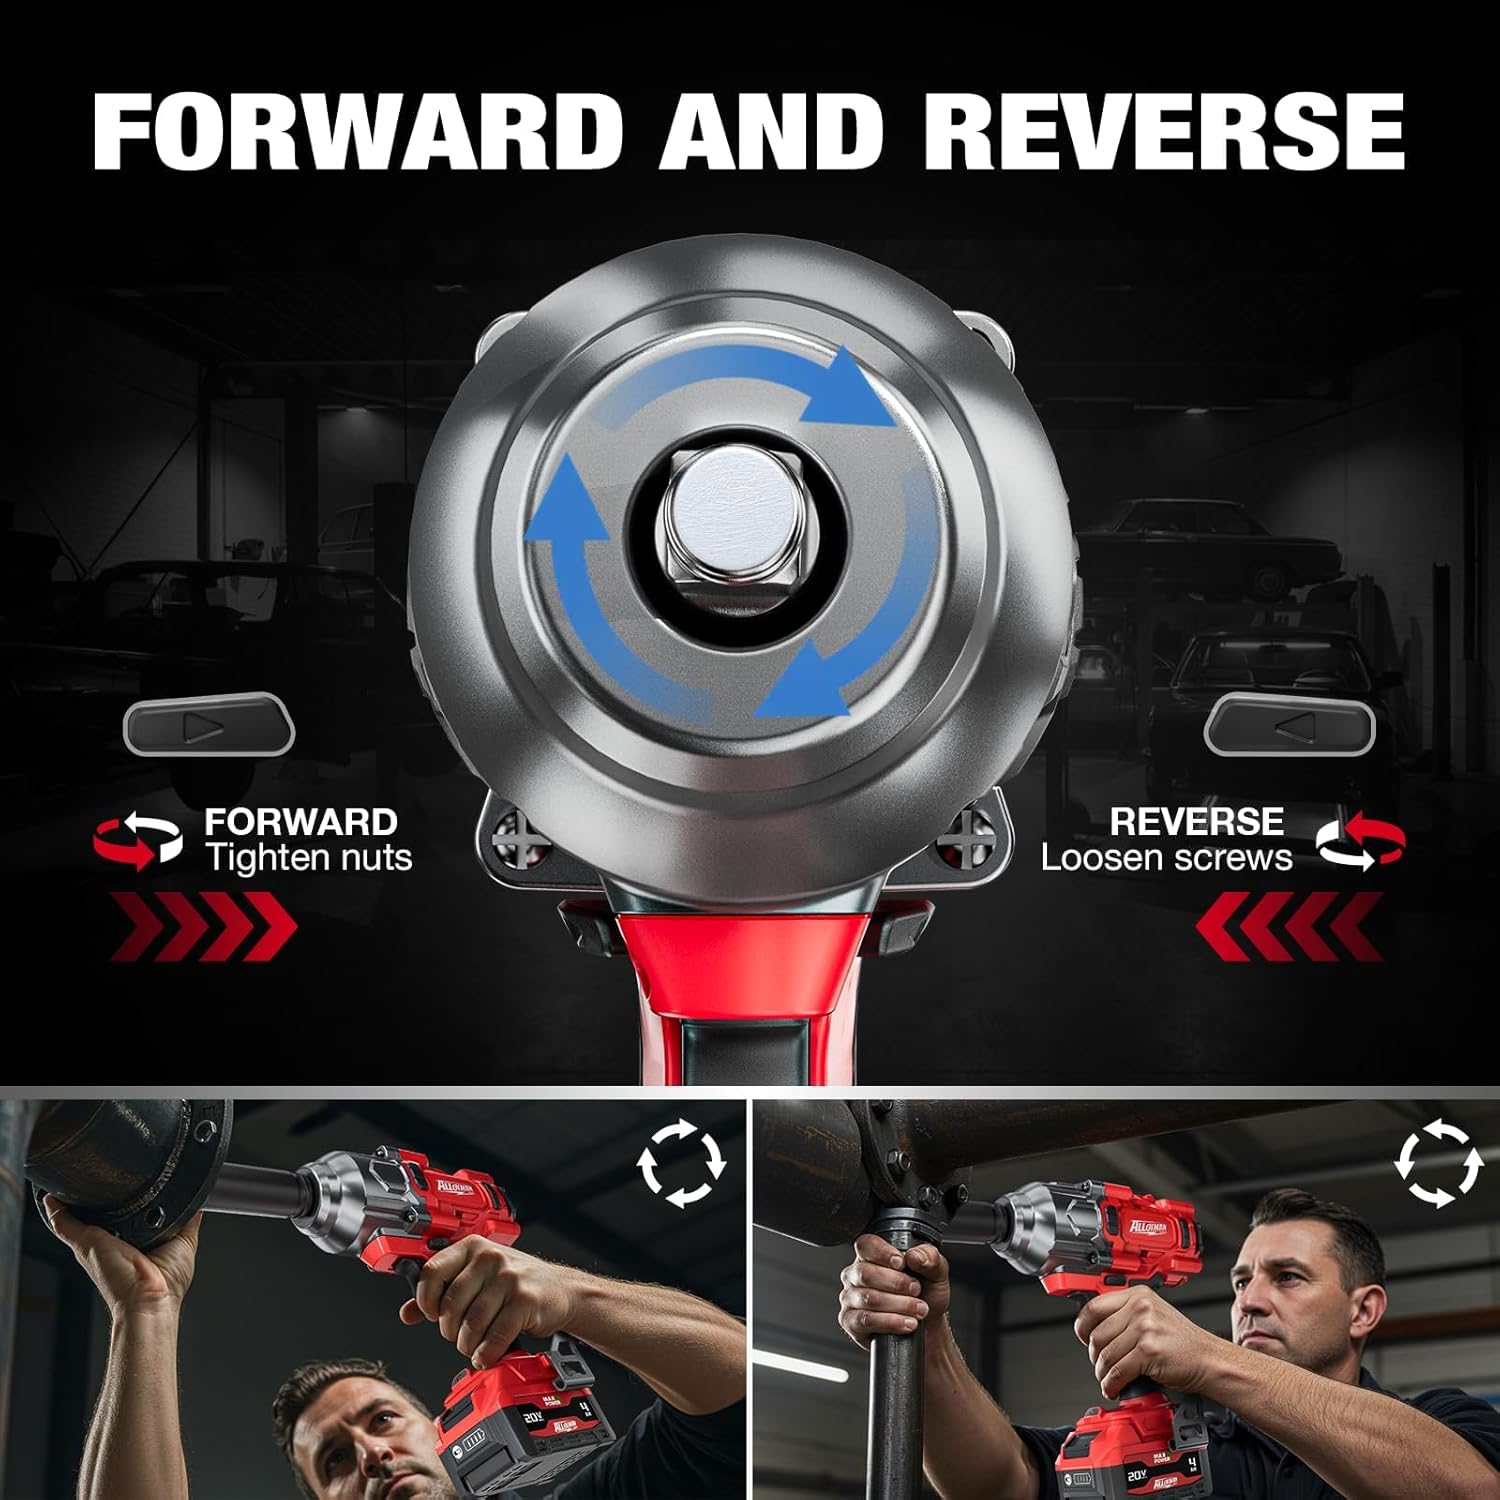
Figure 6.2: Forward and reverse lever for changing rotation direction.
6.3 Built-in LED Light
The impact wrench includes a built-in LED light that illuminates the work area when the trigger is pressed, improving visibility in dark spaces.

Figure 6.3: Built-in LED light for enhanced visibility.
7. Maintenance
7.1 Cleaning
- Regularly clean the tool's ventilation openings to prevent overheating.
- Use a soft, damp cloth to wipe down the exterior of the tool. Do not use harsh chemicals or abrasive cleaners.
- Keep the chuck free of debris.
7.2 Storage
- Store the tool and battery packs in a cool, dry place, away from direct sunlight and moisture.
- Ensure the battery is partially charged (around 50%) before long-term storage.
- Store the tool in its original carrying case to protect it from damage.
7.3 Battery Care
- Do not store batteries in discharged condition.
- Avoid exposing batteries to extreme temperatures.
- Recycle old batteries according to local regulations.
8. Troubleshooting
If you encounter issues with your Alloyman Impact Wrench, refer to the following common problems and solutions:
| Problem | Possible Cause | Solution |
|---|---|---|
| Tool does not start | Battery not charged or improperly installed; Trigger lock engaged. | Charge battery and ensure proper installation; Disengage trigger lock. |
| Reduced power/torque | Low battery charge; Incorrect speed setting. | Recharge battery; Select a higher speed/torque mode. |
| Bit not holding securely | Chuck collar not fully released; Damaged chuck. | Ensure collar is fully released after inserting bit; Contact support if chuck is damaged. |
| Tool overheating | Continuous heavy use; Blocked ventilation. | Allow tool to cool down; Clean ventilation openings. |
If the problem persists after attempting these solutions, please contact Alloyman customer support.
9. Warranty and Support
Alloyman provides a warranty for this product. Please refer to the details below:
- Warranty Period: Up to 365 days from the date of purchase.
- Service Policy: If any problems arise with the product during the after-sales period, there is no need to return it. Please contact Alloyman customer support to receive free parts or a new product.
For customer support, please refer to the contact information provided with your purchase or visit the official Alloyman website.