1. Introduction
Thank you for choosing the Denver CCT-1650 Dashcam. This device is designed to record your journeys, providing evidence in case of incidents and capturing memorable moments on the road. This manual provides essential information for the proper installation, operation, and maintenance of your dashcam. Please read it thoroughly before use.
2. Product Overview
Familiarize yourself with the components and controls of your Denver CCT-1650 Dashcam.
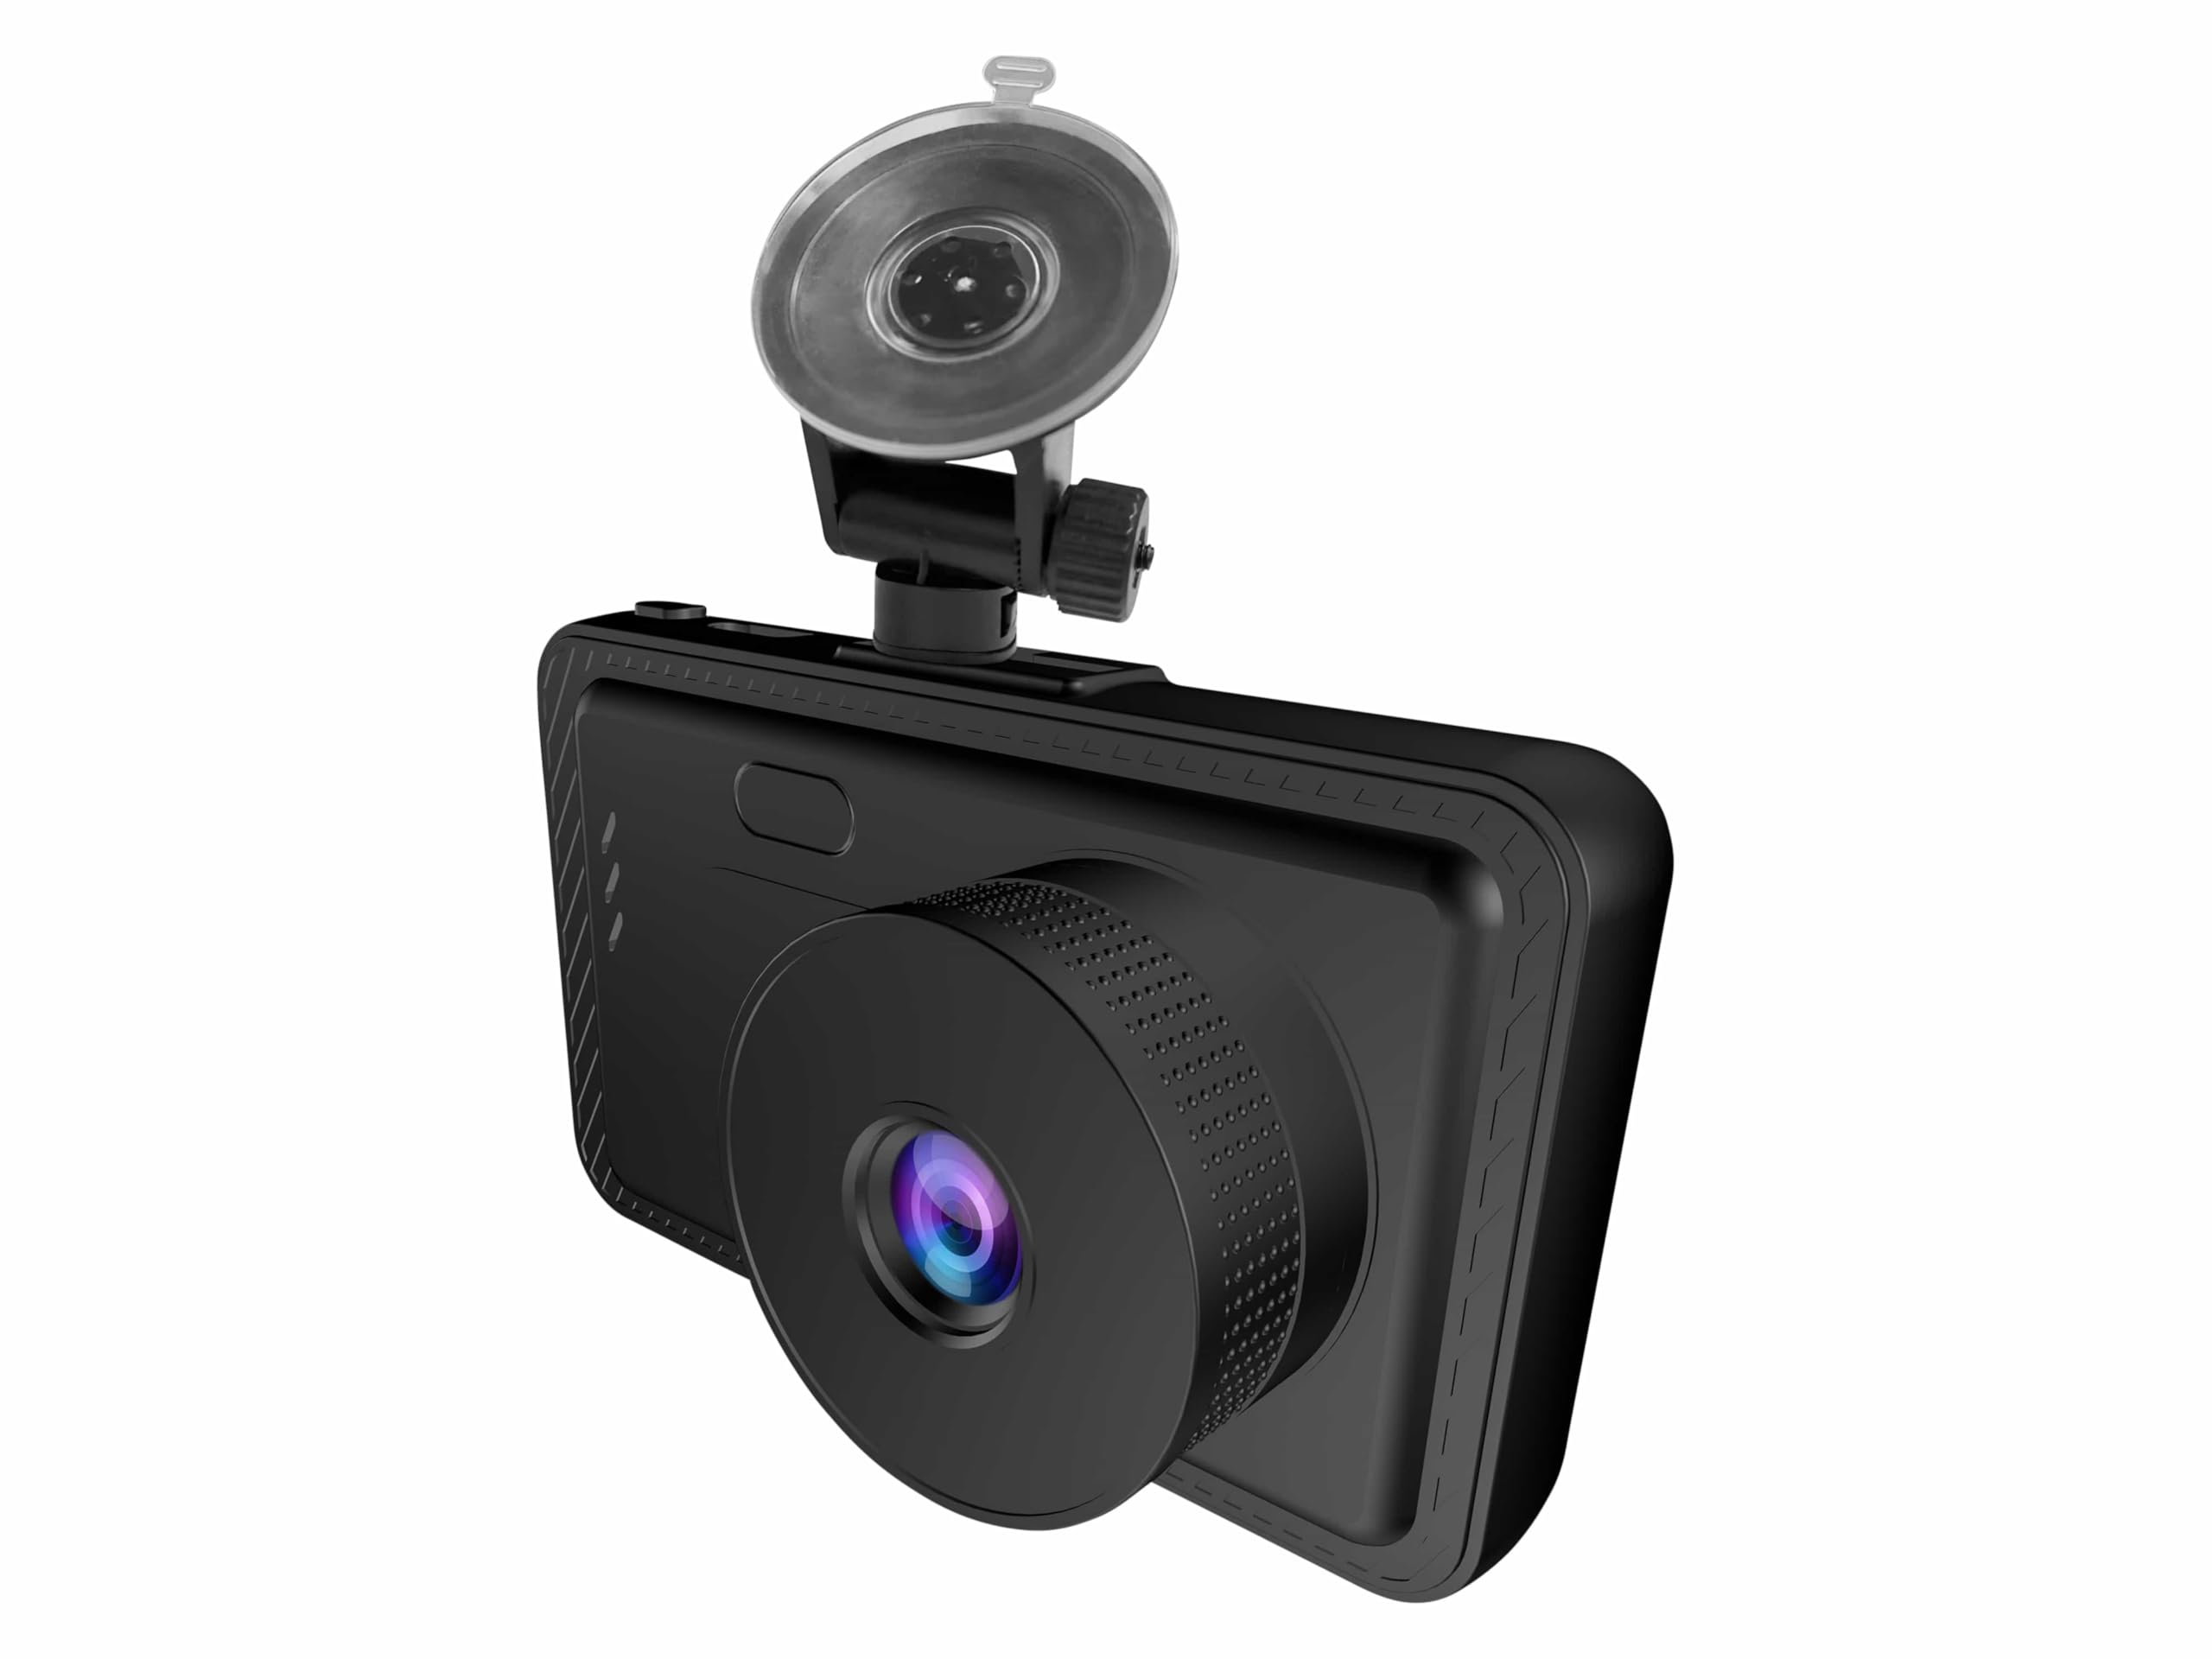
Figure 2.1: Front view of the Denver CCT-1650 Dashcam, showing the main camera lens and the attached suction cup mount for windshield installation.
2.1 Components
- Main Camera Lens: Records video footage.
- Display Screen: Shows live view, menu, and playback.
- Suction Cup Mount: Secures the dashcam to the windshield.
- USB Power Port: Connects to the car charger for power.
- MicroSD Card Slot: For inserting the memory card (not included).
- Control Buttons: For menu navigation and operation.
- Microphone: Records audio inside the vehicle.
- Speaker: For audio playback.
2.2 Controls and Ports

Figure 2.2: Right side view of the dashcam, illustrating the control buttons and the MicroSD card slot.
- Power Button: Press and hold to turn on/off. Short press to toggle screen on/off.
- Menu Button: Accesses settings menu.
- Up/Down Buttons: Navigate through menu options.
- OK/Record Button: Confirms selections or starts/stops manual recording.
- MicroSD Card Slot: Insert a Class 10 or higher MicroSD card (up to 32GB recommended).
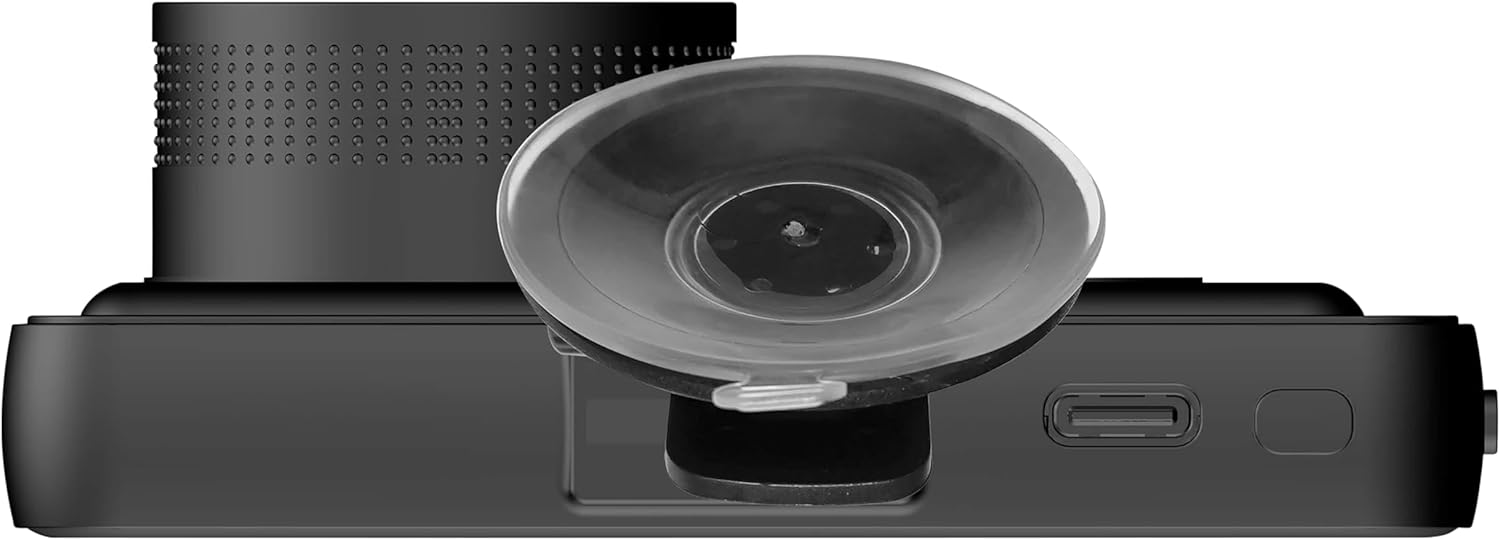
Figure 2.3: Top view of the dashcam, showing the USB power input port.
3. Setup
3.1 Installing the MicroSD Card
- Ensure the dashcam is powered off.
- Locate the MicroSD card slot on the side of the device.
- Insert a Class 10 or higher MicroSD card (up to 32GB recommended) with the gold contacts facing the back of the dashcam until it clicks into place.
- To remove, gently push the card until it clicks out.
3.2 Mounting the Dashcam
- Clean the area on your windshield where you intend to mount the dashcam.
- Attach the suction cup mount to the dashcam.
- Press the suction cup firmly against the windshield and flip the lever to secure it.
- Adjust the angle of the dashcam to ensure a clear view of the road ahead, avoiding obstruction of your driving view.
3.3 Connecting Power
- Connect the provided car charger to the USB power port on the dashcam.
- Plug the other end of the car charger into your vehicle's 12V power outlet (cigarette lighter socket).
- Route the power cable neatly to avoid interference with driving controls.
3.4 Initial Settings
- Upon first power-on, the dashcam may prompt you to set the date and time. Use the Up/Down buttons to adjust and OK to confirm.
- Access the menu (Menu button) to configure settings such as video resolution, loop recording duration, G-sensor sensitivity, and language.
4. Operating Instructions
4.1 Automatic Start and Recording
The Denver CCT-1650 Dashcam features an automatic start function. When connected to your vehicle's power supply, the dashcam will automatically power on and begin recording when the vehicle engine starts. It will save the current recording and power off when the engine is turned off.
4.2 Loop Recording
The dashcam records video in continuous loops (e.g., 1, 3, or 5-minute segments). When the MicroSD card is full, the oldest unlocked files will be overwritten by new recordings. This ensures continuous recording without manual intervention.
4.3 G-Sensor Function
The built-in G-sensor detects sudden impacts or collisions. When triggered, it automatically locks the current video segment, preventing it from being overwritten by loop recording. The sensitivity of the G-sensor can be adjusted in the settings menu.
4.4 Video Playback
- Stop recording if currently active.
- Press the Menu button to enter the menu, then navigate to the Playback mode.
- Use the Up/Down buttons to browse through recorded videos.
- Press the OK button to play a selected video.
5. Maintenance
- Cleaning: Use a soft, dry cloth to clean the dashcam body and lens. Do not use abrasive cleaners or solvents.
- MicroSD Card: It is recommended to format the MicroSD card every 2-4 weeks to maintain optimal performance and prevent data corruption. Format the card using the dashcam's menu settings.
- Temperature: Avoid exposing the dashcam to extreme temperatures for extended periods, as this can affect battery life and device performance.
6. Troubleshooting
| Problem | Possible Solution |
|---|---|
| Dashcam does not turn on. | Ensure the power cable is securely connected and the car charger is working. Check the vehicle's 12V power outlet. |
| Recording stops unexpectedly. | Check if the MicroSD card is full or corrupted. Format the card. Ensure you are using a Class 10 or higher card. |
| Video footage is blurry or unclear. | Clean the camera lens. Ensure the protective film has been removed from the lens. Check if the windshield is clean. |
| G-sensor is too sensitive or not sensitive enough. | Adjust the G-sensor sensitivity setting in the dashcam's menu. |
| Dashcam freezes or malfunctions. | Press and hold the power button to force a restart. If the issue persists, try resetting the device to factory settings via the menu. |
7. Specifications
- Brand: Denver
- Model: CCT-1650
- Model Number: 112121000220
- Dimensions: 1.1 x 1.5 x 0.8 cm
- Weight: 300 g
- Power Input: 5V (via car charger)
- Horizontal View Angle: Max. 120°
- Features: G-sensor, Microphone, Automatic Start/Stop Recording
- Storage: MicroSD card (Class 10 or higher, up to 32GB recommended)
8. Warranty and Support
For warranty information and technical support, please refer to the documentation provided with your purchase or contact your retailer. Keep your proof of purchase for any warranty claims.