1. Introduction
This manual provides essential information for the installation, operation, and maintenance of your BeNtli Air Conditioner Control Board. This board is designed for compatibility with Midea Air Conditioners, offering reliable control and enhanced functionality. Please read this manual thoroughly before installation and use to ensure proper function and safety.
2. Safety Information
Always prioritize safety when handling electronic components. Improper installation or handling can lead to electric shock, damage to the unit, or personal injury. Ensure the air conditioner unit is completely disconnected from the power supply before attempting any installation or maintenance.
- Disconnect power: Always turn off and unplug the air conditioner before working on the control board.
- Professional installation: If you are not confident in your ability to install this component, seek assistance from a qualified technician.
- Handle with care: Avoid touching components unnecessarily and use anti-static precautions if available.
- Verify connections: Double-check all wiring connections before restoring power.
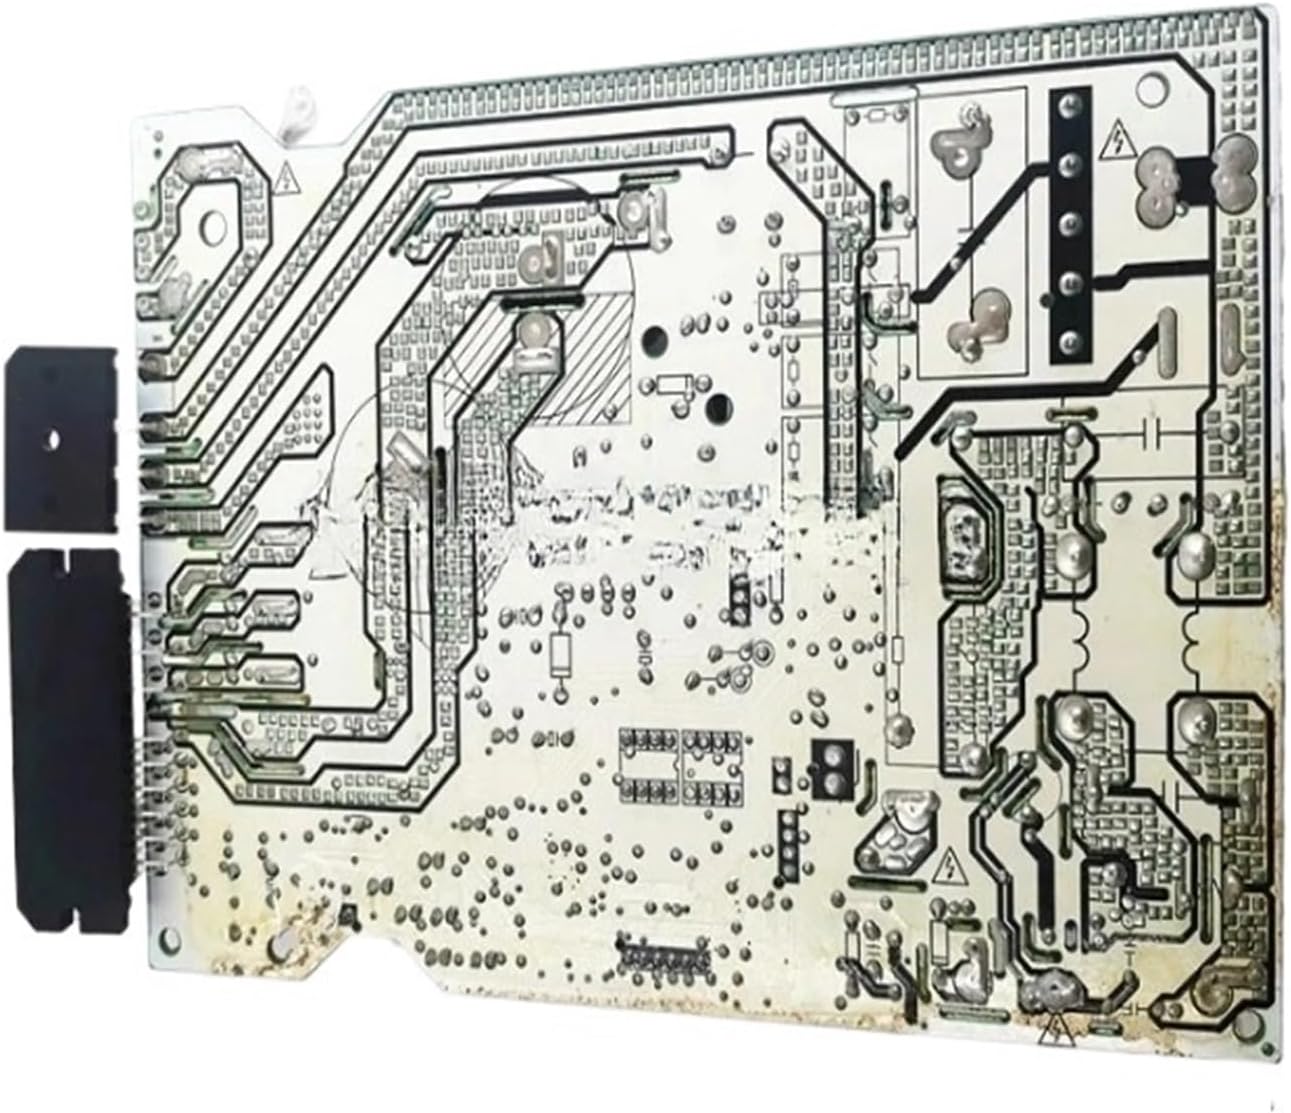
3. Setup and Installation
The BeNtli control board is designed for straightforward installation with clear interfaces. A detailed installation guide is typically included with the product to assist users. Follow these general steps for installation:
- Preparation: Ensure the air conditioner unit is powered off and unplugged. Access the existing control board compartment.
- Removal of Old Board: Carefully disconnect all wires and connectors from the old control board. Note their positions or take photos for reference. Remove the old board from its mounting.
- Installation of New Board: Position the BeNtli control board in the designated slot. Secure it using appropriate fasteners.
- Connecting Wires: Reconnect all wires and connectors to the new board, ensuring they match the original configuration. The board features clear interfaces to aid in correct connection.
- Final Check: Before closing the compartment and restoring power, visually inspect all connections to ensure they are secure and correctly placed.

4. Operation
Once installed, the control board integrates with your Midea Air Conditioner's existing system. The board is equipped with exclusive software that allows for personalization and potential upgrades, enhancing the appliance's functionality and optimizing the user experience. Refer to your air conditioner's main user manual for specific operational instructions, as this board functions as a core component within that system.
5. Maintenance
The BeNtli control board is designed for durability and efficient performance. It incorporates excellent heat dissipation solutions, such as heat sinks and thermally conductive silicone, to manage heat generated by the chip effectively. Additionally, advanced energy-saving technology is utilized to reduce energy consumption while maintaining performance.
- Cleaning: Periodically, with the power disconnected, gently clean any dust accumulation on the board using a soft brush or compressed air.
- Inspection: During routine air conditioner maintenance, visually inspect the board for any signs of damage, loose connections, or overheating.
- Environmental Conditions: Ensure the air conditioner operates within its recommended environmental conditions to prevent undue stress on electronic components.
6. Troubleshooting
If your air conditioner experiences issues after installing the BeNtli control board, consider the following general troubleshooting steps:
- No Power: Ensure all power connections are secure and the air conditioner is receiving power from the outlet. Check circuit breakers.
- Incorrect Functionality: Verify all wire connections to the control board are correctly seated and match the original configuration. Refer to the detailed installation guide.
- Error Codes: If the air conditioner displays error codes, consult your Midea Air Conditioner's user manual for specific interpretations and solutions.
- Component Damage: Visually inspect the board for any burnt components or physical damage. If damage is evident, the board may need replacement.
- Software Issues: If the board's software allows for upgrades, ensure it is running the latest compatible version.
If problems persist after performing these checks, it is recommended to contact a qualified technician or the product supplier for further assistance.
7. Specifications
| Feature | Detail |
|---|---|
| Model Numbers | CE-KFR26W/BP3, CE-KFR26W/BP2(IR-120), CE-KFR26W/BP2(IR-120).D.13.WP2-1 |
| Compatibility | Midea Air Conditioners |
| Package Dimensions | 1.18 x 0.79 x 0.39 inches |
| Item Weight | 1.76 ounces |
| Assembly Required | No |
| Number of Pieces | 1 |
| Manufacturer | leiyanhua (Brand: BeNtli) |
8. Warranty and Support
Specific warranty information for this BeNtli control board may vary. Please refer to the documentation provided with your purchase or contact the seller directly for details regarding warranty coverage and support services. For technical assistance, it is recommended to consult a qualified HVAC technician.