1. Introduction
This manual provides essential information for the safe and efficient operation of your LYAYYDS Hybrid Solar Inverter Charger. Please read this manual thoroughly before installation and use. This device is designed to convert DC power from solar panels and batteries into AC power for various household and office loads, offering both on-grid and off-grid capabilities.
2. Product Features
- Pure sine wave solar inverter (on/off Grid functionality).
- Capable of running without a battery.
- One-key restoration to factory settings.
- Built-in lithium battery automatic activation function.
- Integrated 120A MPPT solar charge controller (for 3.6KW/6.2KW models) or 140A (for 7.2KW models).
- High PV input voltage range (90~450VDC).
- Built-in anti-dust kit for harsh environments.
- Smart battery charge design to optimize battery life.
- Dual output capability.
- RGB lighting indicators for different working modes (Purple for PV Mode, Red for Battery Mode, Blue for Utility Mode).
3. Safety Information
Always observe the following safety precautions to reduce the risk of injury or damage to the inverter:
- Installation must be performed by qualified personnel.
- Ensure all wiring is correctly polarized and securely connected.
- Do not disassemble the inverter. There are no user-serviceable parts inside.
- Keep the inverter away from flammable materials, moisture, and direct sunlight.
- Ensure adequate ventilation around the unit to prevent overheating.
- Always disconnect all power sources (PV, battery, AC) before performing any maintenance or wiring.
- Use appropriate circuit breakers between the battery and the inverter, and for AC output.
4. Package Contents
Upon unpacking, verify that all items are present and undamaged:
- 1x LYAYYDS Hybrid Solar Inverter Charger (4.2KW or 6.2KW model)
- 1x User Manual (this document)
5. Product Overview
The LYAYYDS Hybrid Solar Inverter Charger features a compact design with a clear display panel and indicator lights. The front panel includes a display for monitoring system status and buttons for navigation. The sides and bottom house various connection terminals for solar input, battery, and AC input/output.
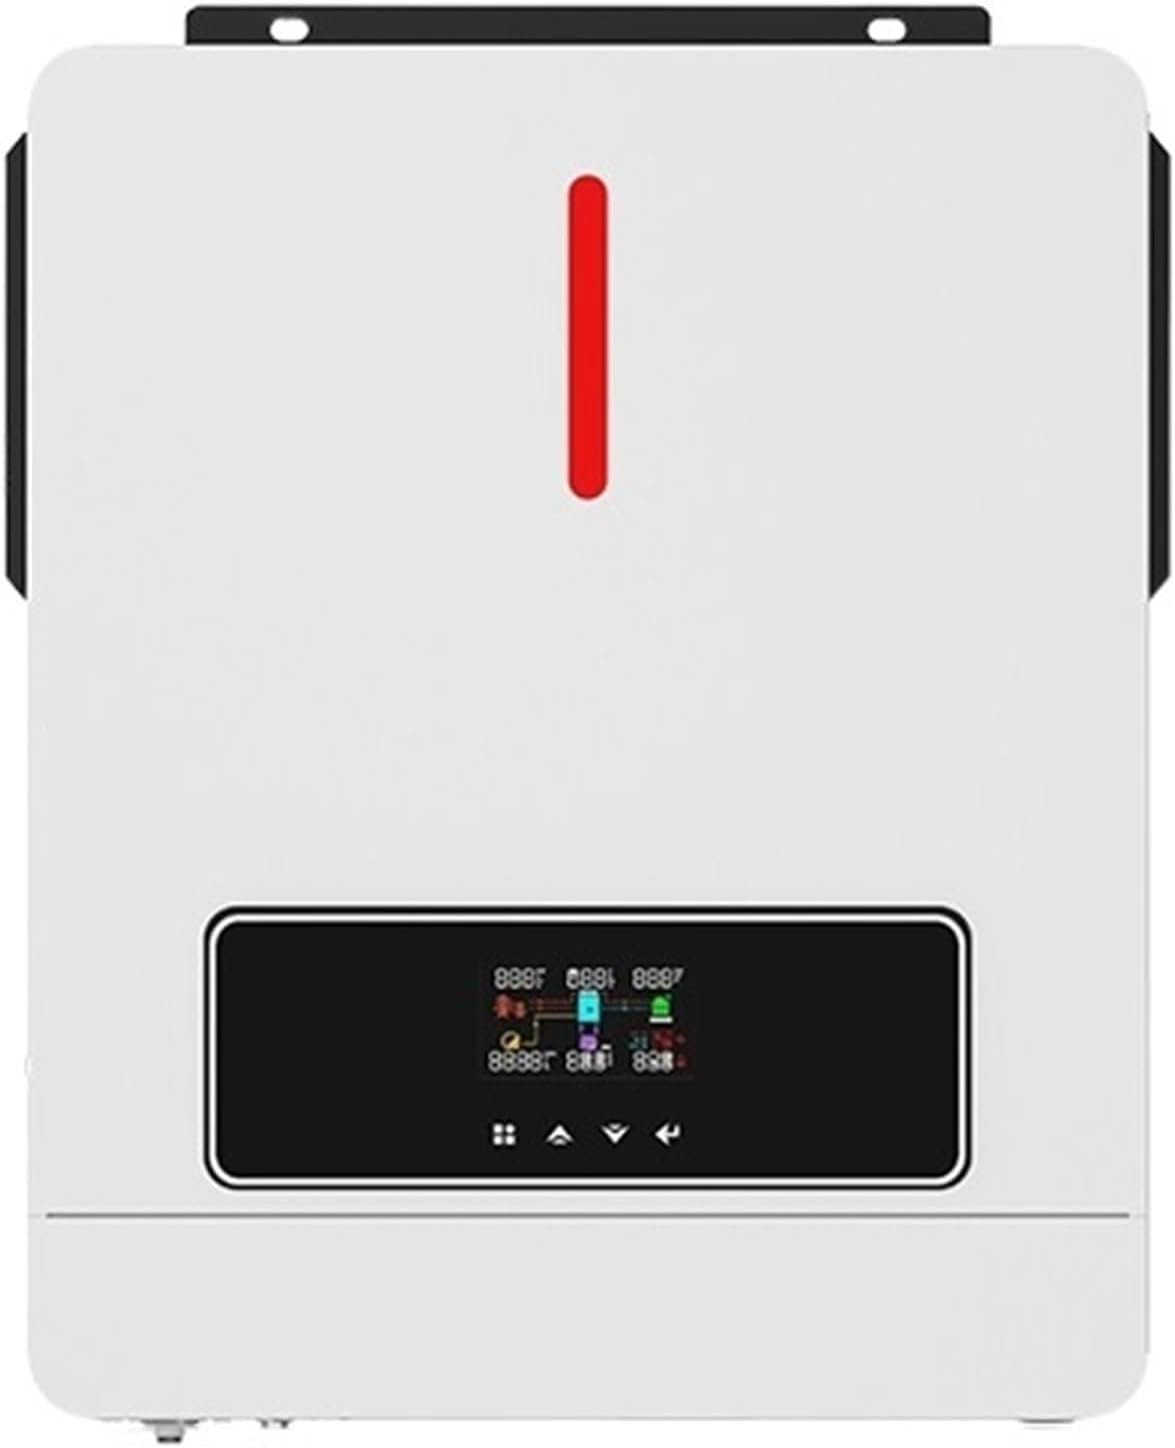
Image 1: Front view of the LYAYYDS Hybrid Solar Inverter Charger, showing the display screen and indicator light.

Image 2: Overview of the inverter highlighting key features such as 120A MPPT, 6200W Max PV Array Power, 450VDC Max PV Array Open Circuit Voltage, Pure Sine Wave output, 50/60Hz Auto frequency, RGB lights, and one-click restoration. Dimensions are also shown: 420mm height, 310mm width, 110mm depth.
6. Specifications
Refer to the following table and image for detailed product specifications:
| Category | Specification |
|---|---|
| Model Name | AGH-4.2KW-PRO / AGH-6.2KW-PRO |
| Operating Temperature Range | 10-50°C |
| PV Input Nominal Operating Voltage | 240Vdc |
| PV Input Vmax | 500Vdc |
| PV Input Voltage Range | 60-450Vdc |
| Imax PV | 18A |
| Full Load MPPT Range | 240-450Vdc |
| Maximum PV Input Power (4.2KW model) | 4200W |
| Maximum PV Input Power (6.2KW model) | 6200W |
| Maximum Solar Charging Current | 120A |
| Grid/AC Output Nominal Output Voltage | 220/230/240Vac |
| Feed-in Grid Voltage Range | 195-253Vac |
| Feed-in Grid Frequency Range | 49-51±1Hz |
| Nominal Output Current | 18.2A |
| Power Factor | ≥0.99 |
| Maximum Conversion Efficiency (DC/AC) | 97% |
| Nominal Operating Frequency | 50/60Hz |
| Two Load Output Power (Full Load) | 4200W |
| Two Load Output Power (Maximum Main Load) | 4200W |
| Two Load Output Power (Maximum Second Load) | 1400W |
| Main Load Cut-off Voltage | 26Vdc |
| Main Load Return Voltage | 27Vdc |
| AC Input Nominal Operating Voltage | 230Vac |
| Maximum Input Current | 30A |
| Nominal Operating Frequency | 50/60Hz |
| Surge Power | 8400VA |
| Maximum AC Charging Current | 100A |
| Battery Voltage Range | 24Vdc |
| Maximum Battery Current | 175A |
| Net Weight | 10.0 kg / 22.0 lb |
| Dimensions (L x W x H) | 423 x 334 x 110 mm / 16.7 x 13.2 x 4.3 inches |

Image 3: Detailed technical specifications for the inverter charger, including PV input, grid/AC output, two load output power, AC input, and battery parameters. The model number AGH-4.2KW-PRO is visible.

Image 4: Physical dimensions of the inverter: 334 mm (13.2 in) length, 423 mm (16.7 in) width, and 110 mm (4.3 in) height. Net weight is 10.0 kg (22.0 lb).
7. Setup and Installation
Proper installation is crucial for the safe and efficient operation of the inverter. Follow these general guidelines:
7.1 Site Selection
- Install the inverter in a cool, dry, and well-ventilated area.
- Avoid direct sunlight, high temperatures, and humidity.
- Ensure sufficient clearance around the unit for airflow.
- Mount the inverter vertically on a sturdy surface.
7.2 Connection Diagram
The inverter supports connections from solar panels, a generator, or utility grid, and an external battery bank to power home appliances.

Image 5: Connection diagram illustrating how the inverter integrates with solar power, a generator or utility grid, an external battery pack, and various home appliances such as refrigerators, laptops, lights, and televisions.
7.3 Wiring Instructions
- Battery Connection: Connect the external battery pack to the inverter's battery terminals. Ensure correct polarity. Use recommended cable sizes.
- PV Input Connection: Connect solar panels to the PV input terminals. Observe voltage and current limits.
- AC Input Connection: Connect the utility grid or generator to the AC input terminals.
- AC Output Connection: Connect your home appliances or load center to the AC output terminals.
- Grounding: Ensure the inverter is properly grounded according to local electrical codes.
Important: Always install appropriate circuit breakers on all DC and AC lines for protection.
8. Operating Instructions
8.1 Powering On/Off
- To Power On: Ensure all connections are secure. Turn on the battery breaker first, then the PV breaker, and finally the AC input breaker (if applicable). The inverter will initiate its startup sequence.
- To Power Off: Disconnect AC output loads. Turn off the AC input breaker, then the PV breaker, and finally the battery breaker.
8.2 Display and Indicators
The front panel display provides real-time information on system status, input/output voltages, currents, and power. RGB indicator lights show the current operating mode:
- Purple Light: PV Mode (primarily using solar power).
- Red Light: Battery Mode (primarily using battery power).
- Blue Light: Utility Mode (primarily using grid power).
8.3 Charging Modes
The inverter offers four selectable charging modes:
- Only Solar: Charges batteries exclusively from solar panels.
- Mains First: Prioritizes charging from the utility grid, supplementing with solar if needed.
- Solar First: Prioritizes charging from solar panels, supplementing with utility grid if solar is insufficient.
- Mains & Solar Hybrid: Utilizes both mains and solar power for charging simultaneously.
8.4 Output Modes
Three output modes are available, allowing you to configure how the inverter supplies power to your loads.
9. Battery Compatibility and Cable Sizing
The inverter is compatible with various battery types, including Lead-Acid (Sealed, Gel, Flooded) and Lithium batteries. For Lithium batteries, specific settings may need to be configured via the "User-Defined" option. The inverter also features a built-in function to activate sleeping lithium batteries by applying a small charge current.
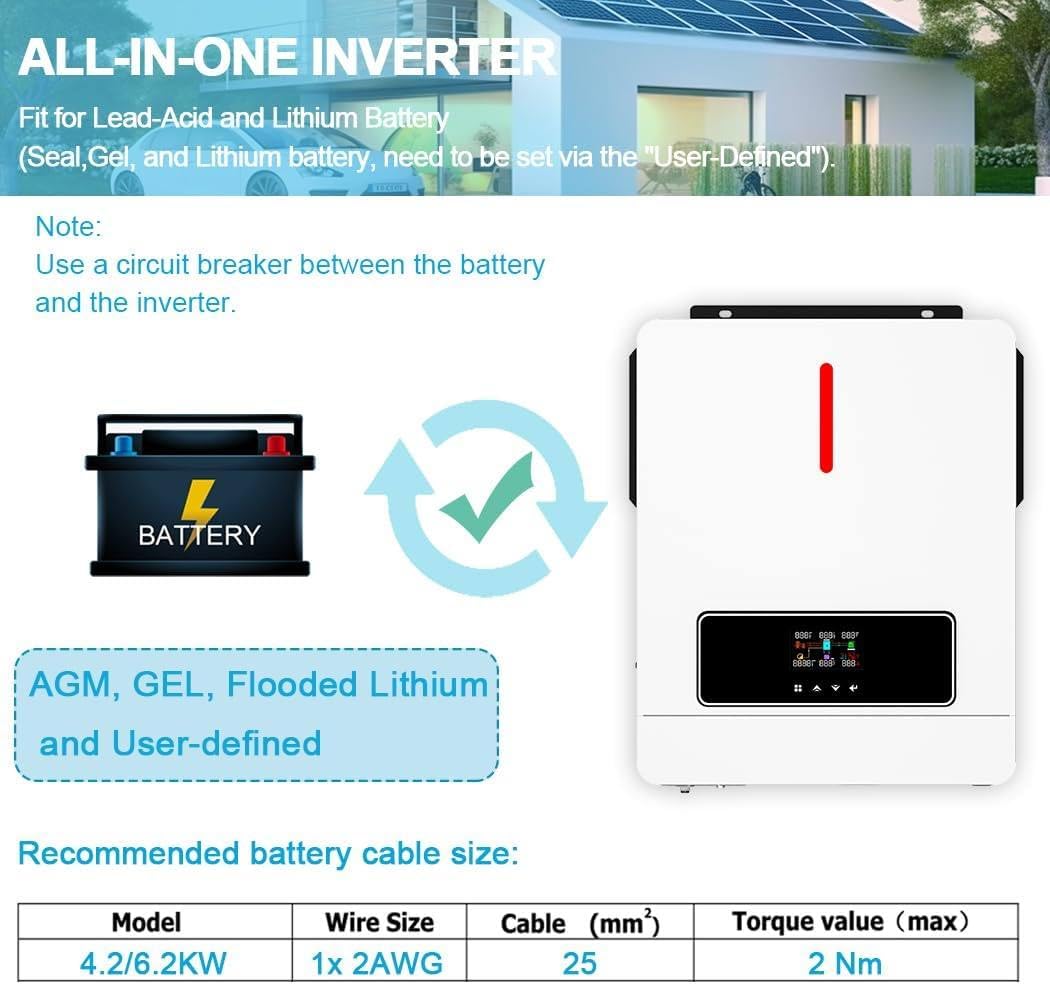
Image 6: This image shows the inverter's compatibility with AGM, GEL, Flooded, and Lithium battery types. It also provides a table for recommended battery cable sizes: for 4.2/6.2KW models, 1x 2AWG wire size (25 mm²) with a maximum torque value of 2 Nm.
Note: Always use a circuit breaker between the battery and the inverter for safety.
10. Monitoring (Optional WiFi Module)
The inverter supports an optional WiFi communication function, allowing you to monitor its working status and adjust parameters remotely from your mobile phone. The WiFi module is not included in the standard package.

Image 7: This image illustrates the optional WiFi module that enables remote monitoring of the inverter's system status and flexible parameter settings via a mobile application. A QR code for the WiFi module is shown, along with a note that the module is not included.
11. Maintenance
Regular maintenance ensures the longevity and optimal performance of your inverter:
- Cleaning: Periodically clean the inverter's exterior with a dry cloth. Ensure ventilation openings are free from dust and debris.
- Connections: Annually check all electrical connections for tightness and corrosion.
- Environment: Ensure the installation environment remains within specified temperature and humidity ranges.
- Battery Health: Monitor battery voltage and health regularly, especially for lead-acid batteries.
Warning: Disconnect all power sources before performing any cleaning or maintenance.
12. Troubleshooting
If the inverter is not functioning as expected, refer to the display for error codes or indicators. Common issues and basic troubleshooting steps include:
- No Power Output: Check input power sources (PV, battery, AC grid) and all circuit breakers. Verify battery voltage is within operating range.
- Overload Warning: Reduce the connected load. Ensure the total load does not exceed the inverter's rated capacity.
- Over-temperature Warning: Check for obstructions around ventilation openings. Ensure the ambient temperature is not too high.
- Battery Not Charging: Verify PV input voltage and current. Check battery connections and health. Ensure the correct charging mode is selected.
For persistent issues, contact customer support or a qualified technician.
13. Warranty and Support
For warranty information and technical support, please refer to the documentation provided with your purchase or contact the manufacturer directly. Keep your purchase receipt as proof of purchase.


