
1. Introduction
Thank you for choosing the betboyles V75S-MOP Robot Vacuum Mop Pad Accessories. This manual provides essential information for the proper installation, usage, and maintenance of your new mop pads, ensuring optimal cleaning performance from your robot vacuum and mop combo. Please read these instructions carefully before use and retain them for future reference.
2. Product Overview
The betboyles V75S-MOP Mop Pad Accessories are designed to provide effective wet cleaning for hard floor surfaces when used with your compatible betboyles V75S Robot Vacuum and Mop Combo. These cloth mop pads are reusable and washable, offering a sustainable solution for floor maintenance.
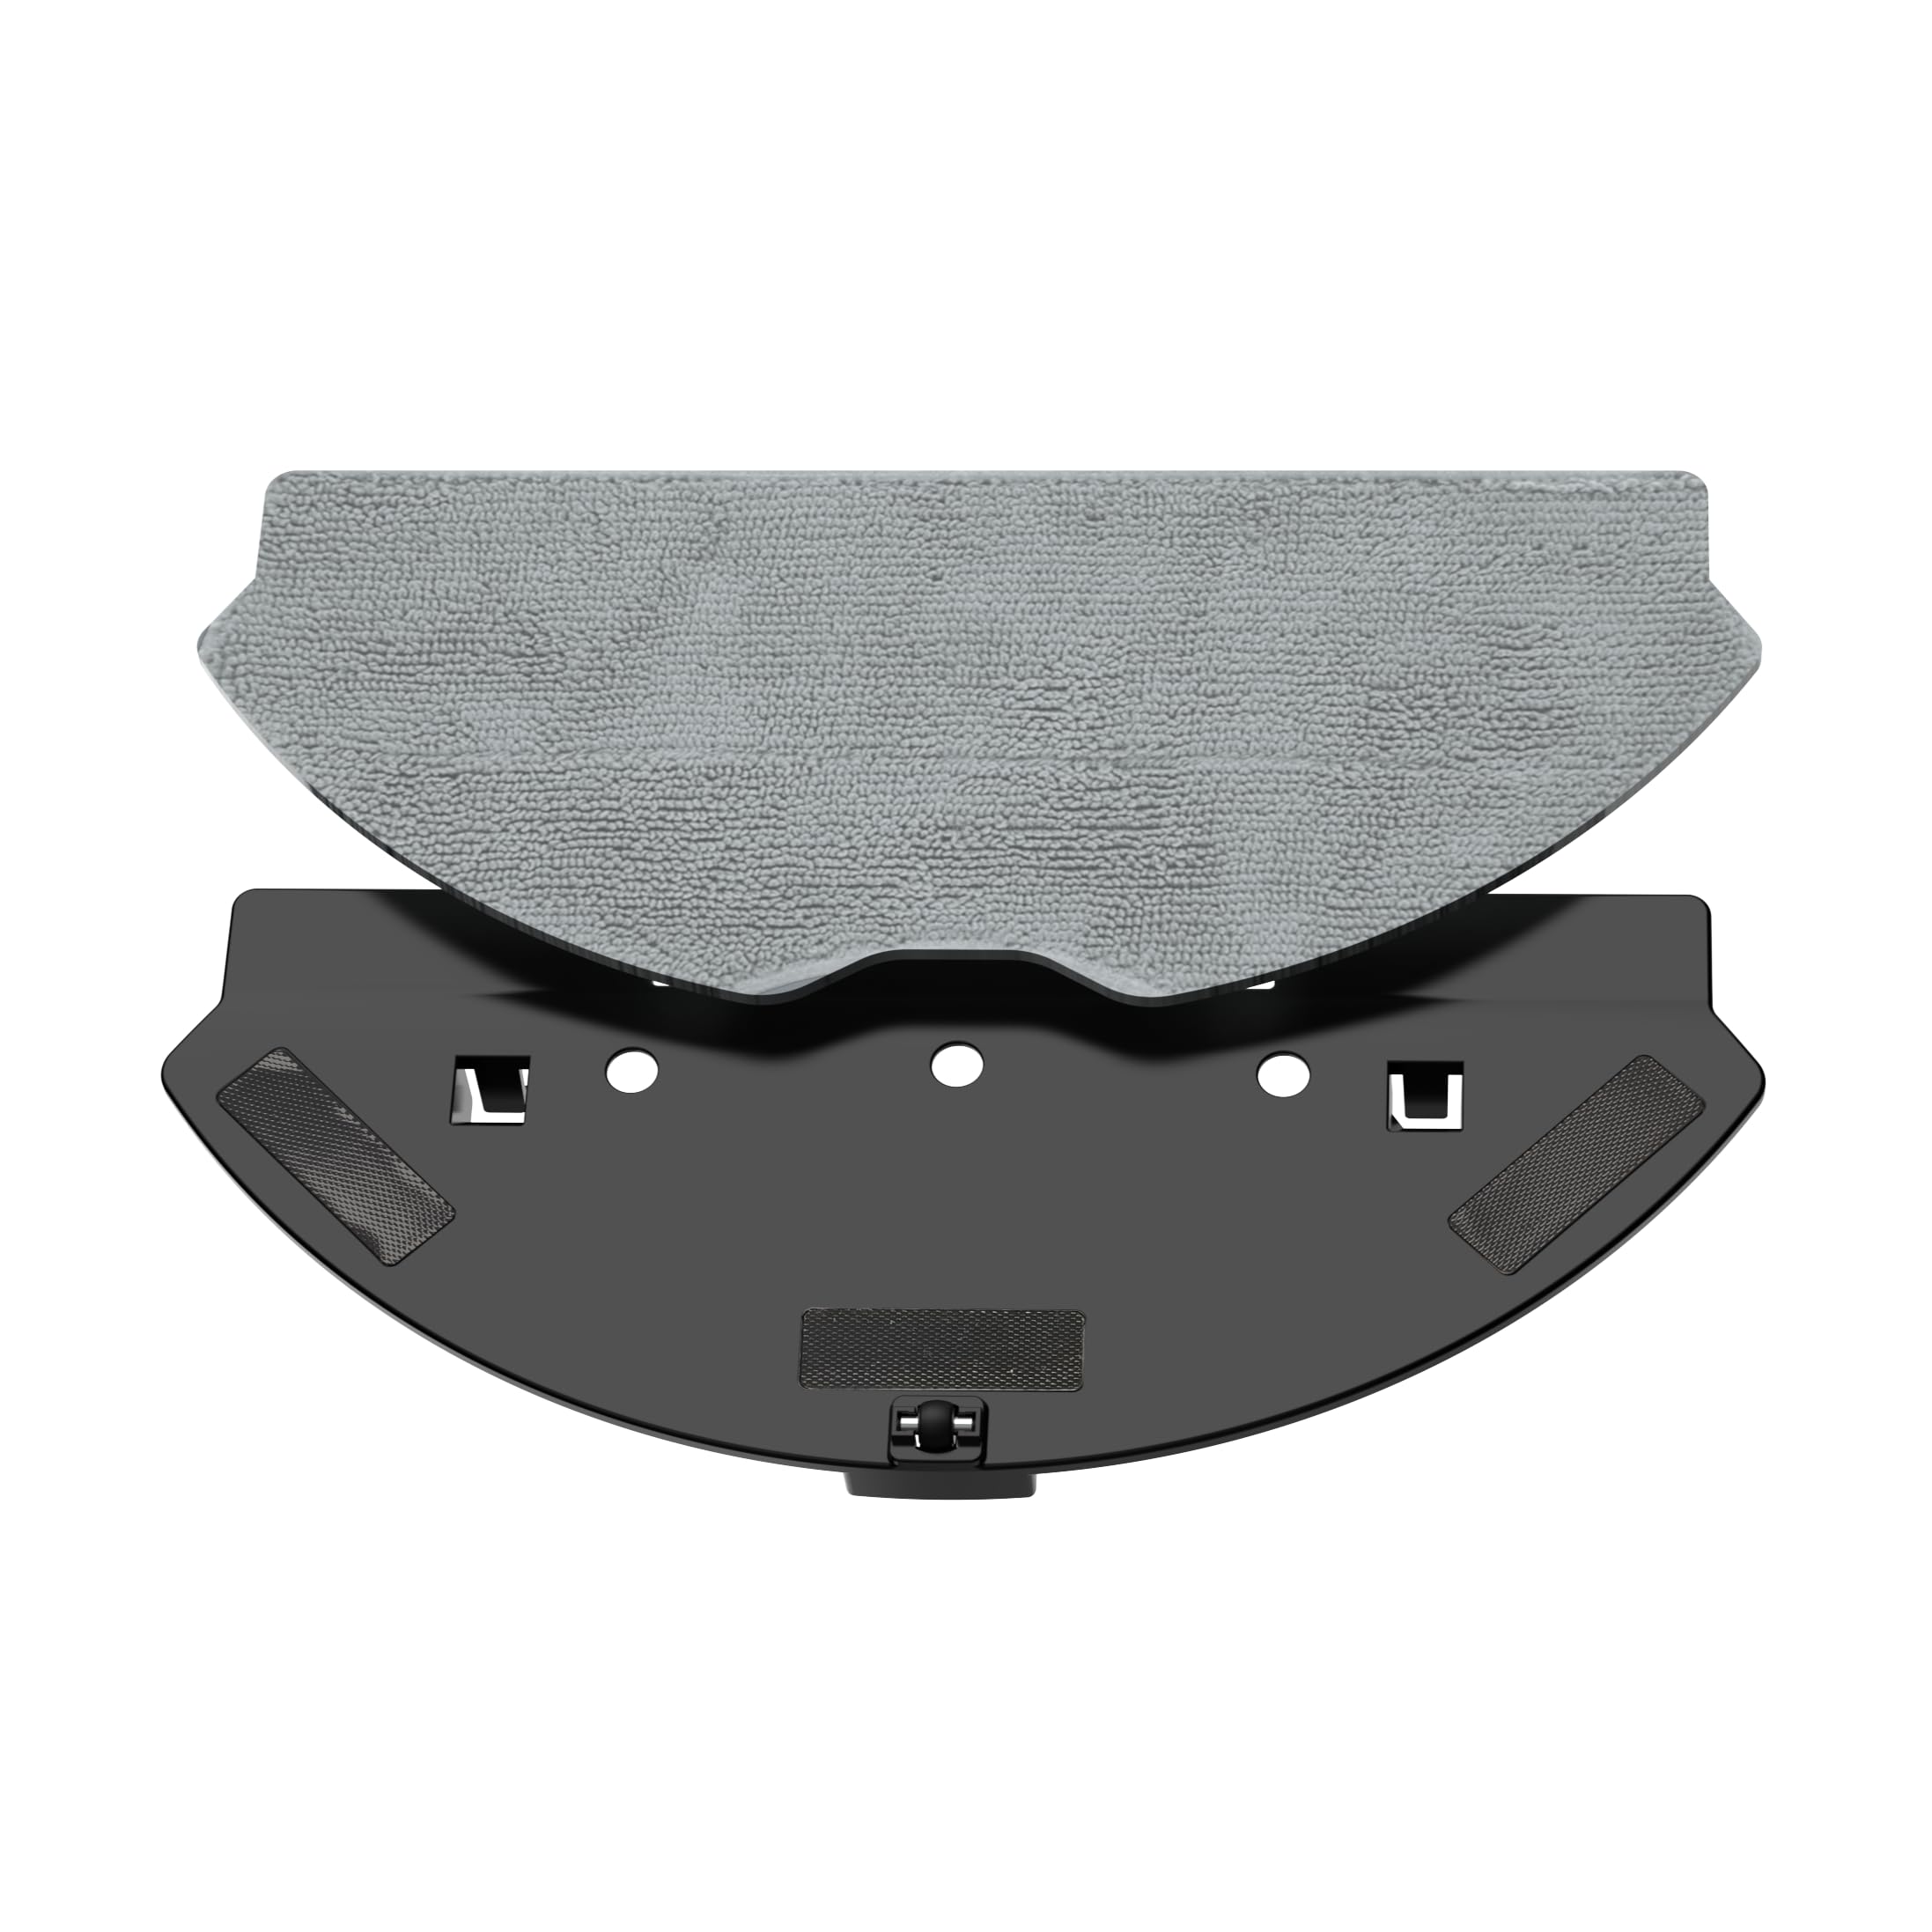
Image 1: The betboyles V75S-MOP Robot Vacuum Mop Pad. This image displays a rectangular, gray cloth mop pad, designed for attachment to a robot vacuum for wet cleaning.
3. Installation
Follow these steps to properly install the mop pad onto your betboyles V75S Robot Vacuum:
- Prepare the Robot: Ensure your robot vacuum is powered off and disconnected from its charging base.
- Locate Mop Module: Identify the mop module or water tank attachment point on the underside of your robot vacuum. Refer to your robot vacuum's main instruction manual if you are unsure.
- Attach Mop Pad: Align the mop pad with the hook-and-loop fasteners (Velcro) on the mop module. Press firmly to ensure the pad is securely attached and lies flat without wrinkles.
- Fill Water Tank (if applicable): If your robot vacuum has a water tank for mopping, fill it with clean water according to your robot's specific instructions. Do not overfill.
- Reattach Mop Module: Securely reattach the mop module with the installed pad to the robot vacuum.
4. Operating Instructions
Once the mop pad is installed and the water tank (if applicable) is filled, you can begin the mopping function:
- Power On: Turn on your betboyles V75S Robot Vacuum.
- Select Mopping Mode: Use the robot's control panel, remote control, or the companion mobile application to select the desired mopping mode.
- Start Cleaning: Initiate the cleaning cycle. The robot will now perform its mopping function.
- Monitor Performance: Periodically check the mop pad during longer cleaning cycles. If it becomes excessively dirty or dry, pause the robot, clean or re-wet the pad, and resume.
- Avoid Carpets: Ensure the robot does not enter carpeted areas while the mop pad is attached and wet.
5. Maintenance
Regular maintenance of your mop pads ensures optimal cleaning results and extends their lifespan:
5.1. Cleaning the Mop Pad
- After each mopping session, remove the mop pad from the robot.
- Rinse the mop pad thoroughly under running water until all dirt and debris are removed.
- For deeper cleaning, the mop pad can be hand-washed with mild detergent or machine-washed on a gentle cycle with similar colors. Do not use bleach.
- Allow the mop pad to air dry completely before reattaching it to the robot or storing it. Do not tumble dry.
5.2. Replacing the Mop Pad
Mop pads are consumable items and will wear out over time. Replace the mop pad when you notice reduced cleaning performance, excessive wear, or damage. The frequency of replacement depends on usage and cleaning habits. It is recommended to have spare pads available.
6. Troubleshooting
If you encounter issues with your mop pad accessories, refer to the following common problems and solutions:
| Problem | Possible Cause | Solution |
|---|---|---|
| Mop pad not cleaning effectively | Pad is too dirty or dry; pad is worn out; insufficient water in tank. | Clean or replace the mop pad. Ensure water tank is filled. |
| Mop pad detaches during cleaning | Pad not securely attached; hook-and-loop fasteners are worn. | Ensure pad is firmly pressed onto fasteners. Replace pad if fasteners are worn. |
| Streaks left on floor | Mop pad is too dirty; incorrect cleaning solution (if used). | Clean the mop pad thoroughly. Use only recommended cleaning solutions or plain water. |
7. Specifications
- Model Name: V75S-MOP
- Brand: betboyles
- Included Components: Mop Pad
- Material: Cloth (Filter Type)
- Item Dimensions (L x W x H): 7.87" x 5.9" x 0.39" (20cm x 15cm x 1cm)
- Surface Recommendation: Hard Floor
8. Warranty and Support
For information regarding warranty coverage, product support, or to purchase additional accessories, please refer to the documentation provided with your betboyles V75S Robot Vacuum and Mop Combo or visit the official betboyles website. Keep your purchase receipt as proof of purchase for any warranty claims.
