Realdio Realdio-A7170A3797A4MI2-US64
Realdio Android Car Stereo User Manual
Model: Realdio-A7170A3797A4MI2-US64
1. Introduction
Thank you for choosing the Realdio Android Car Stereo. This manual provides detailed instructions for the installation, operation, and maintenance of your new in-dash navigation system. Designed specifically for Honda Civic models from 2006 to 2011, this unit integrates advanced features such as wireless CarPlay, Android Auto, GPS navigation, and a responsive touchscreen to enhance your driving experience.
Please read this manual thoroughly before installation and use to ensure proper functionality and to avoid damage to the unit or your vehicle.
2. Safety Information
- Professional Installation Recommended: Due to the complexity of car audio systems, professional installation is highly recommended to prevent damage to the unit or vehicle's electrical system.
- Power Disconnection: Always disconnect the vehicle's battery before beginning any installation or wiring work to prevent electrical shorts.
- Proper Wiring: Ensure all wiring connections are secure and correctly matched to avoid malfunctions or damage. Refer to the wiring diagram provided.
- Driving Safety: Do not operate the unit's complex functions or watch videos while driving. Distracted driving can lead to accidents.
- Temperature Extremes: Avoid exposing the unit to extreme temperatures or direct sunlight for prolonged periods.
- Moisture: Keep the unit away from water and excessive moisture.
3. Package Contents
Upon opening the package, please verify that all components are present and in good condition:
- Realdio Android Car Stereo Unit
- Power Harness (specific for Honda Civic 2006-2011)
- GPS Antenna
- USB Cables (Double USB Interface)
- External Microphone
- Rear View Camera (if included in package)
- RCA Cables (for audio/video input/output)
- User Manual (this document)

Figure 3.1: Main components of the Realdio Android Car Stereo package, including the head unit, external microphone, and connectivity options for CarPlay/Android Auto.
4. Installation Guide
4.1. Vehicle Compatibility
This Realdio Android Car Stereo is designed for a perfect fit in Honda Civic models manufactured between 2006 and 2011. It comes with a specific cable harness for these models.
- Important Note: The provided cable does NOT support original cars equipped with a factory navigation system. If your vehicle has a factory navigation system, a different cable may be required (purchase separately if needed).
- Stock Power Amplifier: The unit supports the stock power amplifier. Ensure you connect the original AMP control cable to the red ACC wire on our power cable.

Figure 4.1: Visual guide demonstrating compatibility with Honda Civic 2006-2011 dashboards. The unit fits models without the original navigation system.
4.2. Pre-Installation Steps
- Park your vehicle on a flat, stable surface and engage the parking brake.
- Turn off the ignition and remove the key.
- Disconnect the negative terminal of the vehicle's battery to prevent electrical shorts.
- Carefully remove the existing car stereo unit and dashboard trim panels as per your vehicle's service manual.
4.3. Wiring Connections
Connect the provided wiring harness to the corresponding ports on the new stereo unit and your vehicle's wiring. Pay close attention to the following:
- Main Power Harness: Connect the vehicle-specific power harness to the main power input on the stereo. Ensure the AMP control cable is connected if your vehicle has a stock amplifier.
- GPS Antenna: Connect the GPS antenna and route it to a location with a clear view of the sky (e.g., dashboard, A-pillar).
- USB Cables: Connect the double USB interface cables. These can be routed to the glove compartment or center console for easy access.
- External Microphone: Connect the external microphone for improved call quality and voice commands. Route it to a suitable location like the sun visor or A-pillar.
- Rear View Camera: If installing a rear view camera, connect its video input to the "Reversing Input" (AHD/CVBS) on the stereo and its power to the vehicle's reverse light circuit.
- RCA Cables: Connect any additional audio/video input/output devices using the RCA cables as needed.
4.4. Physical Installation
- Once all wiring is connected, carefully slide the new stereo unit into the dashboard opening.
- Secure the unit using the mounting brackets and screws provided (if applicable).
- Reinstall the dashboard trim panels, ensuring all clips and screws are properly secured.
- Reconnect the negative terminal of the vehicle's battery.
- Turn on the ignition and test the unit's functionality.
5. Operating Instructions
5.1. Basic Operation
- Power On/Off: Press the power button (usually located on the front panel or a soft button on the screen) to turn the unit on or off.
- Volume Control: Adjust the volume using the physical knobs/buttons or the on-screen controls.
- Touchscreen Navigation: The unit features a responsive touchscreen. Tap icons to open applications, swipe to navigate menus, and pinch-to-zoom in maps.
5.2. Wireless CarPlay & Android Auto
This unit supports both wired and wireless CarPlay and Android Auto, allowing seamless integration with your smartphone.
- Ensure Bluetooth and Wi-Fi are enabled on your smartphone.
- On the car stereo, open the CarPlay or Android Auto application.
- Follow the on-screen prompts to pair your phone via Bluetooth. Once paired, the system will automatically establish a Wi-Fi connection for wireless CarPlay/Android Auto.
- Alternatively, connect your phone via a USB cable for wired CarPlay/Android Auto.
- Once connected, you can access navigation, calls, messages, and music directly from the stereo's screen. Activate voice assistants like Siri or Google Assistant for hands-free control.

Figure 5.1: Display showing the Wireless CarPlay, Android Auto, and Mirror Link functionalities, including hands-free calling, online music, and GPS navigation.
5.3. GPS Navigation
The unit features built-in GPS capabilities and supports both online and offline navigation applications.
- Online Navigation: Connect the unit to Wi-Fi (see section 5.4) to use online navigation apps like Google Maps. Ensure the GPS antenna is properly installed for optimal signal reception.
- Offline Navigation: Download offline maps from the Google Play Store for navigation without an internet connection.
- Access navigation apps from the main menu and input your destination.

Figure 5.2: Screenshot of the GPS navigation interface, highlighting options for online and offline maps and various navigation applications.
5.4. Wi-Fi Connection
Connect the stereo to a Wi-Fi hotspot (e.g., from your smartphone or a portable hotspot) to access online features, download apps, and stream media.
- Go to "Settings" on the stereo's main menu.
- Select "Network & Internet" or "Wi-Fi".
- Turn on Wi-Fi and select your desired network from the list.
- Enter the password if prompted and connect.
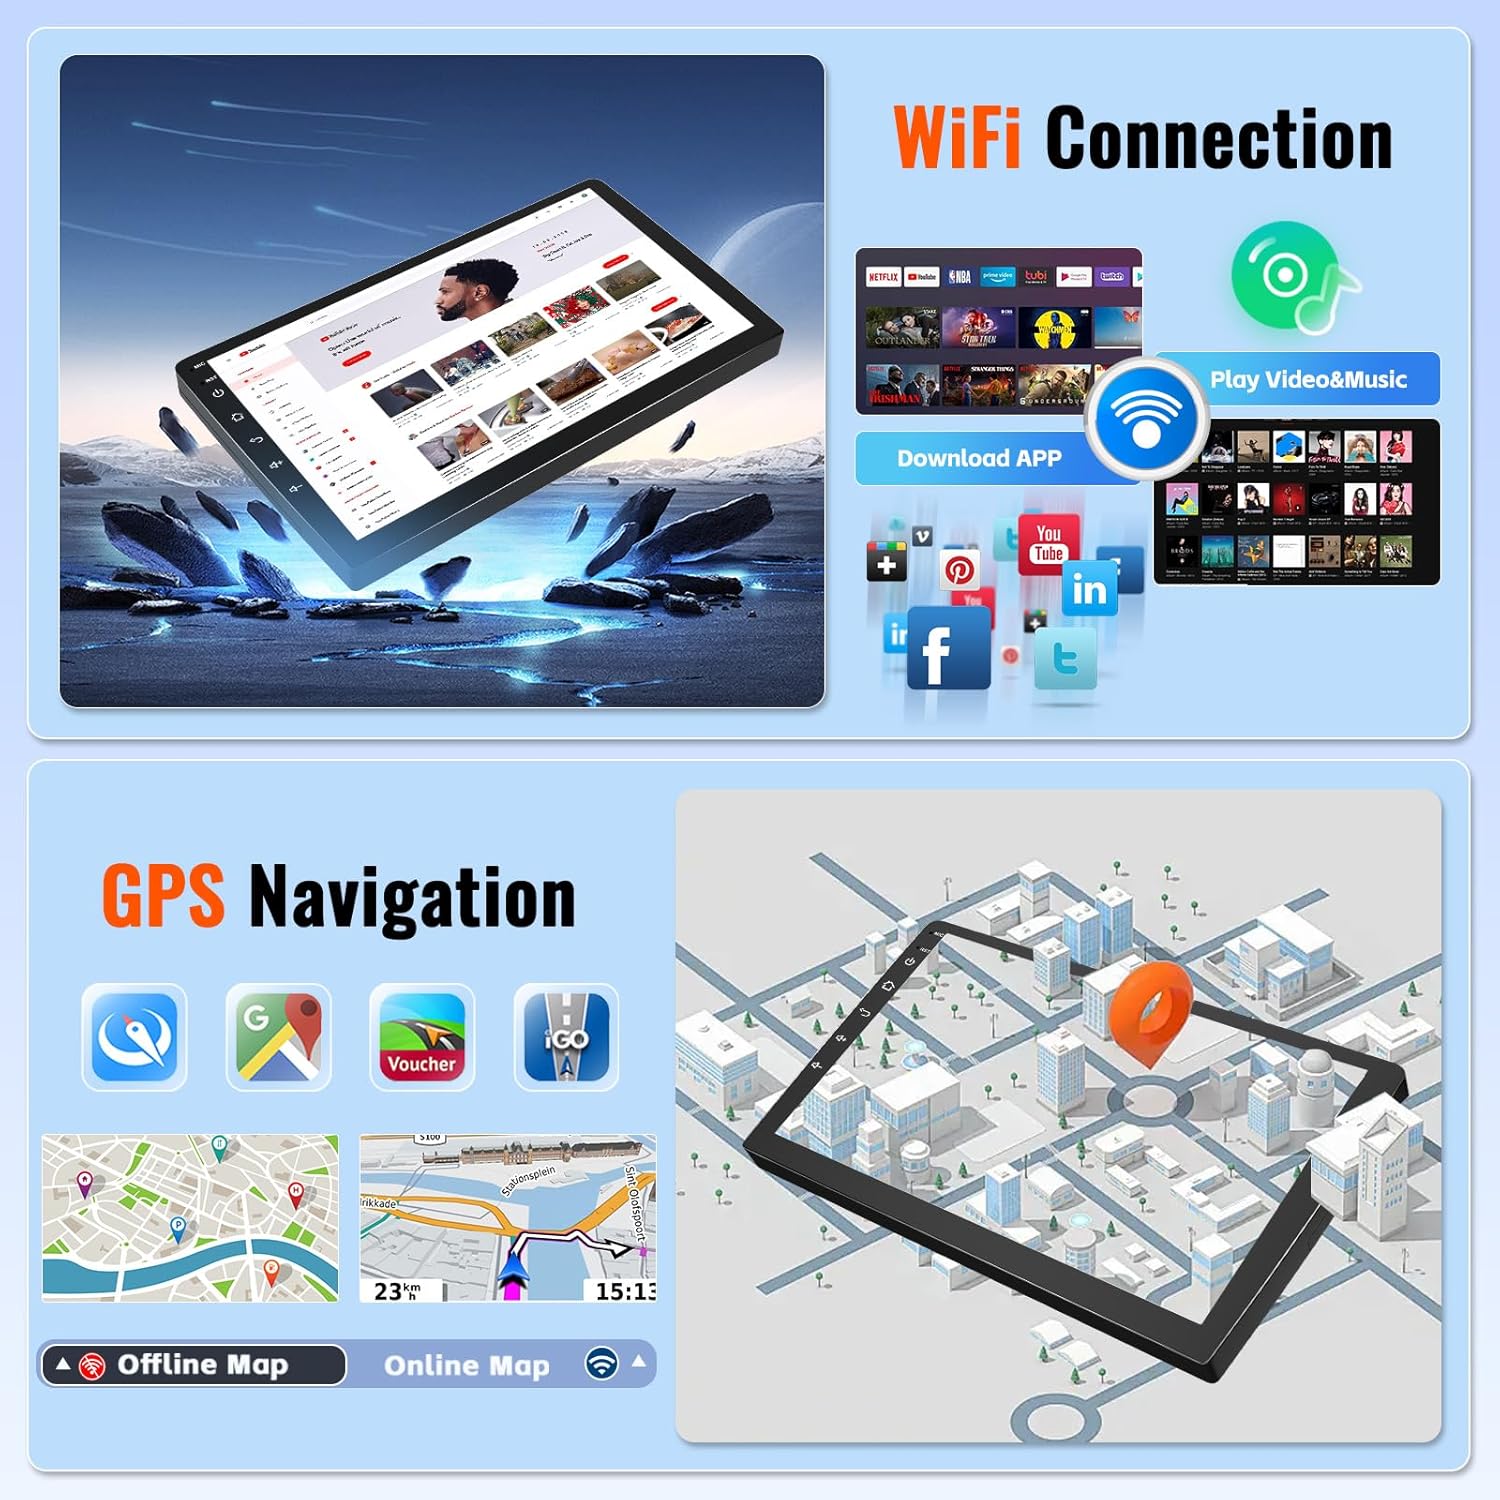
Figure 5.3: Illustration of Wi-Fi connectivity, enabling app downloads, video streaming, and music playback.
5.5. Bluetooth Hands-Free Calling & Music
Pair your smartphone via Bluetooth for hands-free calling and wireless music streaming.
- On the stereo, go to the "Bluetooth" application.
- Enable Bluetooth on your smartphone and search for available devices.
- Select "Realdio Car Stereo" (or similar name) from your phone's Bluetooth list.
- Confirm the pairing code on both devices if prompted.
- Once connected, you can make/receive calls and play music wirelessly through the car's speakers.
5.6. FM/RDS Radio
Access the FM/RDS Radio application to listen to your favorite radio stations.
- Auto Scan: Use the auto-scan function to automatically search and save available stations.
- Manual Tuning: Manually tune to specific frequencies.
- RDS (Radio Data System): RDS provides additional information like station name, song title, and traffic announcements where available.

Figure 5.4: Depiction of the FM/RDS Radio interface with frequency display and the Built-in Bluetooth connection icon.
5.7. UI Themes & Split Screen
Personalize your stereo's interface and multitask with the split-screen feature.
- UI Themes: The unit comes with 26 desktop themes. Navigate to "Settings" > "Display" or "Themes" to select and apply your preferred interface style.
- Split Screen: To use split-screen, open an application, then long-press the recent apps button or drag another app from the recent apps list to one side of the screen. This allows you to run two applications simultaneously (e.g., navigation and music player).

Figure 5.5: Visual representation of the 26 UI themes available for customization and the split-screen feature in action, displaying two applications simultaneously.
5.8. Steering Wheel Control
The unit supports steering wheel controls, allowing you to manage audio and calls without taking your hands off the wheel.
- Go to "Settings" > "Steering Wheel Control" or "SWC".
- Follow the on-screen instructions to program each button on your steering wheel to the desired function (e.g., volume up/down, track skip, answer call).
- Ensure the steering wheel control wires are correctly connected during installation.
5.9. Rear View Camera
If a rear view camera is connected, the display will automatically switch to the camera view when the vehicle is put into reverse gear.
- Ensure the camera is properly installed and connected to the "Reversing Input" on the stereo.
- The camera display may include parking guidelines to assist with maneuvering.
Figure 5.6: Illustration of steering wheel control functionality and the rear view camera display with parking guidelines.
6. Maintenance
- Cleaning: Use a soft, dry cloth to clean the screen and unit. For stubborn smudges, slightly dampen the cloth with water or a screen-safe cleaner. Avoid abrasive cleaners or solvents.
- Software Updates: Periodically check for software updates from the manufacturer's website or through the unit's system settings (if available) to ensure optimal performance and access to new features.
- Avoid Liquids: Do not spill liquids on the unit.
- Temperature: Avoid exposing the unit to extreme temperatures.
7. Troubleshooting
| Problem | Possible Cause | Solution |
|---|---|---|
| Unit does not power on. | Loose power connection; Blown fuse; Incorrect wiring. | Check all power cables and connections. Inspect vehicle's fuse box and the unit's fuse. Verify wiring against the diagram. |
| No sound from speakers. | Volume too low; Mute activated; Speaker wires disconnected; Incorrect amplifier connection. | Increase volume. Check if mute is on. Verify speaker wire connections. Ensure AMP control cable is connected if using stock amplifier. |
| GPS signal weak or inaccurate. | GPS antenna not properly placed; Obstruction to signal. | Ensure GPS antenna has a clear view of the sky. Relocate antenna if necessary. |
| Bluetooth connection issues. | Phone not discoverable; Incorrect pairing; Interference. | Ensure phone's Bluetooth is on and discoverable. Delete previous pairings and re-pair. Move phone closer to the unit. |
| Rear view camera not displaying. | Camera not powered; Video input incorrect; Reverse trigger wire not connected. | Check camera power supply. Verify video input connection. Ensure reverse trigger wire is connected to vehicle's reverse light. |
| Touchscreen unresponsive. | System freeze; Software glitch. | Perform a soft reset (refer to unit's specific reset method, often a small reset button). If persistent, contact support. |
8. Specifications
| Feature | Detail |
|---|---|
| System | Android |
| Memory (RAM + ROM) | 2GB (RAM) + 64GB (ROM) |
| Chipset | 8163 |
| Operating Speed | 1.3GHz |
| Radio Band | FM/RDS |
| Satellite Positioning | GPS |
| Screen Resolution | 1024 x 600 |
| Power Output | 4 x 45W |
| Power Amplifier Chip | 7388 |
| Sound Decoder | 2133 |
| Bluetooth Version | 4.2 |
| USB Interface | Double USB Interface |
| Split Screen | Support |
| Video Output | Not Supported |
| Reversing Input | AHD/CVBS |
| Factory Setting Keyword | 000000 |
| Display Size | 10.1 Inches |
| Voice Command | Microphone, Touchscreen |
| Connectivity Technology | Bluetooth, USB, Wi-Fi, FM/RDS, RCA |
| Controller Type | Android |
| Compatible Devices | Smartphone |
| Connector Type | RCA, USB Type A |
| Audio Output Mode | APE/FLAC/WAV/MP3/WMA etc. |
| Surround Sound Channel Configuration | 4 |
| Video Encoding | MKV/RMVB/AVI/MP4/MDV etc. |
| Color | Black |
| Parcel Dimensions | 40.28 x 31.09 x 20.19 cm; 2.11 kg |
9. Customer Support
For technical assistance, warranty information, or any questions regarding your Realdio Android Car Stereo, please contact our customer support team.
Please refer to the contact information provided with your purchase or visit the official Realdio website for support resources.
When contacting support, please have your product model number (Realdio-A7170A3797A4MI2-US64) and purchase details ready.
Ask a question about this manual
Ask about setup, troubleshooting, compatibility, parts, safety, or missing instructions. Manuals+ will review the question and use this page’s manual context to help answer it.