Brightever XD180-01
Brightever 7 Inch LED Flush Mount Ceiling Light Fixture Instruction Manual
Model: XD180-01
1. Introduction
This manual provides instructions for the installation, operation, and maintenance of your Brightever 7 Inch LED Flush Mount Ceiling Light Fixture, Model XD180-01. Please read this manual thoroughly before installation and retain it for future reference.

Image: Brightever 7 Inch LED Flush Mount Ceiling Light Fixture, front view.
2. Safety Information
- Ensure power is disconnected at the circuit breaker before installation or maintenance.
- Installation should be performed by a qualified electrician if you are unsure.
- Do not attempt to modify the fixture.
- This fixture is designed for indoor use only.
- Crafted from high-quality, non-flammable plastic housing to prevent electrical hazards.
- The closed-surface design helps keep dust out and is easy to clean.
3. Package Contents
Verify that all components are present before beginning installation:
- Brightever 7 Inch LED Flush Mount Ceiling Light Fixture (1 unit)
- Mounting Hardware (screws, wire caps)
- Instruction Manual
4. Specifications
| Feature | Detail |
|---|---|
| Model | XD180-01 |
| Brand | Brightever |
| Dimensions | 7"L x 7"W x 0.67"H |
| Wattage | 15W |
| Brightness | 1600 Lumens |
| Color Temperature | 5000K Daylight White |
| Dimmable | No |
| Lifespan | 30,000+ Hours |
| Voltage | 120 Volts AC |
| Material | Plastic |
| Installation Type | Flush Mount |
| Indoor/Outdoor Usage | Indoor |
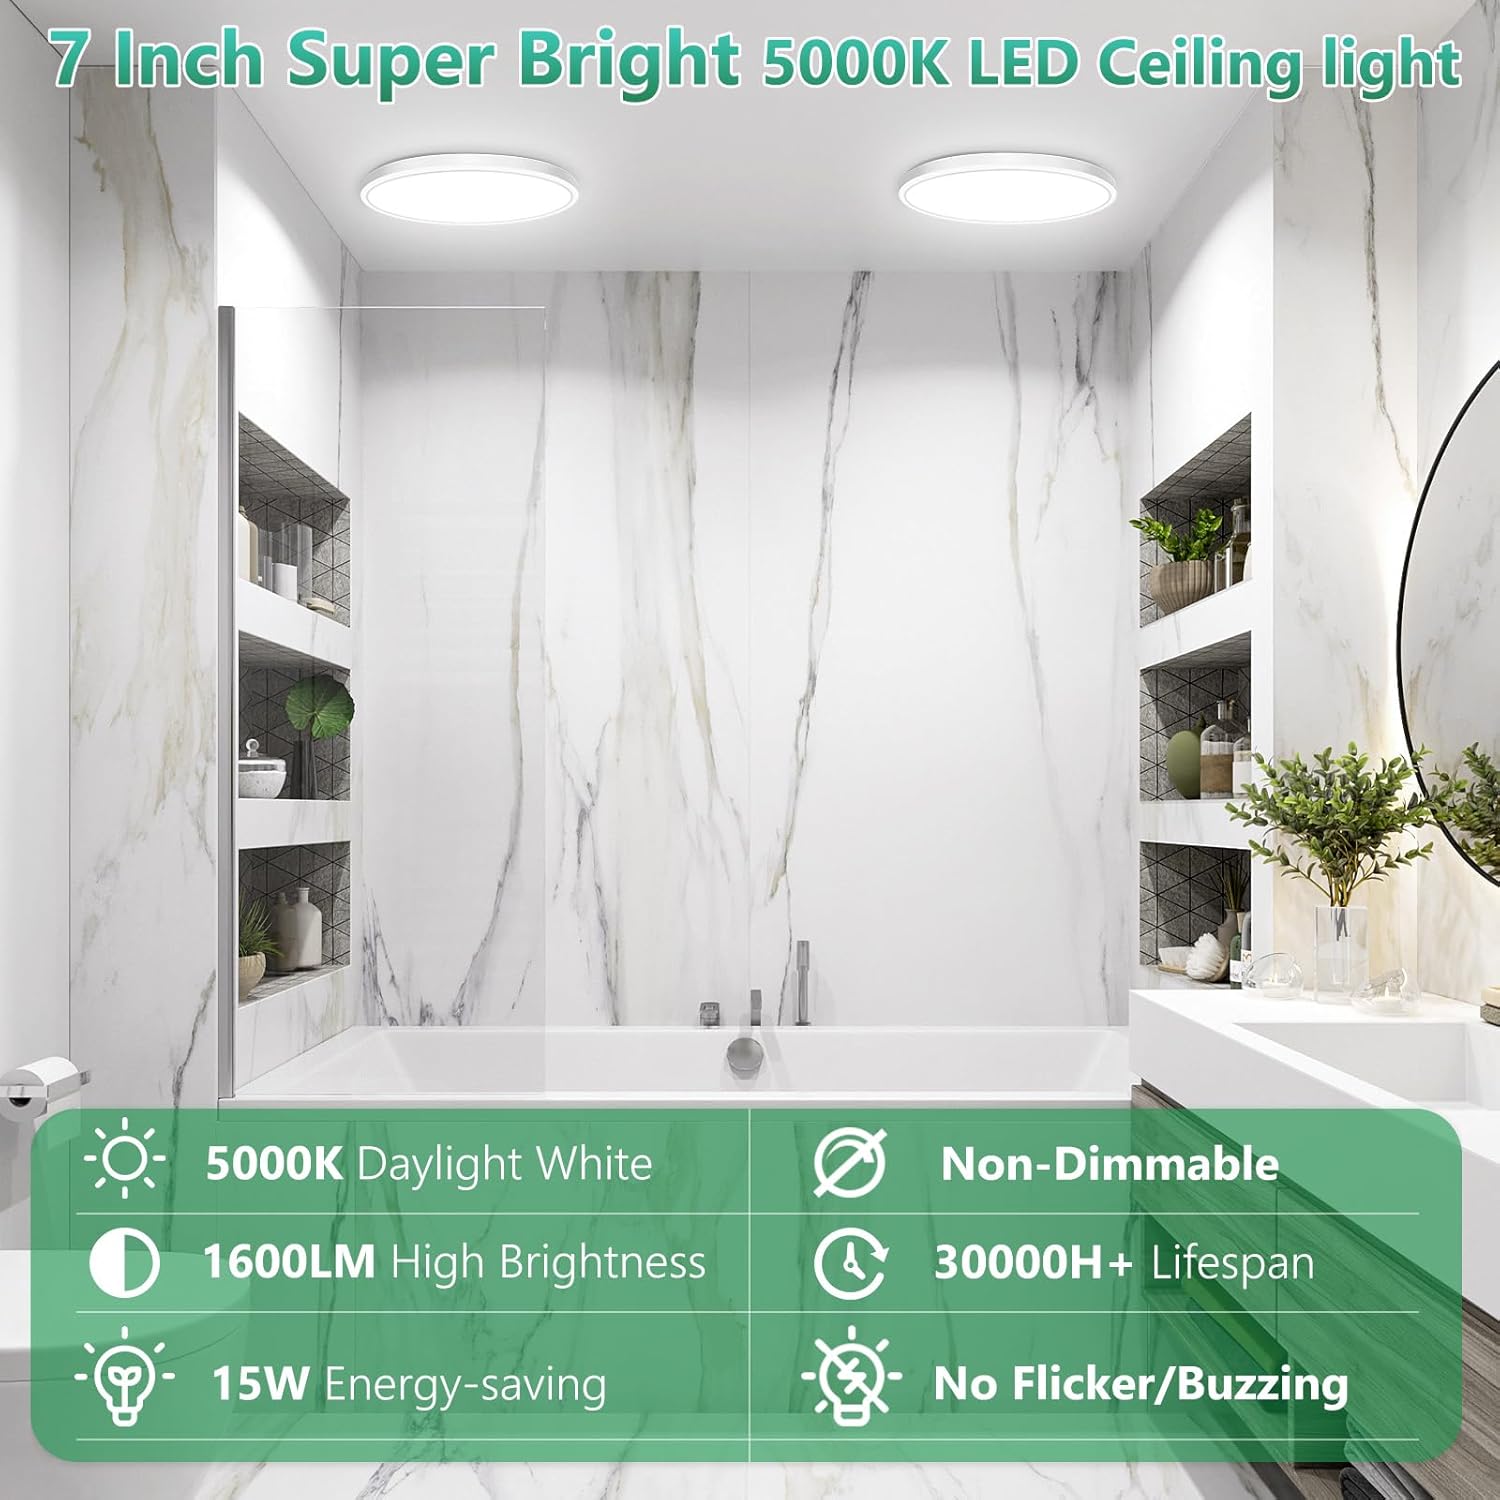
Image: Overview of key product features.

Image: Feature comparison with other ceiling lights.
5. Setup and Installation
Follow these steps for safe and proper installation. Ensure power is off before starting.
- Prepare the Mounting Plate: Rotate the light fixture to detach the mounting plate from the main unit.
- Install Mounting Plate: Secure the mounting plate to your junction box using the provided screws. The fixture is compatible with various junction box types.
- Connect Wiring: Connect the corresponding wires from the fixture to your household wiring (e.g., black to black, white to white, ground to ground) using the included wire caps. Ensure all connections are secure.
- Attach Fixture to Ceiling: Align the main light fixture unit with the installed mounting plate and rotate it to lock it securely into place.

Image: Step-by-step installation process.

Image: Ultra-thin design and junction box compatibility.
6. Operating Instructions
Once installed, restore power at the circuit breaker. The light fixture operates via a standard wall switch. Flip the switch to turn the light on or off.
- This fixture provides 5000K Daylight White illumination.
- It is a non-dimmable fixture and should not be connected to dimmer switches.
- Equipped with premium SMD2835 LED chips for uniform, flicker-free lighting.

Image: Flicker-free lighting for eye comfort.
7. Maintenance
- Cleaning: Ensure power is off before cleaning. Wipe the fixture gently with a soft, dry cloth. Do not use abrasive cleaners or solvents.
- Dust Protection: The closed-surface design helps prevent dust accumulation.
- No user-serviceable parts inside. Do not attempt to open or repair the fixture.
8. Troubleshooting
| Problem | Possible Cause | Solution |
|---|---|---|
| Light does not turn on. | No power to the fixture; loose wiring connection; faulty switch. | Check circuit breaker. Verify wiring connections are secure. Test the wall switch. |
| Light flickers. | Loose wiring connection; incompatible dimmer switch (this fixture is non-dimmable). | Ensure all wiring connections are tight. If a dimmer switch is present, replace it with a standard ON/OFF switch. |
| Light is dim. | Incorrect power supply; fixture not receiving full voltage. | Verify the power supply meets the 120V AC requirement. Consult a qualified electrician. |
9. Warranty and Support
This Brightever LED Flush Mount Ceiling Light Fixture comes with a Limited Warranty. For specific warranty terms and conditions, please refer to the product packaging or contact Brightever customer support.
If you have any questions or require assistance, please contact Brightever customer service. We value your feedback and are committed to providing a satisfactory experience.
Contact information can typically be found on the product packaging or the official Brightever website.
10. Product Applications
The Brightever 7 Inch LED Flush Mount Ceiling Light Fixture is suitable for various indoor environments, including:
- Bedrooms
- Closets
- Hallways
- Kitchens
- Laundry Rooms
- Basements
- Stairwells
- Pantries
- Garages
- Cloakrooms

Image: Examples of suitable indoor applications.
Ask a question about this manual
Ask about setup, troubleshooting, compatibility, parts, safety, or missing instructions. Manuals+ will review the question and use this page’s manual context to help answer it.