
1. Introduction
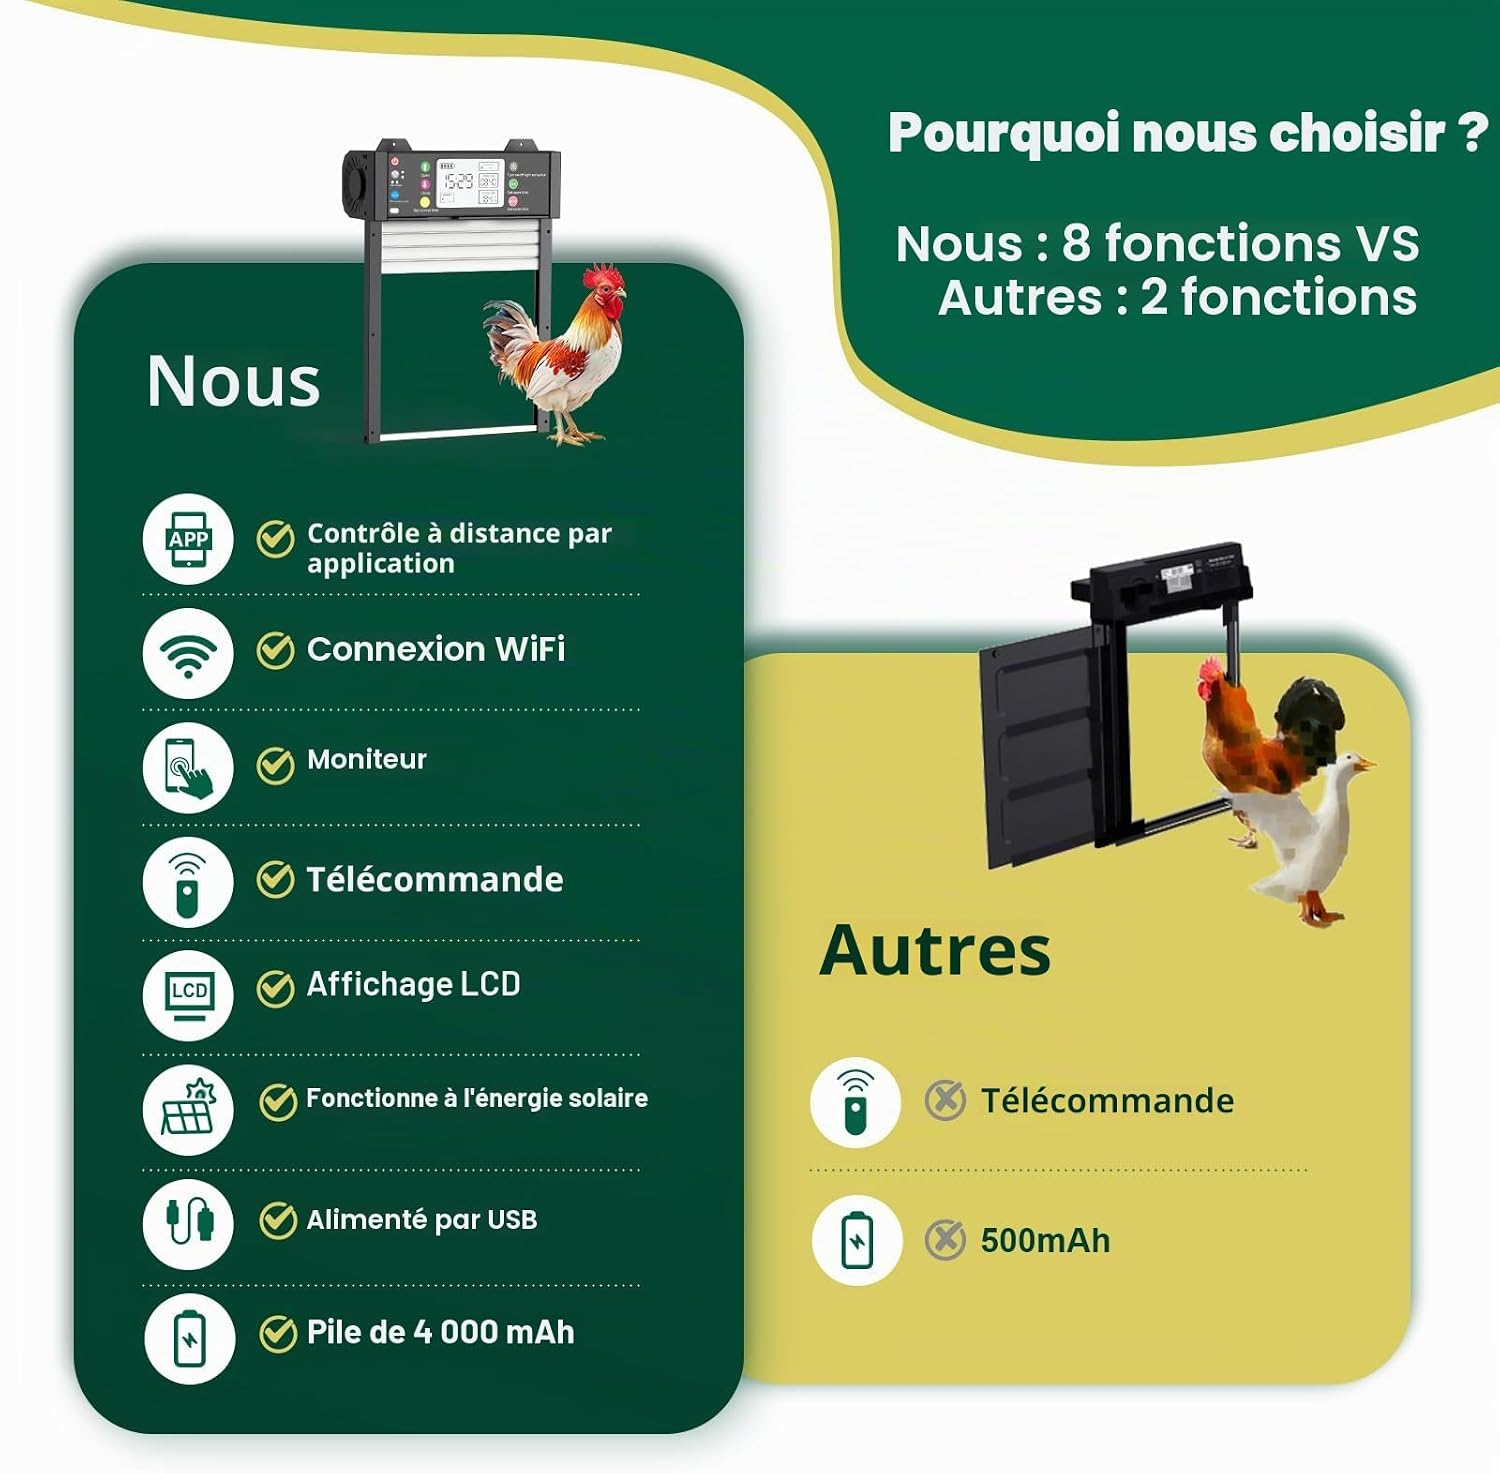
This manual provides instructions for the installation, operation, and maintenance of your Richday Automatic Solar Chicken Coop Door. This innovative door offers convenience and security for your poultry, featuring smart app control, solar power, and robust design.
Please read this manual thoroughly before installation and use to ensure proper function and safety.
2. Safety Information
- Ensure all components are securely fastened during installation to prevent accidental detachment.
- Keep hands and loose clothing clear of the door's path during operation to prevent injury.
- The door features an anti-pinch protection sensor. If an obstacle is detected, the door will reopen for 5 seconds before attempting to close again. Do not attempt to override this safety feature.
- Do not expose the control unit or solar panel to excessive force or impact.
- Use only the provided or recommended power sources (solar panel, USB charging).
- Regularly inspect the door and its components for any signs of wear or damage. Replace damaged parts immediately.

3. Package Contents
Verify that all components are present and undamaged before proceeding with installation.
- Automatic Chicken Coop Door Unit
- Solar Panel with Cable
- Remote Control
- Mounting Hardware (screws, anchors)
- USB Charging Cable
- User Manual (this document)
4. Setup and Installation
4.1 Mounting the Door Unit
- Choose a suitable location on your chicken coop for the door unit. Ensure the surface is flat and stable.
- Mark the drilling points for the door unit using the provided template or by holding the unit in place.
- Drill pilot holes if necessary and securely attach the door unit to the coop using the provided screws.
4.2 Installing the Solar Panel
- Select a location for the solar panel that receives maximum direct sunlight throughout the day.
- Mount the solar panel securely using the provided hardware, ensuring it is angled for optimal sun exposure.
- Connect the solar panel cable to the designated port on the chicken coop door unit.

4.3 Initial Power-Up and Charging
- The door unit is equipped with a 4000mAh battery. Allow the solar panel to charge the battery for at least 24 hours before initial use, or connect the USB charging cable for a faster initial charge.
- The LCD screen will display battery status.
5. Operating Instructions
5.1 Manual Control
Use the buttons on the LCD panel to manually open or close the door. Refer to the on-screen prompts for navigation.
5.2 Remote Control Operation
The included remote control allows you to open and close the door from a distance of up to 200 meters. Point the remote control towards the door unit and press the designated open or close button.
5.3 TUYA App Connection and Control
- Download the App: Search for "TUYA Smart" or "Smart Life" in your smartphone's app store and install it.
- Register/Log In: Create an account or log in to your existing TUYA account.
- Add Device: Follow the in-app instructions to add a new device. Ensure your phone is connected to a 2.4 GHz Wi-Fi network. The door unit only supports 2.4 GHz Wi-Fi.
- Connect to Wi-Fi: Put the door unit into pairing mode (refer to the LCD screen instructions for this). The app will guide you through connecting the door to your home Wi-Fi network.
- Remote Control: Once connected, you can open/close the door, monitor its status in real-time, and adjust settings from anywhere via the app.
- Wi-Fi Auto-Reconnect: The door unit will automatically attempt to reconnect to Wi-Fi every 30 minutes if the connection is lost.


5.4 Programming Schedules and Light Sensor Mode
- Timer Mode: Use the LCD screen or the TUYA app to set specific opening and closing times for the door.
- Light Sensor Mode (Dusk/Dawn): Activate the light sensor mode via the LCD screen or app. The door will automatically open at dawn and close at dusk based on ambient light levels.
- You can combine natural light detection with manual settings for optimal control.

6. Maintenance
- Cleaning: Periodically clean the solar panel and the door unit with a soft, damp cloth to ensure optimal performance. Do not use abrasive cleaners.
- Battery: The integrated 4000mAh battery is designed for long-term use. Ensure the solar panel receives adequate sunlight for continuous charging. If needed, use the USB port for supplementary charging.
- Inspection: Regularly check the door's movement path for any obstructions. Inspect cables and connections for wear or damage.
- Winter Performance: The door is designed to operate reliably down to -15 °C. In extreme cold or heavy snowfall, ensure the solar panel is clear of snow and ice to maintain charging efficiency.
7. Troubleshooting
| Problem | Possible Cause | Solution |
|---|---|---|
| Door does not open/close. | Low battery, obstruction, incorrect schedule, motor issue. | Check battery level and charge if necessary. Remove any obstructions. Verify programmed schedules. If problem persists, contact support. |
| Wi-Fi connection lost. | Router out of range, 5 GHz network, temporary network outage. | Ensure door is within 2.4 GHz Wi-Fi range. Check router status. The door will attempt to auto-reconnect every 30 minutes. Re-pair if necessary. |
| Light sensor mode not working correctly. | Sensor obstructed, incorrect sensitivity setting. | Clean the light sensor. Adjust sensitivity settings via LCD or app. |
| Remote control not responding. | Remote battery low, out of range, interference. | Replace remote control battery. Ensure you are within 200m range and have a clear line of sight. |
8. Specifications
| Brand | Richday |
| Model Name/Number | porta della coop new |
| Product Dimensions (L x W x H) | 23.5 cm x 10.2 cm x 33.5 cm |
| Item Weight | 2.45 Kilograms |
| Material | New material (100% new) |
| Color | Black |
| Power Source | Solar powered, USB charging |
| Battery Capacity | 4000mAh |
| Connectivity | Wi-Fi (2.4 GHz only), Remote Control |
| Remote Control Range | Up to 200 meters |
| Operating Temperature | Down to -15 °C |
| Target Species | Poultry (Chickens, Ducks) |
| Special Features | TUYA App Control, Real-time Display, WiFi Auto-Reconnect, Light Sensor, LCD Screen, Anti-Pinch Protection, IP67 Waterproofing |

9. Warranty and Support
Warranty: The product comes with a warranty. Please refer to the manufacturer's official website or your purchase documentation for specific warranty terms and conditions. The availability of spare parts is indicated for 2 years.
Customer Support: For technical assistance, troubleshooting not covered in this manual, or warranty claims, please contact Richday customer support through their official channels. Contact information can typically be found on the product packaging or the manufacturer's website.