1. Introduction
The Rapoo MT760 PRO is a versatile multi-mode wireless mouse designed for enhanced productivity across various devices and operating systems. Featuring advanced NearLink technology, Bluetooth 5.0, and a wired option, it offers seamless connectivity and high-precision tracking. This manual provides detailed instructions for setup, operation, and maintenance to help you maximize your mouse's capabilities.
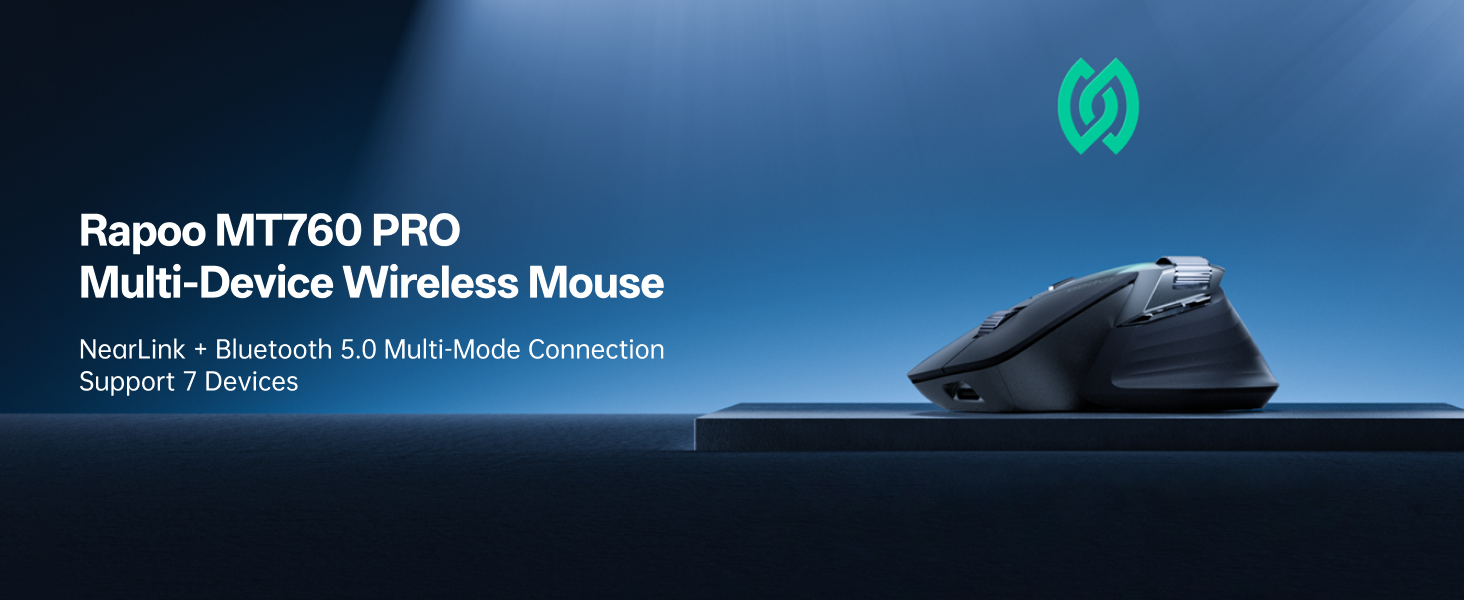
Image: The Rapoo MT760 PRO mouse shown connected to various devices, highlighting its multi-device capability.
2. Package Contents
Please verify that all items are present in your package:
- 1 x Rapoo MT760 PRO Wireless Mouse
- 2 x NearLink USB Dongles
- 1 x USB-C Charging Cable (USB-A to USB-C)
- 1 x User Manual (this document)

Image: The Rapoo MT760 PRO mouse, USB-C charging cable, and two NearLink USB dongles laid out on a wooden surface.
3. Setup and Connectivity
3.1 Powering On/Off
Locate the power switch on the underside of the mouse. Slide it to the 'ON' position to power on the device. Slide it to 'OFF' when not in use to conserve battery.
3.2 Connecting via NearLink USB Dongle (2.4GHz)
- Remove one of the NearLink USB dongles from its storage slot on the underside of the mouse.
- Plug the USB dongle into an available USB port on your computer.
- On the underside of the mouse, select the 2.4G mode (indicated by '1' or '2' for the two dongles). The mouse will automatically connect to the dongle.
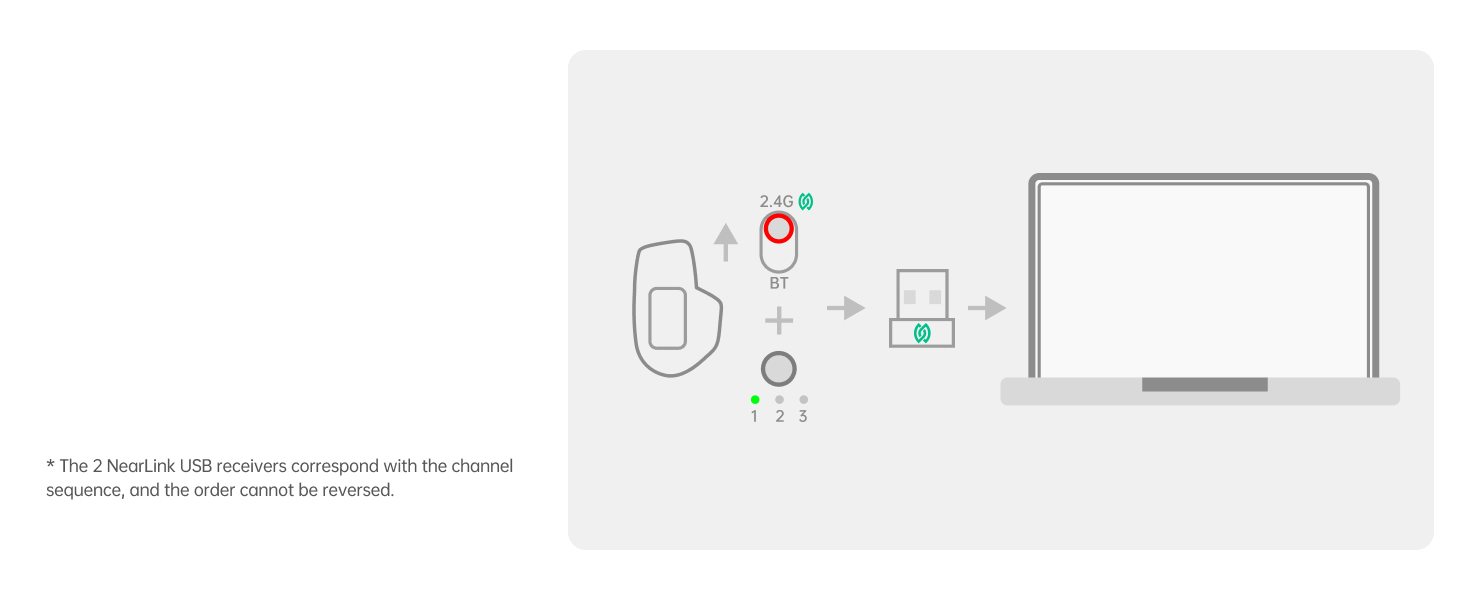
Image: Diagram illustrating the connection of the NearLink USB dongle to a laptop and selecting the corresponding channel on the mouse.
3.3 Connecting via NearLink Wireless (Direct)
- Ensure your device supports NearLink wireless direct connection.
- On the underside of the mouse, select the NearLink Wireless mode (indicated by '3').
- Follow your device's instructions to pair with the mouse.
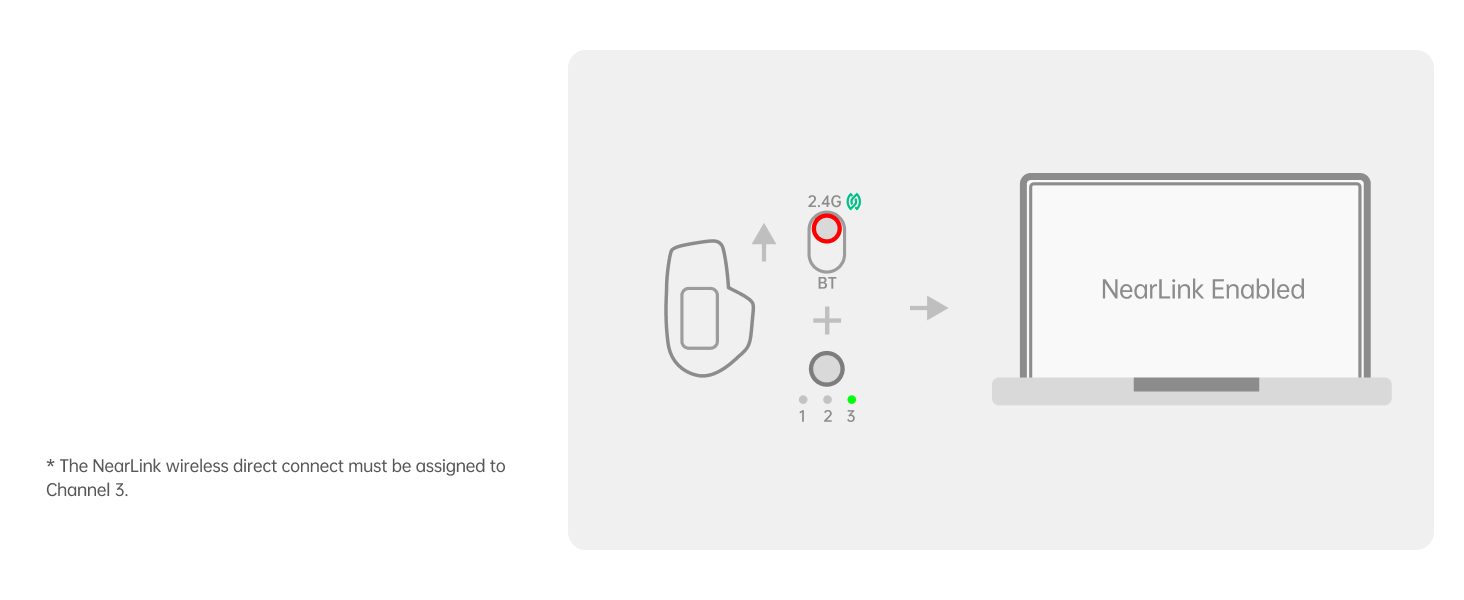
Image: Diagram showing the NearLink Wireless connection process, with the mouse set to channel 3.
3.4 Connecting via Bluetooth (BT1, BT2, BT3)
- On the underside of the mouse, select one of the Bluetooth modes (BT1, BT2, or BT3).
- Press and hold the selected Bluetooth button until the indicator light flashes rapidly, indicating pairing mode.
- On your device (computer, laptop, tablet, phone), go to Bluetooth settings and search for 'Rapoo MT760 PRO'. Select it to pair.
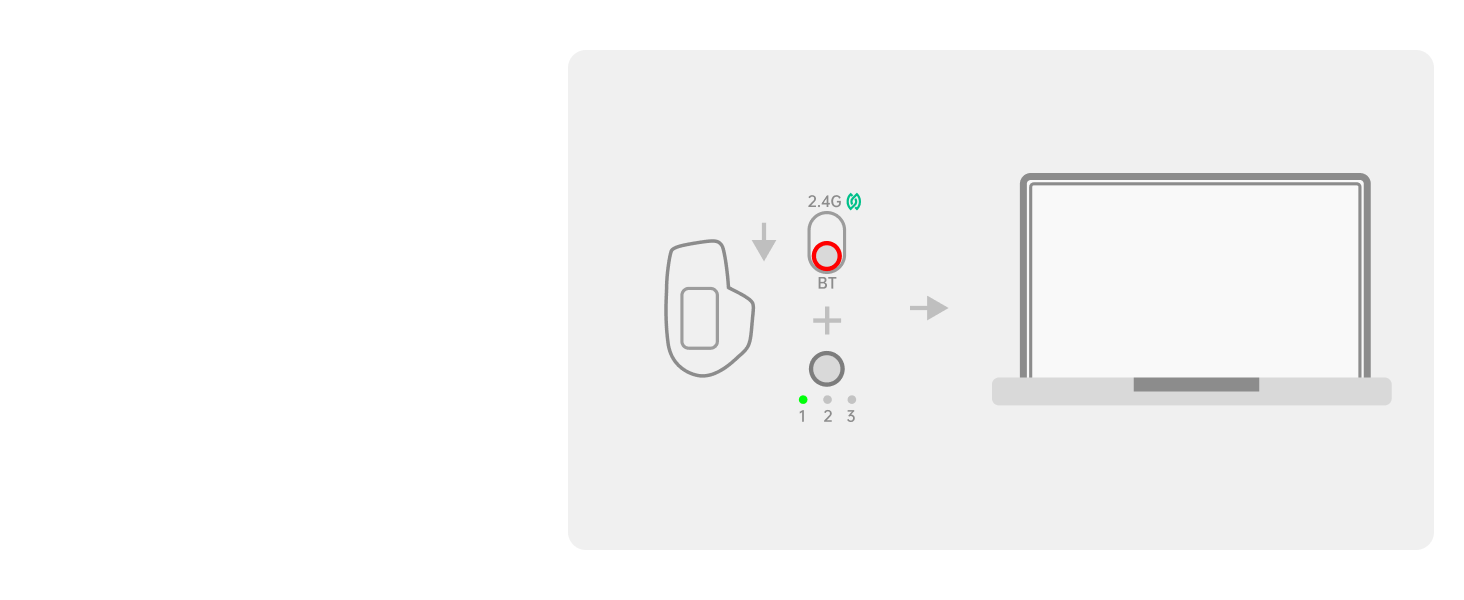
Image: Diagram illustrating the Bluetooth connection process, showing the mouse in pairing mode and connecting to a laptop.
3.5 Wired Connection
Connect the USB-C charging cable from the mouse to your computer. The mouse will automatically switch to wired mode. The wired option has protocol priority over NearLink and Bluetooth connections.
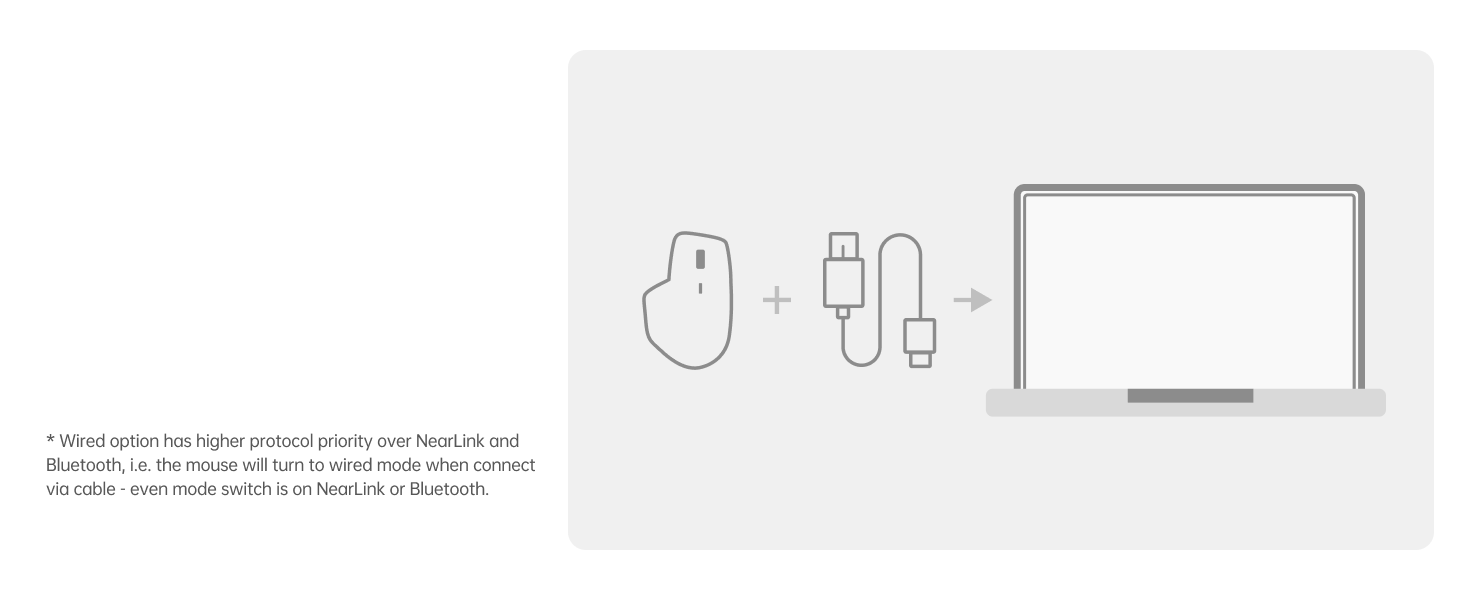
Image: Diagram showing the mouse connected to a laptop via a USB-C cable, indicating wired mode.
3.6 Driver Installation
For full functionality, including customizing programmable buttons, adjusting DPI with 50-interval adjustments, and utilizing M+ Cross-Computer technology, install the Rapoo mouse driver software. This software is primarily compatible with Windows systems. The on-board memory stores your settings, eliminating the need for reconfiguration after reboot or on other devices.
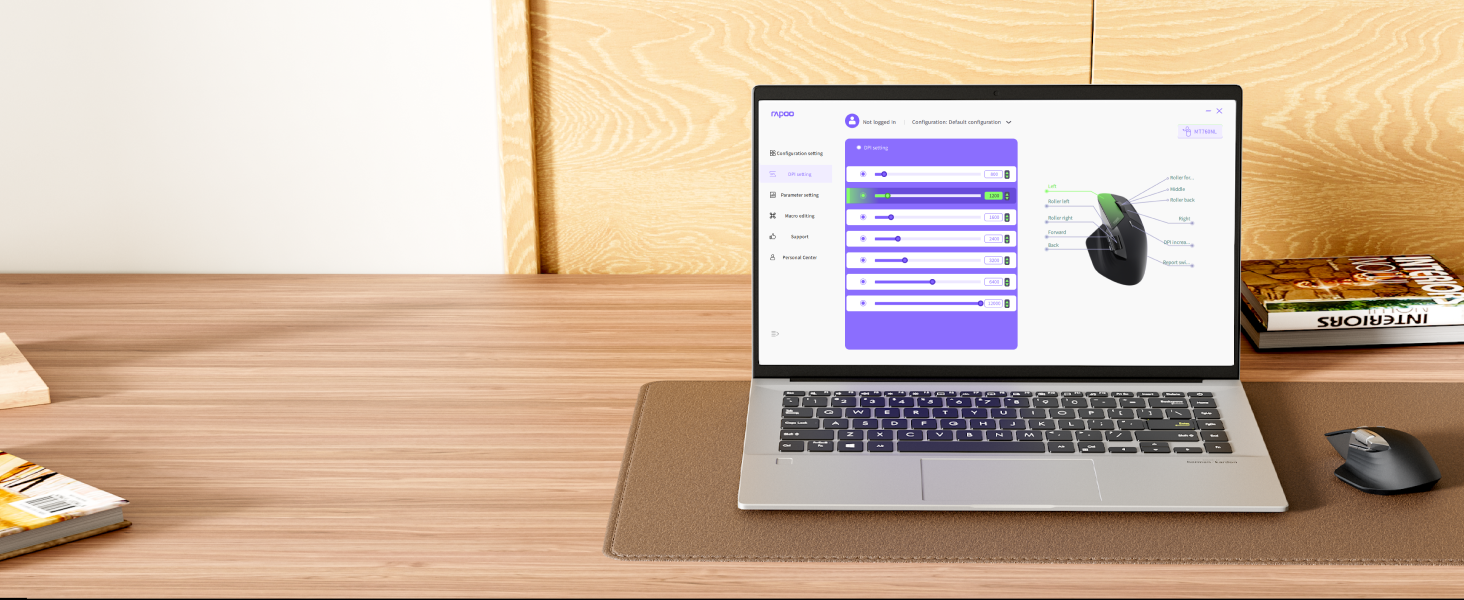
Image: Screenshot of the Rapoo software interface showing options for customizing the 11 programmable buttons.
4. Operating Instructions
4.1 DPI Adjustment
The mouse features 7 adjustable DPI levels: 800, 1200, 1600, 2400, 3200, 6400, and 12000. Press the dedicated DPI button on the mouse to cycle through these preset levels. Fine-tune DPI settings in 50-interval adjustments using the driver software.
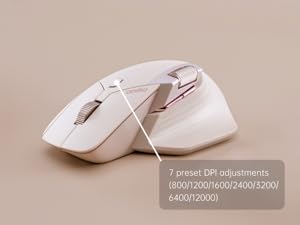
Image: Visual representation of the 7 adjustable DPI levels (800-12000) available on the Rapoo MT760 PRO mouse.
4.2 Programmable Buttons
The MT760 PRO has 11 programmable buttons. Use the Rapoo driver software to assign shortcuts, media keys, or macros to these buttons, streamlining your workflow and boosting efficiency. Settings are saved to the mouse's on-board memory.
4.3 M+ Cross-Computer Technology
This feature allows seamless control across multiple computers. By simply moving your cursor to the edge of one screen, it will automatically appear on the adjacent screen of another connected computer. You can also wirelessly transfer files by copying from one computer and pasting on the other. Ensure the mouse driver is installed and all devices are connected to the same Wi-Fi or Ethernet network for this function.
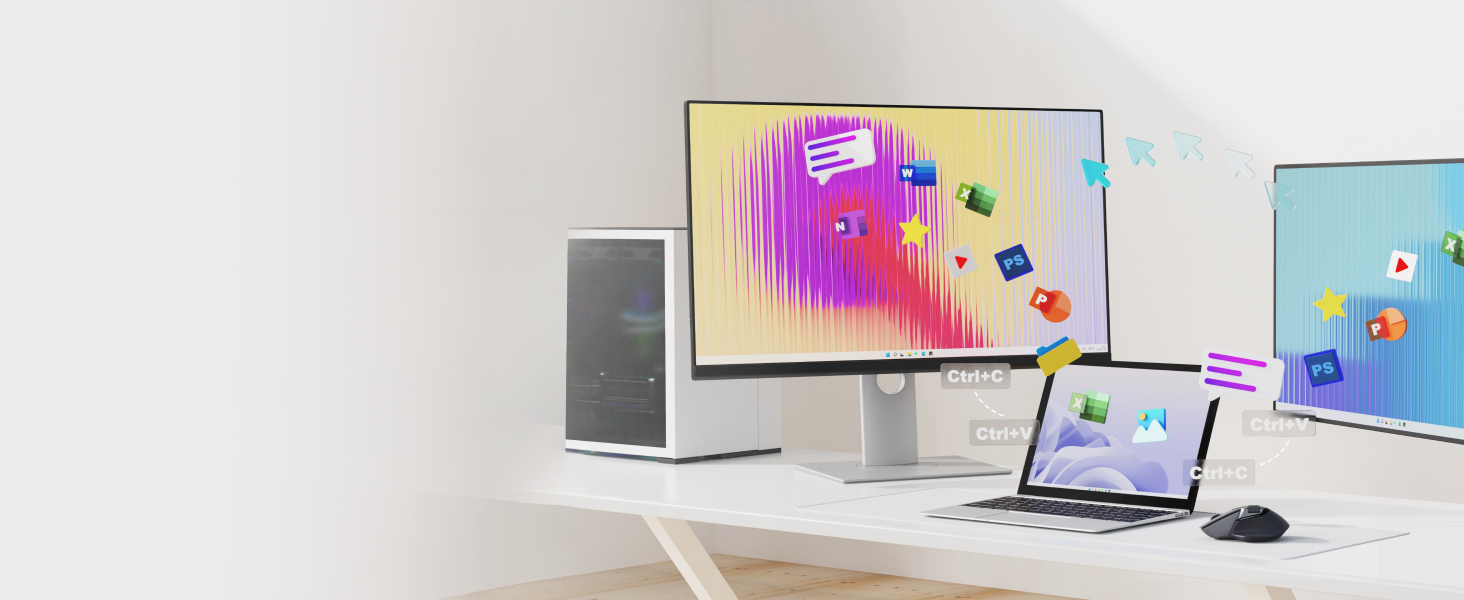
Image: Illustration of the M+ Cross-Computer feature, showing a cursor moving between two computers and files being transferred.
4.4 Scroll Wheels
The mouse features a Hall magnetic induction side scroll wheel and a center scroll wheel, designed for smooth and precise scrolling. These provide a comfortable and efficient experience for navigating documents and web pages.
5. Charging and Battery Life
5.1 Charging
The Rapoo MT760 PRO is equipped with an 800mAh Li-Po battery and supports USB-C quick charging. Connect the provided USB-C cable to the mouse and a power source (e.g., computer USB port, wall adapter) to charge. A 5-minute quick charge can provide a full day of use.
5.2 Wireless Charging
The mouse is wireless charging enabled and works with most Qi wireless charging mouse pads. For continuous wireless charging during use, the P3 Wireless Charging Module can be purchased separately.
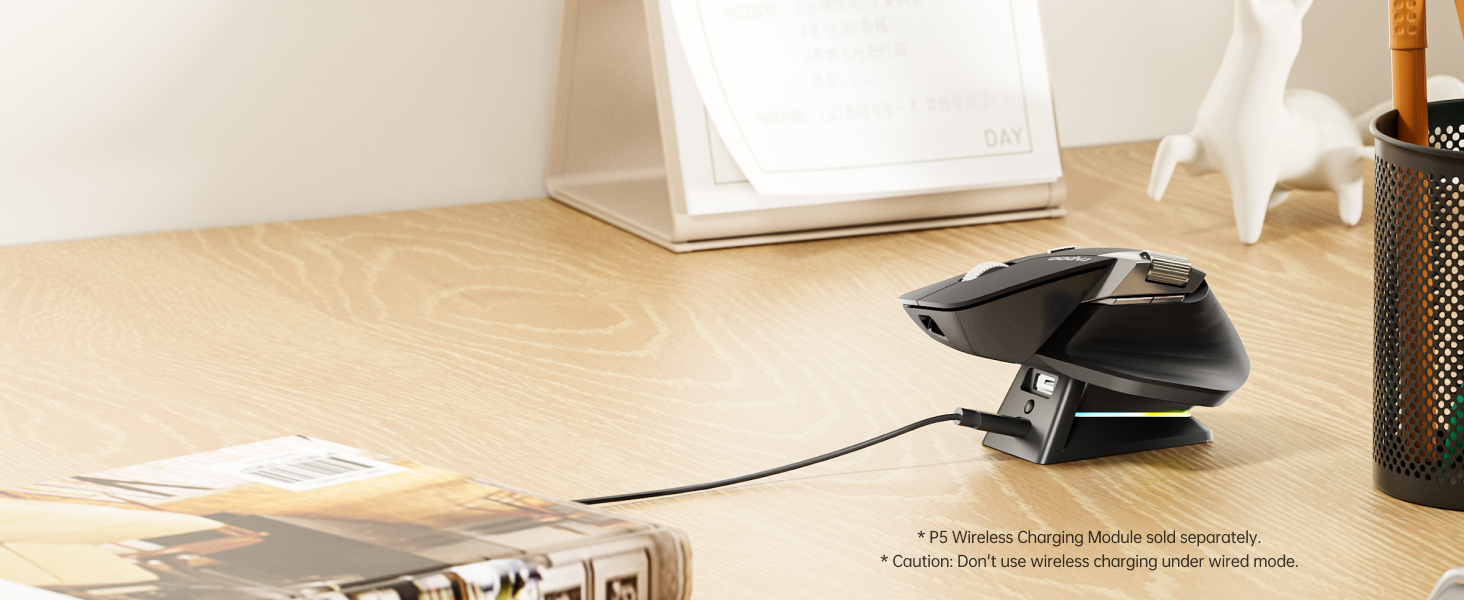
Image: The Rapoo MT760 PRO mouse resting on a wireless charging pad, illustrating its Qi wireless charging capability.
5.3 Battery Life
Utilizing NearLink’s low-power access mode, the mouse can achieve a battery life of up to 120 days on a single charge. Actual battery life may vary based on usage frequency, device conditions, and environmental factors.
6. Maintenance
To ensure the longevity and optimal performance of your Rapoo MT760 PRO mouse, follow these maintenance guidelines:
- Cleaning: Use a soft, dry cloth to clean the mouse surface. For stubborn dirt, lightly dampen the cloth with water or a mild cleaning solution. Avoid harsh chemicals or abrasive materials.
- Sensor Care: Keep the optical sensor on the underside of the mouse clean and free from dust or debris.
- Storage: When not in use for extended periods, store the mouse in a cool, dry place. If storing for a long time, ensure the mouse is fully charged and powered off.
- Avoid Extreme Conditions: Do not expose the mouse to extreme temperatures, direct sunlight, or high humidity.
7. Troubleshooting
If you encounter issues with your Rapoo MT760 PRO mouse, please refer to the following common solutions:
- No Connection:
- Ensure the mouse is powered on.
- Check if the correct connection mode (2.4G, BT1/2/3, or Wired) is selected on the mouse.
- For 2.4G, ensure the USB dongle is securely plugged in. Try a different USB port.
- For Bluetooth, ensure your device's Bluetooth is enabled and the mouse is in pairing mode.
- For M+ Cross-Computer, verify the driver is installed and all devices are on the same network.
- Lagging or Unresponsive Cursor:
- Check the battery level and charge the mouse if necessary.
- Ensure the optical sensor is clean.
- Try using the mouse on a different surface.
- If using wireless, ensure there are no strong interferences (e.g., other wireless devices, metal objects) nearby.
- Buttons Not Working/Customizing:
- Ensure the Rapoo driver software is installed and up to date.
- Verify that button assignments are correctly configured in the software.
If problems persist, please contact Rapoo customer support.
Video: An official product video demonstrating the multi-device and 12K DPI features of the Rapoo MT760 PRO Wireless Mouse.
8. Specifications
| Feature | Detail |
|---|---|
| Model Number | MT760 PRO |
| Connectivity Technology | Bluetooth 5.0, NearLink (2.4GHz USB Dongle & Wireless), Wired (USB-C) |
| DPI Levels | 800/1200/1600/2400/3200/6400/12000 (Adjustable in 50-interval steps via software) |
| Polling Rate | Up to 2K (2000Hz) |
| Programmable Buttons | 11 |
| Battery Type | 1 Lithium Polymer (included) |
| Battery Capacity | 800mAh |
| Battery Life | Up to 120 days |
| Charging Port | USB-C |
| Wireless Charging | Qi-enabled (P3 Wireless Charging Module sold separately) |
| Movement Detection Technology | Optical |
| Product Dimensions | 6.73 x 4.4 x 0.1 inches |
| Item Weight | 3.88 ounces |
| Operating Systems | Windows, Mac, Linux, Chrome, Android |
9. Warranty and Support
Rapoo products are designed for reliability and performance. For warranty information, please refer to the warranty card included with your purchase or visit the official Rapoo website. For technical support, troubleshooting assistance, or further inquiries, please contact Rapoo customer service through their official channels.


