
4956421587452
Connect Screen Reversing Camera User Manual
Model: 4956421587452
Brand: Generic
1. Introduction
This manual provides comprehensive instructions for the installation, operation, and maintenance of your Connect Screen Reversing Camera. Designed specifically for Audi A6 and A6L models from 2012 to 2017, this camera system enhances driving safety by providing a clear view of the area behind your vehicle when reversing.
Key features include:
- Night Vision: Equipped with 8 LED lights for improved visibility in low-light and dark conditions.
- Wide Angle View: High-quality lens provides a broad viewing angle to minimize blind spots.
- Waterproof Design: Durable, weather-resistant construction ensures reliable performance in various weather conditions.
- Universal Mounting: Adjustable bracket for versatile installation.
- Standard RCA Video Output: Ensures compatibility with most car monitors and display screens.
2. Product Overview and Package Contents
Before beginning installation, please verify that all components are present and undamaged.

Figure 2.1: The main camera unit, designed to integrate seamlessly with your vehicle's existing structure.

Figure 2.2: Complete package contents, including the camera unit and the necessary wiring harness for installation.
The package typically includes:
- Reversing Camera Unit
- Vehicle-specific Wiring Harness
- Video Cable (RCA connection)
- Power Cable
3. Setup and Installation
This camera system is designed for a "Plug & Play" installation, requiring no complex programming or software flashing. Professional installation is recommended.
3.1 Installation Overview
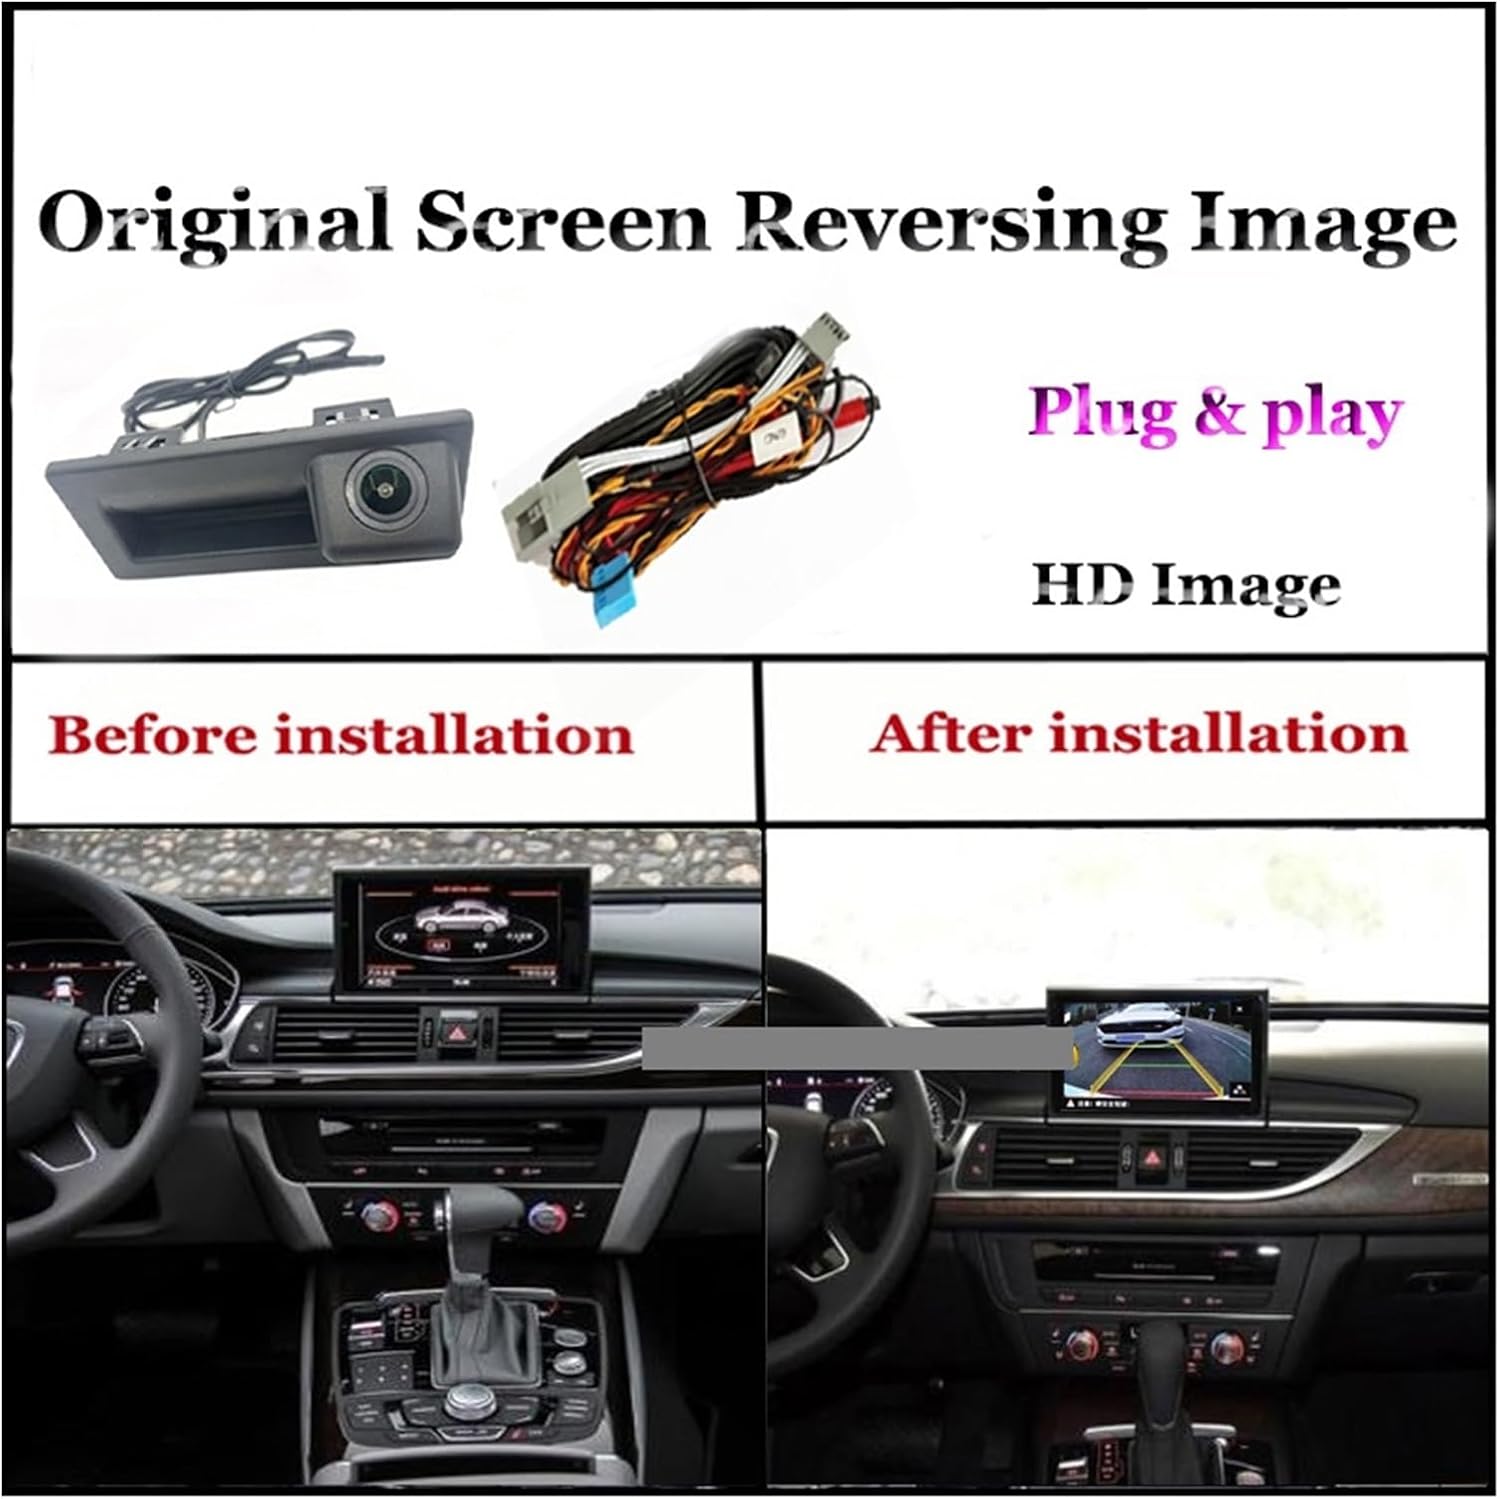
Figure 3.1: Visual comparison showing the car's screen before and after the reversing camera system is installed, displaying the new reversing image.
The installation process involves connecting the camera to the vehicle's existing screen system. The camera is typically mounted near the license plate area or integrated into the trunk handle.
3.2 Wiring Connections

Figure 3.2: Detailed wiring diagram illustrating how to connect the camera system. Key connections include the CNA plug to the original screen, video cable to the original car screen, connection to the negative pole, and power connection (ACC or normal power).
- Connect to Original Screen: Locate the CAN plug of your original screen and connect the corresponding plug from the camera harness.
- Video Cable: Connect the video cable from the camera to the video input of your original car screen.
- Power Connection: Connect the power cable to an ACC (Accessory) power source or a normal power supply.
- Ground Connection: Connect the ground wire to the vehicle's negative pole.
Ensure all connections are secure to prevent signal loss or power issues.
3.3 Ease of Installation

Figure 3.3: Visual representation of the straightforward installation process, highlighting the camera's fit and the simple plug-and-play wiring connection.
The system is designed for straightforward installation, often utilizing existing vehicle ports. No programming or software updates are typically required for the vehicle's system.
4. Operating Instructions
Once correctly installed, the reversing camera operates automatically.
4.1 Automatic Activation
When the vehicle is shifted into reverse gear, the camera system will automatically activate, displaying the rear view on your car's screen. The image will revert to the original screen display when the vehicle is taken out of reverse.
4.2 Display Features

Figure 4.1: Examples of the camera's output displayed on different car screens, demonstrating the clear image quality and dynamic trajectory lines that assist with parking.
- High-Definition Image: Provides a clear and crisp view of the area behind your vehicle.
- Trajectory Lines: Dynamic guidelines may appear on the screen, assisting with parking by indicating the vehicle's projected path.
- Night Vision: The integrated 8 LED lights ensure visibility even in very low light conditions, providing a safer reversing experience at night.
5. Maintenance
Proper maintenance ensures the longevity and optimal performance of your reversing camera.
- Cleaning the Lens: Regularly clean the camera lens with a soft, damp cloth to remove dirt, dust, or water spots that may obstruct the view. Avoid abrasive cleaners.
- Checking Connections: Periodically inspect the wiring connections to ensure they remain secure and free from corrosion.
- Environmental Protection: While the camera has a waterproof design, it is advisable to keep it away from excessively dusty environments to prevent accumulation that could affect performance or lifespan.
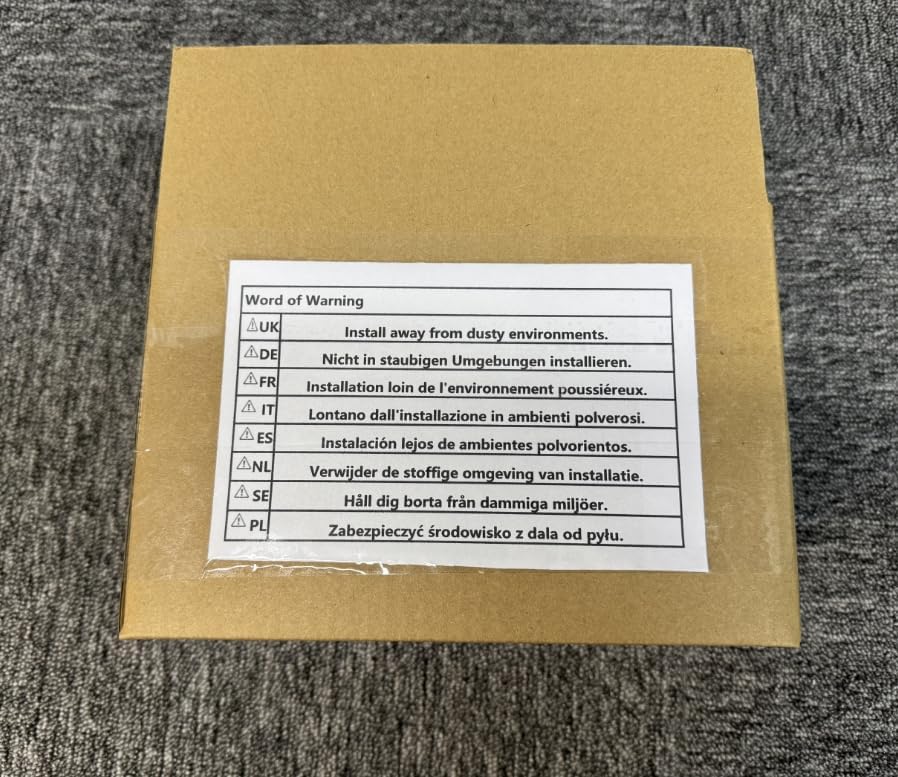
Figure 5.1: A warning label indicating the importance of installing and maintaining the product away from dusty environments to ensure optimal performance and longevity.
6. Troubleshooting
If you encounter issues with your reversing camera, refer to the following common problems and solutions:
| Problem | Possible Cause | Solution |
|---|---|---|
| No image on screen when reversing. |
|
|
| Image is blurry or distorted. |
|
|
| Night vision not working effectively. |
|
|
If the problem persists after attempting these solutions, please contact customer support.
7. Specifications
| Feature | Detail |
|---|---|
| Product Type | Connect Screen Reversing Camera |
| Compatibility | Audi A6, A6L (2012-2017 models) |
| Model Number | 4956421587452 |
| Brand | Generic |
| Night Vision | 8 LED lights |
| Video Output | Standard RCA |
| Waterproof Rating | Durable weather-resistant construction |
| Manufacturer | PUXIAOLI |
| Date First Available | March 18, 2025 |
8. Warranty and Support
This product comes with a standard manufacturer's warranty. Please retain your proof of purchase for any warranty claims.
For technical support, troubleshooting assistance beyond this manual, or warranty inquiries, please contact the seller directly through the platform where the product was purchased.
Figure 8.1: The product packaging, which may contain additional warranty or support information.
Related documents4956421587452


Ask a question about this manual
Ask about setup, troubleshooting, compatibility, parts, safety, or missing instructions. Manuals+ will review the question and use this page’s manual context to help answer it.