
Product Overview
The ONBRILL H2 Wall Mounted Clothing Rack is an expandable industrial pipe clothes rack designed for efficient closet organization and storage. Its robust metal construction ensures durability and stability, making it suitable for various spaces including corners, tight apartments, bedrooms, and walk-in closets. The modular design allows for flexible configuration to meet individual storage needs.
Key Features:
- Space Maximization: Designed for L- or 45° shapes, ideal for corners and tight spaces, or straight lines for larger closets.
- Sturdy Construction: Made with high-quality matte powder-coated metal pipes, ensuring stability and resistance to deformation. Features a secure wall-mounted system to prevent tipping.
- Versatile Storage: Includes 2 telescopic rods for hanging clothes and 6 mesh pieces for folded items, bags, hats, belts, towels, and shoes.
- Customizable Design: Modular components allow for personalized storage solutions.
- Upgraded Threaded Assembly: Poles connect directly via threaded joints for faster and more secure installation.
Setup Instructions
1. Unpacking and Parts Identification
Carefully unpack all components and verify against the parts list provided in your packaging. Ensure all pieces are present and undamaged before proceeding.

Image: All components of the ONBRILL H2 Wall Mounted Clothing Rack.
2. Tools Required
- Pencil
- Measuring Tape
- Level
- Drill with appropriate drill bits (for wall anchors)
- Screwdriver (Phillips head recommended)
- Rubber Mallet (recommended for plastic clips)
3. Wall Preparation and Marking
Determine the desired location and configuration (L-shape, 45°, or straight line) for your clothing rack. Use a pencil and level to mark the precise drilling points on the wall for the mounting brackets. Ensure these marks are level and spaced correctly according to the rack's dimensions.
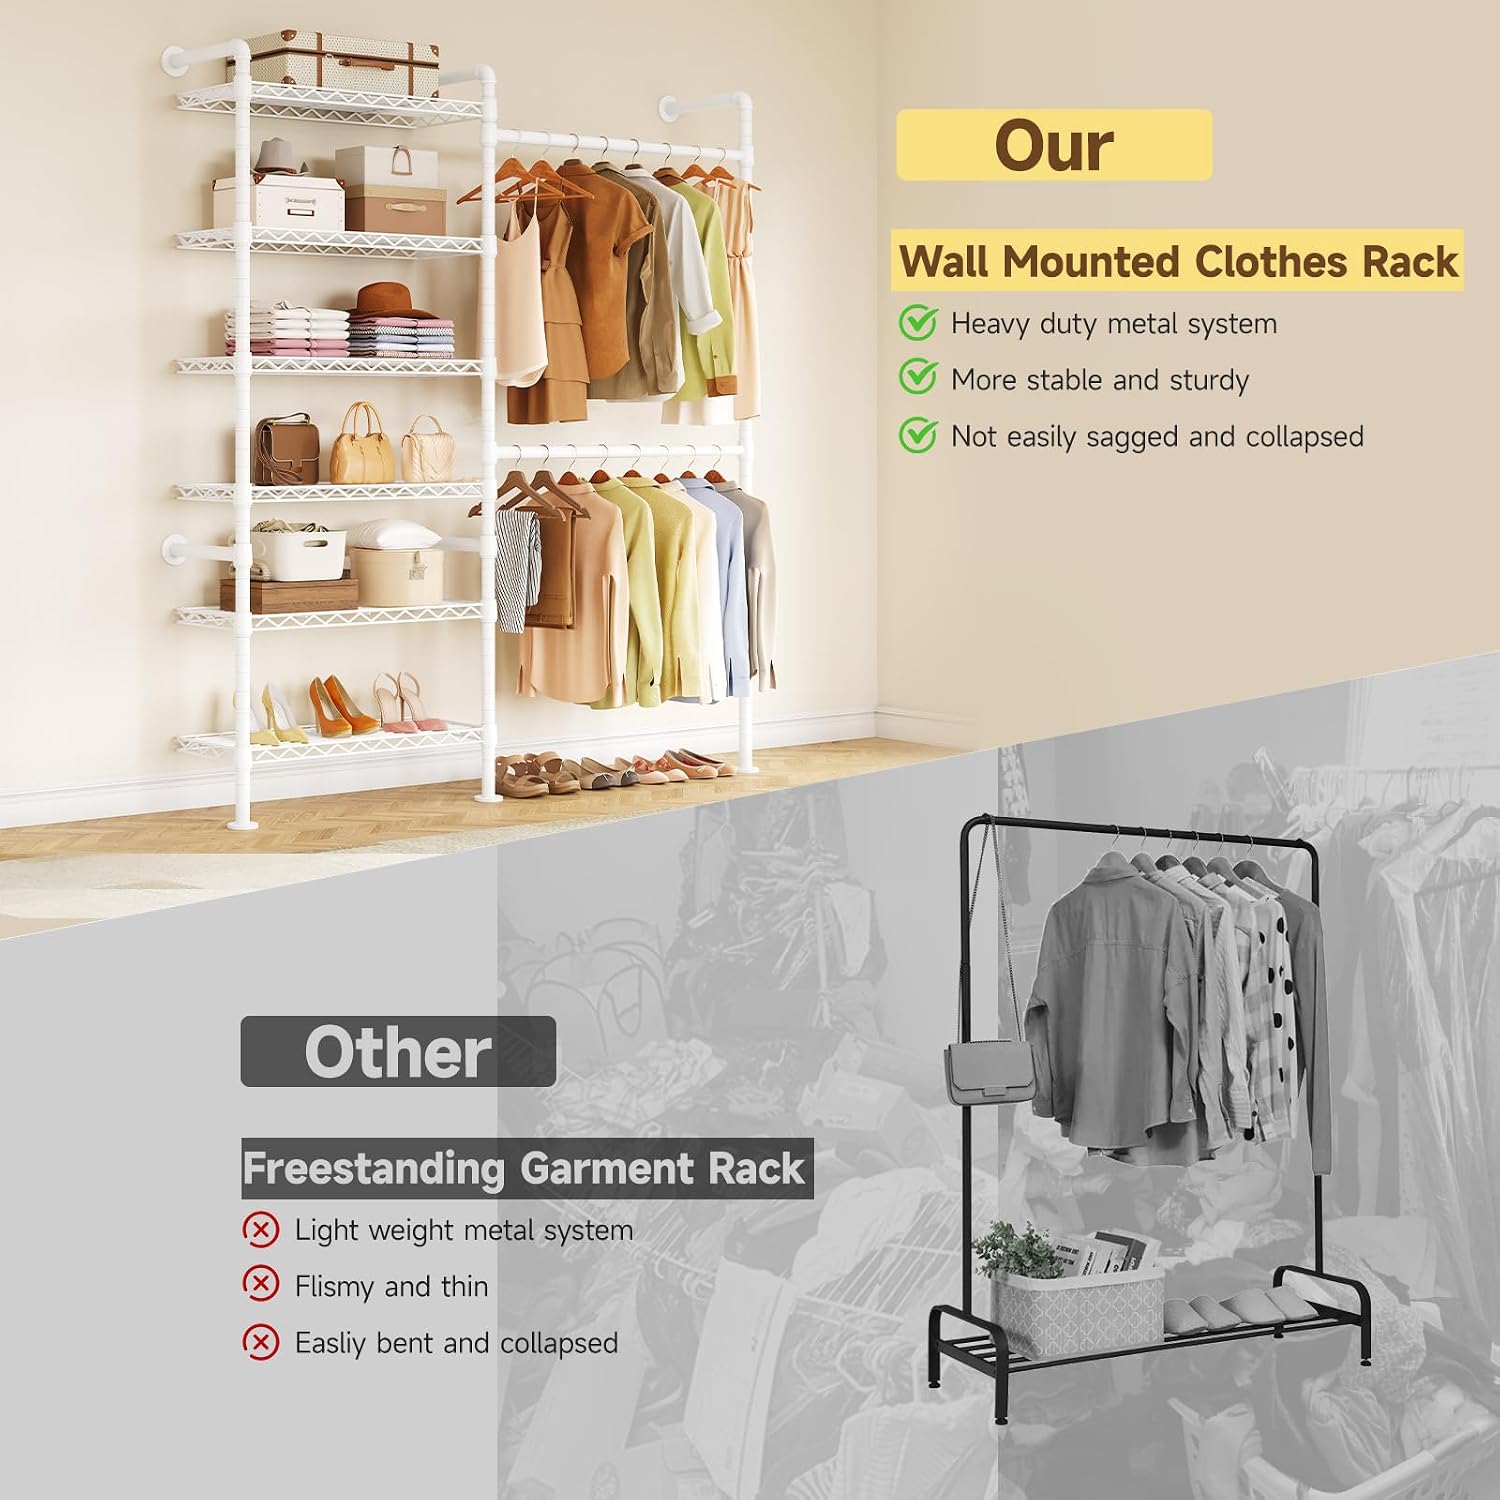
Image: Step-by-step guide for marking drill points and mounting the rack to the wall.
4. Assembly of Components
- Connect Pipes: Assemble the main pipe structure using the upgraded threaded joints. Twist the pipes securely until hand-tight.
- Attach Mounting Brackets: Secure the wall mounting brackets to the assembled pipe structure.
- Install Plastic Clips for Mesh: Attach the plastic clips to the vertical pipes at your desired height for the mesh shelves. Ensure they are firmly in place. A rubber mallet may be helpful to fully seat the clips.
- Place Mesh Shelves: Position the mesh shelves onto the installed plastic clips.
- Insert Telescopic Rods: Extend and secure the telescopic rods between the appropriate pipe sections.
For a visual guide on the overall assembly process, please refer to the video below:
Video: ONBRILL H2 Wall Mounted Closet System Assembly Instruction. This video demonstrates the complete assembly process for the ONBRILL H2 system.
For specific guidance on installing the plastic clips for the mesh shelves, watch this short video:
Video: Plastic Clips Installation Guide. This video provides instructions on how to properly install the plastic clips for the mesh shelves.
5. Wall Mounting
Once the main structure is assembled, align the mounting brackets with the marked points on the wall. Drill pilot holes if necessary, insert appropriate wall anchors (if not drilling into studs), and then securely fasten the rack to the wall using screws. Ensure the rack is level and stable before applying any load.
Operating Instructions
Using Your Clothing Rack
- Hanging Clothes: Utilize the two telescopic rods to hang garments such as shirts, dresses, pants, and coats. Distribute weight evenly across the rods.
- Shelf Storage: The six mesh shelves are designed for folded clothing, bags, hats, belts, towels, and other accessories. Arrange items to maximize space and maintain balance.
- Adjusting Telescopic Rods: The telescopic rods can be adjusted to different lengths to fit your space and hanging needs. Loosen the locking mechanism, extend or retract the rod, and then secure the mechanism firmly.

Image: Examples of different configurations and uses for the ONBRILL H2 Wall Mounted Clothing Rack.
Weight Capacity
The ONBRILL H2 is designed for heavy-duty use. Ensure that the total weight of items placed on the rack does not exceed its maximum capacity. Overloading can compromise stability and safety.

Image: Illustration of the rack's weight capacity and sturdy design.
Maintenance
Cleaning
To clean your ONBRILL H2 clothing rack, wipe surfaces with a soft, damp cloth. Avoid using abrasive cleaners or harsh chemicals, as these can damage the matte powder-coated finish. Dry immediately with a clean, dry cloth to prevent water spots.
Regular Checks
Periodically inspect all connections, especially the wall mounting points and threaded pipe joints, to ensure they remain tight and secure. Re-tighten any loose connections as needed. Check the plastic clips for the mesh shelves to ensure they are still firmly seated.
Troubleshooting
Common Issues and Solutions
| Issue | Possible Cause | Solution |
|---|---|---|
| Rack feels unstable or wobbly. | Loose wall mounting screws or pipe connections. Uneven weight distribution. | Ensure all wall mounting screws are tightened. Check and re-tighten all threaded pipe joints. Distribute clothes and items evenly across rods and shelves. |
| Plastic clips for mesh shelves are difficult to install or don't fit snugly. | Clips may require firm seating. | Use a rubber mallet to gently tap the plastic clips into place until they are fully seated and secure on the pipes. Refer to the 'Plastic Clips Installation Guide' video in the Setup section. |
| Telescopic rods do not extend or retract smoothly. | Locking mechanism is too tight or too loose. Debris in the rod mechanism. | Ensure the locking mechanism is fully disengaged before adjusting. Clean any visible debris from the rod. Apply a small amount of silicone lubricant if necessary. |
| Rack appears crooked after installation. | Wall marks were not level, or mounting was uneven. | Remove the rack from the wall. Re-measure and re-mark the wall using a level. Ensure all mounting points are perfectly aligned before re-installing. |
Product Specifications
| Feature | Detail |
|---|---|
| Brand | ONBRILL |
| Model Number | HT-002 |
| Color | White |
| Material | Metal (Matte Powder Coated) |
| Product Dimensions (D x W x H) | 11.8"D x 61"W x 88.6"H |
| Recommended Use | Closet Storage and Organization |
| Included Components | Garment Racks (2 telescopic rods, 6 mesh pieces) |
| Installation Type | Wall Mounted |
| Assembly Required | Yes |
Warranty & Support
Return Policy
This product is subject to a 30-day return policy for refund or replacement. Please refer to your purchase platform for specific details regarding eligibility and procedures.
Customer Support
For further assistance, product inquiries, or to explore other ONBRILL products, please visit the official ONBRILL Store: