Introduction
Thank you for choosing the KOSUMOSU Small Digital Alarm Clock. This manual provides detailed instructions for setting up and operating your new clock. Designed for clarity and convenience, this 6.7-inch digital clock features time, date, day of the week, room temperature, auto/manual dimming, and dual alarms with snooze functionality. Please read this manual thoroughly before use to ensure optimal performance.
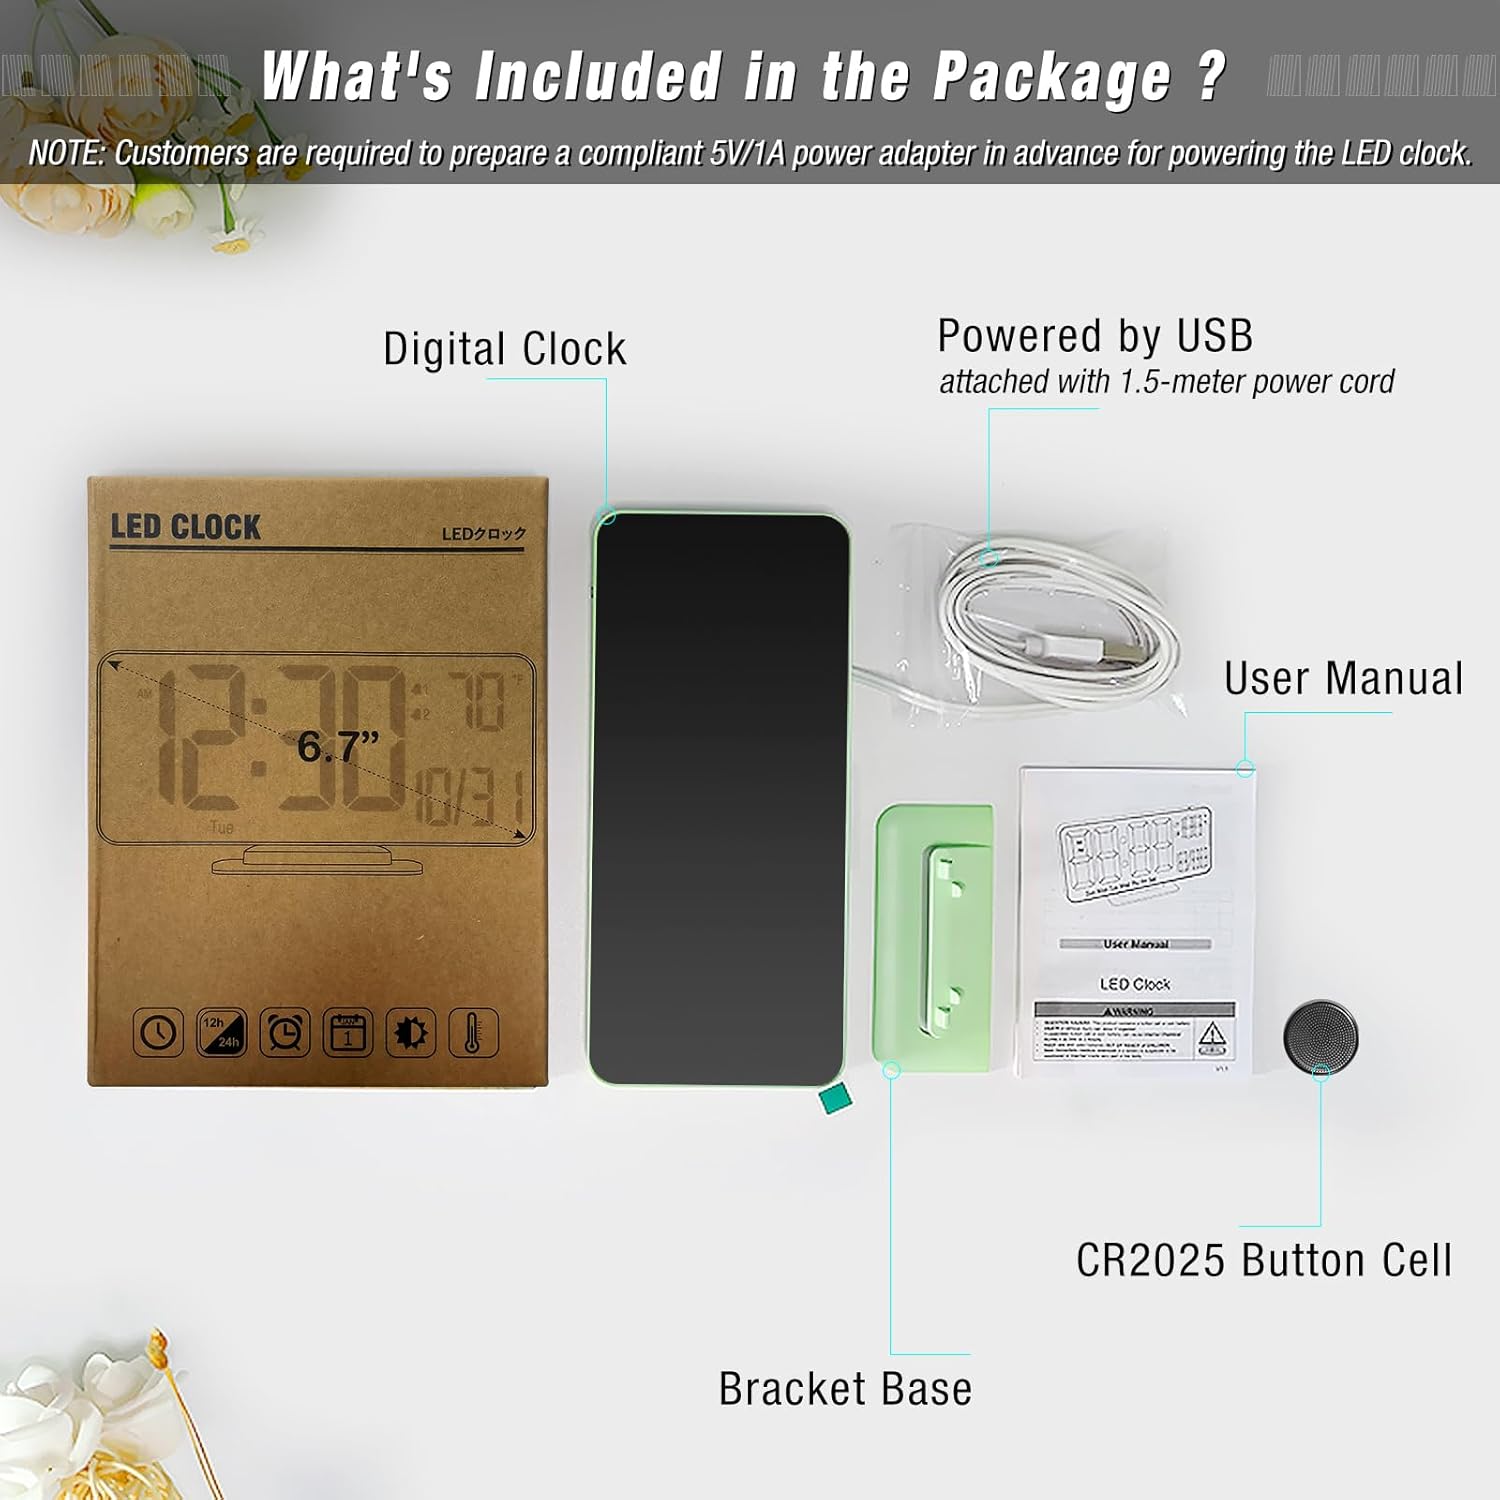
Package Contents
Verify that all items are present in the package:
- Digital Clock (Model: ACD-330)
- USB-A Power Cable (1.5 meters, permanently attached)
- Bracket Base
- CR2025 Button Cell (pre-installed for time backup)
- User Manual
Product Overview
The KOSUMOSU Digital Alarm Clock features a sleek design with a clear LED display. It is approximately 6.4 inches wide by 3.3 inches high, making it compact for various spaces.

Control Buttons:
- Dimming (+/-): Press to manually adjust brightness (High, Medium, Low, Off). Long press for auto-dimming.
- °F/°C/Sec (-): Press to switch between Fahrenheit and Celsius temperature display. Long press to fix time separator (seconds display).
- 12h/24h (SET): Press to set 12h/24h format. Long press to set date and time.
- Alarm 1 Set: Press to toggle Alarm 1 on/off. Long press to set Alarm 1 time.
- Alarm 2 Set: Press to toggle Alarm 2 on/off. Long press to set Alarm 2 time.
- Snooze Button: Located on top of the clock. Press to activate snooze during an alarm.
Setup
- Power Connection: Connect the attached USB-A power cable to a 5V/1A AC adapter (not included) and plug it into a power outlet. The clock requires continuous power to operate.
- Battery Backup: The pre-installed CR2025 button cell provides time backup in case of a power outage, ensuring your settings are retained. It does not power the display for regular use.
- Attach Bracket Base: Securely attach the provided bracket base to the bottom of the clock for tabletop use. The clock can also be wall-mounted using the keyhole slot on the back.

Operating Instructions
Setting Time and Date:
- Long press the SET button for 2 seconds to enter setting mode.
- The hour display will flash. Use the + or - buttons to adjust the hour.
- Press SET again to confirm the hour and move to minutes. Adjust minutes using + or -.
- Continue pressing SET and using + or - to set the year, month, and date in sequence.
- After setting the date, press SET one last time to exit setting mode. The day of the week will automatically update based on the date.
Setting Alarms:
The clock supports two independent alarms (Alarm 1 and Alarm 2).
- To Set Alarm Time: Long press either the Alarm 1 Set or Alarm 2 Set button. The hour display will flash. Use + or - to adjust the hour.
- Press the respective alarm button again to confirm the hour and move to minutes. Adjust minutes using + or -.
- Press the alarm button again to confirm minutes and select the alarm cycle (Workdays, Weekends, or Everyday). Use + or - to choose.
- Press the alarm button one last time to save the alarm setting.
- To Toggle Alarm On/Off: Briefly press the Alarm 1 Set or Alarm 2 Set button. An alarm icon will appear/disappear on the display to indicate its status.
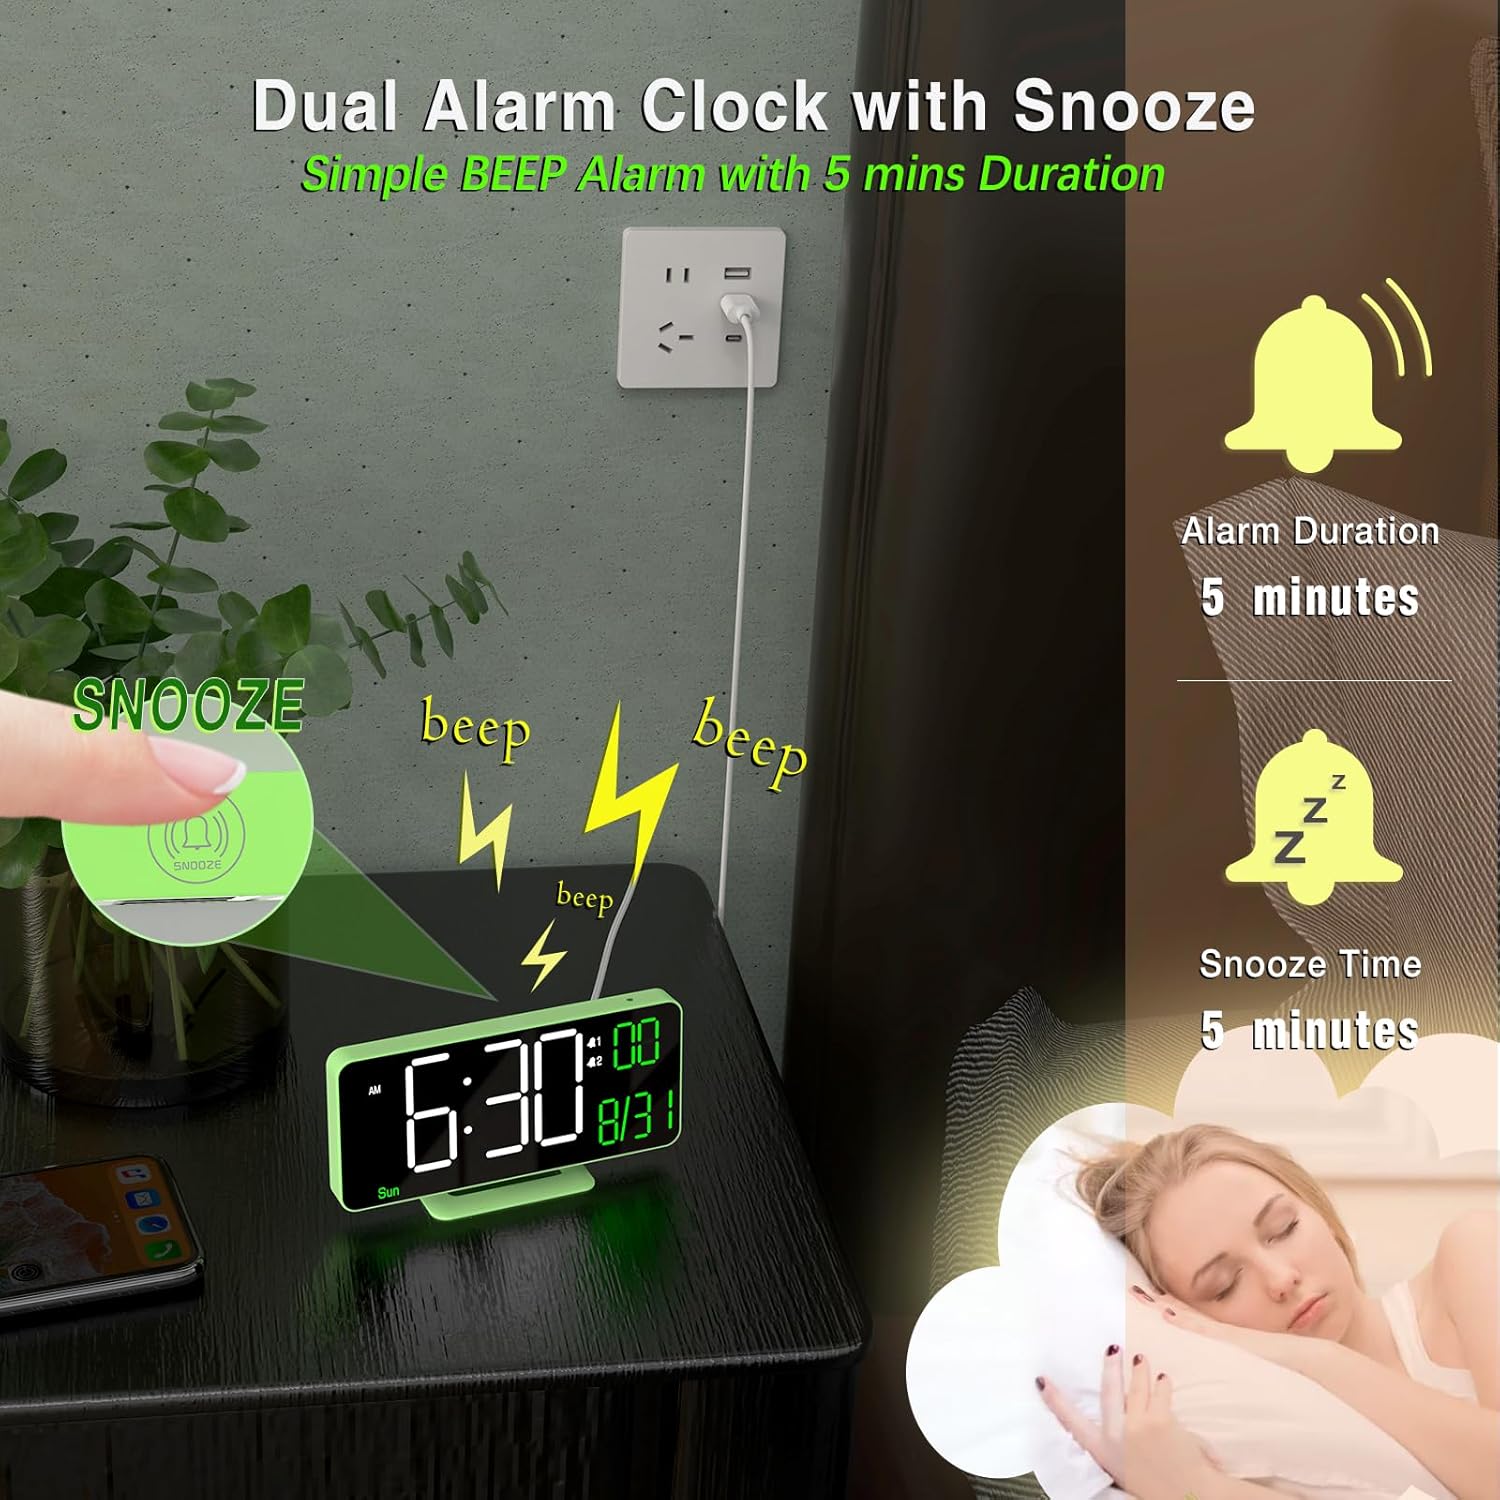
Snooze Function:
When an alarm sounds, press the Snooze button (located on top of the clock) to temporarily silence it for 5 minutes. The alarm will sound again after the snooze period ends.
Adjusting Brightness (Dimming):
The clock offers both manual and automatic dimming options.
- Manual Dimming: Briefly press the Dimming + or Dimming - buttons to cycle through brightness levels: High, Medium, Low, or LED display OFF.
- Auto Dimming: Long press the Dimming + button to activate auto-dimming. The clock will automatically adjust its brightness based on ambient light conditions detected by the light sensor.
Temperature Display:
The clock displays the room temperature.
- To switch between Fahrenheit (°F) and Celsius (°C), briefly press the °F/°C/Sec (-) button.
12/24-Hour Format:
To switch between 12-hour and 24-hour time formats, briefly press the 12h/24h (SET) button when not in setting mode.
Seconds Display:
To display or hide the seconds, long press the °F/°C/Sec (-) button.
Maintenance
- Clean the clock's display and body with a soft, dry cloth. Avoid abrasive cleaners or solvents.
- Ensure the clock is placed on a stable surface or securely mounted to prevent falls.
- Keep the clock away from extreme temperatures, direct sunlight, and moisture.
Troubleshooting
- Display is blank: Ensure the USB power cable is securely connected to a 5V/1A AC adapter and plugged into a working power outlet. The button cell only provides backup for settings, not for powering the display.
- Time/Date is incorrect: Follow the "Setting Time and Date" instructions to manually adjust. Ensure the CR2025 button cell is correctly installed and functional for backup.
- Alarm not sounding: Verify that the alarm is enabled (alarm icon visible on display) and the volume is not set to zero. Check that the alarm time is correctly set.
- Display too bright/dim: Adjust brightness using the Dimming buttons or activate auto-dimming.
Specifications
| Brand | KOSUMOSU |
| Model Number | ACD-330 |
| Display Type | Digital LED |
| Screen Size | 6.7 Inches |
| Product Dimensions | 6.4"W x 3.3"H (16.2 x 8.3 cm) |
| Power Source | Corded Electric (5V/1A USB-A adapter NOT included) |
| Battery Backup | 1 x CR2025 Button Cell (included) |
| Material | Plastic |
| Special Features | Adjustable Brightness (Auto/Manual), Dual Alarms, Snooze, Calendar Display, Temperature Display (°F/°C), 12/24-Hour Format, Seconds Display |
Warranty and Support
KOSUMOSU offers a 2-year warranty on this product. If you encounter any quality or usage-related problems, please do not hesitate to contact us via email at support@sz-krs.com. Our customer service team is ready to assist you.