AnEgoe ZX001
AnEgoe ZX001 Air Purifier User Manual
Model: ZX001
1. Introduction and Safety Information
This manual provides instructions for the safe operation and maintenance of your AnEgoe ZX001 Air Purifier. Please read it thoroughly before use and retain it for future reference.
Important Safety Precautions
- Always unplug the air purifier before moving, cleaning, or performing any maintenance.
- Do not operate the appliance with a damaged cord or plug.
- Keep the air intake and outlet clear of obstructions.
- Do not use the appliance in wet or damp environments.
- This appliance is not intended for use by persons (including children) with reduced physical, sensory or mental capabilities, or lack of experience and knowledge, unless they have been given supervision or instruction concerning use of the appliance by a person responsible for their safety.
- Ensure the filter is installed correctly before operation.
- The AnEgoe ZX001 Air Purifier is certified by CARB, ETL, EPA, DOE, and FCC, ensuring compliance with safety and performance standards.

Image: Product certifications for safety and environmental compliance.
2. Package Contents
Carefully unpack your AnEgoe ZX001 Air Purifier and check that all items are present:
- AnEgoe ZX001 Air Purifier Unit
- H13 True HEPA Filters (2 installed inside the unit)
- Remote Control (located inside the filter compartment)
- User Manual (located inside the filter compartment)
Note: The remote control and user manual are placed together with the filters inside the unit. Please open the filter compartment to retrieve them. Ensure to remove the protective plastic bag from the filters before first use.
3. Product Overview
Familiarize yourself with the components of your AnEgoe ZX001 Air Purifier.

Image: Front view of the AnEgoe ZX001 Air Purifier.
Key Features:
- Double-Sided Air Intake: Enhances purification speed and efficiency by drawing air from two sides.
- 3-Stage Filtration System: Includes Washable Pre-Filters, H13 True HEPA filters, and Activated Carbon filters.
- PM2.5 Sensor: Monitors real-time air quality.
- Control Panel: Intuitive touch controls for various settings.
- Aromatherapy Tray: Allows for the addition of essential oils.

Image: Exploded view illustrating the washable pre-filter, H13 HEPA filter, and activated carbon filter components.

Image: Detailed view of the control panel and PM2.5 sensor location.
4. Setup
4.1 Filter Installation
- Place the air purifier on a flat, stable surface.
- Locate the filter compartment covers on the sides of the unit.
- Remove the covers to access the filters.
- Remove the protective plastic bags from both H13 True HEPA filters.
- Insert the filters back into their respective compartments, ensuring they are seated correctly.
- Replace the filter compartment covers.
4.2 Placement
For optimal performance, place the air purifier in an open area, away from walls or furniture that might obstruct airflow. Ensure there is adequate space around the unit for proper air circulation.
5. Operating Instructions
5.1 Power On/Off
Press the On/Off button on the control panel or remote control to turn the unit on or off.
5.2 Fan Speed Adjustment
Press the Speed button to cycle through four fan speed settings (F1, F2, F3, F4). The current speed will be indicated on the display.

Image: Visual representation of fan speed levels and sleep mode.
5.3 Auto Mode
Press the Auto button to activate Auto Mode. The built-in PM2.5 sensor will detect the air quality and automatically adjust the fan speed accordingly.
- Green (0-39 PM2.5): Good air quality, fan speed F1.
- Yellow (40-75 PM2.5): Moderate pollution, fan speed F2.
- Yellow (76-150 PM2.5): Heavy pollution, fan speed F3.
- Red (>150 PM2.5): Bad air quality, fan speed F4.

Image: Air quality indicator colors and corresponding PM2.5 levels and fan speeds.
5.4 Sleep Mode
Press the Sleep button to enter Sleep Mode. The fan speed will reduce to its lowest setting (less than 15dB) and the display lights will dim for quiet operation.

Image: Noise level comparison for sleep mode operation.
5.5 Timer Function
Press the Timer button to set an automatic shut-off time. You can select a duration from 1 to 12 hours.

Image: Timer setting options for automatic shutdown.
5.6 Child Lock
To activate or deactivate the Child Lock, press and hold the Lock button for 3 seconds. This prevents accidental changes to settings.

Image: Child lock feature for preventing unintended operation.
5.7 Aromatherapy Function
Locate the aromatherapy tray on the top of the unit. Add a few drops of your preferred essential oil to the tray. The air purifier will diffuse the scent as it operates.

Image: Instructions for using the aromatherapy tray.
6. Maintenance
Regular maintenance ensures optimal performance and extends the lifespan of your air purifier.
6.1 Washable Pre-Filters
The pre-filters are designed to capture large particles like pet hair and lint. They are washable and reusable.
- Unplug the air purifier.
- Remove the filter compartment covers and carefully take out the pre-filters.
- Clean the pre-filters with water or a vacuum cleaner to remove accumulated debris.
- Ensure the pre-filters are completely dry before reinserting them into the unit.
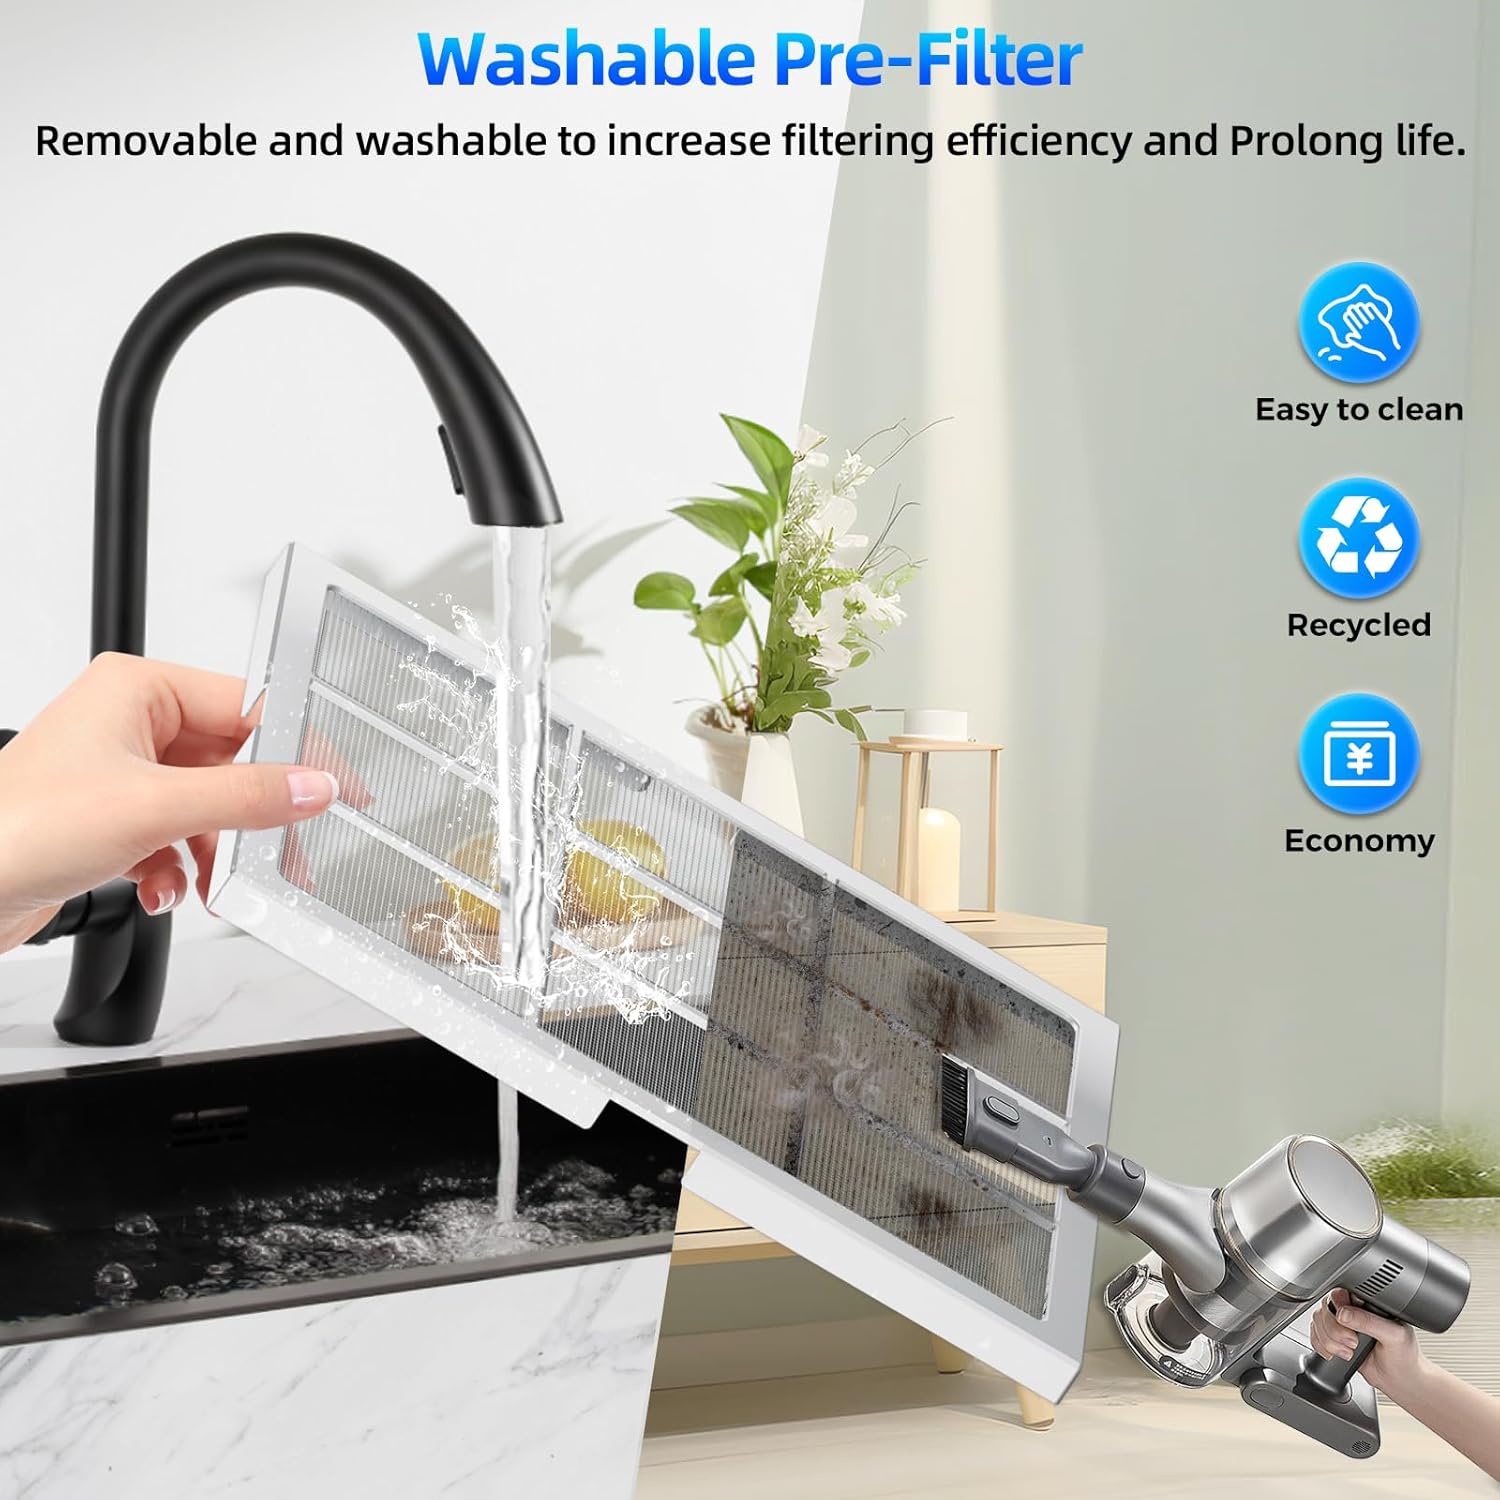
Image: Methods for cleaning the washable pre-filter.
6.2 H13 True HEPA Filter Replacement
The H13 True HEPA filters should be replaced every 6-8 months, depending on usage and air quality. The unit features a filter replacement reminder.
- When the filter indicator light illuminates, it is time to replace the filters.
- Unplug the air purifier.
- Remove the filter compartment covers and discard the old filters.
- Install new AnEgoe official replacement filters (Search for B0DPHTNCJC). Remember to remove any plastic packaging.
- Replace the filter compartment covers.
- Press and hold the Filter button for 3 seconds to reset the filter life indicator.

Image: Steps for checking filter life, replacing filters, and resetting the indicator.
6.3 Cleaning the Air Quality Sensor
If the PM2.5 reading consistently displays 500, the air quality sensor may require cleaning.
- Locate the air quality sensor on the side of the unit.
- Use a hairdryer to gently blow air towards the sensor location to clear any dust accumulation.
- Clean the sensor regularly based on your usage environment and frequency.
7. Troubleshooting
| Problem | Possible Cause | Solution |
|---|---|---|
| Unit does not power on | No power supply; Power cord not securely plugged in | Check power outlet; Ensure power cord is firmly connected |
| PM2.5 reading consistently 500 | Air quality sensor is dirty | Clean the air quality sensor as described in Section 6.3 |
| Reduced airflow or purification efficiency | Filters are dirty or clogged; Protective plastic not removed from filters | Clean pre-filters or replace HEPA filters; Ensure all plastic packaging is removed from filters |
| Filter indicator light remains on after replacement | Filter life indicator not reset | Press and hold the Filter button for 3 seconds to reset |
8. Specifications
| Feature | Detail |
|---|---|
| Model Number | ZX001 |
| Product Dimensions | 7.28"D x 12.5"W x 16.15"H |
| Weight | 6.6 Pounds |
| Coverage Area | Up to 2500 ft² per hour |
| Filtration Type | H13 True HEPA (3-stage with washable pre-filter and activated carbon) |
| Noise Level (Sleep Mode) | Less than 15dB |
| Wattage | 36 watts |
| Certifications | CARB, ETL, EPA, DOE, FCC |
9. Warranty and Support
9.1 Warranty Information
The AnEgoe ZX001 Air Purifier comes with a 2-year free replacement policy for manufacturing defects. Additionally, a 30-day no-reason return policy is offered from the date of purchase.
9.2 Customer Support
AnEgoe provides lifetime support for its products. For any inquiries, technical assistance, or warranty claims, please contact our customer service team. We aim to provide quick responses via email within 24 hours.
Please refer to your purchase documentation for specific contact details or visit the official AnEgoe website for support information.
no relevant documents
Ask a question about this manual
Ask about setup, troubleshooting, compatibility, parts, safety, or missing instructions. Manuals+ will review the question and use this page’s manual context to help answer it.