1. Introduction
Thank you for choosing the STIGMA Cordless Tattoo Gun Kit. This comprehensive kit is designed for both beginners and experienced artists, offering a professional and convenient tattooing experience. This manual provides essential information for the safe and effective use, setup, operation, and maintenance of your new tattoo kit. Please read it thoroughly before first use and retain it for future reference.
2. Product Overview and Kit Contents
The STIGMA Cordless Tattoo Gun Kit includes all necessary components to begin your tattooing journey. Below is a list of items typically found in your kit:
- Tattoo Machine Pen: The core device for tattooing, designed for comfortable handling and precise work.
- 1400 mAh Tattoo Battery: Provides cordless power for extended operation.
- RCA Jack: Allows for wired operation with an external power supply (not included).
- 20 Tattoo Cartridge Needles: Various sizes for different tattooing techniques.
- Tattoo Ink Color Set: A selection of colors for practice and artistic expression.
- Carrying Case: For organized storage and transport of all kit components.
- Practice Skin: For honing your skills before working on real skin.
- Ink Cups: To hold tattoo ink during use.
- Gloves: For hygiene and safety during tattooing.
- Bandage: For post-tattoo care.
- USB-C Charging Cable: For recharging the tattoo battery.

Image: Complete STIGMA Cordless Tattoo Gun Kit contents.

Image: Detailed view of the kit components, including the tattoo pen, battery, needles, and inks.
3. Specifications
Tattoo Machine Pen (Model: ST-M1-P89-2-WH)
- Item No.: ST-M1-P89-2-WH
- Color: Black/Red
- Material: Aluminum
- Connector: RCA
- Voltage: 3.0V - 12V
- Rotational Speed: 2500 - 9100 RPM
- Length: 116 mm
- Weight: 155 g
- Grip Diameter: φ30 mm
- Needle Stroke: 4.0 mm
- Motor Type: 370
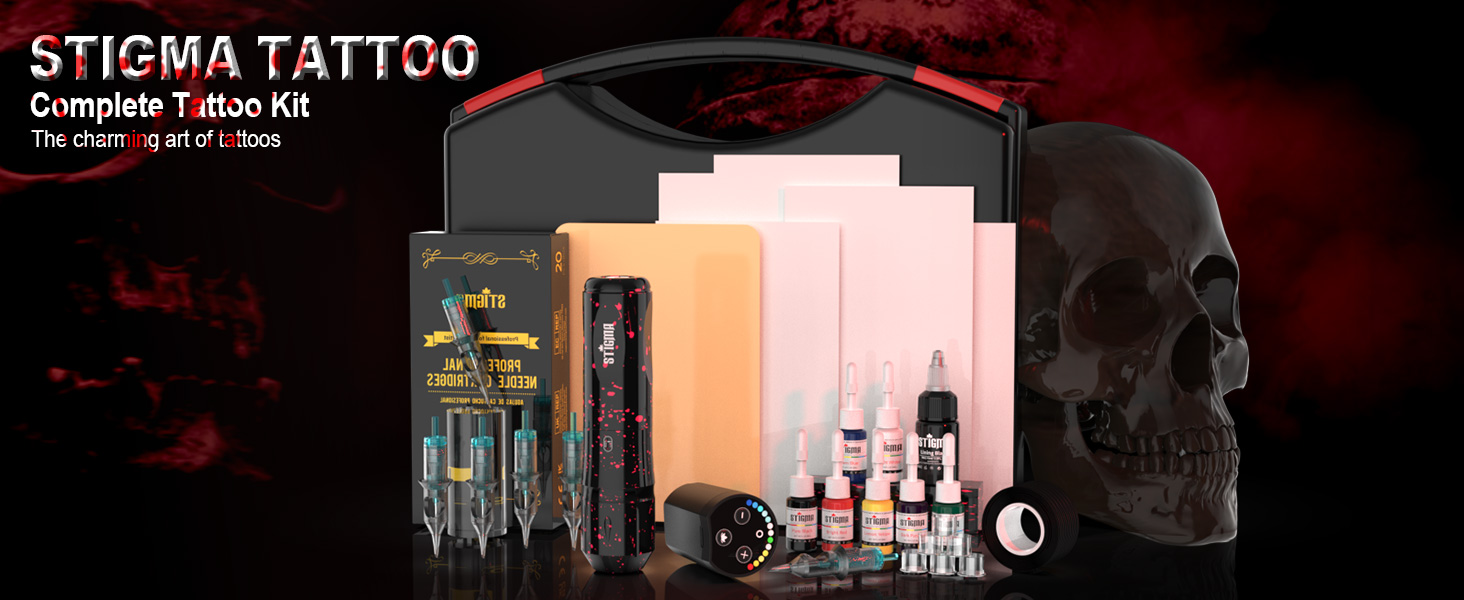
Image: Detailed technical parameters of the STIGMA tattoo machine pen.
Tattoo Battery
- Capacity: 1400 mAh
- Operating Time: 3-5 hours (depending on usage)
- Charging Time: Approximately 2 hours
- Charging Port: Type-C

Image: The 1400 mAh tattoo battery with Type-C charging port.
General Kit Information
- Package Dimensions: 11.73 x 9.92 x 3.7 inches
- Package Weight: 2.62 Pounds
- Water Resistance Level: Not Water Resistant
4. Setup Instructions
4.1 Charging the Battery
- Connect the provided USB-C charging cable to the Type-C port on the tattoo battery.
- Plug the other end of the USB-C cable into a compatible USB power adapter (not included).
- The battery indicator lights will show charging progress. A full charge typically takes about 2 hours.
- Important: Do not leave the battery unattended for extended periods, especially when fully discharged, to prolong its lifespan.
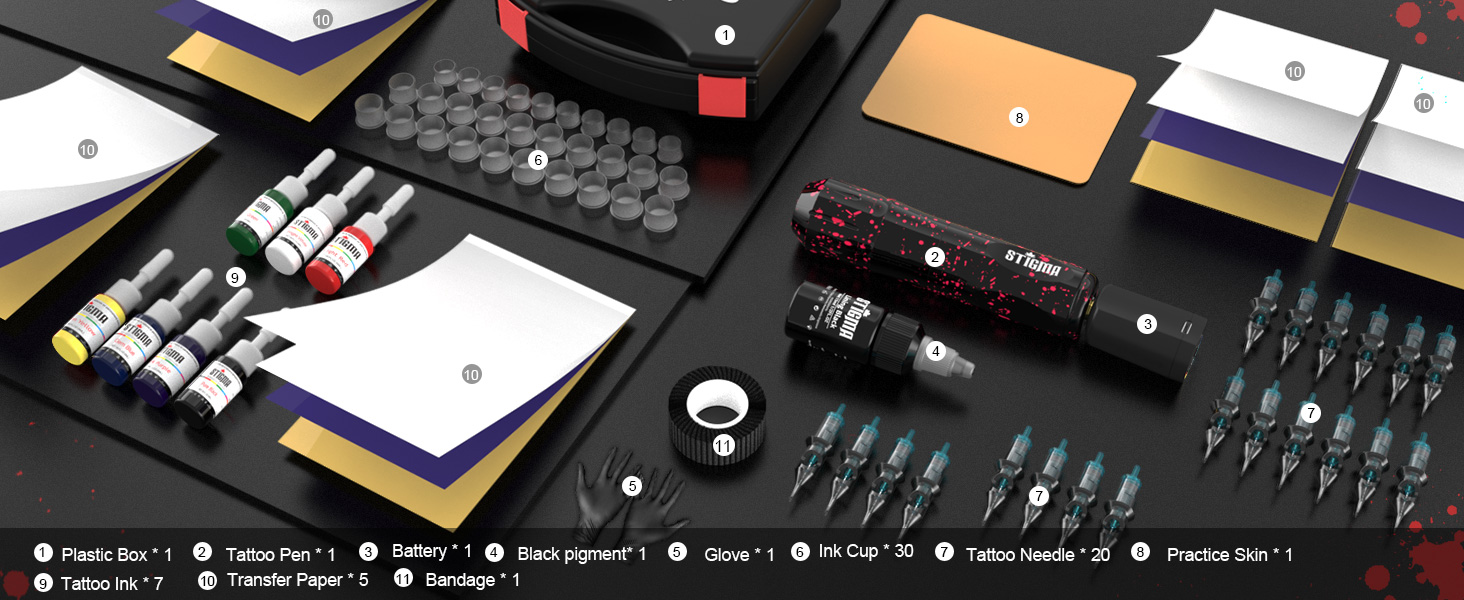
Image: Battery charging port and voltage indicator lights.
4.2 Attaching the Power Source
You have two options for powering your tattoo machine pen:
- Cordless Operation (with Battery):
Align the tattoo battery with the top of the tattoo machine pen and gently twist to secure it. Ensure a firm connection. - Wired Operation (with RCA Jack):
If using an external power supply (not included), attach the RCA jack to the top of the tattoo machine pen. Connect your RCA cable from the external power supply to the RCA jack.
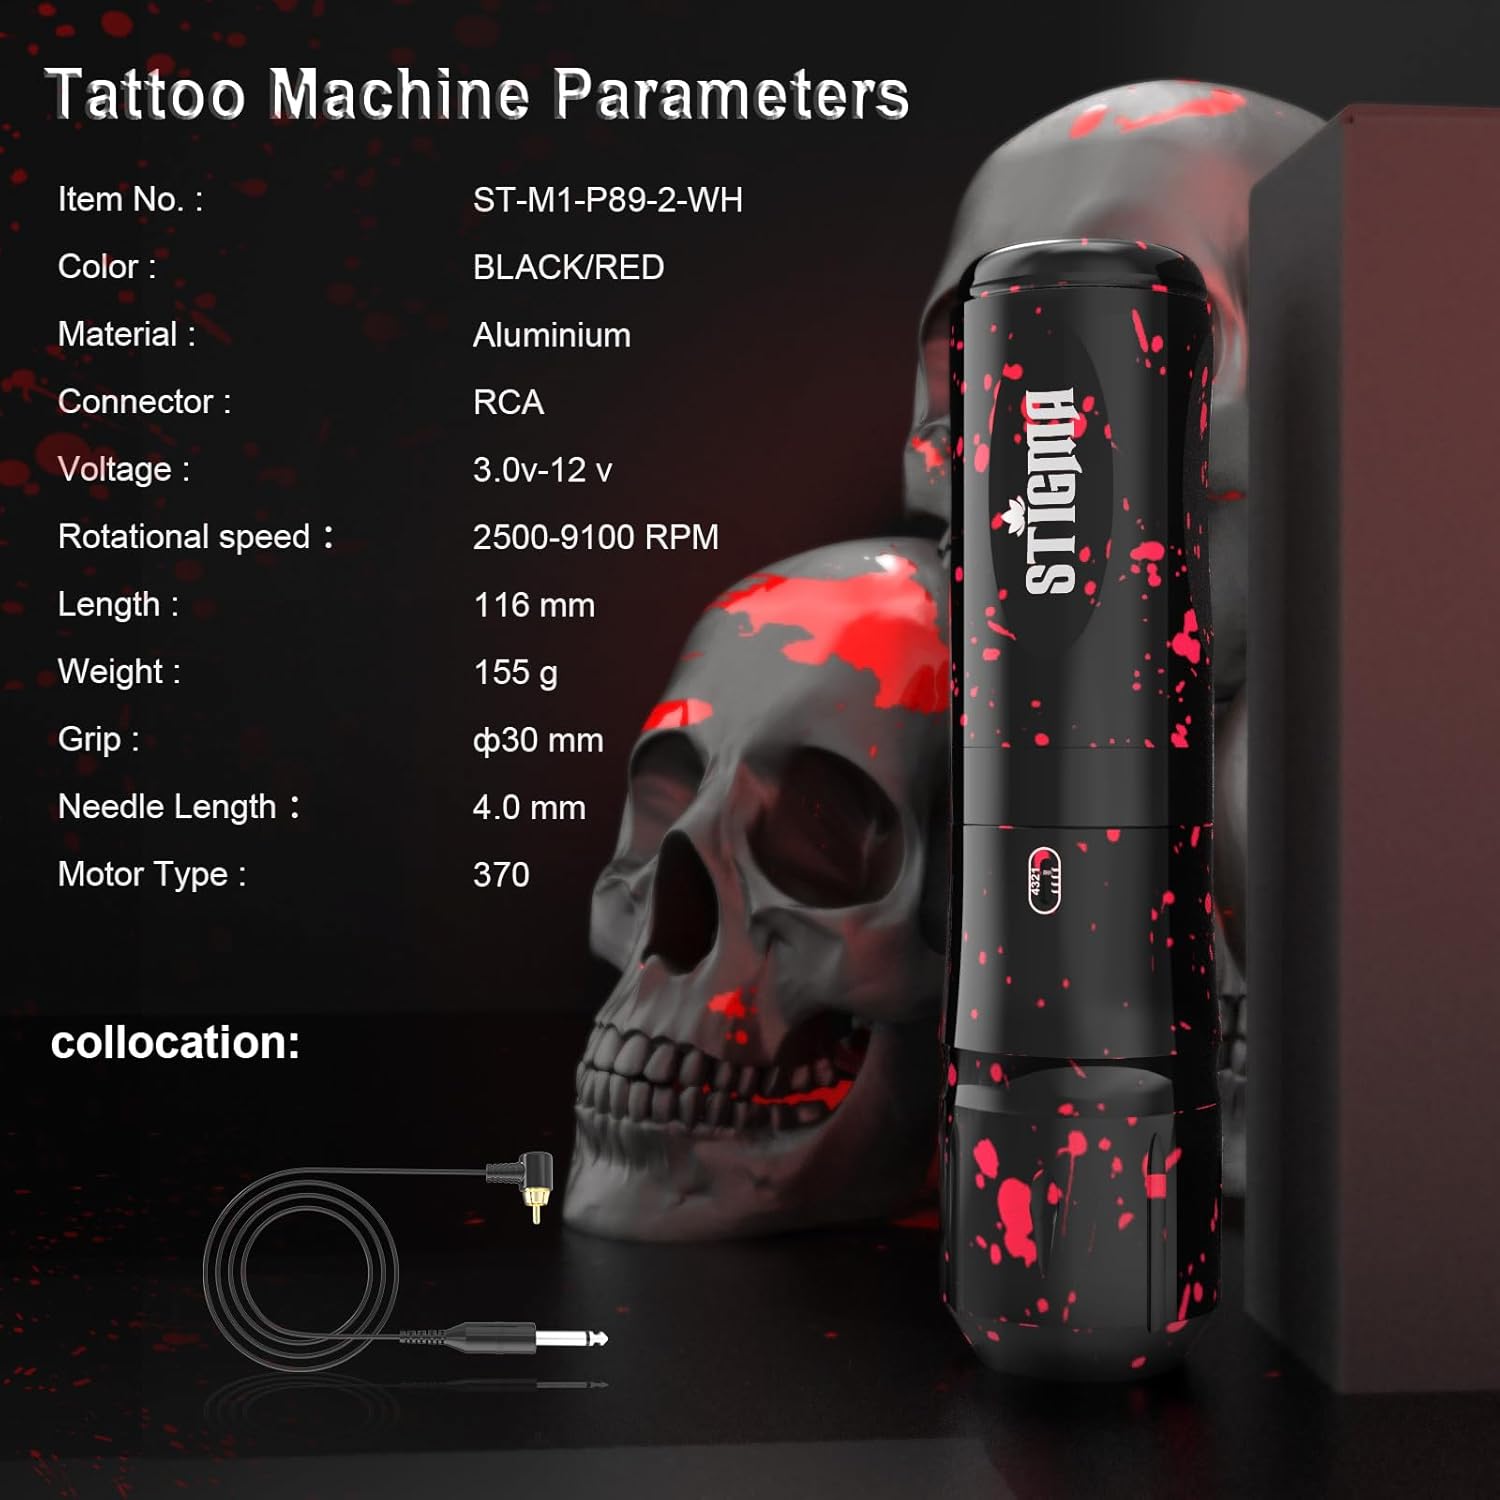
Image: Tattoo machine pen with the cordless battery attached.
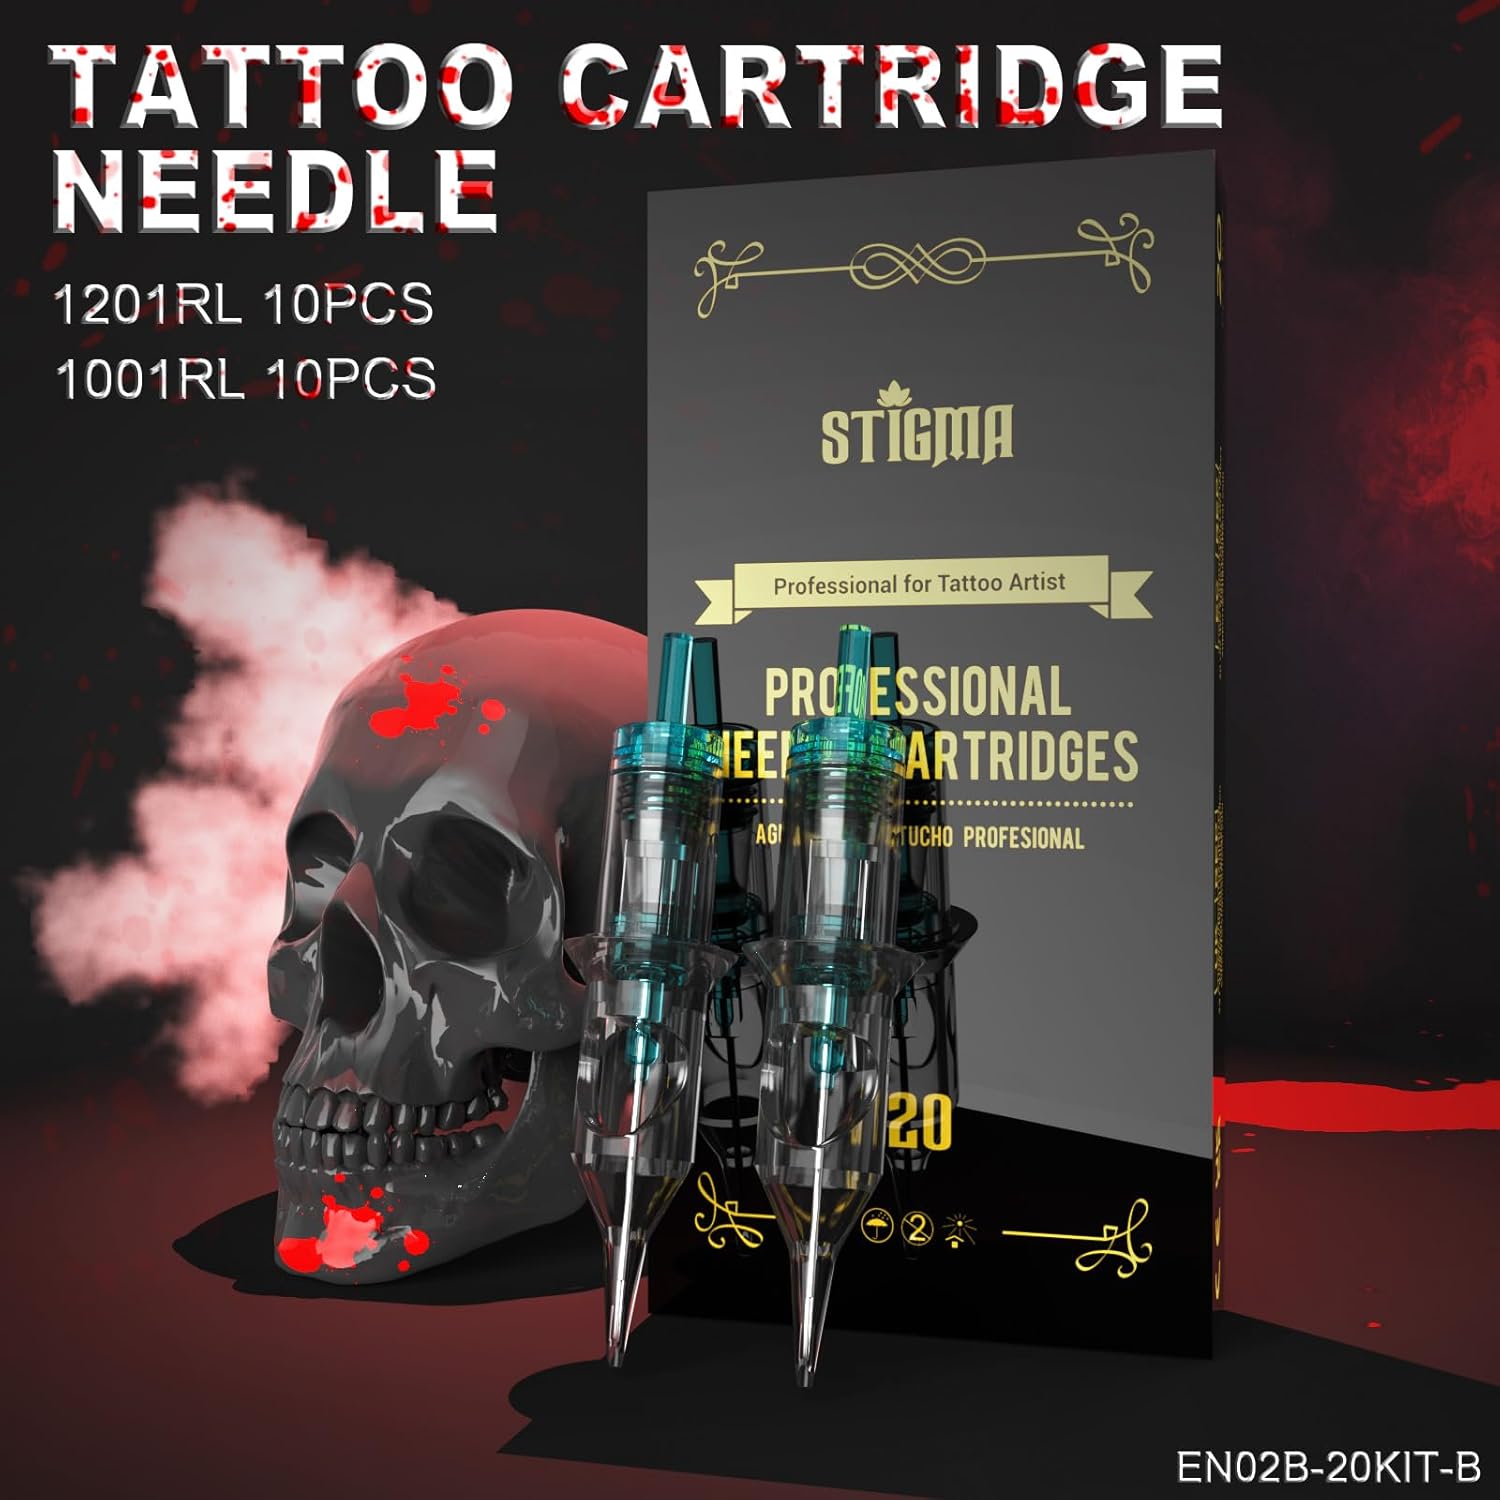
Image: Tattoo machine pen with the RCA adapter attached for wired operation.
4.3 Inserting a Cartridge Needle
- Ensure the tattoo machine is turned off.
- Carefully remove a sterile cartridge needle from its packaging.
- Insert the needle cartridge into the front opening of the tattoo machine pen. Twist gently until it clicks into place.

Image: Sterile tattoo cartridge needles.
4.4 Adjusting Needle Length
The tattoo machine pen allows for easy adjustment of the needle length (depth). Rotate the grip of the pen clockwise or counter-clockwise to extend or retract the needle as needed for your tattooing technique.

Image: Illustration of rotating the pen's handle to adjust needle length.
5. Operating Instructions
5.1 Powering On/Off and Adjusting Voltage
- To power on the battery, press and hold the power button (usually the central button) until the indicator lights illuminate.
- Use the '+' and '-' buttons to adjust the voltage. The indicator lights will change color to reflect the current voltage setting (e.g., blue for lower voltage, red for higher voltage).
- To start or pause the machine, press the power button once.
- To power off, press and hold the power button until the lights turn off.
- Safety Note: Always keep the machine operating under 11V to protect the life of both the battery and the machine gun.
Video: Demonstration of the STIGMA tattoo machine in operation, showing needle movement and voltage adjustment. This video is provided by STIGMA DIGITAL.
5.2 General Usage Tips
- Always practice on the provided practice skin before attempting to tattoo on real skin.
- Ensure all equipment is properly sterilized and handled according to professional hygiene standards.
- Use appropriate needle types and voltage settings for outlining, shading, and coloring.
- Refer to professional tattooing guides and resources for detailed techniques and safety protocols.

Image: The included tattoo ink color set.
6. Maintenance
6.1 Cleaning the Machine
- After each use, disconnect the power source and remove the needle cartridge.
- Wipe down the exterior of the tattoo machine pen with a sterile wipe or a cloth dampened with an appropriate disinfectant solution.
- Do not immerse the machine in liquids. The machine is not water resistant.
- Ensure no ink or debris enters the internal components.
6.2 Battery Care
- Store the battery in a cool, dry place away from direct sunlight and extreme temperatures.
- Avoid completely draining the battery and leaving it discharged for long periods. Recharge it periodically even if not in use to maintain battery health.
- Use only the provided charging cable or a compatible USB-C cable for charging.
7. Troubleshooting
If you encounter issues with your STIGMA Cordless Tattoo Gun Kit, please consider the following common solutions:
| Problem | Possible Cause | Solution |
|---|---|---|
| Machine not turning on | Battery discharged or not properly connected. | Charge the battery fully. Ensure the battery or RCA jack is securely attached to the pen. |
| Needle not moving or weak operation | Low battery, incorrect voltage setting, or needle cartridge issue. | Check battery level and recharge if necessary. Increase voltage. Replace the needle cartridge. |
| Machine overheating | Prolonged use at high voltage. | Reduce voltage or take a break to allow the machine to cool down. Ensure operation is under 11V. |
| Inconsistent needle depth | Improper needle length adjustment or loose cartridge. | Re-adjust the needle length by rotating the grip. Ensure the cartridge is securely locked. |
If these steps do not resolve the issue, please contact STIGMA customer support for further assistance.
8. Warranty and Support
The STIGMA Cordless Tattoo Gun Kit comes with a six-month warranty from the date of purchase. This warranty covers manufacturing defects and malfunctions under normal use. Please retain your proof of purchase for warranty claims.
For technical support, warranty inquiries, or any questions regarding your product, please visit the official STIGMA website or contact their customer service directly. Contact information can typically be found on the product packaging or the brand's Amazon store page.