1. Introduction
Thank you for choosing the Generic High-Capacity Smart Aroma Diffuser, Model AD5. This device is designed to efficiently disperse essential oils, creating a pleasant and consistent fragrance in large spaces. Its robust metal construction, smart timing features, and remote control operation make it suitable for various environments, including homes, offices, and commercial settings. Please read this manual thoroughly before operation to ensure proper use and maintenance.
2. Safety Information
- Always place the diffuser on a flat, stable surface away from direct sunlight, heat sources, and air conditioning vents.
- Do not immerse the diffuser in water or any other liquid.
- Ensure the power adapter is compatible with your local voltage (110-250V) before plugging in.
- Keep out of reach of children and pets.
- Use only pure essential oils. Do not use corrosive liquids or chemicals.
- Unplug the device before cleaning or refilling.
- Do not block the mist outlet or air intake.
- If the device emits unusual odors, smoke, or noise, immediately unplug it and contact customer support.
3. Package Contents
Verify that all items are present in the package:
- Aroma Diffuser (Model AD5)
- Remote Control
- User Manual (This document)
- Power Adapter (DC12V)
4. Product Overview
The Generic High-Capacity Smart Aroma Diffuser features a sleek, rectangular design with a durable metal shell. It is equipped with a top-mounted atomization unit and a large internal oil reservoir.
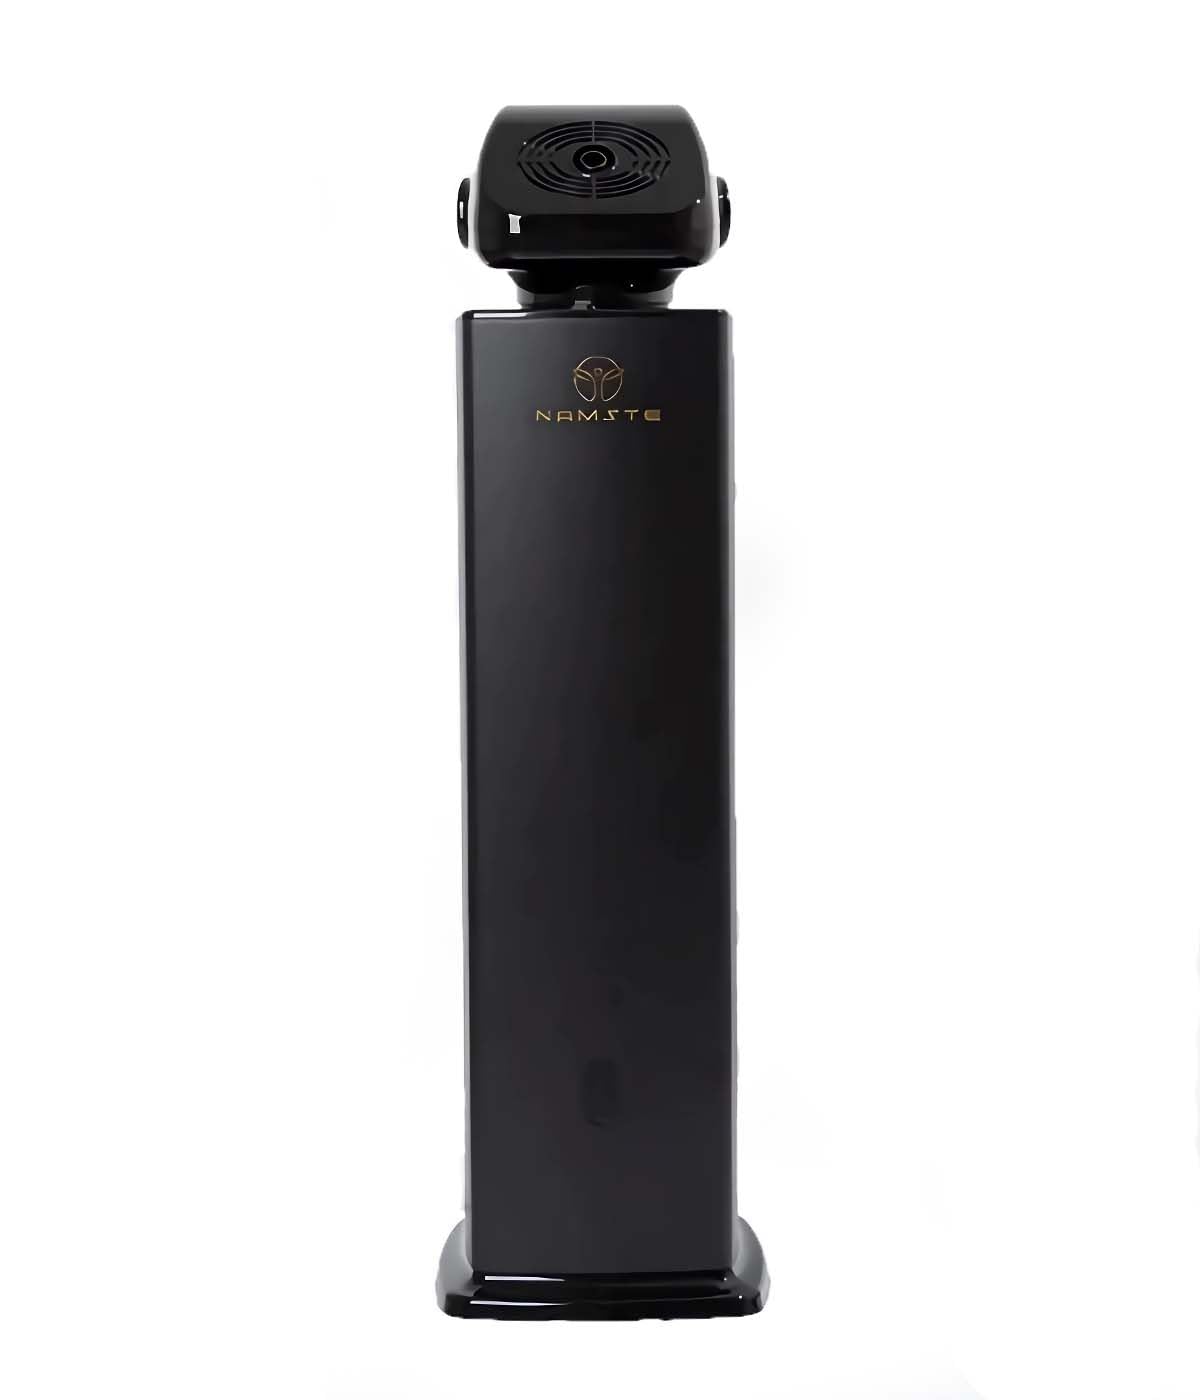
Image: The black variant of the Generic High-Capacity Smart Aroma Diffuser, showcasing its tall, rectangular form factor.
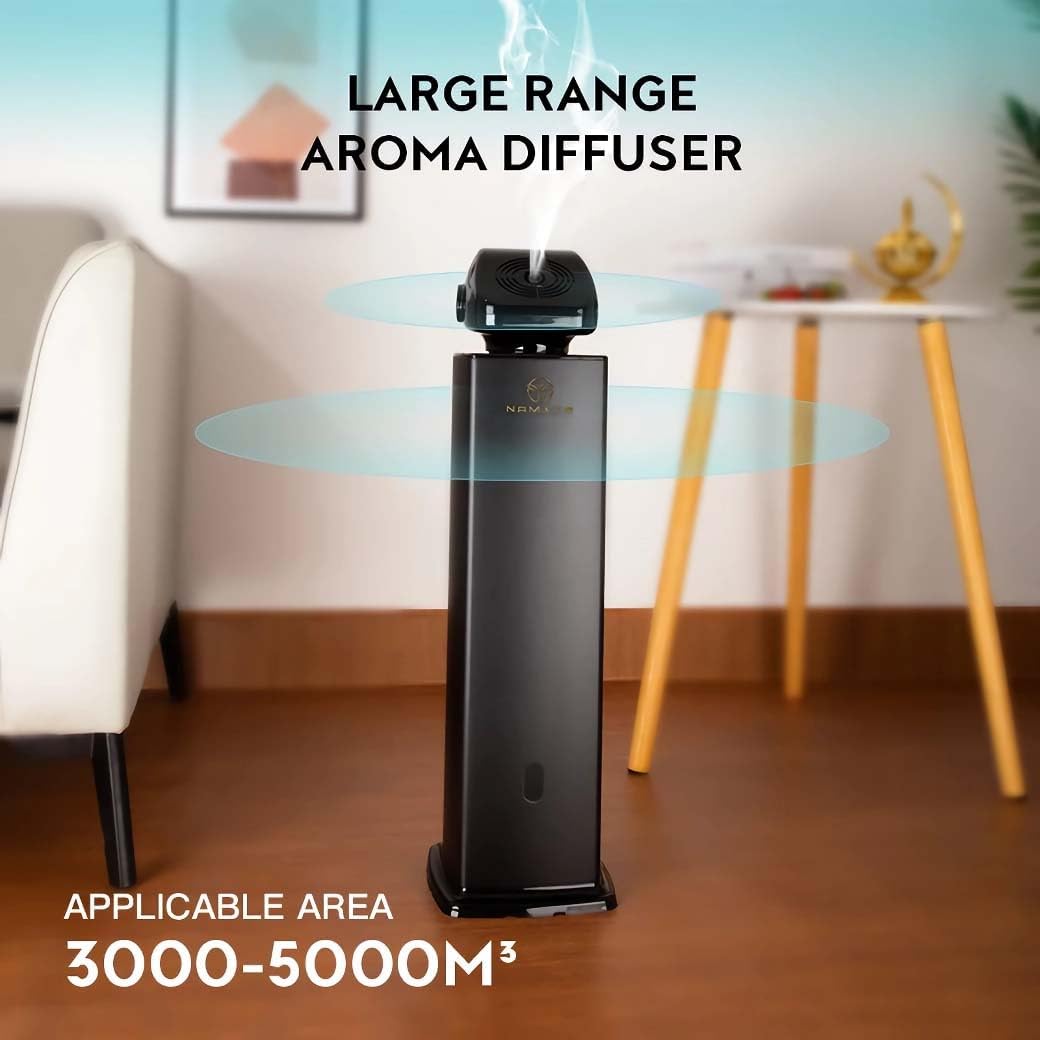
Image: The aroma diffuser demonstrating its large coverage capability, suitable for areas up to 106,000 cubic feet.
5. Setup
- Unpack: Carefully remove all components from the packaging.
- Placement: Place the diffuser on a stable, level surface in the desired area. Ensure there is adequate space around the device for optimal mist dispersion.
- Fill with Oil: Open the oil reservoir compartment. Pour your desired essential oil into the 500ml oil bottle. Securely close the reservoir.
- Connect Power: Insert the DC12V power adapter into the power input port on the diffuser. Plug the adapter into a standard electrical outlet (110-250V).
- Power On: The diffuser will typically enter standby mode upon power connection.
6. Operating Instructions
The diffuser can be operated using the included remote control for convenience.

Image: A hand holding the remote control, demonstrating its use with the aroma diffuser.
6.1 Basic Operation
- Power On/Off: Press the Power button on the remote control to turn the diffuser on or off.
- Mist Intensity: Use the +/- buttons to adjust the mist output intensity.
6.2 Smart Timing Features
The diffuser supports smart timing for customized operation schedules.

Image: The diffuser highlighting its smart timing capabilities and two-fluid atomization technology for efficient scent dispersion.
- Set Timer: Refer to the remote control's specific buttons for setting operating intervals and durations. Typically, you can set periods for the diffuser to be active and inactive.
- Schedule: Program daily or weekly schedules for automatic operation. Consult the remote control's manual (if separate) for detailed programming steps.
6.3 Quiet Performance
The diffuser operates at a noise level of ≤45dba, ensuring a peaceful environment during use.
7. Maintenance
7.1 Cleaning the Diffuser
- Unplug: Always unplug the diffuser from the power outlet before cleaning.
- Empty Reservoir: Carefully remove the oil bottle and empty any remaining essential oil.
- Wipe Down: Use a soft, damp cloth to wipe the exterior of the diffuser. For the oil reservoir, use a cotton swab or soft cloth dampened with rubbing alcohol to clean any oil residue.
- Air Dry: Allow all parts to air dry completely before reassembling or refilling.
7.2 Oil Replacement
When the oil bottle is empty or you wish to change scents:
- Turn off and unplug the diffuser.
- Remove the empty oil bottle.
- Clean the bottle if necessary, or replace it with a new bottle filled with your desired essential oil.
- Reinsert the bottle and secure the compartment.
8. Troubleshooting
| Problem | Possible Cause | Solution |
|---|---|---|
| No mist output | No power; Empty oil bottle; Mist outlet blocked. | Check power connection; Refill oil bottle; Clear any obstructions from the mist outlet. |
| Weak mist output | Low oil level; Diffuser needs cleaning; Incorrect mist intensity setting. | Refill oil; Clean the diffuser and atomization unit; Increase mist intensity via remote. |
| Device not responding to remote | Remote battery low/dead; Obstruction between remote and diffuser; Remote out of range. | Replace remote battery; Ensure clear line of sight; Operate remote within effective range. |
| Unusual noise | Diffuser not on a level surface; Internal component issue. | Ensure diffuser is on a flat, stable surface. If noise persists, discontinue use and contact support. |
9. Specifications
| Feature | Detail |
|---|---|
| Model Name | Aroma Diffuser (AD5) |
| Brand | Generic |
| Color | Black |
| Material | Metal |
| Power Source | Corded Electric |
| Voltage | DC12V for 110-250V |
| Wattage | 16 watts |
| Oil Capacity | 500 Milliliters |
| Coverage Area | Up to 106,000 Cubic Feet |
| Noise Level | ≤45dba |
| Item Weight | 12.1 Pounds |
| Dimensions (L x W x H) | 7.2" x 7.2" x 24.8" |
| Special Features | Long Lasting Aroma, Timer Setting, Remote Control Operation |
10. Warranty and Support
For warranty information or technical support, please refer to the purchase documentation or contact the retailer from whom you purchased this product. Keep your proof of purchase for any warranty claims.
Manufacturer: Sellvia