
1. Introduction
Thank you for purchasing the Generic 100,000 mAh Portable Solar Power Bank. This high-capacity power bank is designed to provide reliable power for your mobile devices, featuring both wired and wireless charging capabilities, an integrated LED indicator, and a powerful flashlight. Its robust, waterproof design makes it an ideal companion for outdoor activities. Please read this manual carefully before use to ensure proper operation and maintenance.
2. Safety Information
Important Safety Precautions:
- Do not plug the mobile power bank into a car's power outlet for charging.
- Avoid exposing the power bank to direct sunlight for extended periods, especially in enclosed spaces like a car, as this can lead to overheating and damage.
- Keep the power bank out of reach of children to prevent improper use or accidents.
- Do not disassemble, modify, or repair the device yourself. Refer to qualified service personnel.
- Avoid extreme temperatures, humidity, and corrosive environments.
- Do not drop, impact, or subject the device to strong vibrations.
- Ensure proper ventilation during charging and discharging.
- Equipped with overcurrent, overcharge, overheat, and short-circuit protection to ensure the safety of the device and yourself.
3. Product Overview
The Generic 100,000 mAh Portable Solar Power Bank is designed for versatility and durability. It features multiple charging ports, wireless charging, an LED indicator, and a built-in flashlight.

Figure 3.1: Product Components and Features
- 1. Wireless Charging Area: For Qi-enabled devices.
- 2. ON/OFF Button: Power control and flashlight activation.
- 3. USB Output Ports (x4): For wired charging of various devices.
- 4. Type-C Input/Output Port: Universal charging port.
- 5. iOS Input Port: For charging with Apple Lightning cables.
- 6. Android Input Port: For charging with Micro USB cables.
- 7. LED Indicator Lights: Show battery level and charging status.
- 8. Solar Panel: For emergency solar charging.
- 9. Flashlight: Integrated LED light.

Figure 3.2: Multi-angle view of the Power Bank
4. Setup
Before first use, it is recommended to fully charge your power bank using a wall adapter for optimal performance.
- Initial Charging: Connect the power bank to a USB wall adapter using the provided USB cable or your own Type-C/Micro USB/Lightning cable. The LED indicator lights will illuminate to show charging progress. All four lights will be solid when fully charged.
- Solar Charging (Emergency Use): Place the power bank in direct sunlight. The solar panel will begin to charge the internal battery. Note that solar charging is slower and primarily intended for emergency power replenishment, not as a primary charging method.

Figure 4.1: Compatible Charging Cable Types
5. Operating Instructions
5.1. Charging Mobile Devices (Wired)
- Connect your device's USB charging cable to one of the power bank's USB output ports.
- Connect the other end of the cable to your mobile device.
- The power bank will automatically begin charging your device. The LED indicators will show the remaining battery level.
- The power bank supports charging up to 5 phones simultaneously using its 4 USB ports and wireless charging.

Figure 5.1: Simultaneous Wired and Wireless Charging
5.2. Charging Mobile Devices (Wireless)
This power bank supports Qi-enabled wireless charging.
- Press the ON/OFF button to activate the power bank.
- Place your Qi-enabled smartphone directly onto the wireless charging area of the power bank.
- Ensure the phone is centered on the wireless charging icon for optimal connection.
- The phone's screen should indicate that it is charging.
- Wireless charging supports mainstream wireless phones, including Apple (7.5W) and Android (10W fast charge).
- The power bank supports charging with phone cases up to 6mm thick.

Figure 5.2: Wireless Charging in Use

Figure 5.3: Compatible Qi-Enabled Devices
5.3. Using the LED Flashlight
The power bank includes a multi-mode LED flashlight.
- To Turn On/Off: Long press the ON/OFF button for approximately 3 seconds.
- SOS Light: Once the flashlight is on, press the ON/OFF button briefly to switch to SOS mode.
- Strobe Light: Press the ON/OFF button briefly again to switch to Strobe mode.
- The dual LED flashlight is a perfect handy tool for outdoor activities or emergency power outages at night.
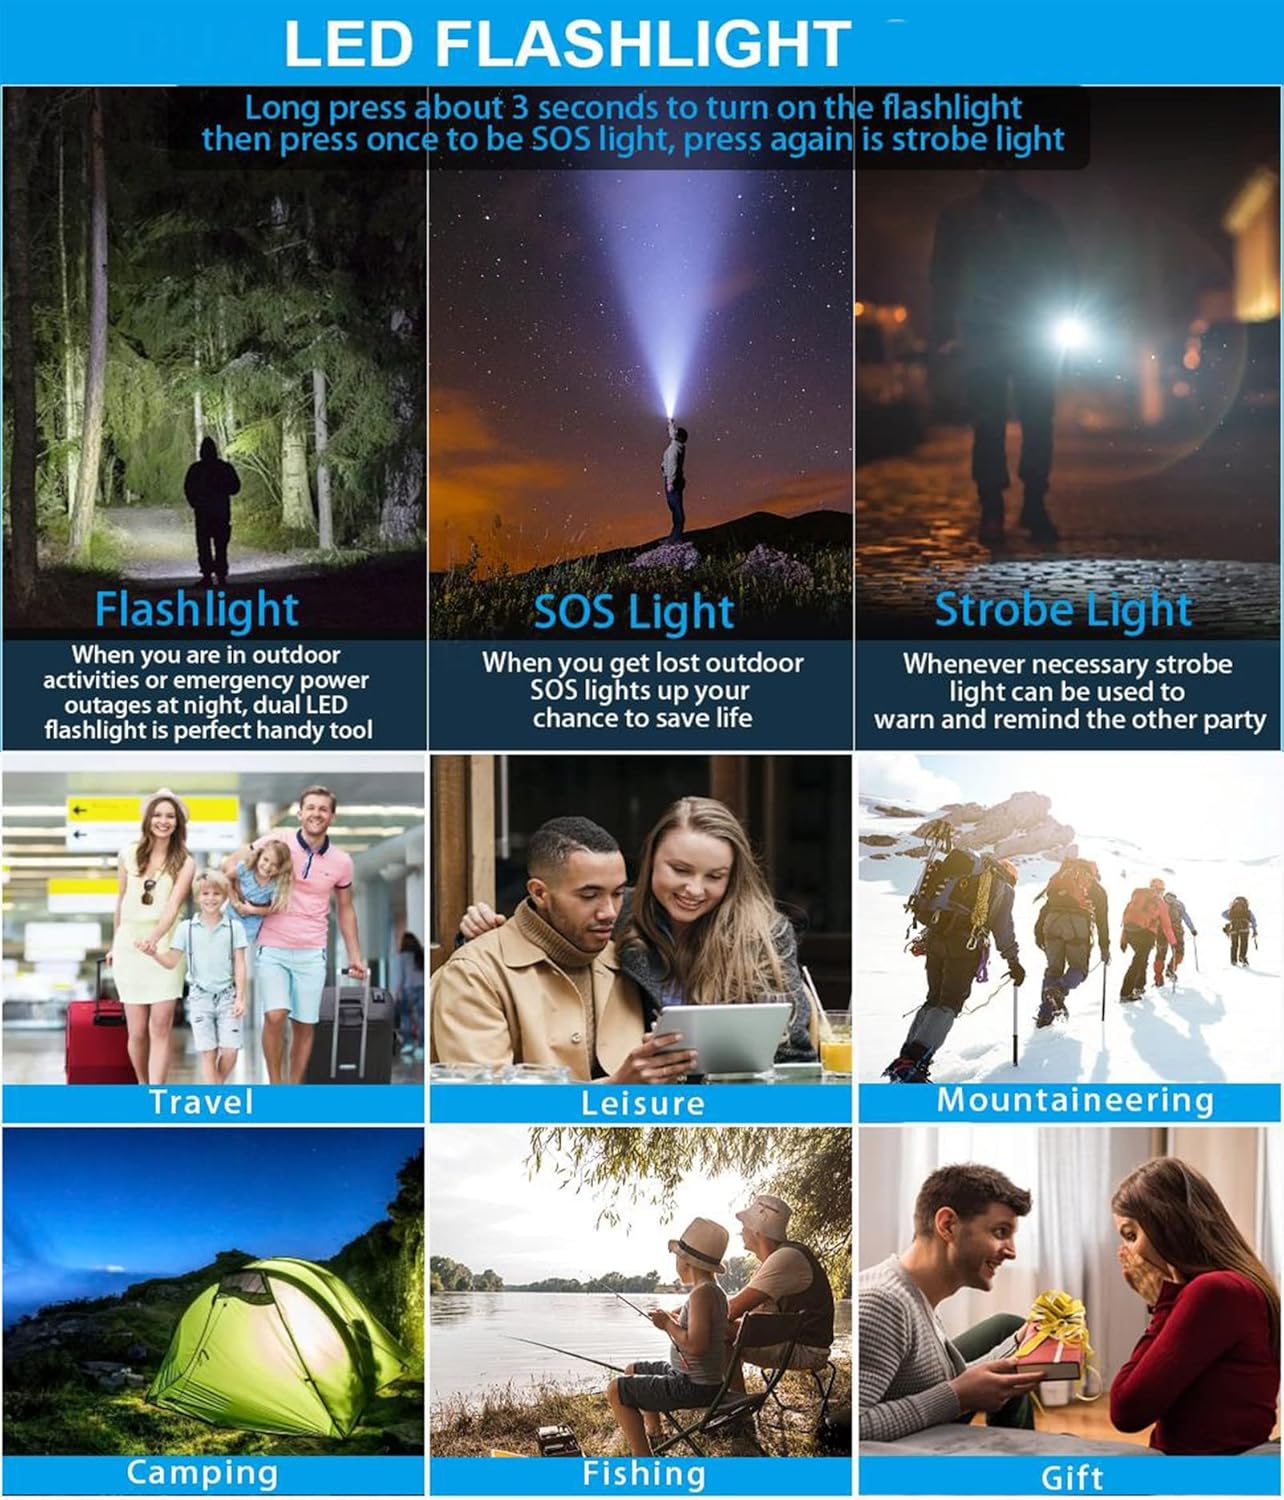
Figure 5.4: LED Flashlight Modes
6. Maintenance
- Clean the power bank with a soft, dry cloth. Do not use harsh chemicals or abrasive cleaners.
- Store the power bank in a cool, dry place away from direct sunlight and extreme temperatures.
- If not used for a long period, charge the power bank at least once every three months to maintain battery health.
- The power bank is waterproof, making it suitable for rainy or snowy conditions. However, avoid submerging it in water.
7. Troubleshooting
| Problem | Possible Cause | Solution |
|---|---|---|
| Power bank not charging | Cable not connected properly; faulty cable/adapter; power bank fully charged. | Ensure all connections are secure. Try a different cable or wall adapter. Check LED indicators; if all are solid, it's fully charged. |
| Device not charging from power bank | Power bank battery low; cable not connected properly; device not compatible; power bank not activated. | Check power bank battery level. Ensure cable is securely connected to both power bank and device. Press the ON/OFF button to activate. Verify device compatibility (especially for wireless charging). |
| Wireless charging not working | Device not Qi-enabled; phone not centered; thick phone case; power bank not activated. | Ensure your device supports Qi wireless charging. Reposition the phone on the charging area. Remove thick phone cases (over 6mm). Press the ON/OFF button. |
| Flashlight not turning on | Insufficient battery; incorrect button press. | Charge the power bank. Long press the ON/OFF button for 3 seconds to activate. |
| Slow charging | Using solar charging; cable quality; device input limit. | Solar charging is slow and for emergency use. Use a high-quality USB cable. Ensure your device supports fast charging if expecting high speeds. |
8. Specifications
| Feature | Detail |
|---|---|
| Model | Generic |
| Battery Capacity | 100,000 mAh |
| Battery Type | Polymer Lithium Battery |
| Material | ABS + Aluminum Alloy |
| Input | 5V/2.1A |
| Output | 5V/2.1A (Wired), 10W (Android Wireless), 7.5W (Apple Wireless) |
| Solar Energy | 1.8W |
| Product Dimensions (L x W x H) | 15.7 x 8.1 x 3.3 cm (6.5 x 3.2 x 1.3 inches) |
| Weight | Approx. 0.6 kg (1.3 lb) |
| Features | LED Indicator, Flashlight (Normal, SOS, Strobe), Wireless Charging, Multiple USB Outputs, Waterproof Design |
9. Warranty and Support
This product comes with a standard manufacturer's warranty. For specific warranty terms and conditions, please refer to the documentation provided at the time of purchase or contact your retailer. If you encounter any issues or require technical assistance, please contact the seller or manufacturer's customer support. Contact information can typically be found on the product packaging or the retailer's website.
Package Contents:
- Portable Solar Charger x 1
- USB Cable x 1
- Carabiner x 1
- Wrist Strap x 1
- User Manual x 1 (This document)


