1. Important Safety Information
Please read these instructions carefully before using the device and retain them for future reference. Incorrect use may result in damage to the product or personal injury.
- Ensure the power adapter is compatible with your local power supply.
- Do not expose the device to water or excessive humidity.
- Avoid placing the device near heat sources or in direct sunlight.
- Use only the provided power adapter.
- Keep out of reach of children.
- Do not attempt to disassemble or repair the device yourself. Contact customer support for assistance.
- Insert AAA batteries correctly for backup function (not included).
2. Package Contents
Verify that all items are present in the package:
- Mee 2ou HM-01 Digital Alarm Clock
- Power Adapter (5.0V/2A)
- USB-A to 2-pin power cable
- Wall mounting pins (for wall-mounted use)
- User Manual
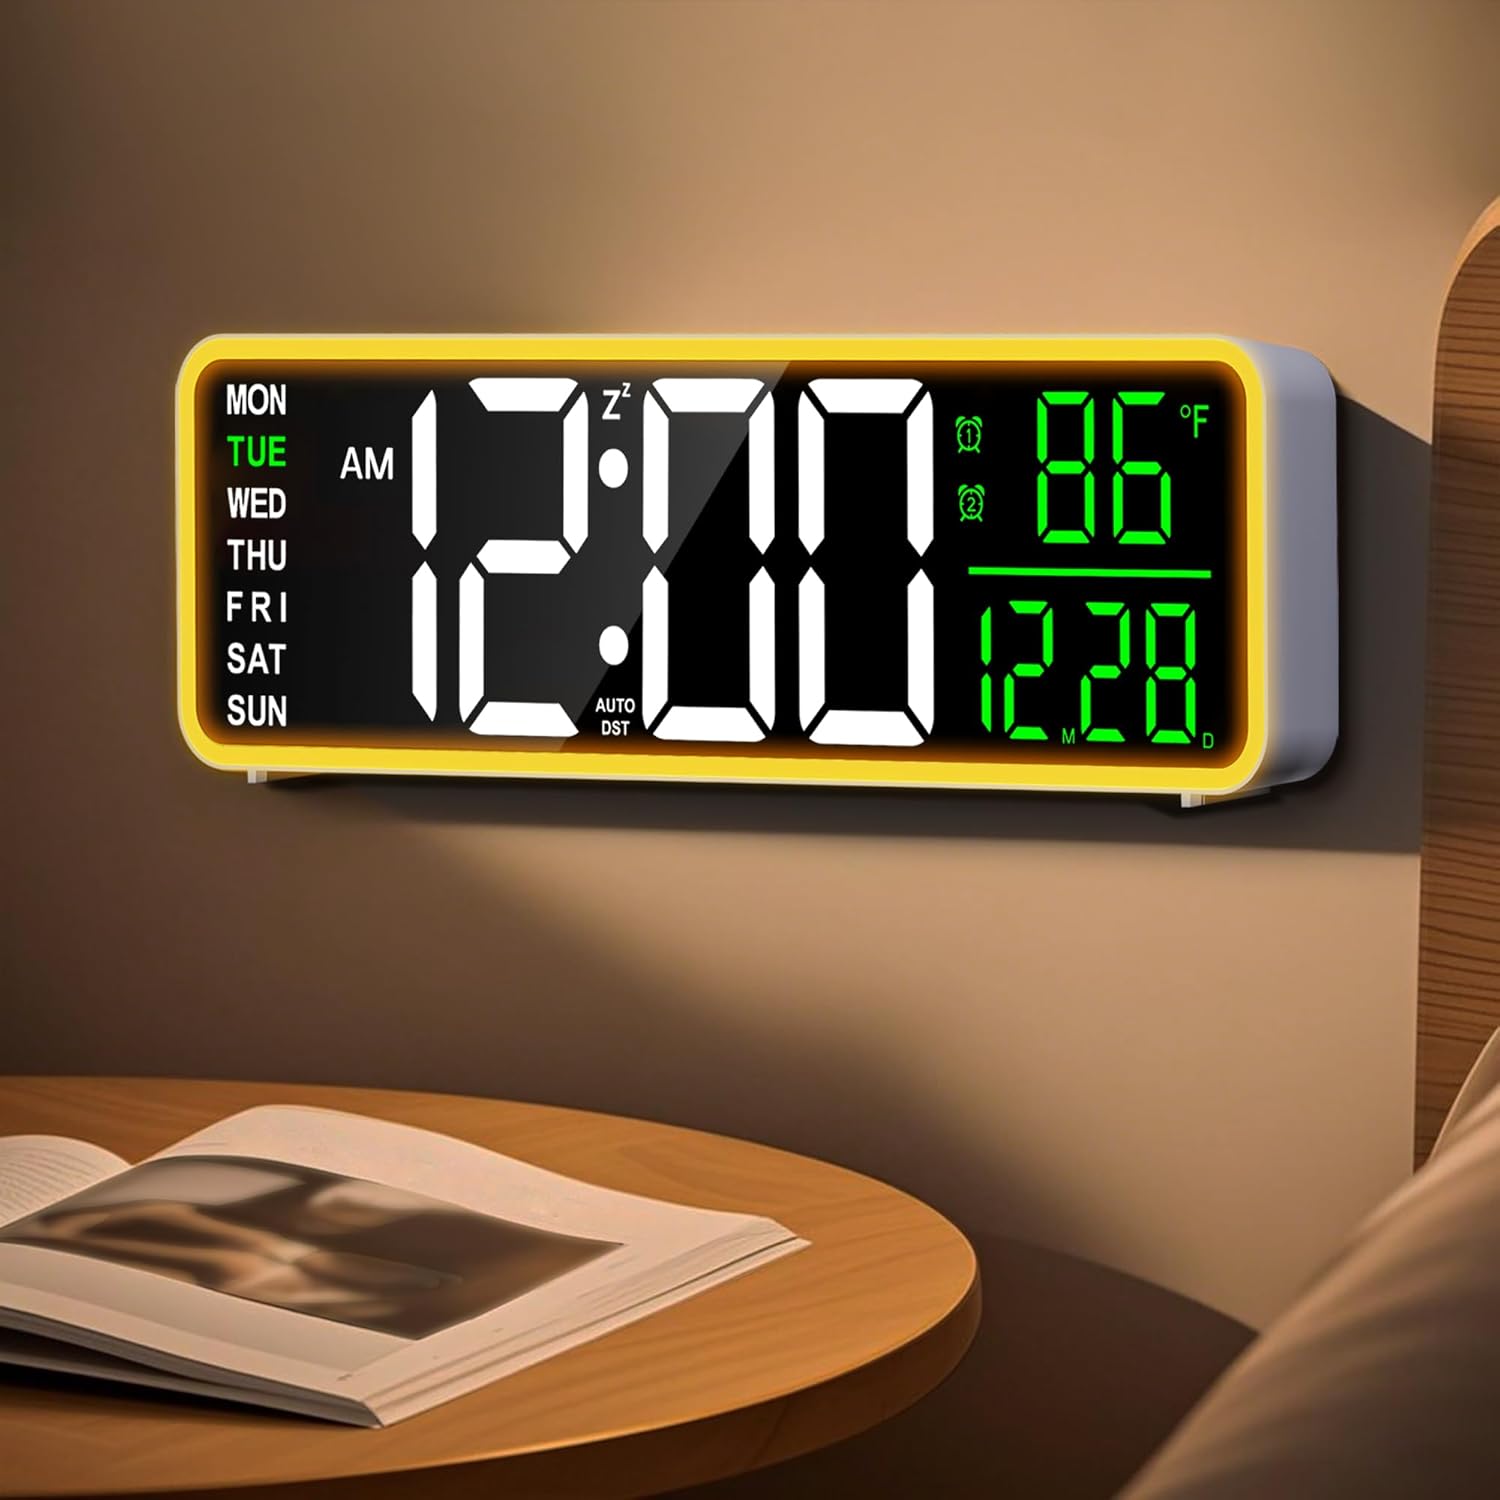
Image: The Mee 2ou HM-01 digital alarm clock, showing its display and overall design.
3. Product Overview
3.1 Display Features
The 9-inch HD display provides clear visibility of the following information:
- Time (12/24H format)
- Date (Month/Day)
- Day of the week (MON, TUE, WED, THU, FRI, SAT, SUN)
- Indoor Temperature (°C/°F)
- Alarm 1 and Alarm 2 indicators
- Snooze indicator (Zz)
- AM/PM indicator (for 12H format)
- DST indicator (AUTO DST)

Image: Detailed view of the clock's display, highlighting various indicators.
3.2 Controls
The clock features touch controls for easy interaction.
- Touch Control Area: Located on the top of the clock for snooze and brightness adjustment.
- Rear Buttons: For setting time, alarms, and other functions.
4. Setup
4.1 Power Connection
- Connect the provided USB-A to 2-pin power cable to the clock's power input port.
- Plug the USB-A end of the cable into the included 5.0V/2A power adapter.
- Insert the power adapter into a standard wall outlet. The clock display will illuminate.

Image: The clock connected to its power source, illustrating the plug-in operation.
4.2 Battery Backup Installation (Optional)
For retaining settings during a power outage, install backup batteries:
- Locate the battery compartment on the back of the clock.
- Open the compartment cover.
- Insert 2 AAA batteries (not included), ensuring correct polarity (+/-).
- Close the battery compartment cover.
Note: Batteries are for backup only and do not power the main display continuously.
4.3 Placement Options
The clock supports both tabletop and wall-mounted use.
- Tabletop: Place the clock on a flat, stable surface.
- Wall-mounted: Use the provided wall mounting pins to secure the clock to a wall. Ensure the clock is securely fastened before releasing.

Image: Examples of the clock's versatile placement options in different rooms.
5. Operating Instructions
5.1 Setting Time and Date
Refer to the buttons on the back of the clock for time and date adjustments.
- Press the "SET" button (or equivalent) to enter time setting mode.
- Use the "UP" and "DOWN" buttons (or equivalent) to adjust the hour, then press "SET" to confirm.
- Repeat for minutes, year, month, and day.
- Press "SET" again to exit setting mode.
5.2 12/24 Hour Format Switch
The clock supports both 12-hour and 24-hour time formats.
- Locate the 12/24H switch button (or equivalent) on the back of the clock.
- Press it to toggle between 12-hour (with AM/PM indicator) and 24-hour formats.

Image: Visual representation of switching between 12-hour and 24-hour time displays.
5.3 Setting Dual Alarms
The clock features two independent alarms (Alarm 1 and Alarm 2).
- Press the "ALARM 1" button (or equivalent) to enter Alarm 1 setting mode.
- Use the "UP" and "DOWN" buttons to set the desired alarm time.
- Press "ALARM 1" again to confirm the time and proceed to set the alarm frequency (weekdays, weekends, or daily).
- Repeat the process for "ALARM 2" using its dedicated button.
- To activate/deactivate an alarm, press its respective alarm button briefly. An alarm icon will appear/disappear on the display.

Image: Depiction of setting two separate alarms for different schedules.
5.4 Snooze Function
When an alarm sounds, touch the designated area on the top of the clock to activate snooze.
- The alarm will pause for a set duration (e.g., 9 minutes) and sound again.
- The "Zz" icon will appear on the display when snooze is active.
- To turn off the alarm completely, press any other button on the back of the clock.

Image: Illustration of the touch-sensitive snooze and dimmer control on the clock's top surface.
5.5 Display Brightness Adjustment
The clock features 5 levels of display brightness.
- Touch the designated area on the top of the clock to cycle through the brightness levels.
- Adjust to your preference for optimal viewing day or night.

Image: Examples of the clock display at various brightness settings (100%, 60%, 30%, 1%).
5.6 Night Light Function
The clock includes a warm night light with 5 adjustable brightness levels.
- Locate the night light button (or equivalent) on the back of the clock.
- Press the button to cycle through the 5 brightness levels of the night light.
- This provides gentle illumination without glare.
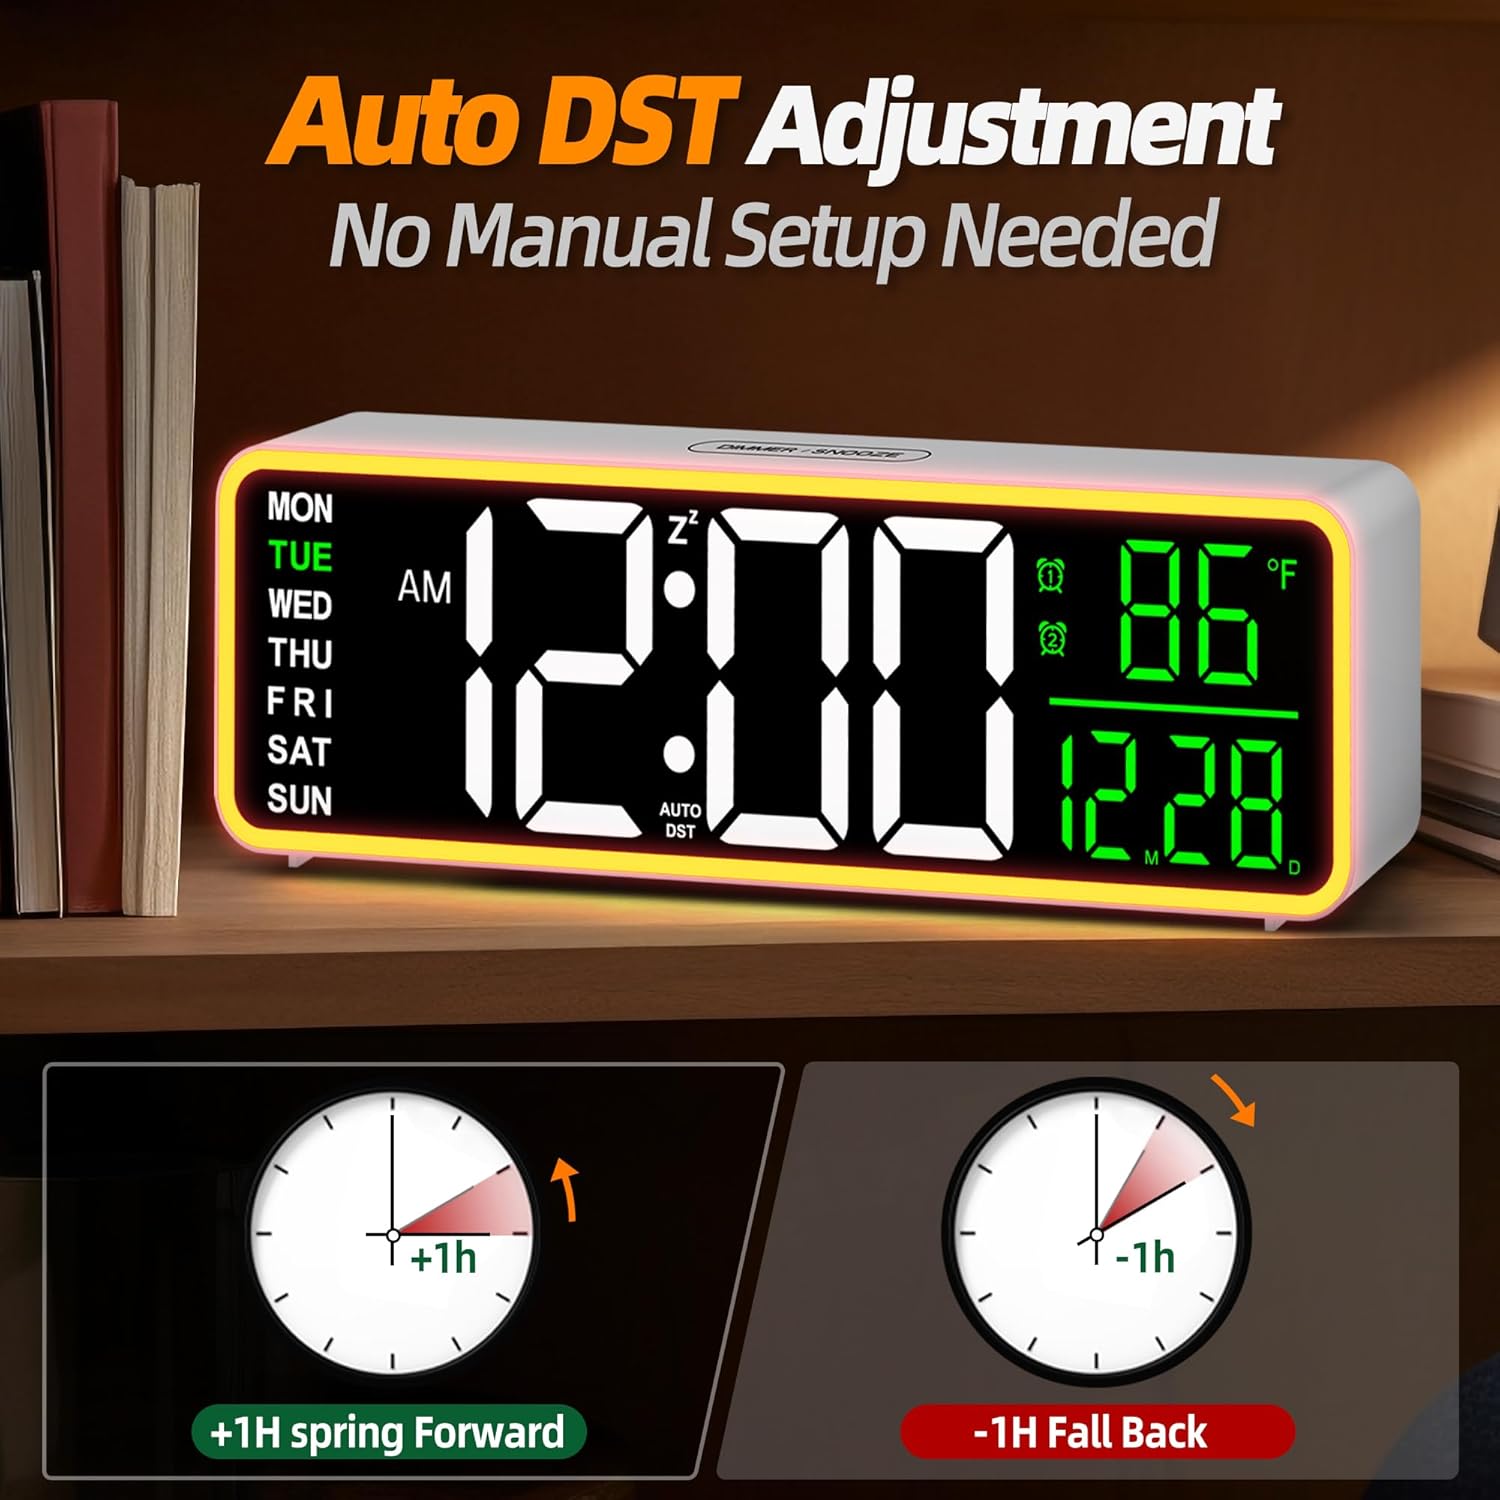
Image: The clock's night light in use, providing soft ambient lighting.
5.7 Daylight Saving Time (DST) Adjustment
The clock features an automatic DST mode.
- Locate the "DST" button (or equivalent) on the back of the clock.
- Press to toggle the Auto DST function ON or OFF.
- When ON, the clock will automatically adjust for Daylight Saving Time changes.
Image: Diagram showing how the clock adjusts for spring forward (+1h) and fall back (-1h) with Auto DST.
5.8 Temperature Display Switch
The clock displays indoor temperature in either Celsius or Fahrenheit.
- Locate the temperature unit switch button (or equivalent) on the back of the clock.
- Press to switch between °C and °F.
Image: Visual representation of switching between Celsius and Fahrenheit temperature displays.
6. Maintenance
- Cleaning: Wipe the clock with a soft, dry cloth. Do not use abrasive cleaners or solvents.
- Storage: If storing the clock for an extended period, remove the AAA backup batteries to prevent leakage.
- Power: Ensure the power adapter and cable are free from damage.
7. Troubleshooting
| Problem | Possible Cause | Solution |
|---|---|---|
| Clock display is off. | No power supply. | Ensure the power adapter is securely plugged into the clock and a working wall outlet. |
| Settings are lost after power outage. | No backup batteries or batteries are depleted. | Install 2 new AAA batteries in the battery compartment. |
| Alarm does not sound. | Alarm is not activated or volume is too low. | Ensure the alarm icon is visible on the display. Check alarm volume settings (if applicable, not explicitly mentioned but common). |
| Display is too bright/dim. | Brightness level needs adjustment. | Touch the top control area to cycle through display brightness levels. |
| DST not adjusting automatically. | Auto DST function is off. | Activate the Auto DST function using the button on the back of the clock. |
8. Specifications
| Feature | Detail |
|---|---|
| Brand | Mee 2ou |
| Model Number | HM-01 |
| Display Type | Digital |
| Product Dimensions | 9"W x 2.8"H |
| Power Source | Corded Electric |
| Battery Backup | 2 x AAA batteries (not included) |
| Mounting Type | Wall-mounted or Tabletop |
| Special Features | Dual Alarms, Snooze, Dimming Brightness, Night Light, Temperature Display, 12/24H, Auto DST |
| Material | Plastic |
| Item Weight | 6.3 ounces (180 Grams) |
| UPC | 729634734388 |
9. Warranty and Support
Mee 2ou products are designed for reliability and performance. For warranty information or technical support, please refer to the contact details provided with your purchase or visit the official Mee 2ou website.
Please retain your proof of purchase for any warranty claims.