Introduction
This manual provides detailed instructions for the installation, operation, and maintenance of your new Generic replacement icemaker. This part is designed to be compatible with Kenmore refrigerator model 106.57799700. Please read this manual thoroughly before installation and retain it for future reference.
Safety Information
WARNING: Before attempting any installation or maintenance, always disconnect power to the refrigerator to prevent electric shock or injury.
- Ensure the refrigerator is unplugged from the electrical outlet.
- Turn off the water supply to the refrigerator.
- Wear appropriate personal protective equipment, such as gloves, if necessary.
- If you are unsure about any step, consult a qualified technician.
Package Contents
Verify that all components are present before beginning installation.
- 1 x Generic Replacement Icemaker (1 Set ONLY)
- Note: Additional tools required for installation (e.g., screwdriver, wrench) are not included.
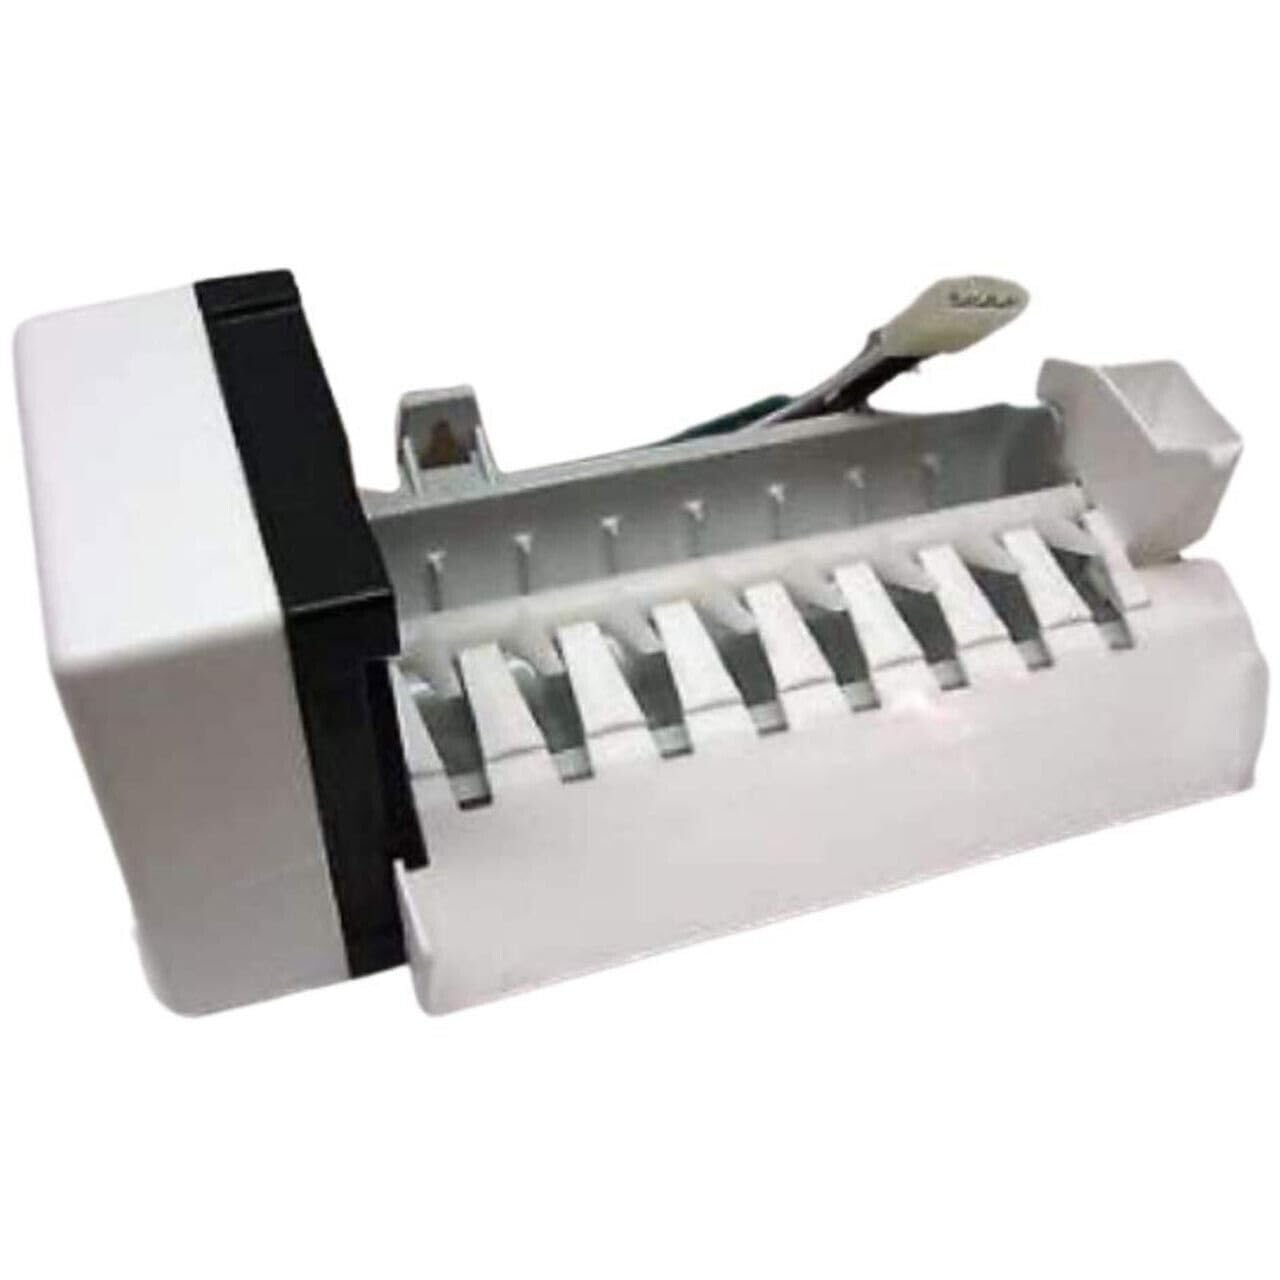
Image 1: The Generic replacement icemaker. This image shows the complete icemaker unit, primarily white with a black section on one end, and a wire harness extending from the top. The ice mold section is visible with individual ice cube compartments.
Setup (Installation)
Follow these steps carefully to install the replacement icemaker.
- Disconnect Power and Water: Unplug the refrigerator from the wall outlet and turn off the water supply valve to the refrigerator.
- Access Old Icemaker: Open the freezer door. Locate the existing icemaker. Depending on your refrigerator model, you may need to remove an ice bucket or a cover panel to access it.
- Remove Old Icemaker:
- Disconnect the wire harness from the old icemaker. This usually involves pressing a tab and pulling the connector apart.
- Unscrew any mounting screws holding the icemaker in place. There are typically 2-3 screws.
- Carefully slide or pull the old icemaker out of its position.
- Install New Icemaker:
- Align the new icemaker with the mounting brackets inside the freezer.
- Secure the new icemaker with the mounting screws previously removed. Ensure it is firmly in place.
- Connect the wire harness from the refrigerator to the new icemaker. Ensure the connection is secure and clicks into place.
- Restore Power and Water: Turn the water supply back on. Plug the refrigerator back into the electrical outlet.
- Initial Check: Listen for the icemaker to fill with water. This may take a few minutes. The first batch of ice may take several hours to form.
Operating Instructions
Once installed, the icemaker operates automatically. It will produce ice cubes as needed, provided the water supply is on and the freezer temperature is set correctly.
- First Batch of Ice: Discard the first 2-3 batches of ice to ensure any air in the water line is cleared and the icemaker is clean.
- Ice Production Rate: Ice production can vary based on freezer temperature, frequency of door openings, and water pressure.
- Ice Level Arm: The icemaker typically has a shut-off arm that stops ice production when the ice bucket is full. Ensure this arm is not obstructed.
Maintenance
Regular maintenance helps ensure optimal performance and longevity of your icemaker.
- Clean Ice Bucket: Periodically empty and wash the ice bucket with mild soap and water. Rinse thoroughly and dry before returning it to the freezer.
- Check Water Filter: If your refrigerator has a water filter, ensure it is replaced according to the manufacturer's recommendations to maintain water quality and icemaker performance.
- Inspect Water Line: Occasionally check the water supply line for kinks or leaks.
Troubleshooting
Refer to the following table for common issues and their solutions.
| Problem | Possible Cause | Solution |
|---|---|---|
| No ice production |
|
|
| Small or hollow ice cubes |
|
|
| Ice tastes bad or has odor |
|
|
If the problem persists after attempting these solutions, contact a qualified appliance technician.
Specifications
- Part Number: icepart#24131295
- Compatible Model: Kenmore 106.57799700
- Color: Black and White
- Dimensions: 0.01"D x 0.01"W x 0.01"H (Note: These dimensions appear to be placeholder values from the product data and may not reflect the actual physical size of the icemaker.)
- Included Components: 1 Set ONLY (Icemaker unit)
Warranty and Support
This replacement part is provided by Generic. For specific warranty information or technical support, please refer to the seller's policies or contact the seller directly through the platform where the purchase was made. Keep your purchase receipt as proof of purchase.
Note: As this is a generic replacement part, warranty and support are typically handled by the seller.