1. Introduction
This manual provides essential information for the safe operation, maintenance, and troubleshooting of your Ausom SR1 Electric All-Terrain Scooter. Please read this manual thoroughly before first use to ensure proper handling and to maximize your riding experience. Keep this manual for future reference.
Important Safety Notice: Please check local regulations and obligations applicable to electric scooters before purchasing and using this product. For any questions, please contact the seller.
2. Safety Guidelines
- Always wear a helmet and appropriate protective gear (knee pads, elbow pads) when riding.
- Ensure all components are securely fastened and in good working order before each ride.
- Do not ride in heavy rain, snow, or icy conditions.
- Avoid riding on slippery surfaces, loose gravel, or excessively rough terrain at high speeds.
- Maintain a safe distance from other vehicles and pedestrians.
- Familiarize yourself with the braking system and practice emergency stops in a safe area.
- Do not perform stunts or aggressive maneuvers that could lead to loss of control.
- Adhere to local traffic laws and regulations.
3. Setup
3.1 Unboxing and Initial Inspection
Carefully remove all components from the packaging. Inspect the scooter for any signs of damage that may have occurred during shipping. Ensure all parts listed in the packing list are present.
3.2 Assembly
The Ausom SR1 scooter typically comes partially assembled. You will need to:
- Attach the Handlebar: Securely fasten the handlebar to the stem using the provided screws and tools. Ensure it is aligned correctly and tightened to prevent wobbling.
- Check Tire Pressure: Verify that the 10-inch tires are inflated to the recommended pressure.
- Inspect Brakes: Confirm that the E-ABS and hydraulic disc brakes are functioning correctly.
3.3 Initial Charging
Before your first ride, fully charge the scooter's 20.8 Ah 52V lithium-ion battery. The scooter features dual charging ports for faster charging. Use only the official charger provided with your scooter.

Image: The Ausom SR1 scooter showing its dual charging ports, allowing for faster battery replenishment.
3.4 NFC Lock Setup
The Ausom SR1 features an NFC locking system for enhanced security. To set up:
- Activate NFC: Ensure the scooter is powered on.
- Pair your NFC device: Follow the instructions on the scooter's display or in the dedicated app (if applicable) to pair your NFC card or smartphone.
- Test the Lock: After pairing, test the NFC lock by tapping your device to the designated area on the display. The scooter should lock/unlock accordingly.
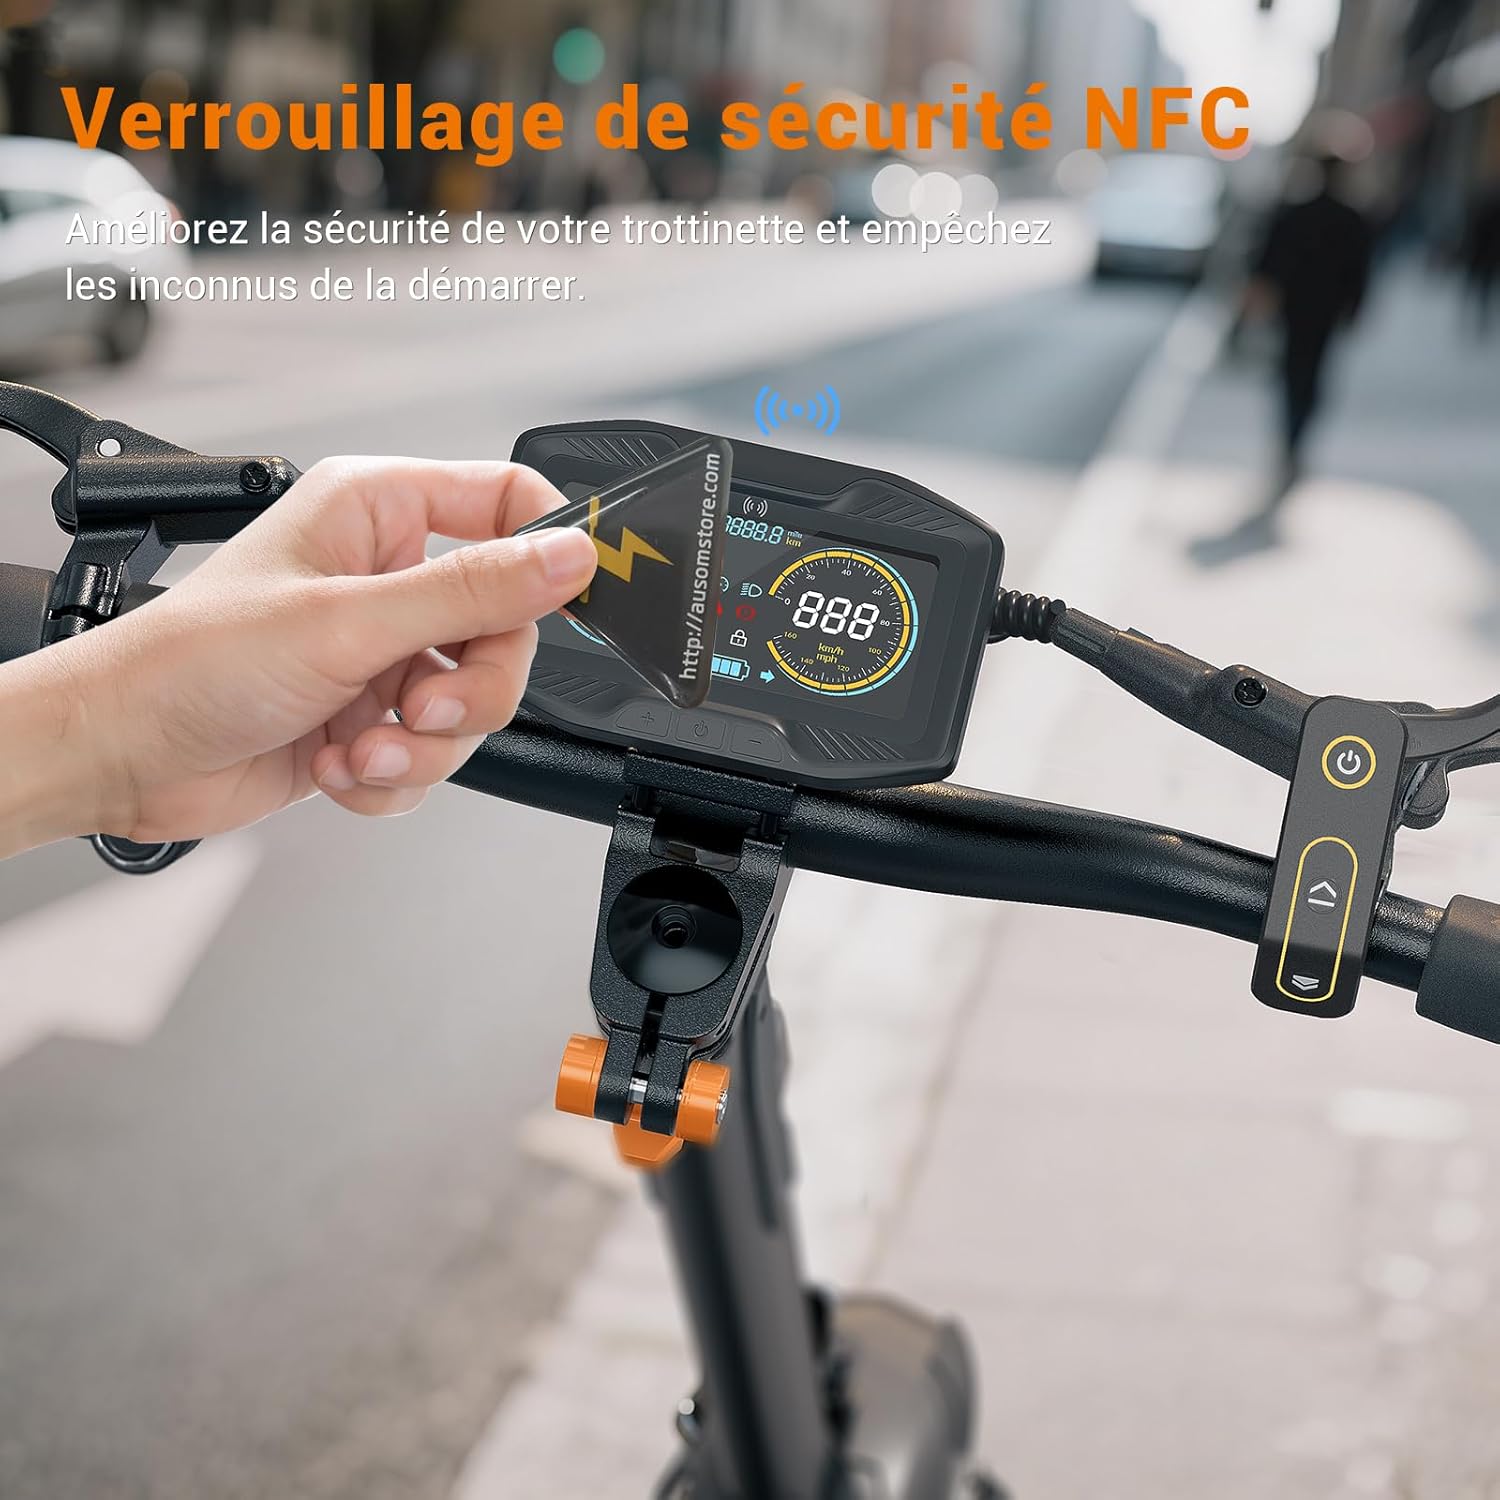
Image: A hand demonstrating the NFC unlock feature by placing an NFC card near the scooter's display.

Image: A smartphone interacting with the scooter's NFC system, indicating secure unlocking.
4. Operating Instructions
4.1 Powering On/Off
Press and hold the power button on the handlebar to turn the scooter on or off. The LCD display will illuminate upon power-on.
4.2 LCD Display Functions
The intelligent LCD dashboard provides real-time information:
- Speed: Current riding speed.
- Battery Level: Remaining battery charge.
- Distance: Trip distance or total odometer.
- Riding Mode: Indicates the selected speed mode (Eco, Sport, Race).
- Lights: Status of headlights and ambient lighting.
- Cruise Control: Indication when activated.
- Parking Mode: Indication when active.

Image: The intelligent LCD display showing various riding metrics and mode selections.
4.3 Riding Modes
Easily switch between speed modes using the controls on the handlebar:
- Eco Mode: For maximum range and energy efficiency.
- Sport Mode: Balanced performance for everyday riding.
- Race Mode: Full power for maximum speed and acceleration.
4.4 Special Modes
- Cruise Mode: Activate to maintain a constant speed without holding the throttle.
- Walk Mode (5 km/h): Engages a low-speed mode for easy maneuvering when walking alongside the scooter.
- Parking Mode: Automatically activates after 30 seconds of inactivity to prevent accidental starts. Deactivate by pressing the '+' button.
4.5 Braking System
The Ausom SR1 is equipped with advanced E-ABS and Zoom hydraulic disc brakes for reliable stopping power. Apply both brakes gently and evenly for controlled deceleration. In emergency situations, apply firm pressure to both brake levers.

Image: Detail of the scooter's robust braking system, featuring E-ABS and hydraulic disc brakes.
4.6 Lighting and Turn Signals
The scooter features a comprehensive lighting system, including headlights, taillights, and customizable ambient lighting. Use the joystick controls to activate turn signals, enhancing visibility and safety during turns.

Image: The scooter's lighting system, including ambient lights and turn signals, for safe night riding.
4.7 Folding Mechanism
The Ausom SR1 is designed for easy folding and storage. Follow the instructions in the diagram to safely fold and unfold your scooter. Ensure all locking mechanisms are engaged before riding.

Image: The scooter folded for compact storage, fitting easily into a car trunk.

Image: Visual guide to the scooter's effortless folding mechanism.
5. Maintenance
5.1 Battery Care
- Charge the battery regularly, even if not in use, to maintain its lifespan.
- Avoid completely draining the battery before recharging.
- Store the scooter in a cool, dry place away from direct sunlight and extreme temperatures.
5.2 Tire Maintenance
Regularly check the pressure of the 10"x3" reinforced anti-puncture tires. Proper tire pressure ensures optimal performance, range, and safety. Inspect tires for wear and tear or damage.
5.3 Brake System Inspection
Periodically check the brake levers, cables, and disc pads for wear. Ensure the brakes respond effectively. If you notice any issues, have them inspected by a qualified technician.
5.4 Suspension Check
The dual swingarm suspension system provides a smooth ride. Periodically inspect the suspension components for any signs of damage or excessive play. Keep them clean from dirt and debris.
5.5 General Cleaning
Clean the scooter with a damp cloth. Avoid using high-pressure water jets or harsh chemicals, which can damage electronic components or paintwork.
6. Troubleshooting
- Scooter not turning on: Check battery charge. Ensure all connections are secure.
- Reduced range: Verify tire pressure. Ensure battery is fully charged. Riding style and terrain can affect range.
- Brakes not responding: Inspect brake pads and cables. Do not ride if brakes are faulty. Seek professional assistance.
- Unusual noises: Stop riding immediately and inspect the scooter for loose parts or damage.
For persistent issues not covered here, please contact Ausom customer support or a certified service center.
7. Specifications
| Feature | Specification |
|---|---|
| Brand | Ausom |
| Model Number | SR1 |
| Motor Power | 2000W (Dual Motors) |
| Battery | 20.8 Ah 52V Lithium-ion |
| Max Range | Up to 95 km |
| Climbing Capacity | 46% |
| Braking System | E-ABS, Zoom Hydraulic Disc Brakes |
| Suspension Type | Dual Swingarm Suspension |
| Tires | 10"x3" Reinforced Anti-puncture |
| Frame Material | Forged Aluminum Alloy |
| Max Load Capacity | 130 kg |
| Product Dimensions (Unfolded) | 136L x 62.5W x 127H cm |
| Product Dimensions (Folded) | 127L x 62.5W x 58H cm |
| Special Features | NFC Lock, Smart LCD Display, USB-A/USB-C Charging Ports, Integrated AirTag Support |

Image: Detailed dimensions of the scooter in both unfolded and folded states.
8. Warranty and Support
The Ausom SR1 Electric All-Terrain Scooter comes with a limited warranty. Please refer to the warranty card included in your packaging for specific terms and conditions. For any product-related questions, technical support, or warranty claims, please contact the seller or Ausom customer service directly.
You can also find additional information and support on the official Ausom website: Ausom Brand Store