1. Introduction
This manual provides essential information for the installation and use of your new replacement timer knob for Crosley Washers. Please read these instructions carefully before proceeding with installation to ensure proper function and longevity of the part.
This timer knob is an aftermarket replacement part designed to restore the functionality of your washing machine's timer control.
2. Compatibility
This replacement timer knob is compatible with specific Crosley Washer models. Please verify your washer's model number against the list below to ensure compatibility.
Compatible Models:
- CAWS729MQ0
- CAWS923MQ0
- CAWS923MQ1
- CAWX700MQ0
If you are unsure about the compatibility, please consult a qualified technician or contact the supplier for assistance.
3. Package Contents
Upon opening the package, please ensure all components are present and undamaged.
- 1x Timer Knob (as pictured)
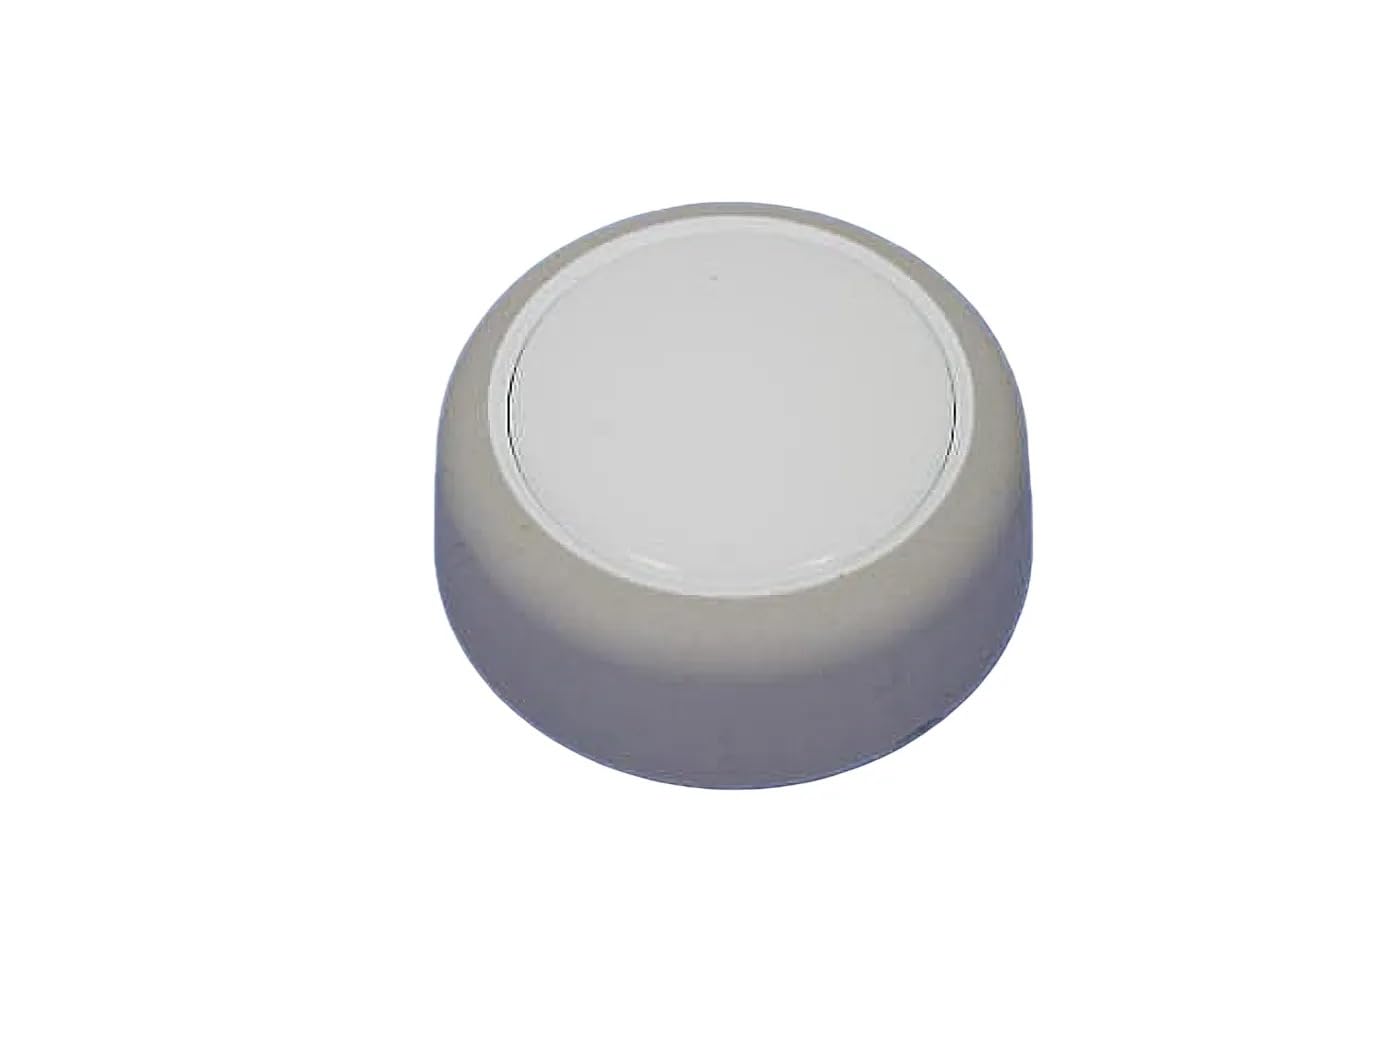
Figure 3.1: The replacement timer knob. This image shows the top view of the knob, which is light gray or white with a smooth, rounded surface, designed to fit onto a washer's control shaft.
4. Setup and Installation
Before beginning the installation process, ensure the washing machine is unplugged from the power outlet to prevent electrical shock.
- Power Disconnection: Locate the power cord of your Crosley Washer and unplug it from the wall outlet. This is a critical safety step.
- Remove Old Knob: Gently pull the existing timer knob directly off the control shaft. It may require a firm but steady pull. Avoid twisting or prying forcefully, which could damage the shaft.
- Inspect Shaft: Examine the control shaft for any damage or debris. Ensure it is clean and free of obstructions.
- Install New Knob: Align the new timer knob with the control shaft. The knob is designed to fit only one way. Push the new knob firmly onto the shaft until it is securely seated. Do not force it.
- Test Fit: Once installed, gently turn the knob to ensure it rotates smoothly and engages with the washer's timer mechanism.
- Reconnect Power: Plug the washing machine back into the power outlet.
If you encounter resistance or difficulty during installation, do not force the knob. Re-check alignment or consult a professional.
5. Operating Instructions
The replacement timer knob functions identically to the original part. Its purpose is to allow you to select the desired wash cycle and settings on your Crosley Washer.
- Cycle Selection: Rotate the timer knob clockwise or counter-clockwise to select the desired wash cycle (e.g., Normal, Delicate, Heavy Duty).
- Start Cycle: Once the desired cycle is selected, pull the knob outwards (if applicable to your model) or press it in to start the wash cycle. Refer to your washer's original user manual for specific starting procedures.
- Stopping/Pausing: To stop or pause a cycle, push the knob inwards (if applicable) or rotate it to the "Off" position.
Always refer to your specific Crosley Washer's user manual for detailed instructions on operating its various cycles and features.
6. Maintenance
The timer knob requires minimal maintenance. Regular cleaning will help maintain its appearance and functionality.
- Cleaning: Wipe the knob periodically with a soft, damp cloth. Avoid using abrasive cleaners, solvents, or harsh chemicals, as these can damage the finish.
- Inspection: Occasionally check that the knob remains securely attached to the shaft. If it feels loose, gently push it back into place.
7. Troubleshooting
If you experience issues after installing the new timer knob, consider the following common problems and solutions:
| Problem | Possible Cause | Solution |
|---|---|---|
| Knob does not turn or is stiff. | Incorrect alignment during installation; debris on shaft; damaged shaft. | Remove knob, inspect shaft and knob for debris or damage, re-align and re-install carefully. If shaft is damaged, professional repair may be needed. |
| Knob spins freely without engaging. | Knob not fully seated; internal damage to knob or washer's timer mechanism. | Ensure knob is pushed firmly onto the shaft. If issue persists, the knob or timer mechanism may be faulty and require replacement or professional service. |
| Washer does not start after knob installation. | Washer not plugged in; circuit breaker tripped; timer mechanism issue. | Check power connection. Verify circuit breaker. If the knob is installed correctly, the issue may be with the washer's internal components, requiring professional diagnosis. |
For issues not listed here or if troubleshooting steps do not resolve the problem, it is recommended to contact a qualified appliance repair technician.
8. Specifications
- Part Number: 3951026
- Manufacturer: Generic
- Color: As pictured (typically light gray/white)
- Compatibility: Crosley Washers (CAWS729MQ0, CAWS923MQ0, CAWS923MQ1, CAWX700MQ0)
- ASIN: B0F1KYYQS4
9. Support and Contact
If you require further assistance or have questions regarding this replacement part, please contact your retailer or the manufacturer.
For general inquiries or compatibility concerns, refer to the contact information provided by your point of purchase.
Please have your product's ASIN (B0F1KYYQS4) and the model number (3951026) ready when contacting support.


