1. Introduction
This manual provides essential instructions for the safe and effective use of the DMAIDNHEG Mini560 Pro 5A DC-DC Step Down Buck Stabilized Voltage Power Supply Module. Please read this manual thoroughly before installation and operation to ensure optimal performance and prevent damage.
2. Product Overview
The Mini560 Pro is a compact and efficient DC-DC step-down (buck) converter module designed to provide a stable output voltage from a higher input voltage. It is capable of delivering up to 5A of current, making it suitable for various electronic projects and applications requiring precise voltage regulation.
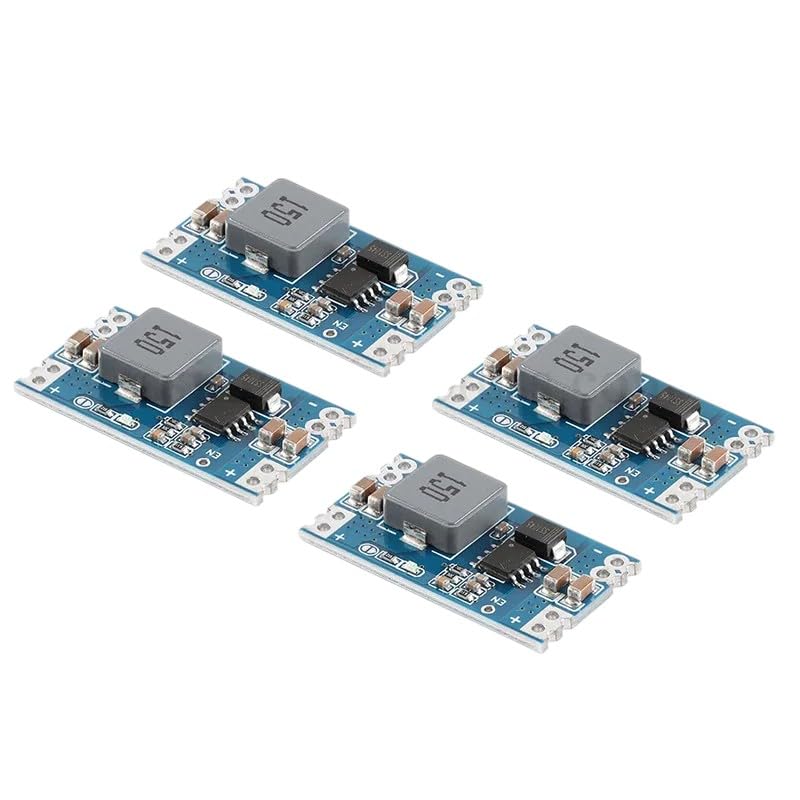
Figure 2.1: Four DMAIDNHEG Mini560 Pro DC-DC Step Down Buck Converter Modules. Each module features an inductor, integrated circuits, and input/output terminals, designed for efficient voltage conversion.
3. Key Features
- High Efficiency: Advanced buck converter design for efficient power conversion.
- Wide Input Voltage Range: Accepts a broad range of DC input voltages.
- Adjustable Output Voltage: Provides stable output voltages such as 3.3V, 5V, 9V, or 12V, depending on configuration.
- High Current Capability: Capable of delivering up to 5A output current.
- Compact Design: Small form factor for integration into various projects.
4. Specifications
| Parameter | Value |
|---|---|
| Model | Mini560 Pro |
| Input Voltage | (Typically 4.75V-20V, specific range may vary by variant) |
| Output Voltage | 3.3V, 5V, 9V, 12V (Adjustable or fixed, depending on variant) |
| Output Current | Up to 5A (with adequate heat dissipation) |
| Conversion Efficiency | Up to 95% |
| Operating Temperature | -40°C to +85°C |
| Dimensions | Compact (specific dimensions vary slightly) |
Note: Specific voltage ranges and current capabilities may vary slightly between production batches. Always refer to the markings on your specific module.
5. Setup Instructions
- Identify Terminals: Locate the input (IN+ / IN-) and output (OUT+ / OUT-) terminals on the module. Ensure correct polarity.
- Input Connection: Connect your DC power source to the IN+ and IN- terminals. Ensure the input voltage is within the module's specified operating range and higher than the desired output voltage.
- Output Connection: Connect your load (the device requiring power) to the OUT+ and OUT- terminals. Double-check polarity before applying power.
- Voltage Adjustment (if applicable): If your module has an adjustable output (e.g., via a potentiometer), use a small screwdriver to carefully turn the potentiometer while monitoring the output voltage with a multimeter. Adjust until the desired voltage is reached. For fixed-output modules, this step is not required.
- Heat Management: For applications requiring high output currents (e.g., approaching 5A), consider adding a heatsink to the main IC or ensuring adequate airflow to prevent overheating.
Warning: Incorrect polarity or exceeding voltage/current limits can permanently damage the module and connected devices. Always verify connections before applying power.
6. Operating Instructions
- Power On: Once all connections are secure and verified, apply power to the input terminals.
- Monitor Output: Use a multimeter to confirm the output voltage is stable and at the desired level.
- Load Application: Connect your load to the output. Monitor the module's temperature, especially under heavy loads.
- Current Limits: Do not exceed the maximum rated output current of 5A. Sustained operation near the maximum current without proper cooling may lead to reduced lifespan or failure.
7. Maintenance
- Keep Clean: Ensure the module is free from dust, dirt, and moisture. Use a soft, dry brush or compressed air for cleaning.
- Environmental Conditions: Operate the module within its specified temperature and humidity ranges.
- Inspect Connections: Periodically check all input and output connections for looseness or corrosion.
- Storage: When not in use, store the module in a dry, anti-static environment.
8. Troubleshooting
- No Output Voltage:
- Check input power supply: Ensure it is connected and providing voltage within the specified range.
- Verify polarity: Confirm IN+ and IN- are connected correctly.
- Check for short circuits: Disconnect the load and re-test. A short circuit on the output can prevent proper operation.
- Adjust potentiometer: If adjustable, ensure the potentiometer is not set to its minimum or maximum limit causing zero output.
- Unstable Output Voltage:
- Input voltage fluctuations: Ensure the input power source is stable.
- Overload: The load may be drawing too much current. Reduce the load or ensure adequate cooling.
- Poor connections: Re-check all wiring for secure contact.
- Module Overheating:
- Excessive load: Reduce the output current.
- Insufficient cooling: Add a heatsink or improve airflow around the module.
- Input/Output voltage difference: A large difference between input and output voltage, combined with high current, generates more heat.
9. Safety Information
- This module is an electronic component and should be handled with care.
- Always ensure power is disconnected before making or changing any connections.
- Observe correct polarity for input and output connections. Reverse polarity can cause irreversible damage.
- Do not exceed the maximum input voltage or output current ratings.
- Avoid short circuits on the output terminals.
- The module may become hot during operation, especially under heavy loads. Avoid touching it directly.
- Keep out of reach of children.
- Installation and use should be performed by individuals with appropriate knowledge of electronics.
10. Warranty and Support
For warranty information, technical support, or assistance with your DMAIDNHEG Mini560 Pro module, please contact the seller or manufacturer directly through your purchase platform. Please have your purchase details and model number available when seeking support.


