1. Introduction
Thank you for choosing the Super Flower Leadex III ATX 3.1 1300W Full Modular Power Supply. This power supply unit (PSU) is designed to provide stable and efficient power to your computer system, adhering to the latest ATX 3.1 specifications. It features a fully modular design for easy cable management, an ECO semi-fanless mode for quiet operation, and high-quality components for reliability and durability.
This manual provides essential information for the proper installation, operation, maintenance, and troubleshooting of your new power supply. Please read it thoroughly before installation and keep it for future reference.

Figure 1.1: Super Flower Leadex III 1300W Power Supply, main view.
2. Safety Information
Always observe the following safety precautions to prevent injury or damage to your equipment:
- Do not open the PSU casing. High voltages are present inside, even when the unit is unplugged.
- Ensure the power supply is disconnected from the AC outlet before installation or handling.
- Install the PSU in a well-ventilated area, away from heat sources, direct sunlight, and moisture.
- Use only the modular cables provided with this power supply. Using incompatible cables may cause damage.
- This product is designed for use in desktop computers. Do not use it for other applications.
- Ensure proper grounding of your computer system.
3. Product Features
The Super Flower Leadex III 1300W Power Supply incorporates advanced features for optimal performance and reliability:
- ATX 3.1 Compliance: Fully compatible with Intel ATX 3.1 Specifications, supporting up to 200% power excursion.
- PCIe Gen 5 Ready: Includes a 16-Pin PCIe Gen 5 Cable (12V-2x6) for modern graphics cards, designed to resist transient power spikes.
- High Efficiency: 80 PLUS Gold Certified (87%-90%-87% efficiency at 20%, 50%, 100% rated load) and Cybenetics Platinum Certified (89%-91% overall efficiency at 115V input).
- Full Modular Design: All cables are detachable, allowing for clean cable management and improved airflow within the PC case.
- ECO Semi-Fanless Mode: The 140mm Fluid Dynamic Bearing (FDB) fan operates silently at low loads and activates only when necessary, minimizing noise.
- Advanced Fan Design: Unique 7-blade design with a copper shaft around the bearing for stable cooling, accurate RPM, better heat dissipation, and extended lifespan.
- Japanese Main Capacitor: Utilizes top-tier Japanese capacitors for higher reliability and durability.
- Tight Voltage Regulation: Maintains stable output voltages (±1% for +12V, +5V, and +3.3V).
- Comprehensive Protections: Includes Over Voltage Protection (OVP), Over Current Protection (OCP), Over Power Protection (OPP), Short Circuit Protection (SCP), Under Voltage Protection (UVP), Over Temperature Protection (OTP), No Load Operation, and Surge & Inrush Protection.

Figure 3.1: Overview of ATX 3.1 and PCIe 5.1 readiness.

Figure 3.2: Illustration of the 140mm FDB fan and ECO thermal control.
4. Setup and Installation
Follow these steps to properly install your Super Flower Leadex III power supply:
4.1. Preparing for Installation
- Unpack the PSU: Carefully remove the power supply and all modular cables from the packaging.
- Safety First: Ensure your computer system is completely powered off and unplugged from the wall outlet.
- Remove Old PSU (if applicable): Disconnect all cables from your old power supply and remove it from the PC case.
4.2. Installing the Power Supply
- Mount the PSU: Place the Super Flower Leadex III PSU into the designated power supply bay in your computer case. Ensure the fan is oriented correctly (typically facing down if there's a bottom vent, or up if it's a top-mounted PSU without a bottom vent).
- Secure the PSU: Use the provided screws to firmly attach the power supply to the case.

Figure 4.1: Front view of the PSU showing modular cable connections.
4.3. Connecting Modular Cables
Connect only the necessary cables for your system components. This modular design helps reduce cable clutter.
- 24-Pin ATX Motherboard Cable: Connect the main 24-pin cable to the corresponding port on your motherboard and the PSU.
- CPU Power Cables (EPS 8-pin / 4+4-pin): Connect the required CPU power cables to your motherboard. Most modern motherboards require an 8-pin connector, and some high-end boards may require an additional 4-pin or 8-pin connector.
- PCIe Power Cables (6+2-pin / 12V-2x6): For graphics cards, use the appropriate PCIe cables. The 12V-2x6 (16-pin) cable is for PCIe Gen 5 compatible GPUs. Ensure all required power connectors on your graphics card are populated.
- SATA Power Cables: Connect SATA power cables to your storage drives (SSDs, HDDs) and other SATA-powered devices.
- Peripheral Power Cables (Molex): Connect peripheral cables for older devices or case fans if needed.
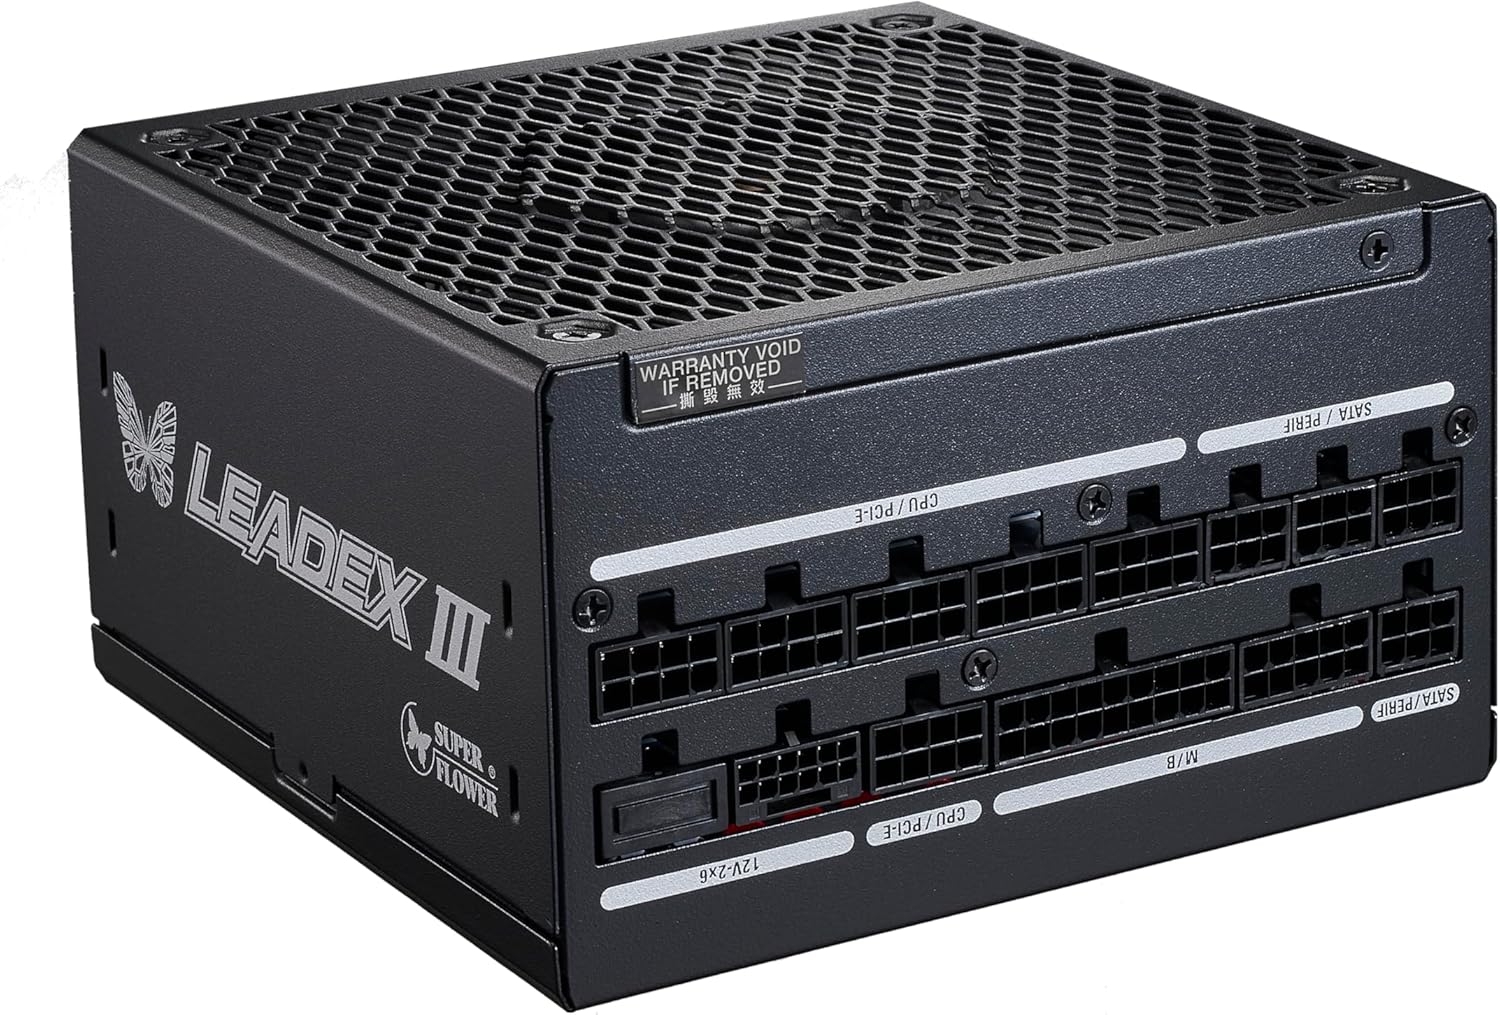
Figure 4.2: Example of modular cables connected to the PSU.
4.4. Cable Management
Route cables neatly behind the motherboard tray or in other designated areas of your case to improve airflow and aesthetics. Use cable ties or Velcro straps to secure them.
5. Operating Instructions
5.1. Initial Power On
- After all components are securely connected, plug the AC power cord into the PSU and then into a wall outlet.
- Flip the power switch on the back of the PSU to the 'ON' (I) position.
- Press the power button on your computer case to start the system.
5.2. ECO Semi-Fanless Mode
The Leadex III PSU features an ECO mode switch on the back panel. When ECO mode is enabled, the fan will remain off under low to moderate loads, providing silent operation. The fan will automatically activate when the internal temperature or power load increases to maintain optimal cooling. When ECO mode is disabled, the fan will operate continuously.

Figure 5.1: Rear view of the PSU showing the power switch and ECO mode switch.
6. Maintenance
To ensure the longevity and optimal performance of your power supply, consider the following maintenance tips:
- Keep it Clean: Periodically clean the exterior of the PSU and the fan grille to prevent dust buildup, which can impede airflow and cooling. Use compressed air to gently remove dust.
- Ensure Proper Airflow: Make sure there are no obstructions to the PSU's intake and exhaust vents within your PC case.
- Avoid Overloading: Do not exceed the rated wattage of the power supply. Ensure your system's power requirements are within the PSU's capabilities.
- Regular Checks: Occasionally check cable connections to ensure they are secure.
Note: Do not attempt to open the power supply unit. There are no user-serviceable parts inside, and opening the unit will void the warranty.
7. Troubleshooting
If you encounter issues with your power supply, refer to the following common troubleshooting steps:
7.1. System Does Not Power On
- Check Power Connections: Ensure the AC power cord is securely plugged into both the PSU and the wall outlet.
- PSU Switch: Verify that the power switch on the back of the PSU is in the 'ON' (I) position.
- Motherboard Connections: Double-check that the 24-pin ATX and CPU power cables are firmly seated in the motherboard and PSU.
- Short Circuit Protection: The PSU has built-in protections. If a short circuit is detected, the PSU may shut down to prevent damage. Disconnect all components and test the PSU with only the motherboard connected (if possible) to isolate the issue.
7.2. System Shuts Down Unexpectedly
- Over Power Protection (OPP): If the system demands more power than the PSU can deliver, OPP will trigger a shutdown. Ensure your system's total power draw does not exceed 1300W.
- Over Temperature Protection (OTP): If the PSU overheats, OTP will shut it down. Ensure adequate airflow around the PSU and within the case. Clean any dust buildup.
- Loose Connections: Verify all modular cables are securely connected to both the PSU and components.
7.3. Fan Noise or No Fan Operation
- ECO Mode: If the fan is not spinning, check if ECO mode is enabled. In ECO mode, the fan will only spin under higher loads or temperatures. This is normal operation.
- Excessive Noise: If the fan is unusually loud, ensure it is free from obstructions and clean of dust. If the noise persists, contact support.
If these steps do not resolve your issue, please refer to the Support section for further assistance.
8. Specifications
| Feature | Specification |
|---|---|
| Model Name | SF-1300F14GE |
| Brand | SUPER FLOWER |
| Output Wattage | 1300 Watts |
| Form Factor | ATX |
| Efficiency Certification | 80 PLUS Gold, Cybenetics Platinum |
| Cooling Method | Air (140mm FDB Fan with ECO mode) |
| Modular Type | Full Modular |
| Dimensions (LxWxH) | 5.9 x 5.9 x 3.4 inches (150 x 150 x 86 mm) |
| Item Weight | 4.3 pounds (1.95 kg) |
| Input Voltage | 100V~240V (Full Range Auto Voltage Detection, Active PFC) |
| Safety Standards | IEC/EN 62368, ATX 12V v3.1, EPS 12V v2.92, Energy Star, EuP |
| Protections | OVP, OCP, OPP, SCP, UVP, OTP, No Load Operation, Surge & Inrush Protection |
9. Warranty Information
The Super Flower Leadex III ATX 3.1 1300W Power Supply comes with a 10-year warranty from the date of purchase. This warranty covers defects in materials and workmanship under normal use. Please retain your proof of purchase for warranty claims.
The warranty does not cover damage resulting from:
- Improper installation or use not in accordance with this manual.
- Unauthorized modifications or repairs.
- Accidents, abuse, neglect, or natural disasters.
- Use of incompatible cables or accessories.
For detailed warranty terms and conditions, please refer to the official Super Flower website or contact customer support.
10. Support
If you require further assistance or have questions not covered in this manual, please contact Super Flower customer support. Before contacting support, please have your product model number (SF-1300F14GE) and proof of purchase readily available.
You can find contact information and additional resources on the official Super Flower website: www.super-flower.com.tw


