1. Introduction
This manual provides comprehensive instructions for the installation, operation, and maintenance of the GLOBACT Rear Tower Mount. This high-quality aluminum upgrade part is specifically designed to enhance the performance and durability of your LOSI 1/24 Micro-B and 1/28 Micro-T 2WD RTR race buggies. Please read this manual thoroughly before installation to ensure proper use and longevity of the product.
2. Product Overview and Features
The GLOBACT Rear Tower Mount is a direct replacement for the stock LOSI part LOS-1770. It is engineered from premium aluminum, offering a significant upgrade in strength and resilience while maintaining a lightweight profile for optimal vehicle performance.
Key Features:
- Material: Constructed from high-grade aluminum for superior strength and durability.
- Lightweight Design: Engineered to be lightweight, contributing to the overall performance of your RC vehicle.
- Precision Manufacturing: Utilizes high-precision CNC machining to ensure a perfect fit and finish.
- Direct Replacement: Designed to directly replace LOSI stock part LOS-1770.
- Easy Installation: Features a simple structure for straightforward and quick installation.

Image 2.1: The GLOBACT Rear Tower Mount, showcasing its aluminum construction, CNC machining, and lightweight properties.
3. Compatibility
This GLOBACT Rear Tower Mount is compatible with the following LOSI RC vehicle models:
- LOSI 1/24 Micro-B 2WD RTR Race Buggy (LOS00007T1, LOS00007T2)
- LOSI 1/28 Micro-T 2WD RTR Race Buggy (LOS-1392T1, LOS-1392T2)
It is designed as a direct upgrade and replacement for LOSI stock part number LOS-1770.

Image 3.1: The GLOBACT Rear Tower Mount, explicitly stating its function as a replacement for LOS-1770.
4. Package Contents
Please verify that all items listed below are present in your package:
- 1 x GLOBACT Rear Tower Mount
- 1 x Screw Kit (includes necessary fasteners for installation)

Image 4.1: A top-down view of the GLOBACT Rear Tower Mount, showing its complete structure.
5. Setup and Installation
The GLOBACT Rear Tower Mount is designed for easy installation. Follow these steps to replace your existing tower mount:
- Preparation: Ensure your RC vehicle is powered off and the battery is disconnected. Place the vehicle on a clean, stable surface.
- Remove Existing Mount: Carefully identify and remove the screws securing the stock rear tower mount (LOS-1770) to the chassis and shock absorbers. Keep these screws organized, as some may be reused.
- Position New Mount: Align the GLOBACT Rear Tower Mount with the mounting points on your RC vehicle's chassis and the shock absorbers. The precision CNC machining ensures a perfect fit.
- Secure Mount: Use the provided screw kit (or appropriate screws from your original setup, if specified by your vehicle's manual) to securely fasten the new tower mount. Do not overtighten screws, as this can strip threads or damage components.
- Final Check: Once installed, gently check that the mount is firm and all connections are secure. Ensure that the suspension components move freely without obstruction.

Image 5.1: An angled view of the GLOBACT Rear Tower Mount, illustrating its form for proper alignment during installation.
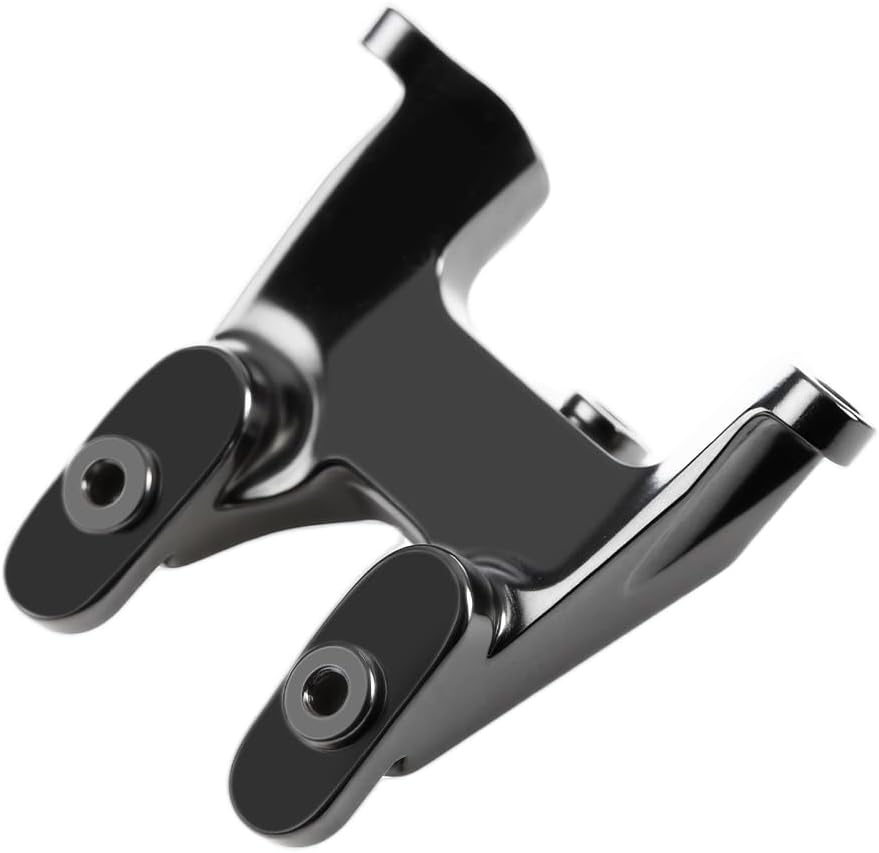
Image 5.2: A different angled perspective of the GLOBACT Rear Tower Mount, showing additional mounting points.
6. Operating Principles
The Rear Tower Mount serves as a critical structural component in your RC vehicle's suspension system. It securely connects the rear shock absorbers to the chassis, providing a stable anchor point that allows the suspension to function effectively. By upgrading to an aluminum mount, you enhance the rigidity and durability of this connection, which can lead to improved handling and resistance to damage during impacts.
7. Maintenance
To ensure the longevity and optimal performance of your GLOBACT Rear Tower Mount, consider the following maintenance tips:
- Regular Inspection: Periodically inspect the mount for any signs of wear, bending, or damage, especially after heavy use or impacts.
- Check Screws: Ensure all screws securing the mount are tight. Vibrations from RC operation can sometimes loosen fasteners.
- Cleaning: Keep the mount free from dirt, dust, and debris. A soft brush or compressed air can be used for cleaning. Avoid harsh chemicals that may damage the aluminum finish.

Image 7.1: A detailed view of the GLOBACT Rear Tower Mount, highlighting its precision and finish, which should be maintained through regular cleaning.
8. Troubleshooting
While the GLOBACT Rear Tower Mount is designed for a perfect fit, here are some common issues and their solutions:
- Mount Does Not Fit:
- Verify that your RC vehicle model is listed under the "Compatibility" section (Section 3).
- Ensure you are attempting to replace the correct stock part (LOS-1770).
- Check for any obstructions or debris on the chassis or shock mounts.
- Loose Mount After Installation:
- Ensure all screws are properly tightened. Do not overtighten.
- Inspect the screw holes on both the mount and the chassis for any damage or stripped threads.
- Unusual Noise/Movement from Rear Suspension:
- Re-check all connections and ensure the mount is securely fastened.
- Inspect other suspension components for damage or wear.
9. Specifications
| Product Name | Micro-B/Micro-T 2WD Aluminum Rear Tower Mount |
| Material | Aluminum |
| Color | Black |
| Replacement Part Number | LOS-1770 |
| Product Dimensions | 5.6 x 3.12 x 0.5 inches |
| Item Weight | 0.32 ounces |
| Manufacturer Recommended Age | 14 years and up |
10. Safety Information
While this product is a non-electronic mechanical part, general safety precautions should always be observed when working with RC vehicles:
- Always disconnect the battery from your RC vehicle before performing any maintenance or installation.
- Use appropriate tools for installation to prevent injury or damage to components.
- Keep small parts, such as screws, out of reach of children. This product is recommended for ages 14 and up.
- Ensure all parts are securely fastened before operating the RC vehicle.
11. Warranty and Support
For information regarding warranty coverage or technical support for your GLOBACT Rear Tower Mount, please refer to the retailer where the product was purchased or contact GLOBACT directly through their official website or customer service channels. Please retain your proof of purchase for any warranty claims.