1. Introduction
Thank you for choosing the CHULUX Compact Espresso Machine. This 20-bar single-serve coffee maker is designed for rapid brewing of espresso and lungo, offering a convenient way to enjoy barista-style coffee. Its compact design makes it suitable for various spaces, including small kitchens, dorms, and offices. This manual provides essential information for the safe and efficient operation, maintenance, and troubleshooting of your espresso machine.
2. Important Safety Instructions
- Read all instructions before using the appliance.
- Do not immerse the appliance, power cord, or plug in water or other liquids.
- Ensure the voltage indicated on the appliance corresponds to your local mains voltage before connecting.
- Close supervision is necessary when any appliance is used by or near children.
- Unplug from outlet when not in use and before cleaning. Allow to cool before putting on or taking off parts, and before cleaning the appliance.
- Do not operate any appliance with a damaged cord or plug, or after the appliance malfunctions or has been damaged in any manner.
- Do not use outdoors.
- Do not place on or near a hot gas or electric burner, or in a heated oven.
- Do not use the appliance for other than intended use.
3. Product Overview and Components
Familiarize yourself with the parts of your CHULUX Compact Espresso Machine:
- Water Tank: Removable 24oz reservoir for water.
- Capsule Compartment: Area for inserting espresso pods.
- Brew Buttons: Dedicated buttons for Espresso and Lungo.
- Drip Tray: Removable and foldable for different cup heights.
- Used Capsule Container: Collects up to 15 used capsules.
- Power Button: To turn the machine on/off.
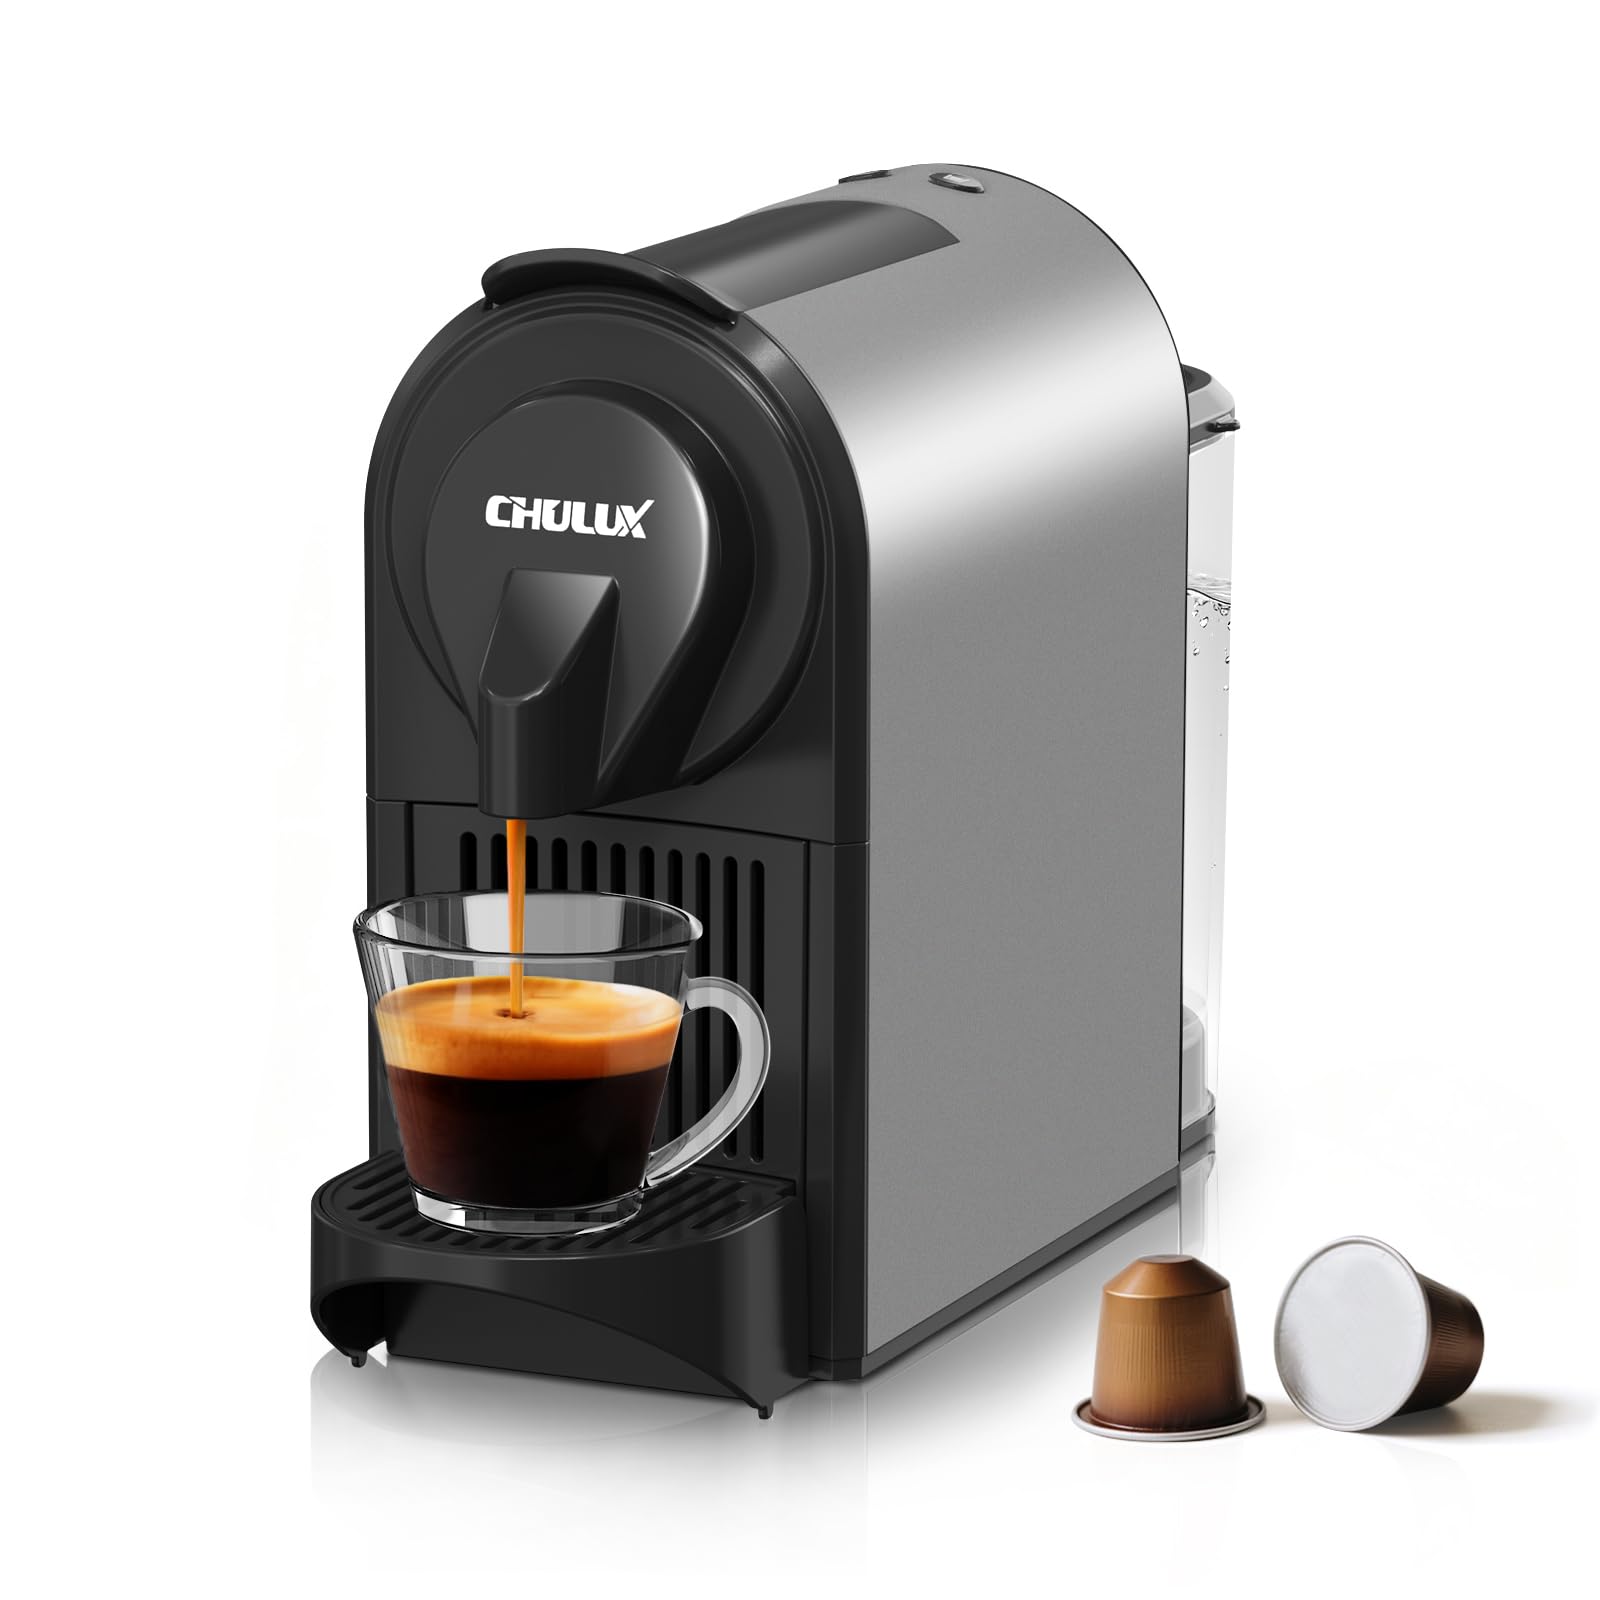
Figure 3.1: Front view of the CHULUX Compact Espresso Machine.

Figure 3.2: The 24oz removable water tank, easy to fill and clean.

Figure 3.3: Compact dimensions of the espresso machine, ideal for small spaces.
4. Setup
Follow these steps to set up your espresso machine for first use:
- Unpacking: Remove all packaging materials and ensure all parts are present.
- Initial Cleaning: Wash the water tank, drip tray, and used capsule container with warm, soapy water. Rinse thoroughly and dry.
- Fill Water Tank: Fill the removable water tank with fresh, cold water up to the 'MAX' line. Place it back securely.
- Plug In: Plug the power cord into a grounded electrical outlet. The machine will beep, and the brew buttons will flash.
- Preheating: Press either the Espresso or Lungo button to start preheating. The lights will flash for approximately 15-20 seconds. Once the lights stabilize (stop flashing), the machine is ready for brewing.
- First Use Rinse: For the first use, without a capsule, press the Lungo button to run a full cycle of hot water through the system to clean it. Discard the water.
Video 4.1: Demonstration of the CHULUX 20 Bar Mini Single Cup Espresso Coffee Machine in Gray, showing its compact size and basic operation.
5. Operating Instructions
Your espresso machine offers dual brew modes for Espresso and Lungo.
- Ensure Preheating: Make sure the machine is preheated (lights are solid blue).
- Insert Capsule: Lift the lid, insert a compatible espresso pod into the compartment, and firmly press the lid down until it clicks.
- Place Cup: Place your desired cup on the drip tray. The drip tray can be folded up for smaller cups or removed for taller mugs.
- Select Brew Size:
- For a standard Espresso (approx. 1.35 oz), press the left button (small cup icon).
- For a standard Lungo (approx. 2.7 oz), press the right button (large cup icon).
- Brewing: The machine will begin brewing. The light for the selected brew size will flash during brewing and become solid when complete.
- Eject Capsule: After brewing, lift the lid to eject the used capsule into the internal container. Close the lid.
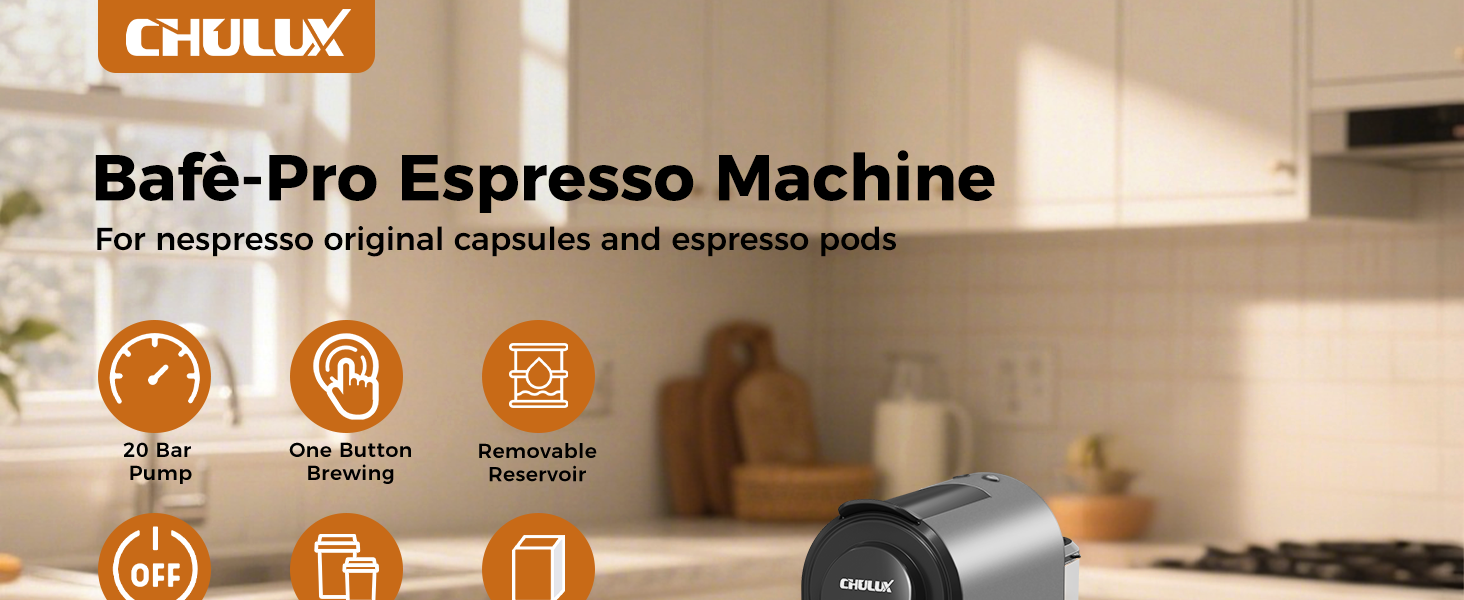
Figure 5.1: Step-by-step guide on how to brew a cup of espresso.
Customizing Brew Volume
You can customize the volume for both Espresso and Lungo settings:
- Ensure the machine is preheated and a capsule is inserted.
- Press and hold the desired brew button (Espresso or Lungo).
- Release the button once your cup reaches the desired coffee volume. The machine will remember this setting for future brews of that type.
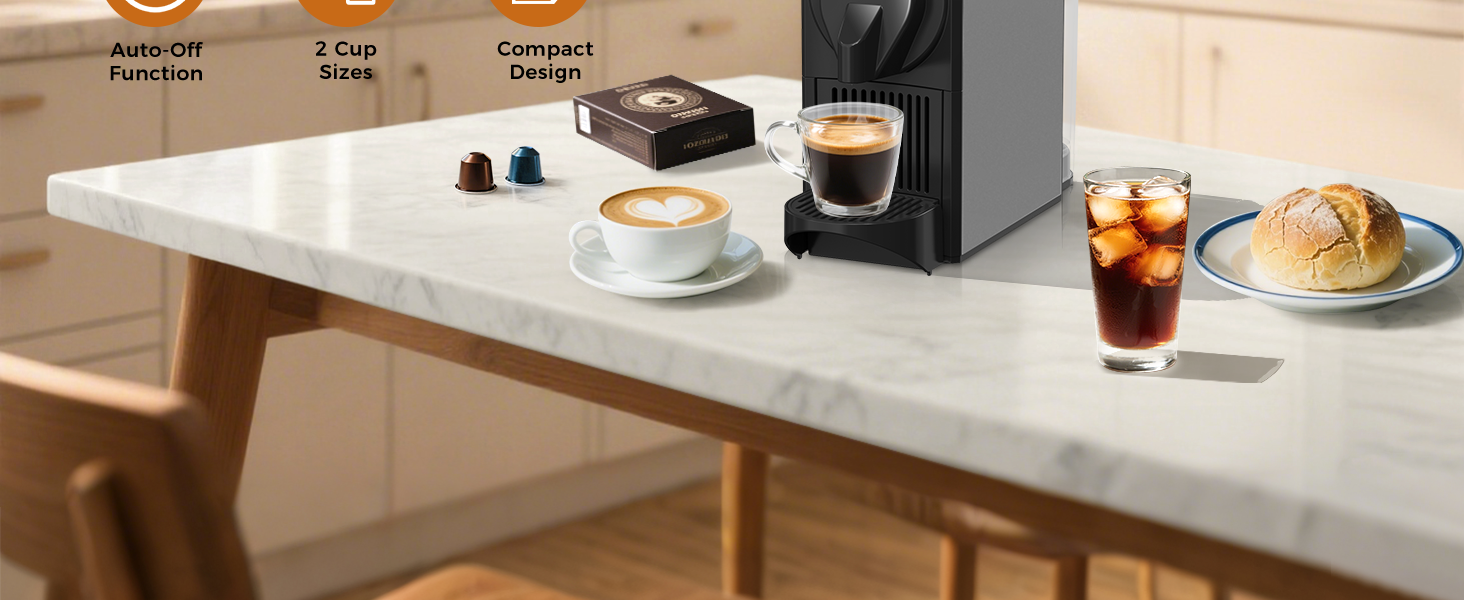
Figure 5.2: Instructions for customizing your preferred coffee volume.
6. Maintenance
Regular cleaning and maintenance ensure optimal performance and longevity of your machine.
Cleaning
- Daily Cleaning: After each use, empty and rinse the drip tray and used capsule container. Wipe the exterior of the machine with a damp cloth.
- Water Tank: Clean the water tank regularly with warm, soapy water. Rinse thoroughly to remove any soap residue.
- Do not use abrasive cleaning agents or scourers.
Figure 6.1: The pull-out used capsule drawer, which holds up to 15 capsules.
Descaling
Descaling is important to remove mineral buildup and maintain machine efficiency. The frequency depends on water hardness and usage. Refer to a descaling solution's instructions for proper use. Generally, it involves:
- Emptying the water tank and filling it with descaling solution and water as per the solution's instructions.
- Running several brewing cycles without a capsule to flush the solution through the machine.
- Rinsing the water tank and running several cycles with fresh water to remove any descaling residue.
7. Troubleshooting
If you encounter issues with your espresso machine, refer to the following common problems and solutions:
| Problem | Possible Cause | Solution |
|---|---|---|
| Machine does not turn on. | No power supply. | Check if the power cord is securely plugged into a working outlet. |
| No coffee is dispensed. | Water tank is empty; capsule not properly inserted; machine not preheated. | Fill water tank; ensure capsule is correctly placed and lid is closed; wait for preheating lights to stabilize. |
| Coffee is too weak or watery. | Incorrect brew volume setting; capsule issue. | Adjust brew volume (see 'Customizing Brew Volume'); ensure capsule is fresh and suitable for espresso. |
| Machine is leaking. | Water tank not properly seated; drip tray overflowing. | Ensure water tank is correctly positioned; empty drip tray regularly. |
| Brew buttons are flashing continuously. | Machine is in preheating mode or requires descaling. | Wait for lights to become solid; if issue persists, consider descaling. |
8. Specifications
| Feature | Detail |
|---|---|
| Brand | CHULUX |
| Model Name | Espresso Maker (CL-N831V-GY) |
| Color | Mystic Gray |
| Product Dimensions | 13.94"D x 4.57"W x 9.53"H |
| Special Feature | Auto Shut-Off |
| Coffee Maker Type | Espresso Machine |
| Operation Mode | Fully Automatic |
| Voltage | 120 Volts |
| Human Interface Input | Buttons |
| Coffee Input Type | Capsule |
| Is Dishwasher Safe | No |
| Power Source | AC adapter |
| Item Weight | 6.17 pounds |
| Capacity | 24 Fluid Ounces |
9. Warranty and Support
For warranty information, product support, or to purchase replacement parts, please refer to the contact information provided with your product packaging or visit the official CHULUX website. Keep your purchase receipt as proof of purchase for warranty claims.