1. Introduction
Thank you for choosing the HOOBRO Narrow Side Tables. This manual provides essential information for the safe assembly, operation, and maintenance of your new side tables. Please read these instructions thoroughly before beginning assembly and retain them for future reference.

Image 1.1: Two HOOBRO Narrow Side Tables with integrated charging stations.
2. Safety Information
- Always follow the assembly instructions carefully.
- Do not exceed the maximum weight capacity of 22.6 lb (10.2 kg) per shelf.
- Ensure all connections for the charging station are secure before use.
- Do not expose the charging station to liquids or excessive moisture.
- Keep small parts away from children during assembly to prevent choking hazards.
- Place the table on a flat, stable surface to prevent tipping.
3. Package Contents
Before assembly, verify that all components listed below are present and undamaged. If any parts are missing or damaged, please contact HOOBRO customer support.
- Side Table Components (Engineered Wood Panels, Metal Frame Legs)
- Accessory Kit (Screws, Dowels, etc.)
- Allen Key
- Assembly Guide
- Power Strip with 4.9-foot Power Cord (Integrated)
4. Setup (Assembly Instructions)
Assembly is designed to be straightforward. It is recommended that two people assemble the table for ease and safety.
- Unpack Components: Carefully remove all parts from the packaging. Lay them out on a clean, soft surface to prevent scratches.
- Identify Parts: Refer to the included assembly guide and identify each numbered component and hardware piece.
- Assemble Frame: Attach the metal frame legs to the main panels using the provided screws and Allen key. Ensure all connections are finger-tight initially.
- Install Shelves: Secure the two open shelves to the frame as indicated in the diagram.
- Secure Charging Station: The power strip is typically pre-installed or easily attached to the designated area on the top panel. Ensure it is firmly in place.
- Final Tightening: Once all parts are in place, systematically tighten all screws until secure. Do not overtighten.
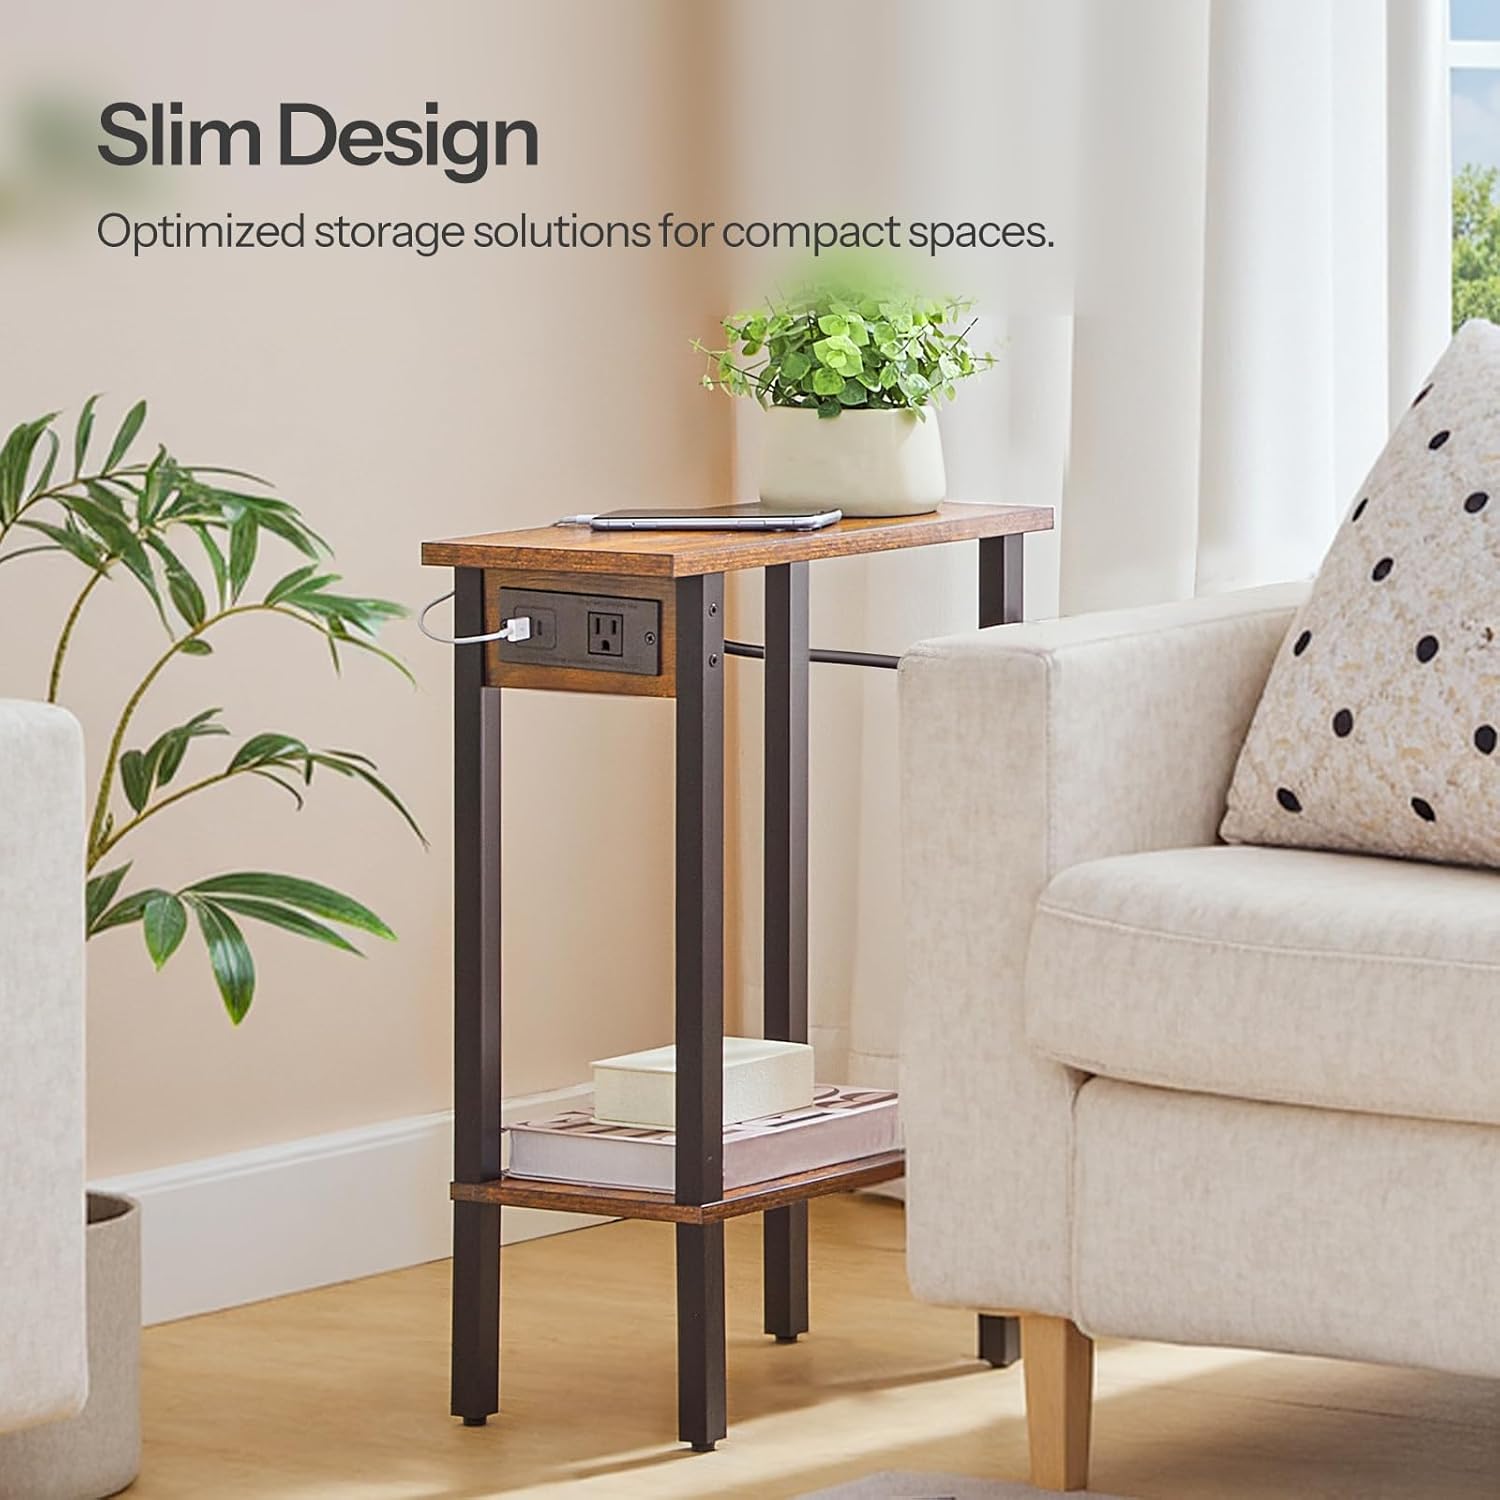
Image 4.1: The slim design of the side table, ideal for compact spaces.
The assembly process is designed to be completed quickly, often within a coffee break, with detailed illustrated instructions and numbered hardware provided.
5. Operating the Charging Station
Your HOOBRO Narrow Side Table includes a convenient multi-port charging station to power your devices.
- Power Connection: Plug the 4.9-foot power cord from the side table into a standard wall outlet.
- AC Outlet: Use the 125V/12A AC outlet for devices such as table lamps or small electronics.
- USB Ports: The charging station features 1 USB port (5V/2A) and 1 Type-C port (5V/2A) for charging smartphones, smartwatches, tablets, and other compatible USB-powered devices.
- Usage: Connect your device's charging cable to the appropriate port on the power strip. The charging station allows for simultaneous charging of multiple devices.

Image 5.1: Detail of the integrated multi-port charging station.
6. Maintenance
To ensure the longevity and appearance of your HOOBRO Narrow Side Tables, follow these simple maintenance guidelines:
- Cleaning: Wipe the surfaces with a soft, damp cloth. Avoid using harsh chemicals or abrasive cleaners, as these can damage the engineered wood finish.
- Spills: Promptly clean up any spills to prevent staining or damage to the wood.
- Dusting: Regularly dust the table with a dry, soft cloth.
- Electrical Components: Ensure the charging station remains dry and free of dust. Do not attempt to disassemble or repair the electrical components yourself.
- Stability Check: Periodically check all screws and connections to ensure they remain tight. Retighten if necessary.

Image 6.1: The premium engineered wood surface, designed for durability and easy cleaning.
7. Troubleshooting
If you encounter any issues with your HOOBRO Narrow Side Tables, refer to the following common troubleshooting tips:
- Table is Wobbly:
a. Ensure the table is placed on a flat, even surface.
b. Check all assembly screws and tighten any that are loose. - Charging Station Not Working:
a. Verify that the power cord is securely plugged into a functional wall outlet.
b. Check if the wall outlet itself is receiving power (test with another device).
c. Ensure your device's charging cable is properly connected to the charging station ports.
d. If the issue persists, discontinue use and contact customer support. - Missing Parts: If you discover missing parts during assembly, do not proceed. Contact HOOBRO customer support immediately for assistance.
8. Specifications
| Feature | Specification |
|---|---|
| Brand | HOOBRO |
| Model Name | End Table |
| Model Number | BF240UBZP201 |
| Product Dimensions (L x W x H) | 15.7"D x 7.9"W x 22.4"H (40cm x 20cm x 57cm) |
| Color | Rustic Brown + Black |
| Material Type | Engineered Wood |
| Number of Items | 2 (Set of 2) |
| Shelf Weight Capacity | 22.6 lb (10.2 kg) per shelf |
| AC Outlet | 125V/12A |
| USB Port | 5V/2A |
| Type-C Port | 5V/2A |
| Power Cord Length | 4.9 feet (1.5 meters) |
| Recommended Assembly Persons | 2 |
9. Warranty and Support
HOOBRO products are manufactured with quality and customer satisfaction in mind. While specific warranty details are not provided in this manual, please retain your proof of purchase. For any questions, concerns, or to report missing/damaged parts, please contact HOOBRO customer support through the retailer where the product was purchased or visit the official HOOBRO website for support contact information.