Introduction
Thank you for purchasing the Sharp Digital Alarm Clock, Model SPC5148AMZ. This alarm clock features a large, easy-to-read red LED display, dual alarms, adjustable alarm volume, and a convenient snooze function. It is designed for simple operation and includes a battery backup feature to maintain time and alarm settings during power outages.
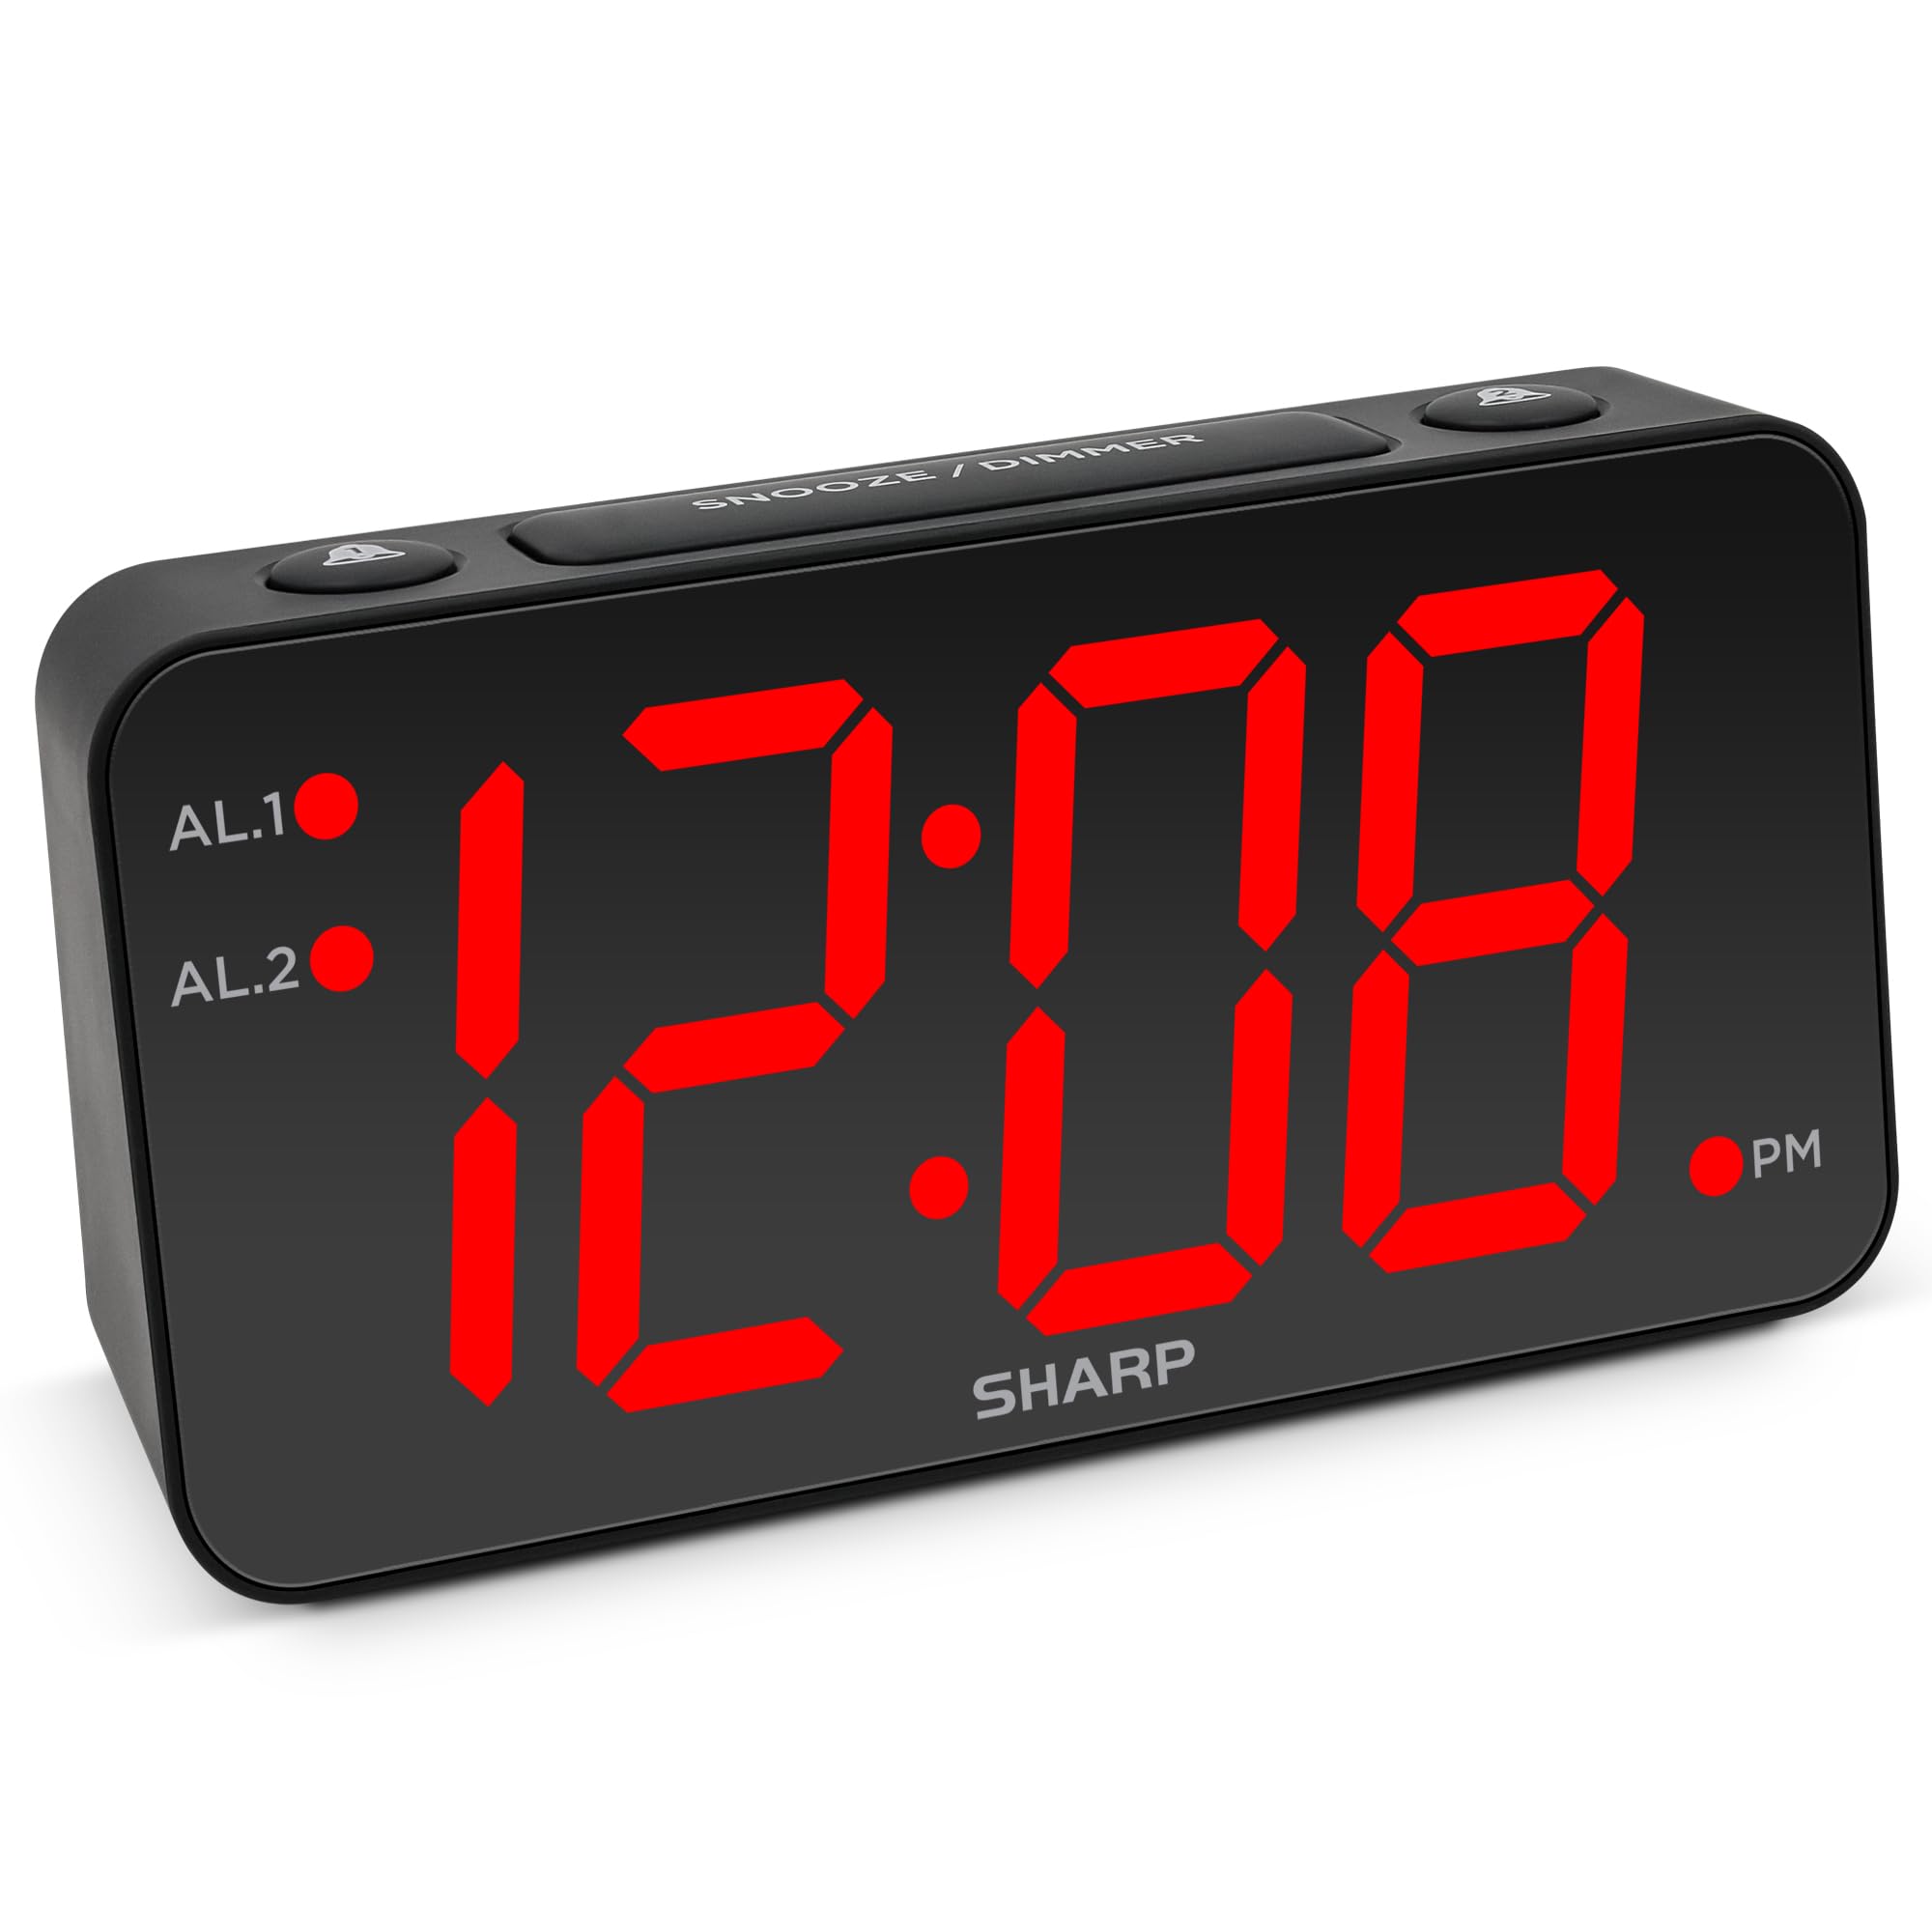
Image: Front view of the Sharp Digital Alarm Clock, Model SPC5148AMZ, showcasing its large red LED time display.
Product Components and Controls
Familiarize yourself with the various parts and controls of your alarm clock.
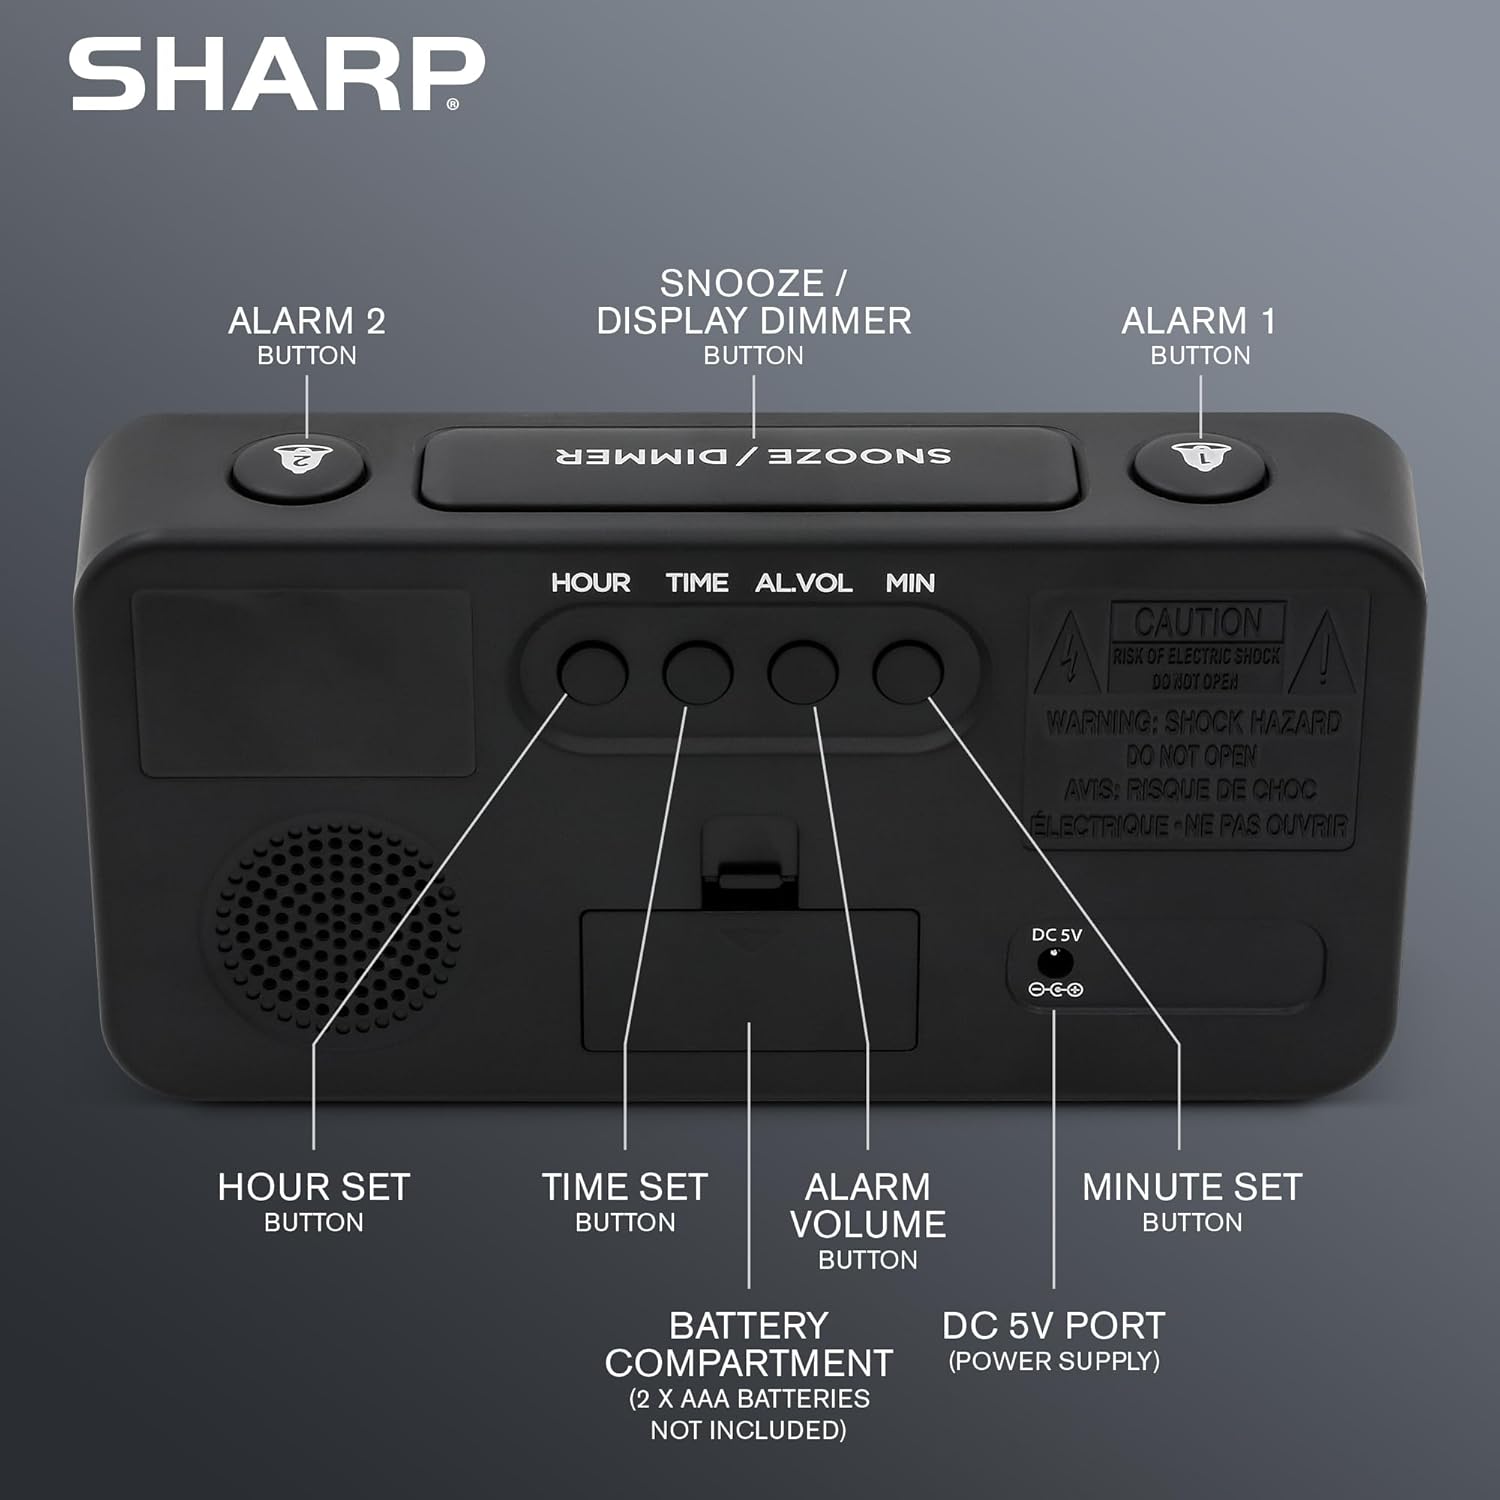
Image: Rear view of the alarm clock, highlighting the Hour Set, Time Set, Alarm Volume, Minute Set buttons, Battery Compartment, and DC 5V Power Port.
- SNOOZE / DIMMER Button: Located on top. Press to snooze alarm or adjust display brightness.
- ALARM 1 Button: Located on top. Activates/deactivates Alarm 1.
- ALARM 2 Button: Located on top. Activates/deactivates Alarm 2.
- HOUR SET Button: Located on the back. Used to set the hour for time or alarm.
- TIME SET Button: Located on the back. Used to enter time setting mode.
- ALARM VOLUME Button: Located on the back. Adjusts the alarm loudness.
- MINUTE SET Button: Located on the back. Used to set the minute for time or alarm.
- DC 5V Port: Power input for the clock.
- Battery Compartment: Holds 2 x AAA batteries (not included) for backup.
Setup
Power Connection
- Connect the provided power adapter to the DC 5V port on the back of the alarm clock.
- Plug the adapter into a standard 110V/120V AC power outlet. The display will illuminate.
Battery Backup Installation
For battery backup, which retains time and alarm settings during a power outage (display will be blank), install batteries:
- Open the battery compartment cover on the back of the unit.
- Insert 2 new AAA batteries (not included), observing the correct polarity (+ and -).
- Close the battery compartment cover securely.
Important: Batteries are for backup only. The clock requires AC power for the display to function and for the alarm to sound at full volume.
Operating Instructions
Setting the Time
- Press and hold the TIME SET button on the back of the clock until the hour digits begin to flash.
- Press the HOUR SET button repeatedly to adjust the hour. Pay attention to the PM indicator light.
- Press the MINUTE SET button repeatedly to adjust the minutes.
- Once the desired time is set, press the TIME SET button again to confirm and exit time setting mode.
Setting the Alarm (Alarm 1 and Alarm 2)
This clock features dual alarms. The procedure is the same for both Alarm 1 and Alarm 2.
- Press and hold the ALARM 1 or ALARM 2 button on the top of the clock until the alarm hour digits begin to flash.
- Press the HOUR SET button repeatedly to adjust the alarm hour. Ensure the correct AM/PM is selected.
- Press the MINUTE SET button repeatedly to adjust the alarm minutes.
- Press the ALARM 1 or ALARM 2 button again to confirm the alarm time. The corresponding alarm indicator light (AL.1 or AL.2) will illuminate on the display, indicating the alarm is active.
Activating/Deactivating Alarms
- To activate an alarm: Press the ALARM 1 or ALARM 2 button once. The corresponding indicator light will turn on.
- To deactivate an alarm: Press the ALARM 1 or ALARM 2 button again. The corresponding indicator light will turn off.
Snooze Function
When the alarm sounds, press the large SNOOZE / DIMMER button on top of the clock. The alarm will pause for 9 minutes and then sound again. You can repeat this process until the alarm is manually turned off.
Adjusting Display Brightness (Dimmer)
Press the SNOOZE / DIMMER button (when the alarm is not sounding) to cycle through the display brightness levels: High, Medium, Low, or OFF.
Adjusting Alarm Volume
Press the ALARM VOLUME button on the back of the clock to cycle through the alarm loudness levels: High, Medium, Low.
Maintenance
- Cleaning: Wipe the clock with a soft, dry cloth. Do not use abrasive cleaners or solvents.
- Battery Replacement: Replace backup batteries annually or when the clock experiences frequent power outages to ensure settings are retained.
- Placement: Place the clock on a stable, flat surface. Avoid direct sunlight, extreme temperatures, and high humidity.
Troubleshooting
| Problem | Solution |
|---|---|
| Clock display is blank. | Ensure the AC power adapter is securely plugged into both the clock and a working electrical outlet. Check if there's a power outage. If using battery backup, the display will be blank during an outage, but timekeeping continues. |
| Alarm does not sound. |
|
| Cannot set time or alarm. | Ensure you are pressing and holding the correct SET button until the digits flash. Release the button, then use HOUR SET and MINUTE SET to adjust. Press the SET button again to confirm. |
| Display is too bright/dim. | Press the SNOOZE / DIMMER button (when alarm is not sounding) to cycle through brightness levels. |
Specifications
- Model: SPC5148AMZ
- Brand: Sharp
- Display Type: Digital LED (Red)
- Display Size: 3 inches (Jumbo Numbers)
- Power Source: Corded Electric (110V/120V AC)
- Battery Backup: 2 x AAA batteries (not included)
- Dimensions (W x H): 8.27" x 4.13"
- Weight: 0.41 Kilograms
- Special Features: Dual Alarms, Adjustable Brightness (High, Medium, Low, OFF), Adjustable Alarm Volume (High, Medium, Low), 9-minute Snooze.
Warranty Information
Sharp products are manufactured and sold by M.Z. Berger & Co. Inc. This product comes with a limited warranty against defects in materials and workmanship. For specific warranty details, including duration and terms, please refer to the warranty card included in your product packaging or contact customer support.
Customer Support
For assistance with your Sharp Digital Alarm Clock, please contact the manufacturer's customer support. Contact information can typically be found on the product packaging or the manufacturer's official website.
Manufacturer: Sharp (M.Z. Berger & Co. Inc.)
Product Overview Video
Video: An official Sharp video showcasing various Sharp clocks, including features like alarm, decor, charging, precision, and specialty functions. This video provides a general overview of Sharp's clock offerings.