1. Introduction
This manual provides detailed instructions for the setup, operation, and maintenance of your FUXGZ W1 Wireless Camera Clock. Please read this manual thoroughly before using the device to ensure proper functionality and to maximize its features. This device is designed for indoor security monitoring, offering HD 1080P video recording, motion detection, night vision, and remote viewing capabilities.

Image 1.1: The FUXGZ W1 Wireless Camera Clock with its live feed displayed on a smartphone.
2. Product Overview
2.1 Key Features
- HD 1080P Video Recording: Captures clear video footage with adjustable resolution (720P/1080P).
- WiFi Connectivity: Supports 2.4GHz/5GHz WiFi for remote viewing via a mobile application.
- Motion Detection: Automatically records when movement is detected within its range and sends alerts.
- Night Vision: Equipped with built-in infrared lights for recording in low-light conditions.
- Loop Recording: Continuously records, overwriting the oldest files when the memory card is full.
- Local Storage: Supports SD cards up to 128GB (not included).
- Rechargeable Battery: Provides portable operation and supports recording while charging.
2.2 What's in the Box
Upon unboxing, please verify that all components are present:
- FUXGZ W1 Wireless Camera Clock
- USB Charging Cable
- User Manual
3. Setup
3.1 Powering the Device
The FUXGZ W1 Camera Clock operates on a rechargeable battery and can also function while connected to a power source.
- Connect the provided USB charging cable to the camera clock's charging port.
- Plug the other end of the USB cable into a standard USB power adapter (not included) or a powered USB port.
- Allow the device to charge fully before initial use. A full charge provides approximately 3.5 hours of continuous operation. For 24/7 operation, keep the device plugged into an outlet.
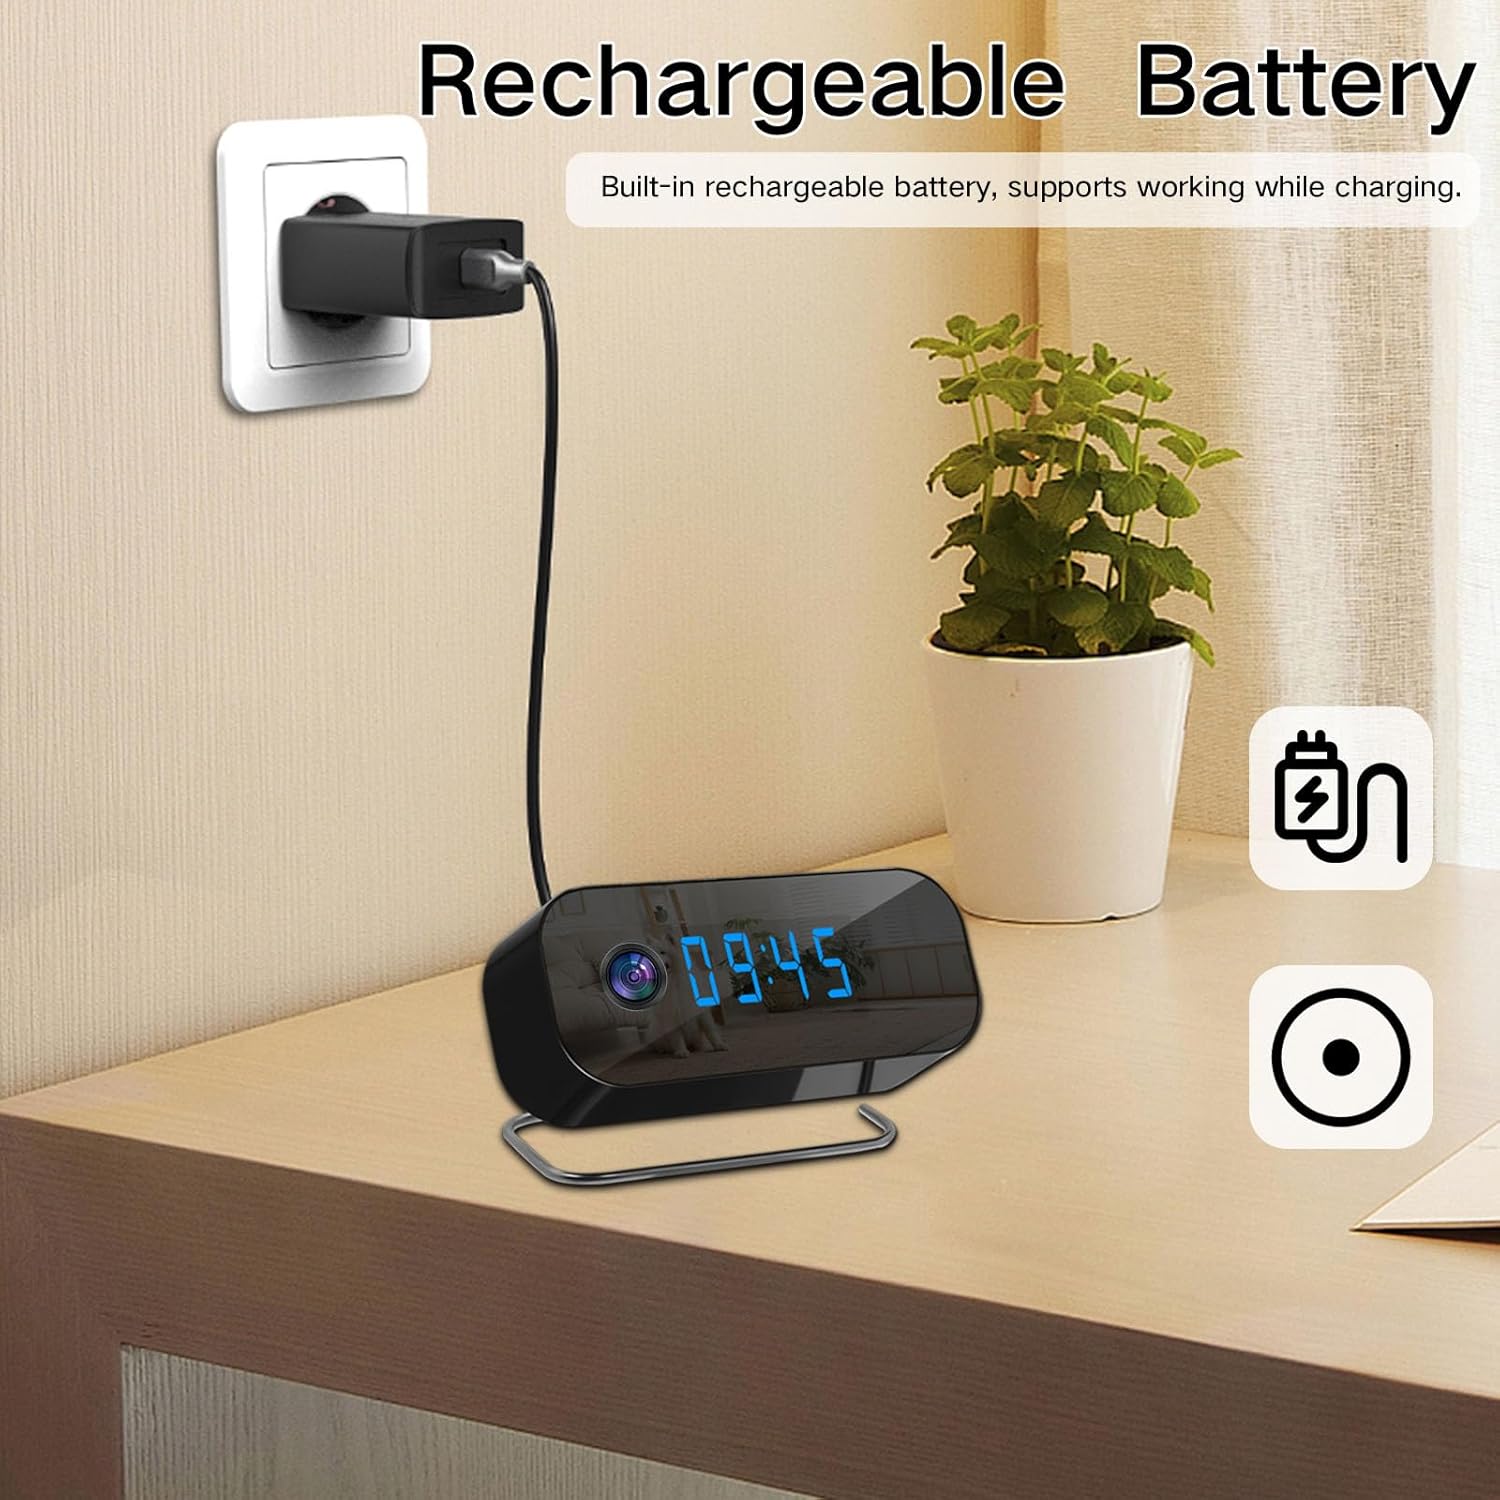
Image 3.1: The camera clock connected to a power source for charging or continuous operation.
3.2 Inserting an SD Card
To enable local video storage, an SD card (up to 128GB) must be inserted.
- Locate the SD card slot on the device.
- Gently insert the SD card into the slot until it clicks into place. Ensure the card is oriented correctly.
- The device will automatically format the SD card if necessary.
3.3 WiFi Connectivity and App Setup
The camera clock connects to your home WiFi network for remote viewing and control via a mobile application.
- Download the recommended mobile application (e.g., Tuya Smart APP) from your smartphone's app store.
- Register for an account and log in.
- Power on the camera clock.
- In the app, follow the on-screen instructions to add a new device. This typically involves selecting the device type (e.g., security camera) and connecting to the camera's temporary WiFi hotspot, then selecting your home 2.4GHz or 5GHz WiFi network and entering its password.
- Once connected, the camera's status indicator will change, and you will be able to view the live feed through the app.
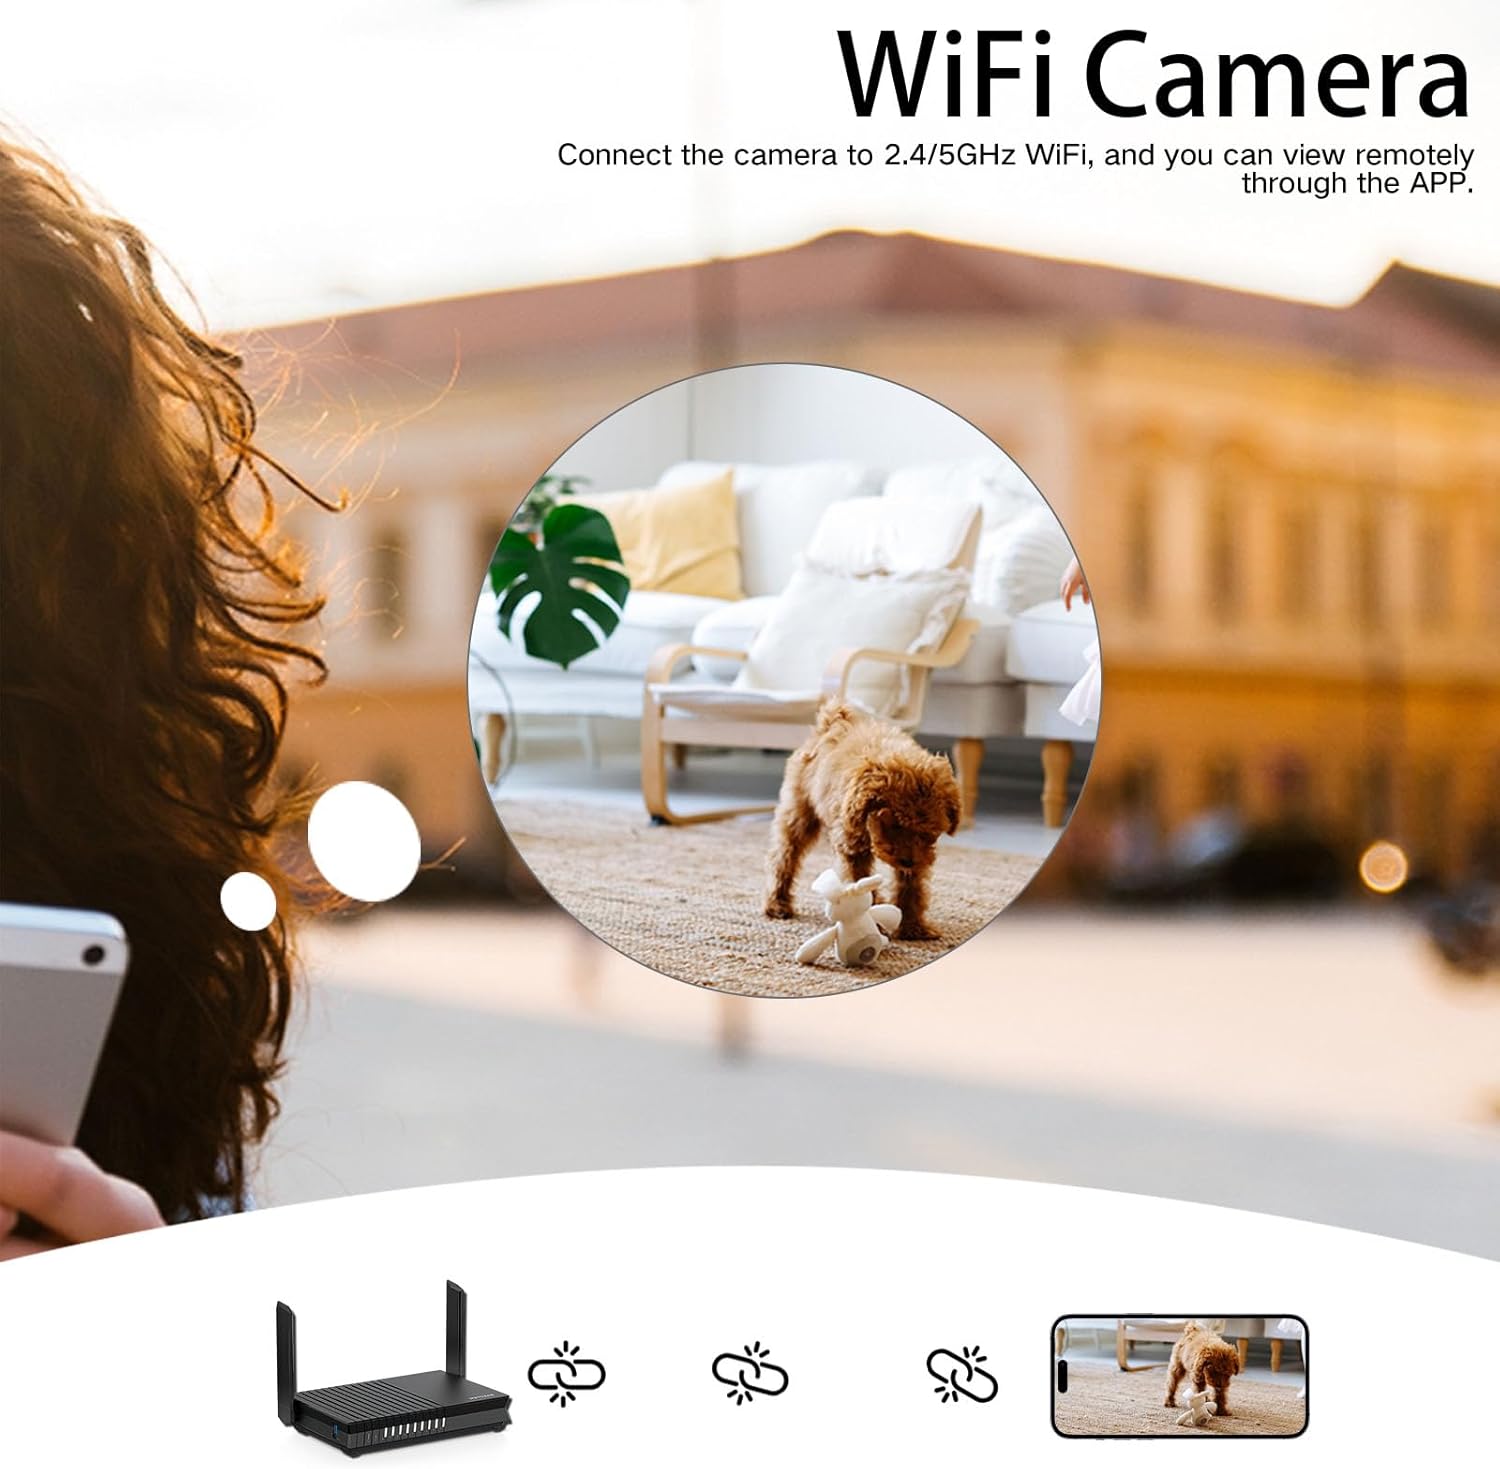
Image 3.2: Connecting the camera to a WiFi network via the mobile application.
4. Operating Instructions
4.1 Live View
After successful WiFi setup, open the mobile application to access the live video feed from your camera clock. You can monitor your space in real-time from anywhere with an internet connection.
4.2 Video Recording
The camera supports continuous loop recording to the inserted SD card. You can also manually initiate recording via the mobile app.
- Resolution Adjustment: Within the mobile app settings, you can switch between 720P and 1080P video resolutions to suit your needs.
- Loop Recording: When the SD card is full, the camera automatically overwrites the oldest video files, ensuring continuous recording without manual deletion.

Image 4.1: The camera records in HD 1080P, supporting loop recording.
4.3 Motion Detection
The camera is equipped with a motion sensor that triggers recording and sends alerts to your mobile device.
- Enable motion detection in the mobile application settings.
- When a moving object is detected within the camera's field of view, it will automatically begin recording.
- The app will send a push notification to your smartphone, alerting you to the detected movement.

Image 4.2: Motion detection feature sending an alert to a smartphone.
4.4 Night Vision
The built-in infrared device allows the camera to record clear video even in complete darkness.
- Night vision activates automatically in low-light conditions.
- The infrared lights are discreet and do not emit visible light.

Image 4.3: Comparison of daytime and night vision capabilities.
5. Maintenance
5.1 Cleaning
- Use a soft, dry cloth to clean the exterior of the camera clock.
- Do not use liquid cleaners or aerosols, as they may damage the device.
- Gently wipe the camera lens with a microfiber cloth to ensure clear image quality.
5.2 Battery Care
- To prolong battery life, avoid fully discharging the battery frequently.
- If storing the device for an extended period, charge it to approximately 50% every few months.
5.3 Firmware Updates
Periodically check the mobile application for available firmware updates. Keeping your device's firmware updated ensures optimal performance and access to new features.
6. Troubleshooting
| Problem | Possible Cause | Solution |
|---|---|---|
| Device not powering on | Low battery; Power cable not connected properly; Device malfunction. | Charge the device fully; Ensure power cable is securely connected; Contact support if issue persists. |
| Cannot connect to WiFi | Incorrect WiFi password; Out of WiFi range; Router issues; Incorrect WiFi band (only 2.4GHz/5GHz supported). | Verify WiFi password; Move device closer to router; Restart router; Ensure you are connecting to a 2.4GHz or 5GHz network. |
| No video recording | No SD card inserted; SD card full or corrupted; Recording feature disabled. | Insert a compatible SD card; Format or replace SD card; Enable recording in app settings. |
| Poor video quality | Dirty lens; Low light conditions; Network bandwidth issues. | Clean the camera lens; Ensure adequate lighting or rely on night vision; Check network speed. |
| Motion detection not working | Feature disabled in app; Sensitivity too low; Obstruction in view. | Enable motion detection in app; Adjust sensitivity settings; Ensure clear line of sight. |
7. Specifications
| Feature | Specification |
|---|---|
| Model Number | W1 |
| Video Resolution | 1080P (adjustable to 720P) |
| Connectivity | Wi-Fi (2.4GHz/5GHz) |
| Storage | Supports up to 128GB SD card (not included) |
| Power Source | Battery Powered (rechargeable) |
| Battery Life | Approx. 3.5 hours (continuous recording) |
| Indoor/Outdoor Usage | Indoor |
| Mounting Type | Tabletop Mount |
| Product Dimensions | 1.9 x 0.78 x 1 inches |
| Item Weight | 9.1 ounces |
8. Warranty Information
Specific warranty details for the FUXGZ W1 Wireless Camera Clock are not provided in the product information. Please refer to the retailer's return policy or contact the seller directly for warranty inquiries.
9. Support
For technical assistance or further questions regarding your FUXGZ W1 Wireless Camera Clock, please refer to the support section within the mobile application or contact the seller through the platform where the product was purchased.