1. Introduction
This manual provides essential information for the safe and efficient installation, operation, and maintenance of your Generic 9000W Vertical Axis Wind Turbine Generator Kit. This wind turbine is designed for various applications, including home power generation, monitoring systems, marine use, and streetlight power. Please read this manual thoroughly before installation and operation to ensure optimal performance and safety.

Image 1.1: The 9000W Vertical Axis Wind Turbine Generator Kit, showing the red blades, white generator body, and an included controller.
2. Safety Information
WARNING: Failure to follow these safety instructions may result in serious injury, property damage, or death.
- Professional Installation Recommended: Installation of wind turbines involves working at heights and with electrical components. It is highly recommended that installation be performed by qualified professionals.
- Electrical Hazard: The wind turbine generates electricity. Ensure all electrical connections are made by a qualified electrician and comply with local electrical codes. Disconnect all power sources before performing any maintenance or inspection.
- Moving Parts: The turbine blades rotate at high speeds. Keep hands, tools, and loose clothing away from the blades during operation and installation.
- Secure Mounting: Ensure the turbine is securely mounted to a stable structure capable of withstanding strong winds and the weight of the turbine.
- Environmental Conditions: Do not install the turbine in areas prone to extreme weather conditions beyond its specified operating limits.
- Children and Pets: Keep children and pets away from the wind turbine installation area.
3. Package Contents
Verify that all components listed below are present and undamaged upon unpacking.
- 1 x Wind Turbine (main body with blades)
- 1 x Wind Controller
- 1 x Installation Manual (this document)
- Mounting hardware (bolts, nuts, washers, flange base)

Image 3.1: All components included in the kit, showing the five red nylon fiber blades, the generator motor body, the flange base, the controller, and various bolts, nuts, and washers.
4. Product Features
The Generic 9000W Vertical Axis Wind Turbine is engineered for efficiency and durability.
- Low Start-up Wind Speed: Designed to begin generating power at a low wind speed of 2 m/s.
- High Efficiency: Optimized blade design and generator for effective energy conversion.
- Compact Design: Features a sleek, lantern-like appearance with minimal vibration and low noise operation.
- User-Friendly Installation: Simplified design for easier setup, maintenance, and repairs.
- Intelligent Microprocessor Control: Equipped with a high-power tracking intelligent microprocessor for efficient current and voltage regulation.
- Durable Construction: The shell is made of aluminum alloy die-casting, featuring a double bearing support for enhanced anti-typhoon capacity and reliable operation.
- Nylon Fiber Blades: Five blades made from high-quality nylon fiber with an optimized aerodynamic shape for strong wind resistance.
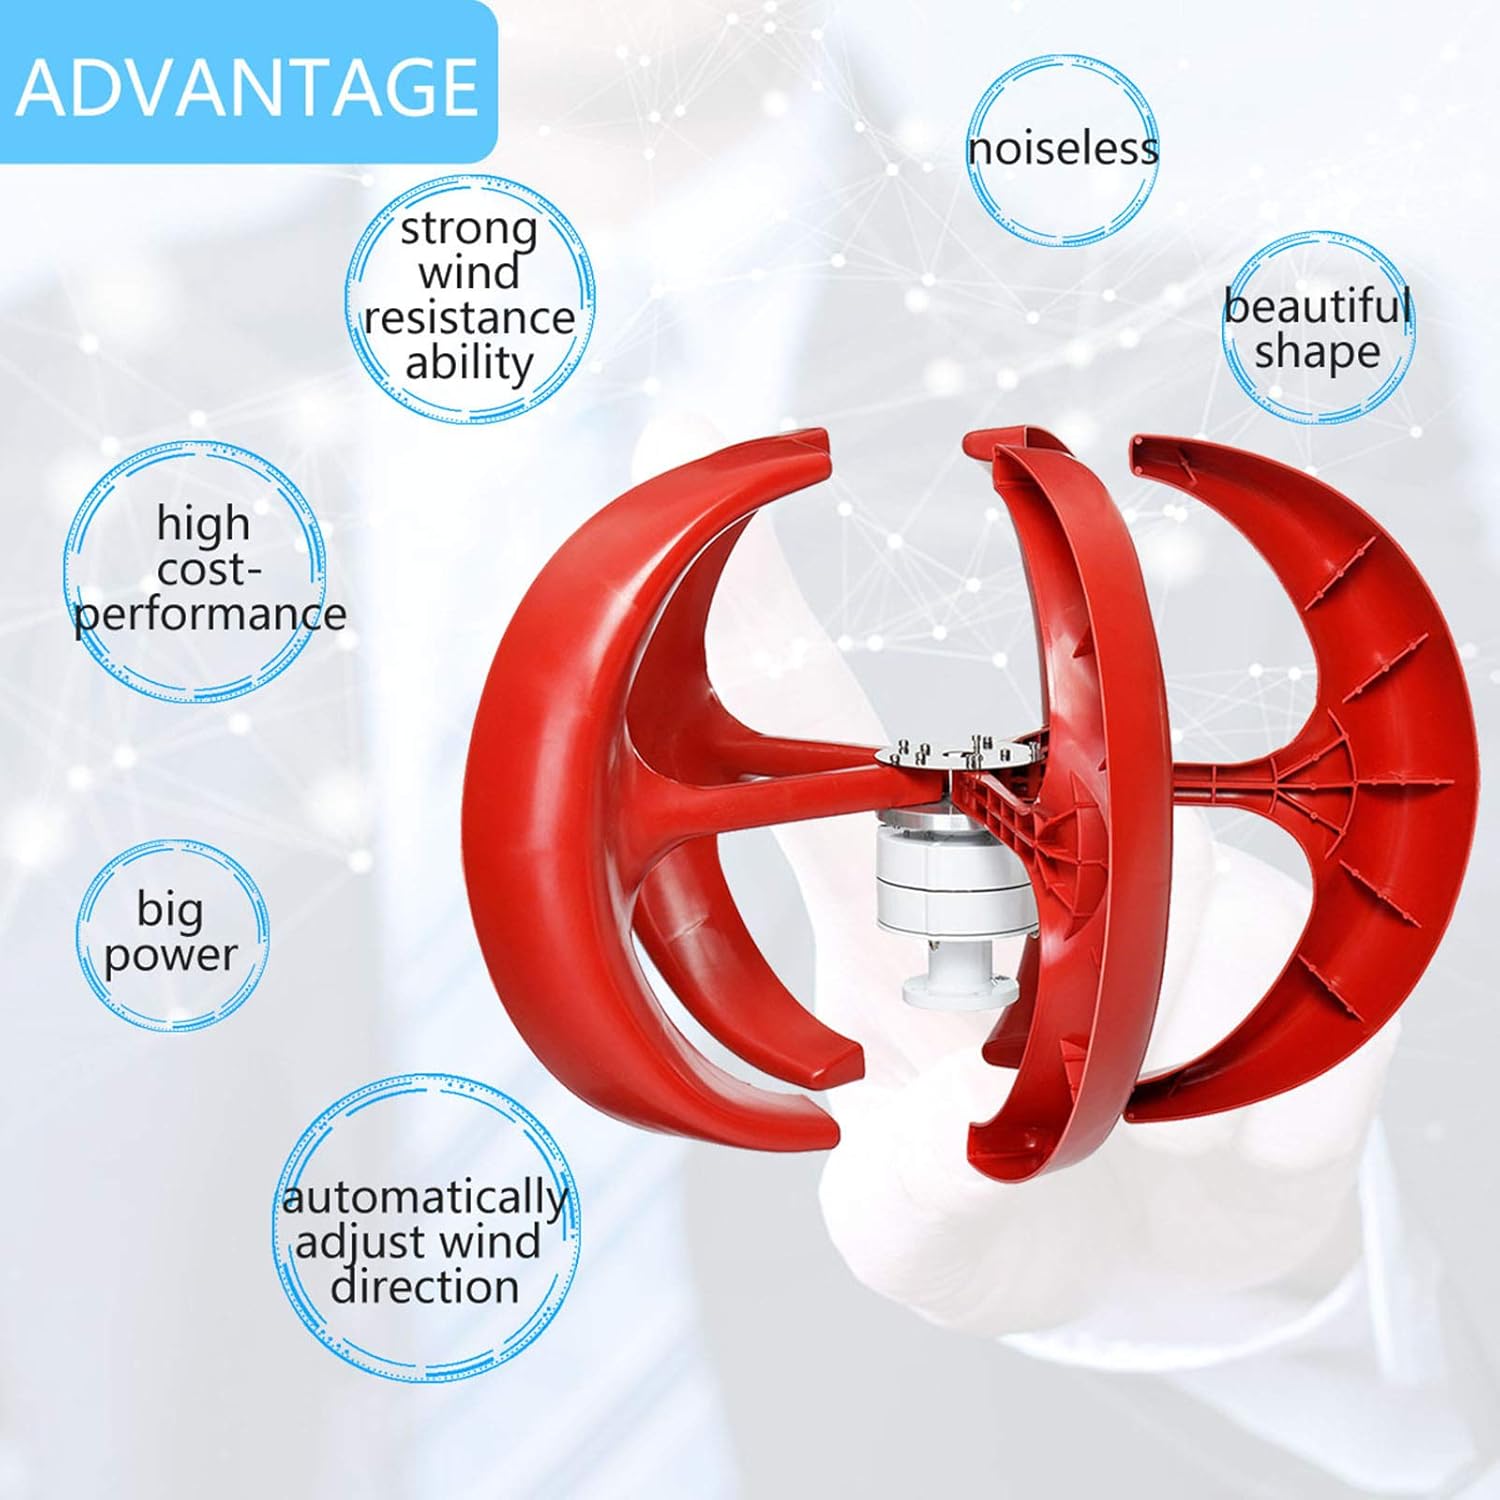
Image 4.1: Diagram illustrating key advantages such as noiseless operation, beautiful shape, strong wind resistance, high cost-performance, big power output, and automatic wind direction adjustment.

Image 4.2: Close-up views of the wind turbine, highlighting the aluminum alloy body for stability and corrosion resistance, and the good quality nylon fiber blades with optimized aerodynamic design for strong wind resistance.
5. Specifications
| Parameter | Value |
|---|---|
| Rated Power | 9000W |
| Rated Voltage | 12V/24V/48V (Controller dependent) |
| Safe Wind Speed | 45 m/s |
| Rated Wind Speed | 12 m/s |
| Starting Wind Speed | 2 m/s |
| Blade Length | 600 mm |
| Wheel Diameter | 900 mm |
| Braking Modes | Electromagnetic |
| Turbine Type | Three-Phase AC Permanent Magnet Synchronous Generator |
| Blade Material | Nylon Fiber |
| Number of Blades | 5 |
| Wind Direction Adjustment | Automatic |
| Operating Temperature | -40℃ to 80℃ |
6. Setup and Installation
Proper installation is crucial for the performance and longevity of your wind turbine. Refer to the exploded view diagram and follow these steps carefully.

Image 6.1: Exploded view diagram showing the individual components and their assembly order. Key parts include the wind blades (6), wind wheel hub (7), motor body (8), flange base (12), and steel pipe bracket (17).

Image 6.2: Detailed view of the double bearing system for low vibration and strong wind resistance, and the user-friendly flange installation design for easy setup and maintenance.
Installation Steps:
- Prepare the Mounting Pole: Ensure you have a sturdy steel pipe bracket (17) or tower that is securely anchored and capable of supporting the turbine's weight and resisting wind forces. The flange base (12) will attach to this pole.
- Attach Flange Base: Secure the flange base (12) to the top of your mounting pole using appropriate bolts (13), flat gaskets (14), elastic washers (15), and nuts (16). Ensure it is level and tightly fastened.
- Mount Motor Body: Place the motor body (8) onto the flange base (12). Align the bolt holes and secure it using body bolts (9), flat gaskets (10), and nuts (11).
- Assemble Wind Wheel Hub: Attach the wind wheel hub (7) to the top of the motor body (8).
- Install Wind Blades: Carefully attach each of the five wind blades (6) to the wind wheel hub (7). Use the provided bolts (3), flat washers (4), and loose nuts (5) to secure each blade. Ensure all blades are oriented correctly and tightened evenly.
- Secure Wind Wheel Pressure Plate: Place the wind wheel pressure plate (2) over the assembled blades and hub, and secure it with the loose nut (1).
- Electrical Connections: Connect the wind turbine's output wires to the included wind controller. Follow the wiring diagram provided with the controller for correct polarity and connection to your battery bank or grid-tie inverter. Ensure all electrical connections are waterproof and insulated.
- Controller Placement: Install the wind controller in a dry, well-ventilated area, protected from direct sunlight and extreme temperatures.
- Final Inspection: Before operation, double-check all mechanical connections for tightness and all electrical connections for correctness and security. Ensure there are no obstructions around the turbine blades.
7. Operating Instructions
Once properly installed and connected, the Generic 9000W Vertical Axis Wind Turbine operates largely automatically.
- Automatic Operation: The turbine is designed to start generating power when the wind speed reaches 2 m/s. It will automatically adjust its orientation (being vertical axis) and regulate current and voltage through the intelligent microprocessor controller.
- Monitoring: Periodically check the wind controller's display (if applicable) to monitor power output, battery charge status, and system health.
- Electromagnetic Braking: The controller features an electromagnetic braking system to protect the turbine in high wind conditions or during maintenance. Refer to the controller's specific manual for details on its operation and any manual override functions.
8. Maintenance
Regular maintenance ensures the long-term reliability and efficiency of your wind turbine.
- Visual Inspection (Monthly): Check for any loose bolts, damaged blades, frayed wires, or signs of corrosion. Address any issues promptly.
- Blade Cleaning (Annually or as needed): Clean the turbine blades to remove dirt, dust, or debris that may reduce efficiency. Use a soft cloth and mild detergent. Ensure the turbine is completely stopped and secured before cleaning.
- Electrical Connections (Annually): Inspect all electrical connections for tightness and signs of corrosion. Clean and re-tighten as necessary.
- Bearing Check: The double bearing system is designed for durability. Listen for unusual noises during operation, which may indicate a need for professional inspection.
- Controller Inspection: Ensure the controller is free from dust and moisture. Check its connections and indicators.
CAUTION: Always ensure the turbine is completely shut down and secured before performing any maintenance tasks. If unsure, consult a qualified technician.
9. Troubleshooting
This section addresses common issues you might encounter. For complex problems, contact customer support.
| Problem | Possible Cause | Solution |
|---|---|---|
| No power output | Low wind speed; Loose electrical connections; Controller fault; Turbine damage | Check wind speed; Inspect all wiring; Check controller indicators; Inspect turbine for damage |
| Unusual noise or vibration | Loose blades or mounting hardware; Bearing issue; Imbalance | Tighten all bolts; Inspect blades for damage; Contact support for bearing issues |
| Controller error message | Over-voltage/current; Wiring error; Internal fault | Refer to controller manual; Check wiring; Contact support |
10. Warranty and Support
For warranty information, please refer to the terms and conditions provided at the time of purchase or contact your seller directly. For technical support or inquiries regarding parts and service, please reach out to the manufacturer or authorized service center.


