1. Overview
The Nordica Sportmachine 3 100 BOA ski boots are designed for men seeking high performance and a wide fit in alpine skiing. Featuring a 102mm last, these boots combine comfort with precise control, making them suitable for various skiing conditions. Key technologies include the BOA Fit System, Tri Force shell construction, and Primaloft insulation for optimal warmth and fit.
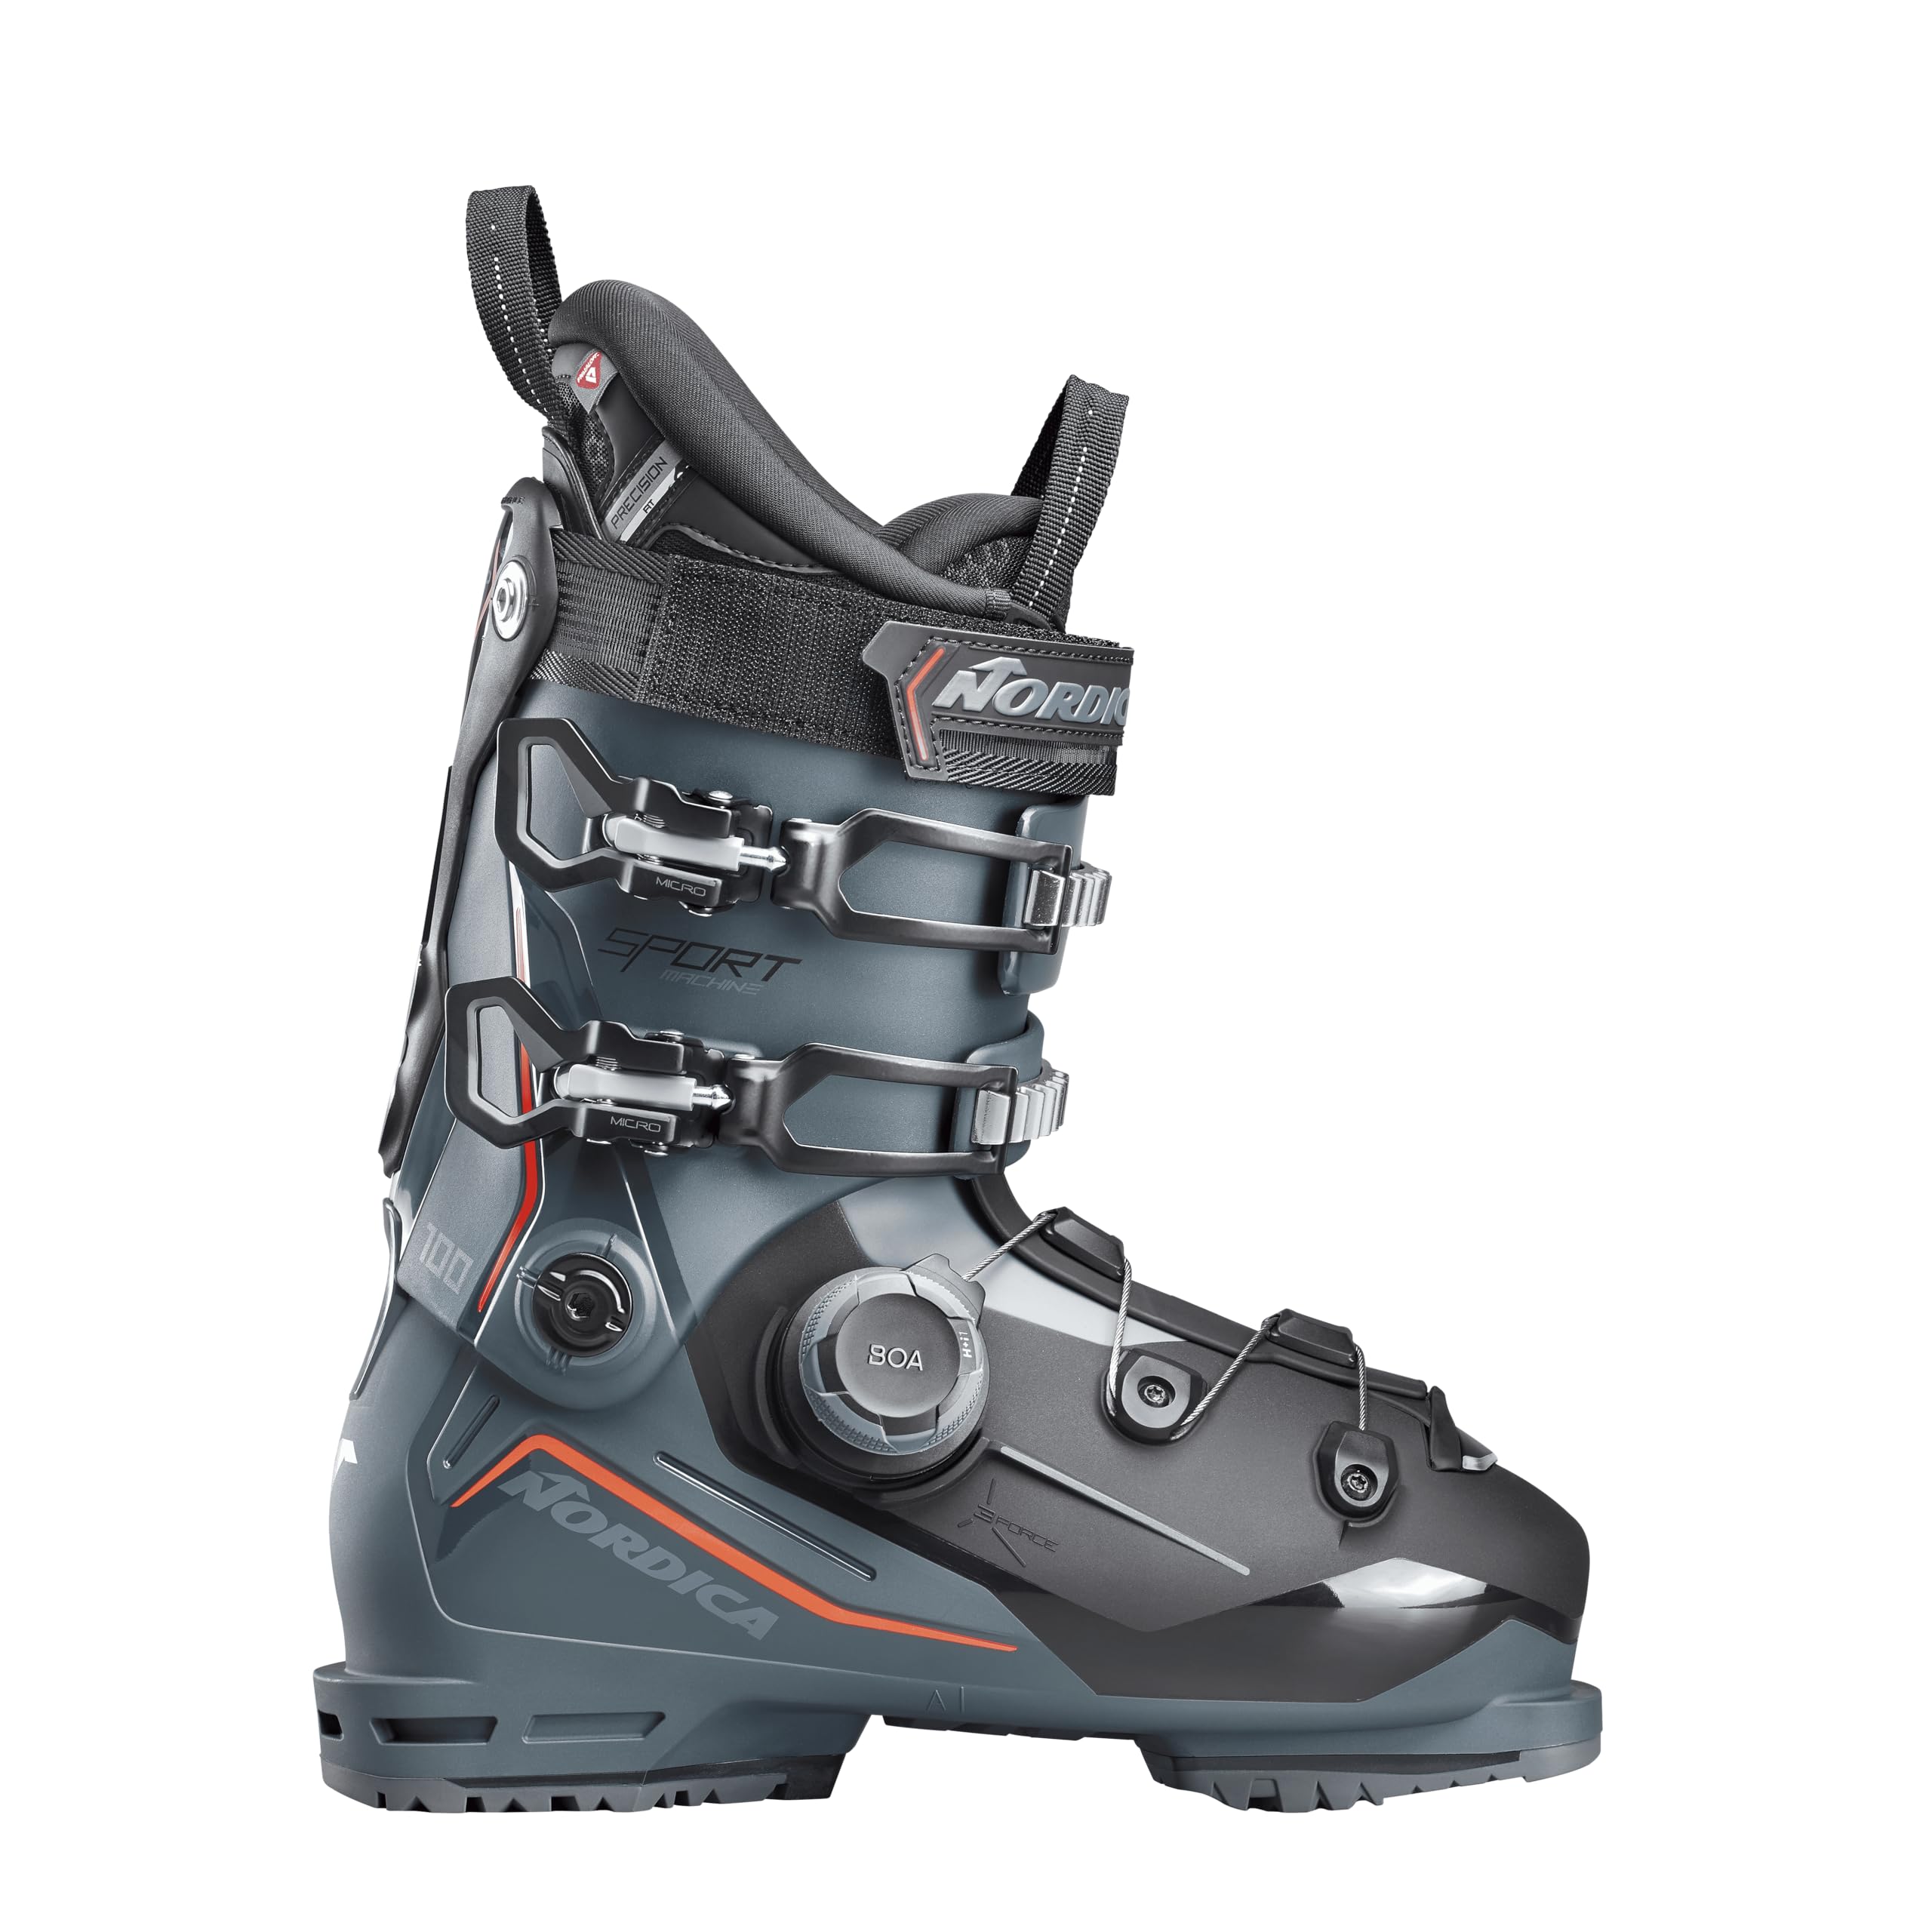
Figure 1: Overall view of the Nordica Sportmachine 3 100 BOA ski boot.
Key Features:
- Wide Volume Performance: 102mm shell with Primaloft liner and BOA Fit System for exceptional performance and control.
- Tri Force + BOA Fit System: Unique blend of three material densities and BOA Fit System for a contoured fit and maximized energy transmission.
- Isotherm Insulation: Liner material designed to retain warmth and wick away moisture.
- Easy Entry Soft Flap: Soft plastic inserts in the throat of the boot facilitate easy step-in and step-out.
2. Setup and Adjustment
Proper setup of your ski boots is crucial for comfort, performance, and safety. Follow these steps to ensure an optimal fit.
2.1 Initial Fit Check
- Insert Foot: With all buckles and the BOA system loosened, slide your foot into the boot. The Easy Entry Soft Flap will assist.
- Tap Heel: Gently tap your heel on the ground to ensure it is seated firmly in the heel pocket of the liner.
- Check Toe Room: While standing upright, your toes should lightly touch the front of the liner. When you flex forward into a skiing stance, your toes should pull back slightly, no longer touching the front.
2.2 BOA Fit System Adjustment
The BOA Fit System provides a precise, micro-adjustable fit around the forefoot.
- Engage BOA: Push the BOA dial inward until it clicks to engage the system.
- Tighten: Turn the dial clockwise to tighten the cable system. Adjust until you feel a snug, even pressure across the top of your foot, without any pressure points.
- Release: To release the BOA system, pull the dial outward.

Figure 2: Side view highlighting the BOA Fit System dial for precise forefoot adjustment.
2.3 Buckle Adjustment
The two micro-adjustable aluminum buckles secure the lower and upper cuff of the boot.
- Lower Buckles: Fasten the lower buckles first, adjusting them to hold your foot securely without restricting circulation.
- Upper Buckles: Fasten the upper buckles, ensuring the cuff is snug around your lower leg. These buckles contribute significantly to power transmission and control.
- Micro-Adjustment: Use the micro-adjustment feature on the buckles (rotate the buckle lever) to fine-tune the tension.
2.4 Power Strap Adjustment
The power strap at the top of the cuff provides additional support and helps to reduce shin bang.
- Tighten Strap: Pull the power strap firmly and secure it. It should be tight enough to provide support but not overly constricting.

Figure 3: Rear view displaying the power strap and Adjustable Cuff Profile (ACP) mechanism.
3. Operating the Ski Boots
Once properly fitted, your Sportmachine 3 100 BOA boots are ready for the slopes. Understanding how they interact with your skis is key to effective skiing.
3.1 Entry and Exit
- Entry: Loosen all buckles and pull the BOA dial out to release tension. Pull the tongue forward and use the Easy Entry Soft Flap to slide your foot in.
- Exit: Release the power strap, unbuckle all buckles, and pull the BOA dial out. Pull the tongue forward and step out.
3.2 Skiing Stance and Flex
- Forward Lean: The boots are designed with an optimal forward lean to encourage an athletic skiing stance.
- Flex: The 100 flex rating provides a balance of support and responsiveness. Engage the boot's flex by driving your shins forward against the tongue. This transfers energy to your skis.
3.3 Grip Walk Soles
The Grip Walk soles enhance traction and comfort when walking in your ski boots, making transitions between slopes and lodges safer and easier.

Figure 4: Illustration of Grip Walk soles, designed for improved traction and ease of walking.
4. Care and Maintenance
Proper care extends the life of your ski boots and maintains their performance.
4.1 After Each Use
- Dry Liners: Remove the liners from the shells and allow them to air dry completely at room temperature. Avoid direct heat sources.
- Clean Shells: Wipe down the outer shells with a damp cloth to remove dirt, snow, and salt.
- Buckle and BOA: Lightly buckle the boots and engage the BOA system to a loose setting for storage. This helps maintain the shell's shape.

Figure 5: The Precision Fit Primaloft liner, which should be removed for drying after use.
4.2 Storage
- Store boots in a cool, dry place away from direct sunlight or extreme temperatures.
- Ensure boots are buckled loosely and the BOA system is lightly engaged to prevent deformation of the shell.
5. Troubleshooting
Here are solutions to common issues you might encounter with your ski boots.
5.1 Discomfort or Pressure Points
- Issue: Pain or pressure in specific areas of the foot or shin.
- Solution: Re-adjust the BOA system and buckles. Ensure no buckle is overtightened. Consider custom footbeds or professional boot fitting for persistent issues.
5.2 Difficulty Buckling or Unbuckling
- Issue: Buckles are stiff or hard to close/open.
- Solution: Ensure the boots are clean and free of ice or debris. Lubricate buckle pivots with a silicone-based spray if necessary.
5.3 Cold Feet
- Issue: Feet feel cold despite the Isotherm and Primaloft insulation.
- Solution: Ensure socks are dry and made of appropriate materials (wool or synthetic, not cotton). Check that boots are not overtightened, which can restrict circulation.
6. Specifications
| Feature | Detail |
|---|---|
| Model | Sportmachine 3 100 BOA |
| Last | 102 mm |
| Volume | Medium Wide |
| Flex Index | 100 |
| Size Range | 24.5 - 32.5 Mondo Point |
| Weight (half pair) | 1900 g |
| Cuff Material | Polyurethane (PU) |
| Shell Material | Bimat Polyurethane (PU) |
| Soles | Gripwalk Extra-Grip |
| Buckles | 2 Micro ALU; BOA Fit System |
| Liner | Precision Fit Primaloft |

Figure 6: Overview of Sportmachine 3 100 BOA key specifications and features.
7. Warranty and Support
Nordica products are manufactured to high standards. For specific warranty information, please refer to the warranty card included with your purchase or visit the official Nordica website. For technical support, fitting advice, or spare parts, contact an authorized Nordica dealer or customer service representative.
Always purchase from authorized retailers to ensure product authenticity and warranty coverage.


