Important Safety Information
WARNING: For outdoor use only. Improper installation, adjustment, alteration, service, or maintenance can cause injury or property damage. Read the installation, operating, and maintenance instructions thoroughly before installing or servicing this equipment.
- Do not store or use gasoline or other flammable vapors and liquids in the vicinity of this or any other appliance.
- An LP-cylinder not connected for use shall not be stored in the vicinity of this or any other appliance.
- This appliance is for use with propane gas only. Do not connect to a natural gas supply.
- Maintain proper clearances from combustible materials: 24 inches from sides and rear, 72 inches from top.
- Always ensure adequate ventilation.
- Keep children and pets away from the fire pit.
- Do not use the fire pit in windy conditions.
- Ensure the fire pit is on a level, non-combustible surface.
- This product is CSA certified, indicating compliance with North American safety standards.
Package Contents
Verify that all components are present before assembly. If any parts are missing or damaged, do not attempt to assemble the product. Contact customer support for assistance.
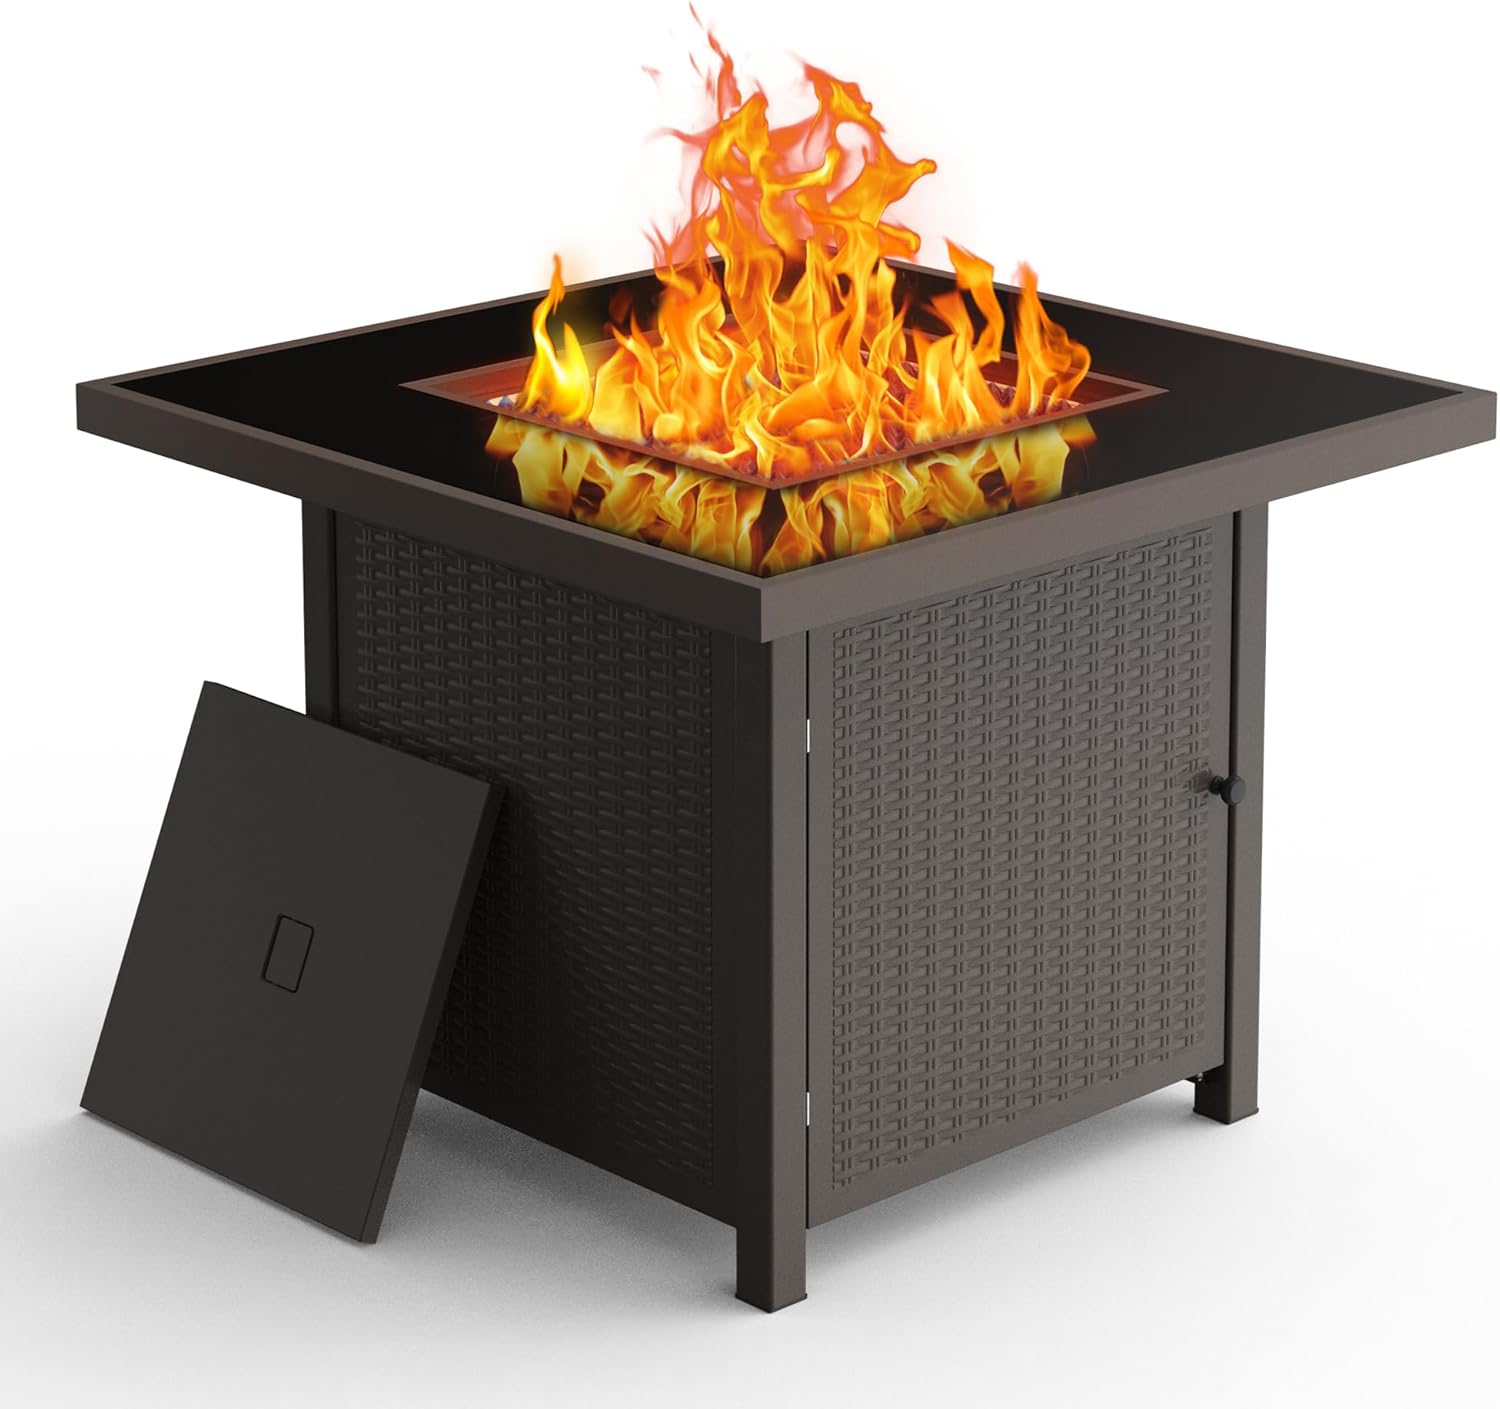
- Fire Pit Table Base
- Tempered Glass Tabletop
- Burner Assembly
- Ignition System Components
- Lava Rocks / Fire Glass
- Protective Lid
- Hardware Pack (screws, washers, nuts)
- Instruction Manual
Assembly Instructions
Tools Required: Phillips head screwdriver (No. 2 and No. 3 recommended).
- Unpack Components: Carefully remove all parts from the packaging. Place them on a soft, clean surface to prevent scratches.
- Assemble the Base: Attach the side panels to the corner posts using the provided screws. Ensure all panels are correctly oriented. Do not fully tighten screws until all components are aligned.
- Install Propane Tank Support: Secure the propane tank support ring or tray inside the base structure. Ensure it aligns with the leg fittings.
- Attach Tabletop Frame: Place the tabletop frame onto the assembled base and secure it with screws.
- Install Burner Assembly: Carefully place the burner assembly into the designated opening in the tabletop frame. Connect the gas hose from the burner to the control valve.
- Connect Igniter Wires: Connect the igniter wires to the ignition button. Refer to the detailed diagrams in the included manual for specific connections.
- Place Tempered Glass Tabletop: Carefully set the tempered glass panels into the tabletop frame.
- Add Fire Glass: Distribute the fire glass evenly over the burner area. Do not cover the igniter or thermocouple.
- Final Tightening: Once all components are aligned and in place, securely tighten all screws.
Operating Instructions
- Connect Propane Tank: Ensure the propane tank is securely placed inside the fire pit base. Connect the regulator hose to the propane tank valve and tighten by hand.
- Leak Test: Before first use and after every tank change, perform a leak test. Apply a soapy water solution to all gas connections. If bubbles appear, there is a leak. Tighten connections or replace parts as necessary. Do not operate if a leak is detected.
- Lighting the Fire Pit:
- Open the propane tank valve slowly.
- Push and hold the ignition control knob in, then turn it to the 'LOW' position.
- Press the igniter button repeatedly until the burner ignites. You should hear a clicking sound.
- Once lit, continue to hold the control knob in for 15-20 seconds to allow the thermocouple to heat up. Release the knob.
- If the burner does not light within 15 seconds, turn the control knob to 'OFF', wait 5 minutes for gas to dissipate, and repeat the lighting procedure.
- Adjusting Flame: Turn the control knob between 'LOW' and 'HIGH' to adjust the flame height.
- Turning Off the Fire Pit:
- Turn the control knob to the 'OFF' position.
- Close the valve on the propane tank completely.
- Allow the fire pit to cool completely before covering or moving.

Maintenance
- Cleaning: Ensure the fire pit is completely cool before cleaning. Wipe exterior surfaces with a soft, damp cloth. Do not use abrasive cleaners. Clean the burner ports regularly to ensure proper gas flow.
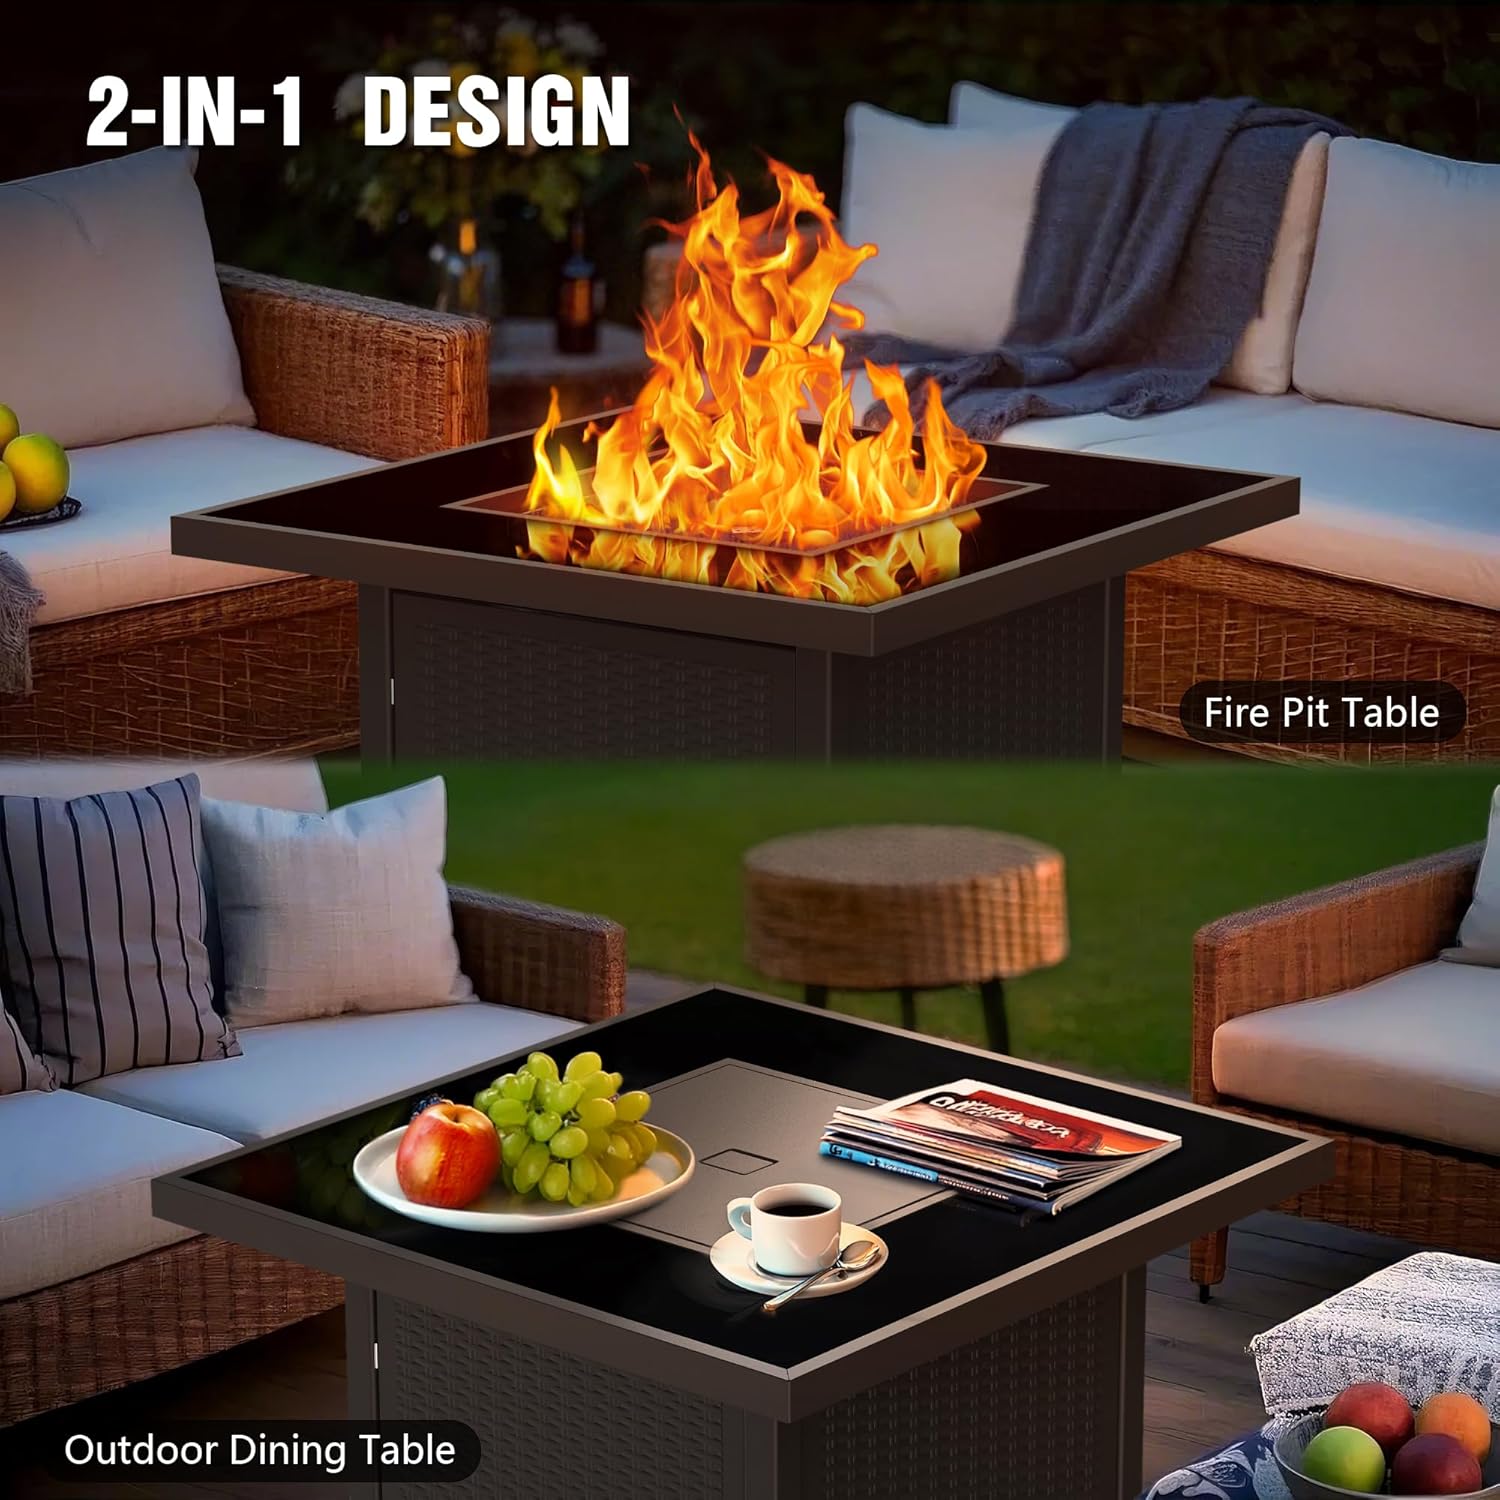
- Glass Tabletop Care: The tempered glass tabletop can be cleaned with standard glass cleaner. Avoid harsh chemicals that may damage the finish.
- Storage: When not in use for extended periods, or during inclement weather, cover the fire pit with a weather-resistant cover. Store the propane tank in a well-ventilated area, away from direct sunlight and heat sources.
- Inspection: Periodically inspect the gas hose and connections for signs of wear, cuts, or leaks. Replace any damaged components immediately.
Troubleshooting
| Problem | Possible Cause | Solution |
|---|---|---|
| Burner does not light | No gas flow; Igniter not sparking; Air in gas line. | Check propane tank valve; Ensure igniter electrode is clean and properly positioned; Purge air from gas line by repeating lighting procedure. |
| Flame is low or inconsistent | Low gas pressure; Blocked burner ports; Propane tank nearly empty. | Check propane tank level; Clean burner ports; Replace propane tank. |
| Fire pit shuts off unexpectedly | Thermocouple not heating sufficiently; Low gas pressure; Safety device activation. | Ensure thermocouple is in flame path; Check propane tank level; Contact customer support if issue persists after checking gas supply. |
| Gas odor detected | Gas leak. | Immediately turn off gas supply at the tank. Perform a leak test. Do not operate until leak is resolved. If odor persists, evacuate the area and call emergency services. |
Specifications
- Model: SRGF11625-251
- Dimensions (L x W x H): 32" x 32" x 25"
- Material: Glass, Metal (Powder Coated Finish)
- Heat Output: 50,000 BTU
- Fuel Type: Liquefied Petroleum Gas (Propane)
- Item Weight: 68 Pounds
- Ignition System: Piezo Ignition
- Certification: CSA Certified
Warranty and Support
BALI OUTDOORS products are designed for quality and reliability. For any questions, concerns, or assistance with your product, please contact BALI OUTDOORS customer support. This product is eligible for 30-day easy returns through the retailer.
For direct support, please visit the official BALI OUTDOORS store or contact their customer service department. Refer to your purchase documentation for specific warranty details.


