1. Introduction
Thank you for purchasing the ORRD 5-Drawer Fluted Dresser. This manual provides essential information for the safe assembly, proper use, and maintenance of your new furniture. Please read all instructions carefully before beginning assembly and retain this manual for future reference.
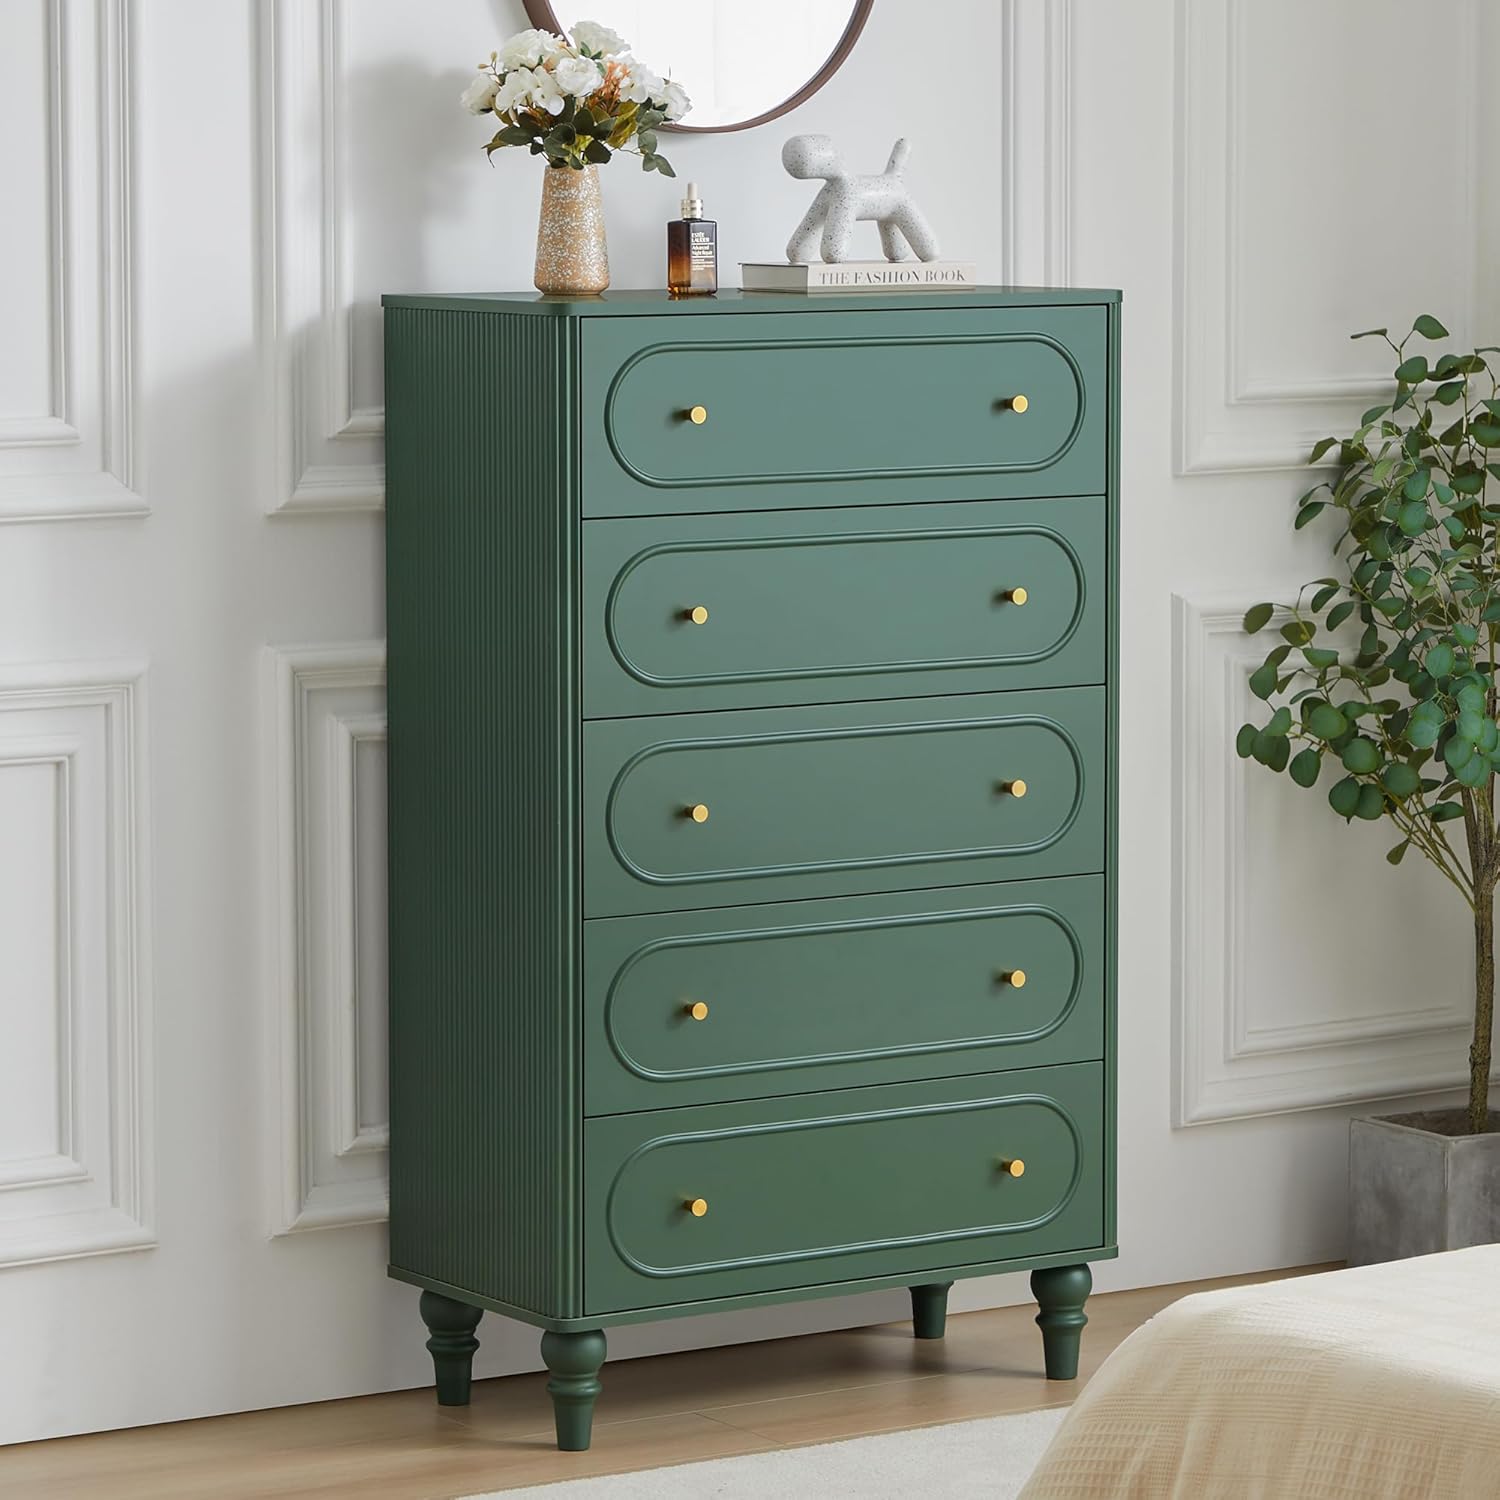
Image 1.1: The ORRD 5-Drawer Fluted Dresser in Green, showcasing its design in a bedroom setting.
2. Safety Information
- Anti-Tip Device: It is highly recommended to install the included anti-tip device to prevent the dresser from tipping over, especially in households with children. Follow the specific instructions provided with the anti-tip kit.
- Weight Limits: Do not exceed the recommended weight limits for each drawer or the top surface. Overloading can compromise stability and cause damage.
- Assembly: Assemble the dresser on a soft, clean surface to prevent scratches. Ensure all hardware is securely tightened before use. Periodically check and re-tighten hardware as needed.
- Placement: Place the dresser on a level surface to ensure stability. Avoid placing it near heat sources or in direct sunlight to prevent material degradation.
3. Package Contents
Before assembly, verify that all components and hardware are present. If any parts are missing or damaged, please contact customer support.
- Dresser Panels (Top, Bottom, Sides, Back, Drawer Fronts)
- Drawer Slides and Runners
- Drawer Knobs/Handles
- Assembly Hardware (Screws, Dowels, Cam Locks, etc.)
- Anti-Tip Kit
- Assembly Instructions Manual
4. Assembly Instructions
Assembly typically requires two adults. Please follow the step-by-step instructions provided in the product package. The following images illustrate key components and assembly aspects.
- Prepare the Area: Clear a spacious, clean, and soft area for assembly to prevent damage to the dresser components.
- Identify Parts: Lay out all panels and hardware. Refer to the parts list in your package to identify each component.
- Assemble the Frame: Begin by connecting the side panels to the top and bottom panels using the provided hardware. Ensure all connections are secure.
- Install Drawer Slides: Attach the drawer slides to the inner sides of the dresser frame and to the drawer boxes as per the instructions. Ensure they are level and aligned for smooth operation.
- Assemble Drawers: Construct each drawer box, then attach the drawer fronts and handles.
- Insert Drawers: Carefully slide the assembled drawers into the dresser frame.
- Attach Legs: Securely attach the solid wood legs to the base of the dresser.
- Install Anti-Tip Kit: Mount the anti-tip device to the back of the dresser and to a wall stud, following the specific instructions included with the kit. This step is critical for safety.
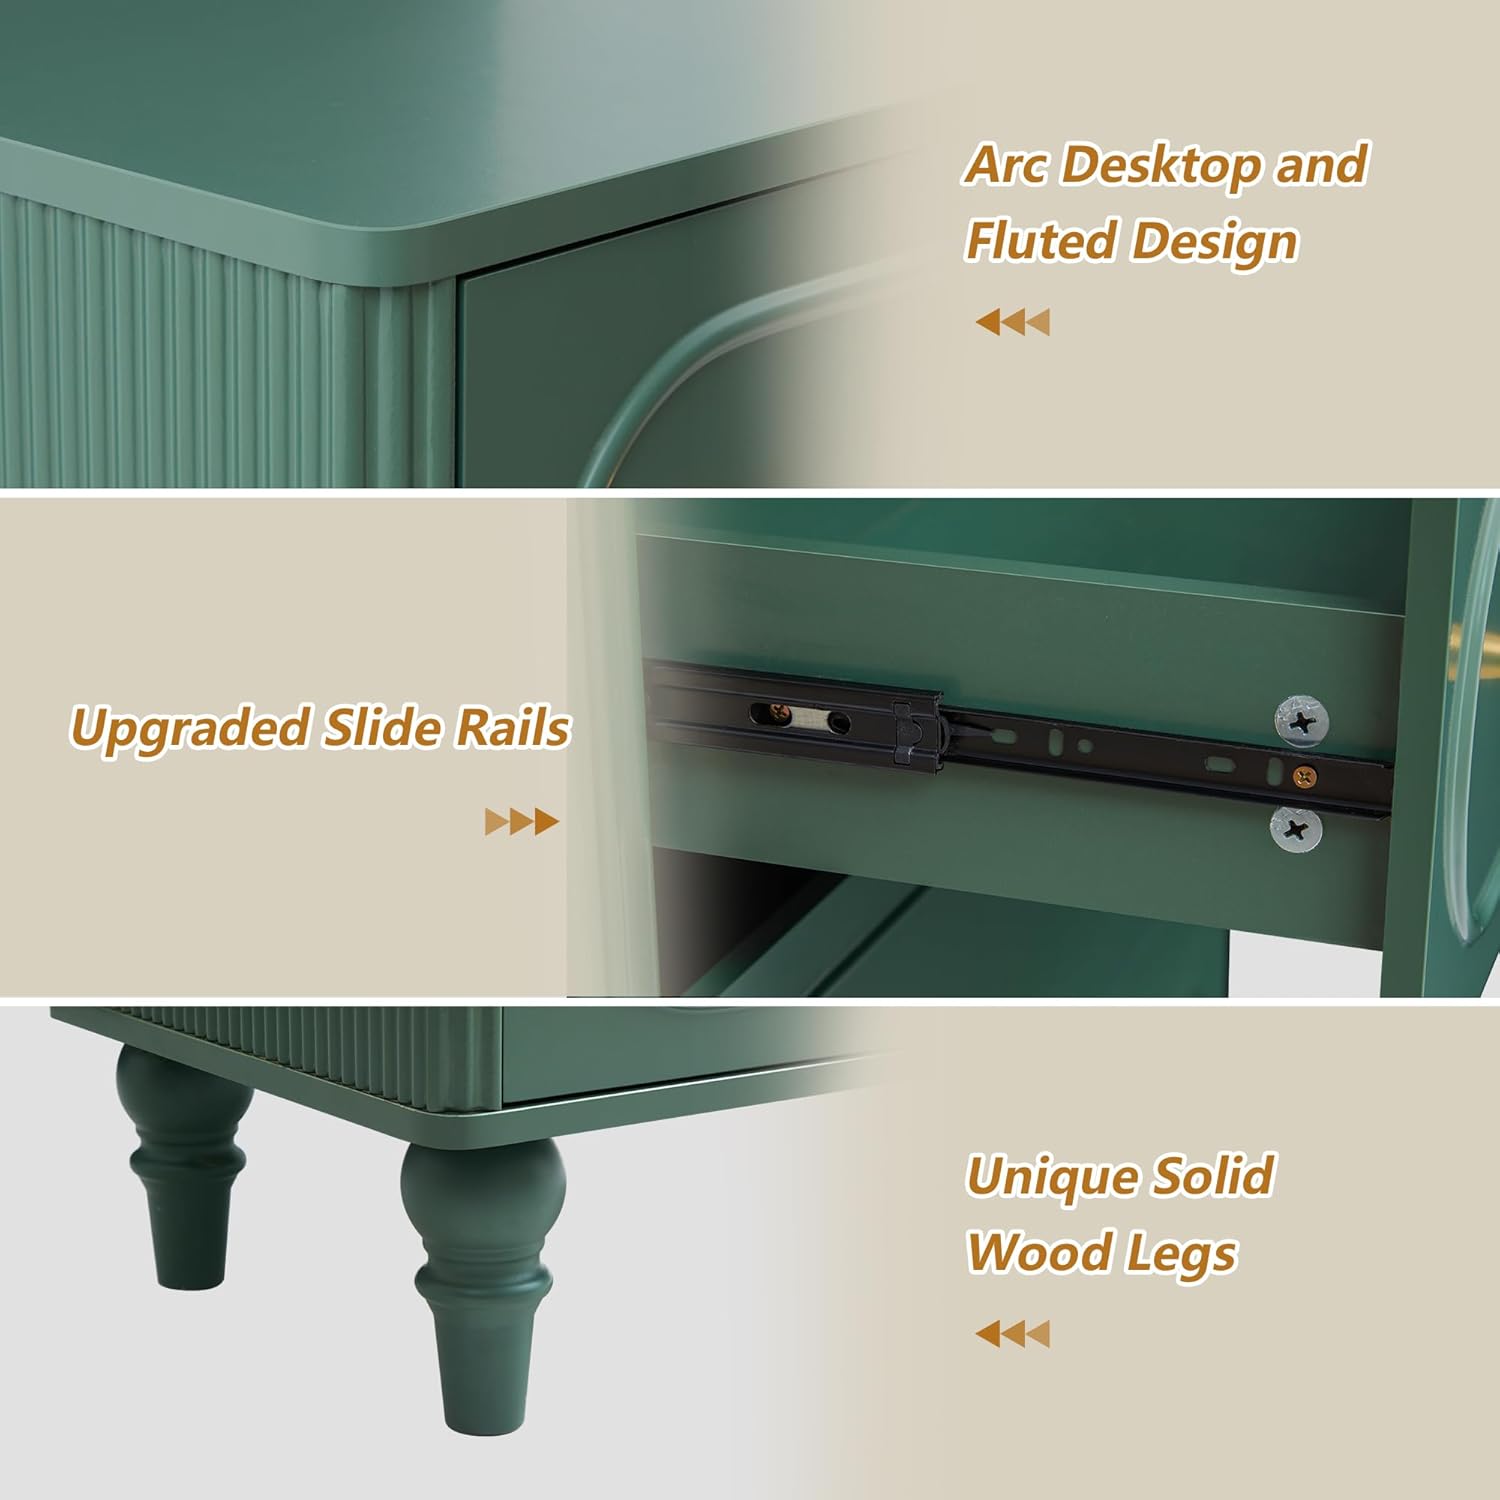
Image 4.1: Detailed view of the dresser's arc desktop, fluted side design, upgraded drawer slide rails, and unique solid wood legs.
Image 4.2: An illustration detailing the various components and hardware required for dresser assembly.
5. Operating Instructions
The ORRD 5-Drawer Fluted Dresser is designed for organized storage in various rooms.
- Drawer Use: Gently pull and push drawers using the provided handles. Avoid forcing drawers open or shut.
- Weight Distribution: Distribute items evenly within drawers to maintain balance and prevent strain on the slides. Avoid placing excessively heavy items in upper drawers to maintain stability.
- Top Surface: The top surface can be used for decorative items or frequently accessed essentials. Ensure items placed on top do not exceed the dresser's stability limits.

Image 5.1: The dresser with multiple drawers open, illustrating the generous storage capacity for clothing and other personal items.
6. Maintenance
Proper care will extend the life and appearance of your dresser.
- Cleaning: Wipe surfaces with a soft, damp cloth. Avoid harsh chemicals, abrasive cleaners, or excessive moisture, which can damage the finish.
- Spills: Clean spills immediately with a dry cloth to prevent staining or water damage.
- Hardware: Periodically check all screws and fasteners to ensure they remain tight. Re-tighten as necessary to maintain structural integrity.
- Avoid Direct Sunlight: Prolonged exposure to direct sunlight can cause fading or discoloration of the finish.
7. Troubleshooting
- Drawers not sliding smoothly:
- Check if drawer slides are correctly installed and aligned.
- Ensure no objects are obstructing the drawer runners.
- Verify that all screws on the slides are tightened.
- Dresser feels unstable/wobbly:
- Ensure the dresser is placed on a flat, level surface.
- Check and re-tighten all assembly hardware.
- Confirm the anti-tip device is properly installed and secured to the wall.
- Missing parts:
- Refer to the package contents list. If parts are missing, contact ORRD customer support with your purchase details.
8. Specifications
| Feature | Detail |
|---|---|
| Brand | ORRD |
| Product Dimensions | 15.7"D x 31.5"W x 52"H |
| Color | Green |
| Room Type | Bedroom, Living Room |
| Assembly Required | Yes |
| Manufacturer | ORRD |
| ASIN | B0F132DY3Y |

Image 8.1: Detailed dimensions of the dresser and its drawers.
9. Warranty and Support
For warranty information or customer support, please refer to the documentation included with your purchase or visit the official ORRD website. If you have questions regarding assembly or product functionality, please contact the seller directly.
You can visit the ORRD Store for more products and information: ORRD Store on Amazon


