1. Introduction
Thank you for choosing the ONEVAN 20V Cordless 2-in-1 Nailer and Stapler. This versatile tool is designed for both nailing and stapling applications, offering cordless convenience and efficient performance for various projects. This manual provides essential information for safe operation, proper setup, maintenance, and troubleshooting.
The ONEVAN cordless combination nailer and stapler functions as both a nail gun (15-50 mm) and an electric stapler (10-40 mm staples, 6 mm width). It is suitable for furniture manufacturing, interior work, paneling, and wood fastening.

Figure 1: The ONEVAN 2-in-1 Nailer and Stapler. This image shows the tool's main body, magazine, and handle, highlighting its dual functionality for both nails and staples.
2. General Safety Instructions
Always read and understand all safety warnings, instructions, illustrations, and specifications provided with this power tool. Failure to follow all instructions listed below may result in electric shock, fire, and/or serious injury.
2.1. Work Area Safety
- Keep the work area clean and well-lit. Cluttered or dark areas invite accidents.
- Do not operate power tools in explosive atmospheres, such as in the presence of flammable liquids, gases, or dust. Power tools create sparks which may ignite the dust or fumes.
- Keep children and bystanders away while operating a power tool. Distractions can cause you to lose control.
2.2. Personal Safety
- Always wear eye protection (safety glasses) and hearing protection.
- Dress properly. Do not wear loose clothing or jewelry. Keep your hair and clothing away from moving parts.
- Stay alert, watch what you are doing, and use common sense when operating a power tool.
- Prevent unintentional starting. Ensure the switch is in the off-position before connecting to battery pack, picking up or carrying the tool.
2.3. Power Tool Use and Care
- Do not force the power tool. Use the correct power tool for your application.
- Disconnect the battery pack from the power tool before making any adjustments, changing accessories, or storing power tools.
- Store idle power tools out of the reach of children and do not allow persons unfamiliar with the power tool or these instructions to operate the power tool.
- Maintain power tools and accessories. Check for misalignment or binding of moving parts, breakage of parts, and any other condition that may affect the power tool’s operation.
3. Setup
3.1. Battery Installation and Charging
The kit includes two 20V 4.0 Ah rechargeable lithium-ion batteries. Ensure batteries are fully charged before use. Insert the charged battery into the tool's battery slot until it clicks into place. To remove, press the release button and slide the battery out.
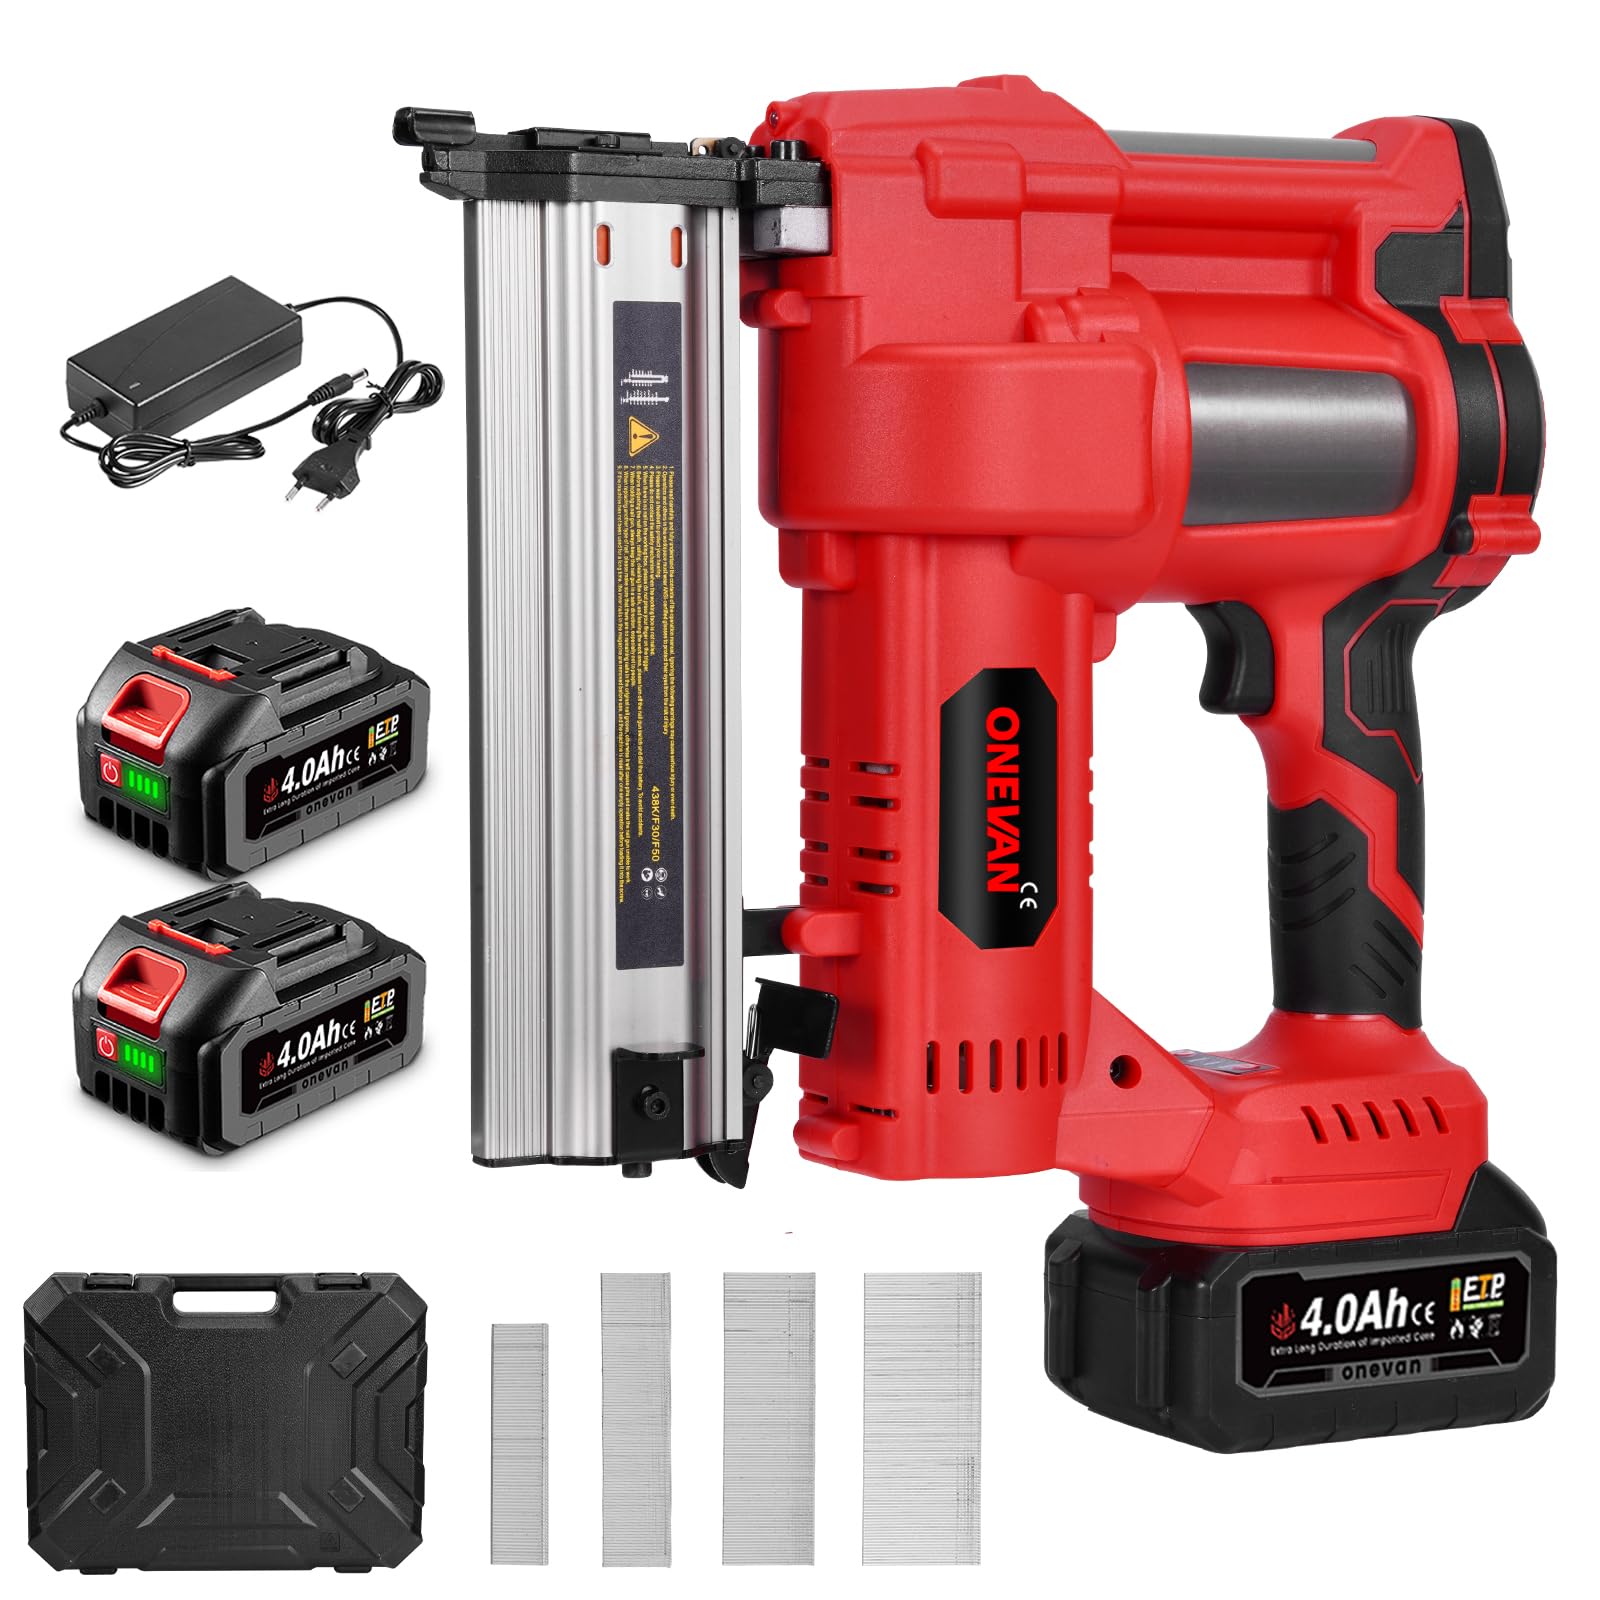
Figure 2: The 4.0Ah battery and the cordless design of the tool. This image emphasizes the portability and power source of the nailer/stapler.
3.2. Loading Nails/Staples
Always disconnect the battery before loading fasteners.
- Squeeze the magazine release and slide out the magazine.
- Place the strip of staples or nails into the magazine with the points facing upwards.
- Ensure staples or nails are placed with the sharp edge pointing upwards.
- Push the slider against the tacker head until it snap-locks into place.

Figure 3: Step-by-step guide on how to load nails or staples into the tool's magazine. This visual aid demonstrates the process of opening the magazine, inserting fasteners, and securing them.
4. Operating Instructions
4.1. Firing Modes
The tool offers two firing modes for different applications:
- Sequential Firing: For delicate projects requiring precise fastener placement, such as furniture repairs or intricate carpentry. The tool fires one fastener per trigger pull after the nose is pressed against the workpiece.
- Contact Firing: For large-scale projects requiring rapid fastening, such as crown molding or trimming. The tool fires a fastener each time the nose is pressed against the workpiece while the trigger is held down.

Figure 4: Illustration of the two firing modes: Sequential and Contact. This image visually explains the difference in operation for each mode, showing single shots versus rapid firing.
4.2. Depth Adjustment
Adjustable depth control ensures precise placement of nails and staples in various materials like soft wood, hard wood, or MDF. Use the tool-free depth adjustment dial to set the desired depth. Turning the dial in one direction increases shooting strength (deeper penetration), while turning it in the other direction reduces shooting strength (shallower penetration).

Figure 5: Demonstrates the tool-free depth adjustment feature. This image shows the adjustment dial and its effect on fastener penetration, allowing users to fine-tune the depth for different materials.
4.3. General Usage
The integrated LED lighting improves visibility in dark areas. The ergonomic design with balanced weight and rubber grip reduces fatigue during extended use. A belt clip is included for easy transport around the job site.

Figure 6: Examples of wide applications for the ONEVAN nailer/stapler. This image illustrates various uses such as woodworking, trimming, construction, roof sheathing, and skirting board installation.
5. Maintenance
5.1. Cleaning
- Always disconnect the battery before cleaning.
- Use a clean, dry cloth to wipe down the tool's exterior.
- Remove any dust or debris from the magazine and firing mechanism using compressed air or a small brush.
- Do not use harsh chemicals or abrasive cleaners.
5.2. Storage
- Store the tool in a dry, secure location away from direct sunlight and extreme temperatures.
- Remove the battery pack from the tool before storage.
- Store batteries in a cool, dry place.
- The included durable carrying and storage case is ideal for protecting the tool and accessories.
6. Troubleshooting
Before performing any troubleshooting, ensure the battery is removed from the tool.
| Problem | Possible Cause | Solution |
|---|---|---|
| Tool does not fire | Battery not inserted correctly or discharged Safety nose not fully depressed Magazine empty or jammed fasteners | Ensure battery is fully charged and properly inserted Press the safety nose firmly against the workpiece Check magazine for fasteners; clear any jams |
| Fasteners not fully driven | Depth adjustment set too shallow Low battery charge Incorrect fastener size for material | Adjust depth setting to increase penetration Recharge or replace battery Use appropriate fastener length for the material thickness |
| Fasteners jam frequently | Incorrect fastener type or size Damaged fasteners Magazine or firing mechanism dirty | Use recommended fastener types and sizes Inspect fasteners for damage before loading Clean the magazine and firing mechanism |
| Tool overheats | Continuous heavy use Blocked ventilation slots | Allow the tool to cool down during prolonged use Ensure ventilation slots are clear of debris |
If problems persist after attempting these solutions, please contact customer support.
7. Specifications
| Feature | Detail |
|---|---|
| Model Number | sku4B0007O |
| Voltage | 20 V |
| Battery Capacity | 2 x 4.0 Ah Lithium-ion |
| Nail Type | Straight nails (F-type) |
| Nail Length | 15 - 50 mm |
| Staple Length | 10 - 40 mm |
| Staple Width | Approx. 6 mm |
| Wire Diameter (nails/staples) | 1.05 - 1.2 mm |
| Firing Modes | Single shot / Contact firing |
| Depth Adjustment | Continuously variable |
| LED Work Light | Yes |
| Vibration Level | ≤ 2.5 m/s² |
| Sound Pressure Level (LpA) | 81 dB(A) |
| Sound Power Level (LWA) | 92 dB(A) |
| Package Dimensions | 45.6 x 34 x 12.3 cm |
| Weight | 6.11 kg (package) |
| Material | Metal |
8. Warranty and Support
8.1. Warranty Information
For specific warranty details, please refer to the warranty card included with your product or your purchase documentation. Warranty terms may vary based on region and retailer.
8.2. Customer Support
If you have any questions, require technical assistance, or need to report an issue with your ONEVAN 20V Cordless 2-in-1 Nailer and Stapler, please contact ONEVAN customer service through the retailer where the product was purchased or visit the official ONEVAN website for support contact information.


