Introduction
Thank you for choosing the HOMCOM Shoe Storage Cabinet. This manual provides essential information for the safe assembly, operation, and maintenance of your new cabinet. Please read these instructions thoroughly before beginning assembly and retain them for future reference.
This freestanding shoe cabinet is designed to organize footwear in entryways or hallways. It features two flip drawers with adjustable dividers, a rustic brown wood grain finish, and stable steel legs.
Safety Information
- Anti-Tip Kit: An anti-tip kit is included to secure the cabinet to a wall, preventing accidental tipping. It is crucial to install this kit as instructed, especially in households with children or pets.
- Weight Capacity: Do not exceed the maximum weight capacity of 66 pounds (30 kg) for the entire unit. Distribute weight evenly.
- Placement: Place the cabinet on a flat, stable, and level surface. Avoid placing it in areas with high humidity or direct sunlight.
- Assembly: Ensure all parts are correctly assembled and fasteners are tightened before use. Periodically check all connections for tightness.
- Top Surface: The top surface features raised edges to help prevent items from falling off. However, avoid placing heavy or unstable objects near the edges.
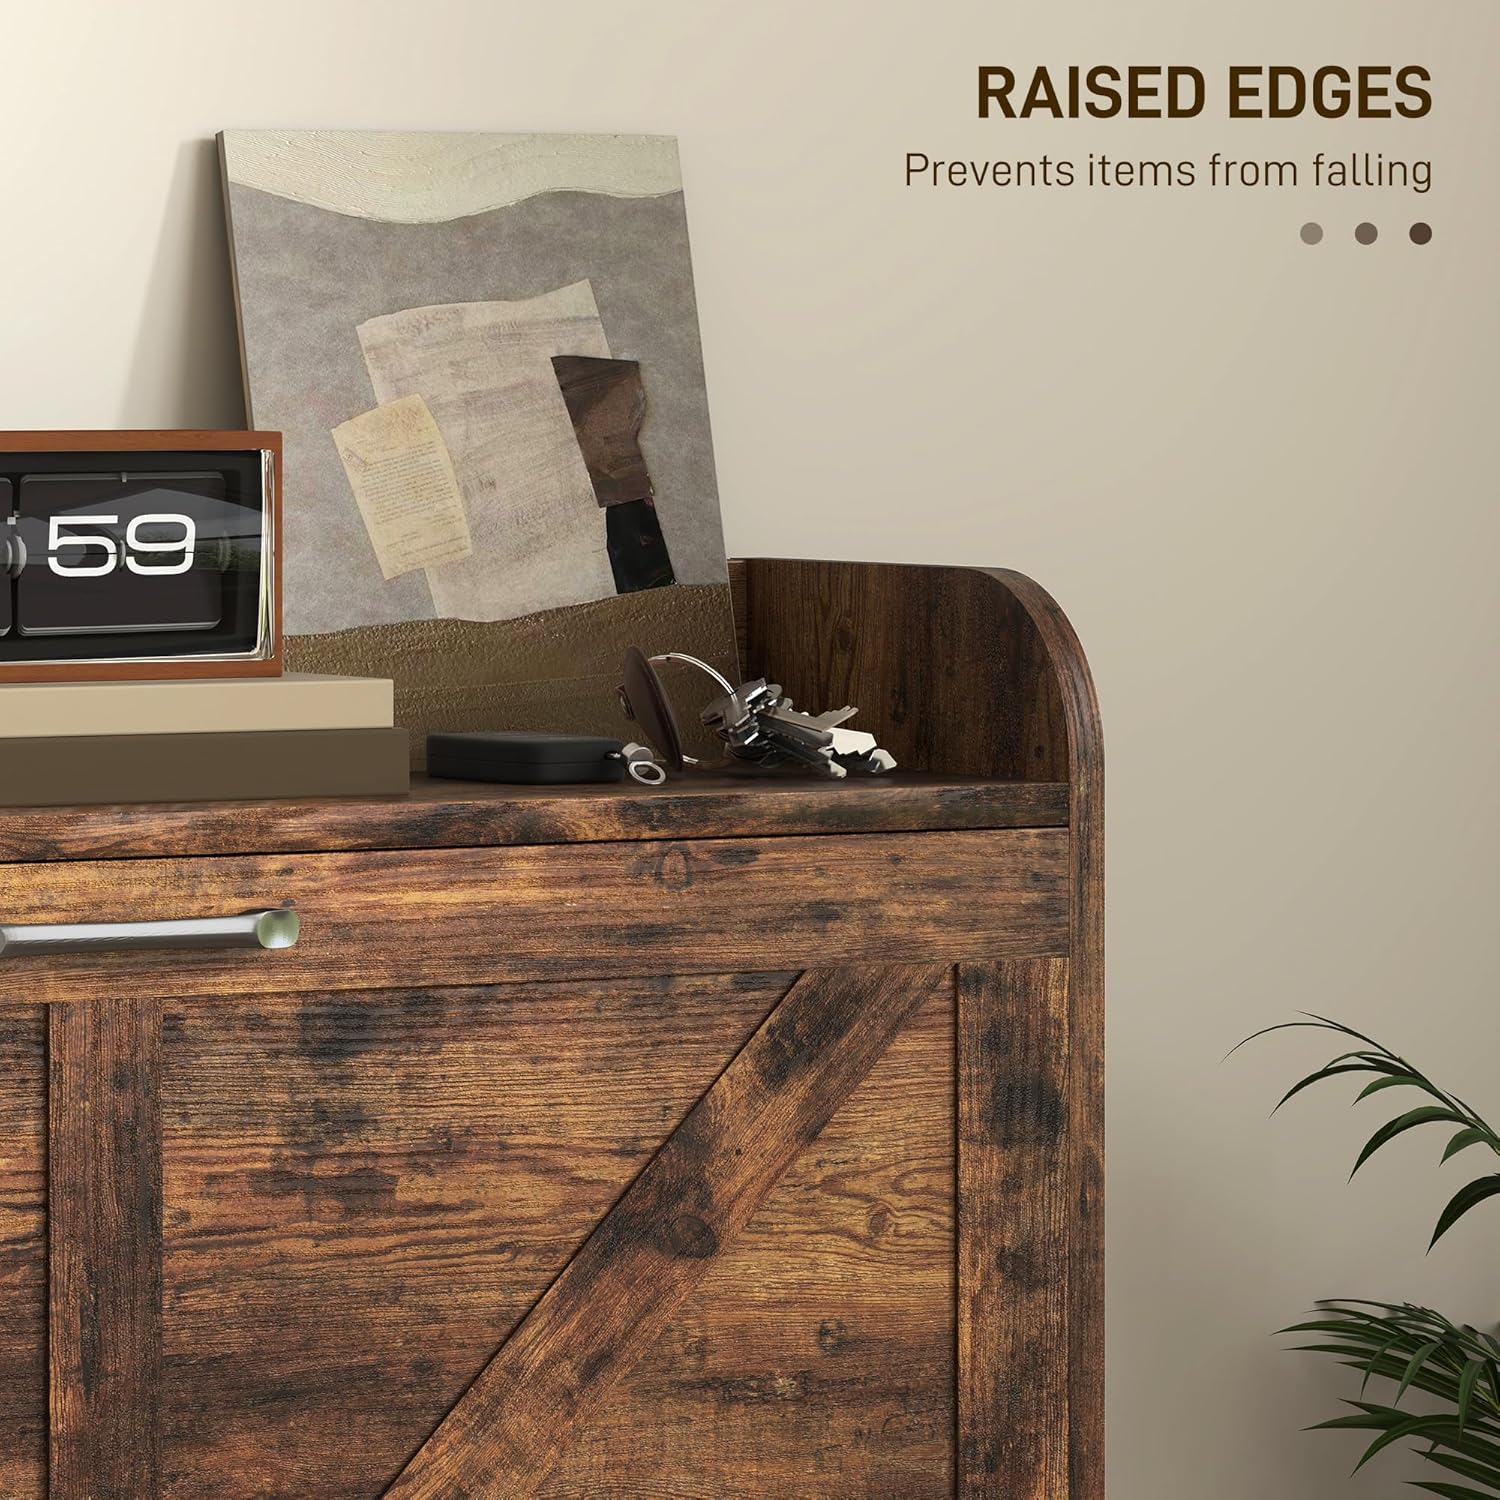
Image: Close-up of the cabinet's top surface, highlighting the raised edges designed to prevent items from falling.
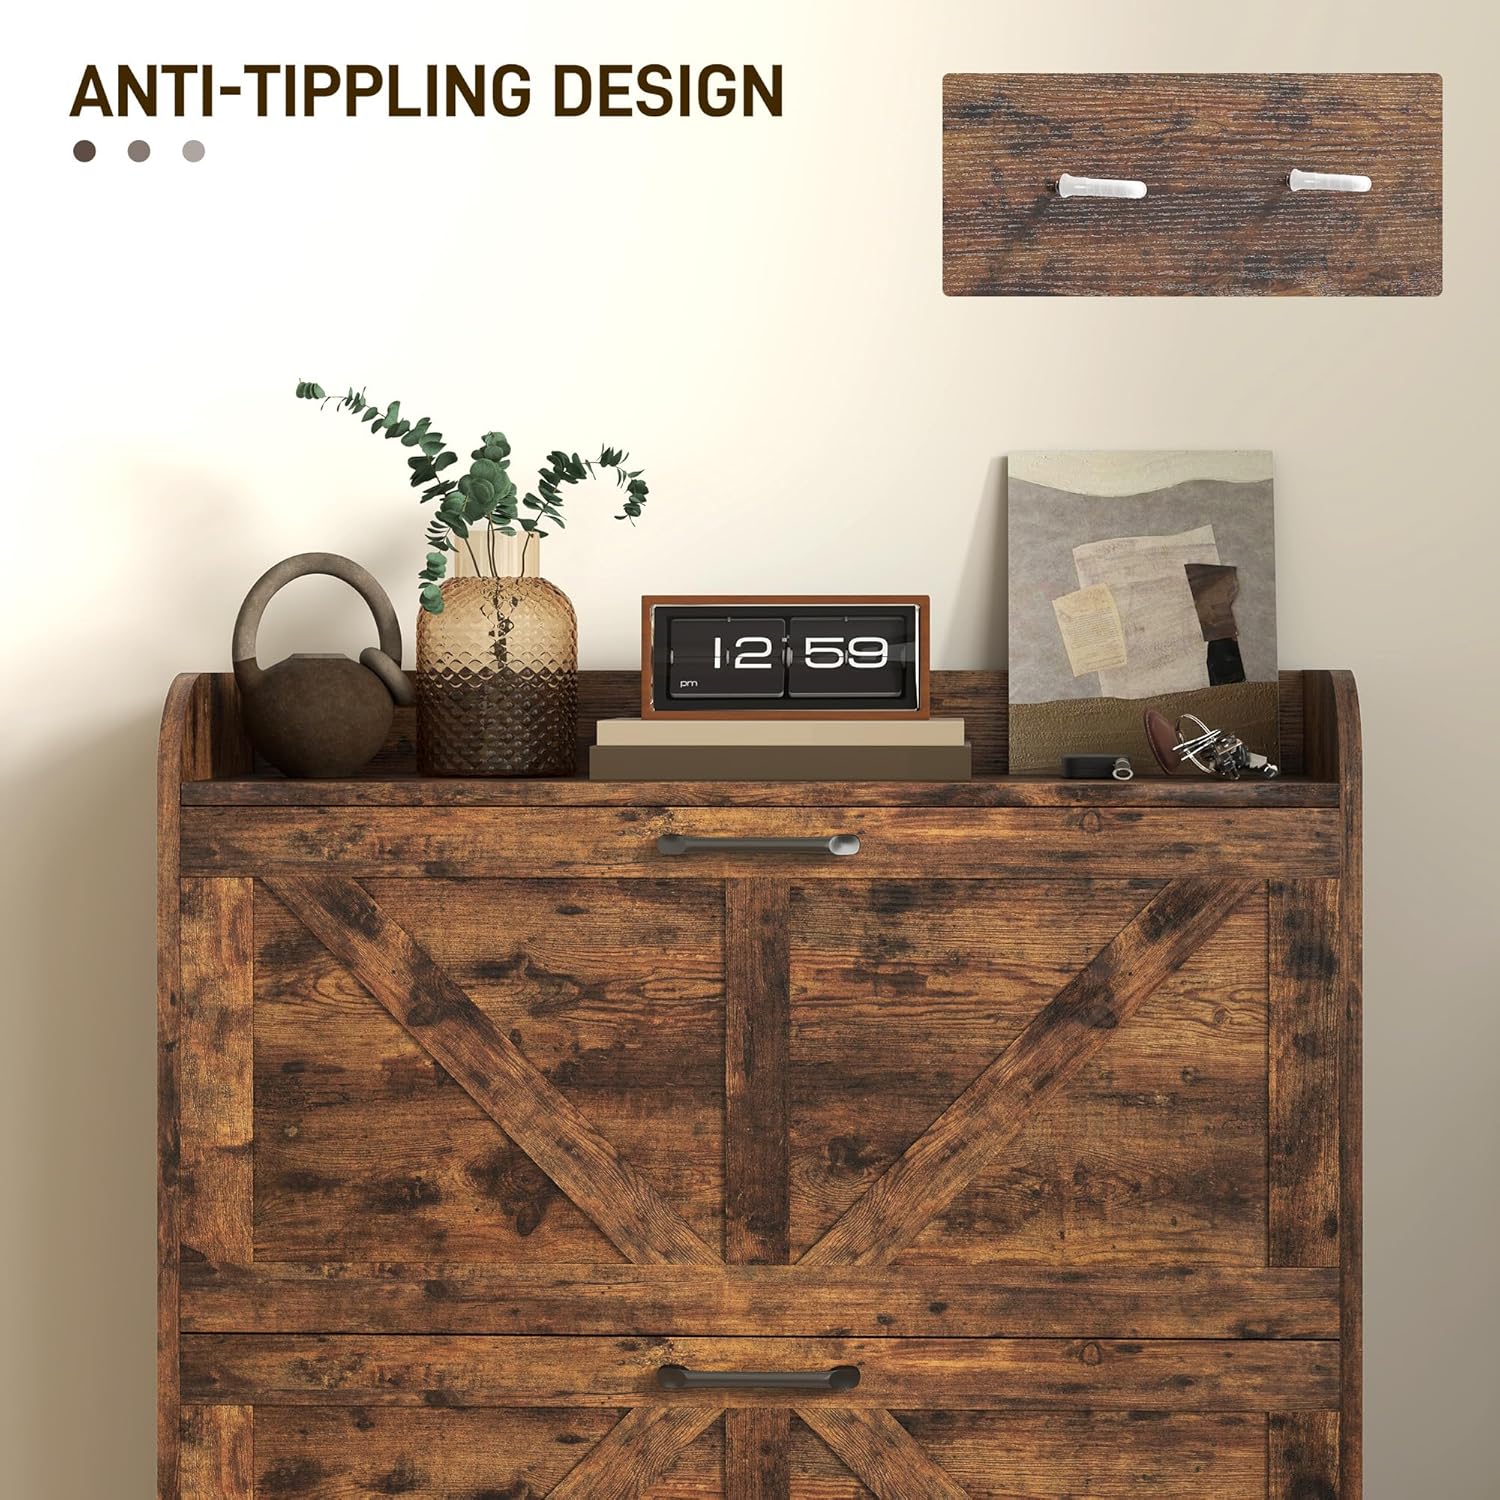
Image: Illustration of the anti-tipping hardware, which must be installed to secure the cabinet to a wall for stability.
Package Contents
Before assembly, verify that all components are present and undamaged. If any parts are missing or damaged, do not proceed with assembly and contact customer support.
- Cabinet panels (e.g., side panels, back panel, top panel, drawer fronts)
- Hardware pack (screws, dowels, cam locks, handles, drawer slides)
- Adjustable/Removable dividers for flip drawers
- Steel legs
- Anti-tip kit
- Assembly instructions (this manual)
Assembly Instructions
Assembly is required for this product. It is recommended to have a screwdriver and possibly a second person for assistance. Follow the included step-by-step diagrams carefully. Do not overtighten screws.
- Unpack and Identify Parts: Lay out all components on a clean, soft surface to prevent scratches. Identify each part using the provided parts list.
- Assemble the Main Frame: Connect the side panels to the base and top panels using the specified hardware. Ensure all connections are secure.
- Install Drawer Mechanisms: Attach the flip drawer mechanisms to the cabinet frame according to the diagrams.
- Assemble Flip Drawers: Construct the two flip drawers, attaching the front panels and handles.
- Insert Dividers: Place the adjustable and removable dividers into the flip drawers. These can be positioned to accommodate different shoe sizes or removed entirely for larger items.
- Attach Legs: Secure the steel legs to the bottom of the cabinet.
- Install Anti-Tip Kit: Mount the anti-tip kit to the back of the cabinet and secure it to a wall stud using appropriate wall anchors. This step is critical for safety.
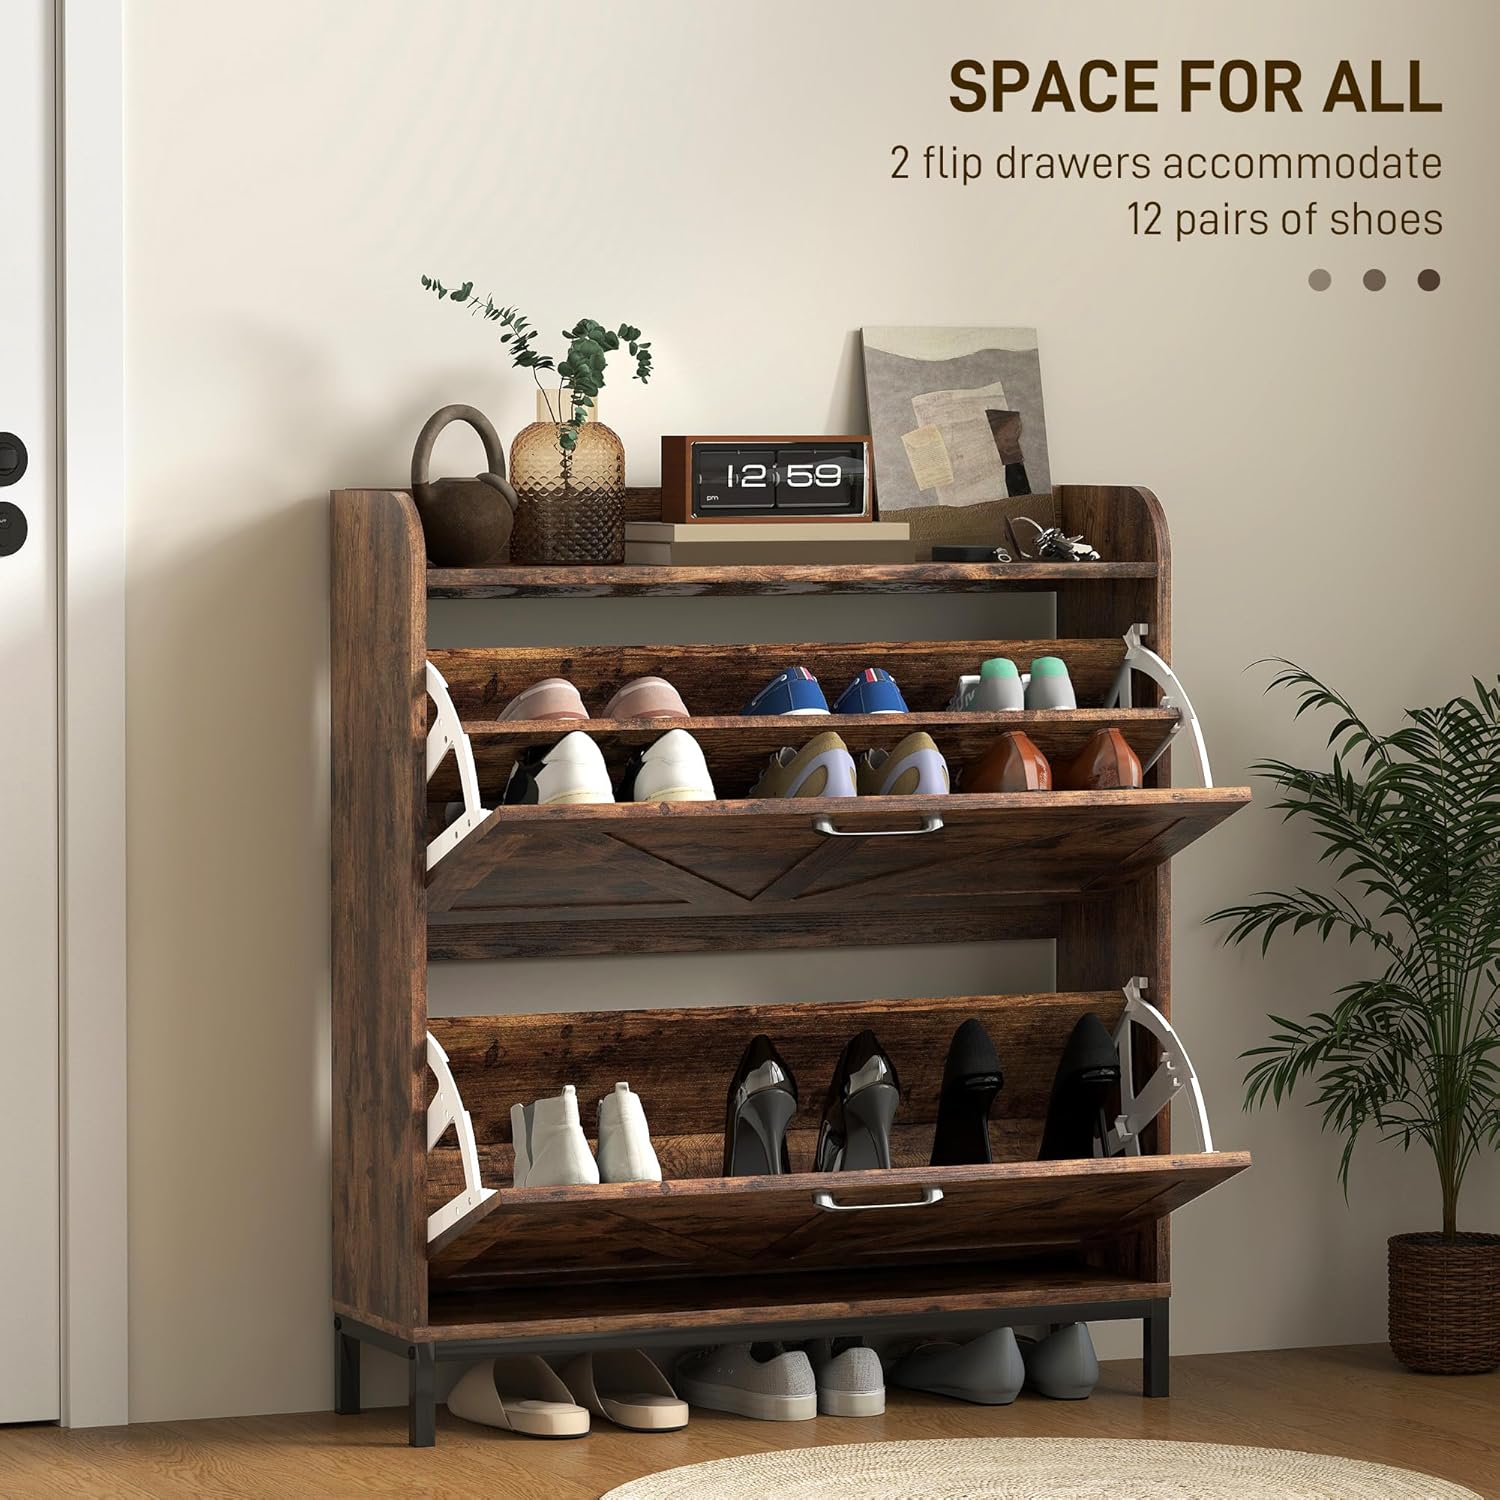
Image: The shoe cabinet with both flip drawers open, illustrating how shoes are stored within the compartments.

Image: A diagram demonstrating the adjustable and removable dividers within the flip drawers, allowing for customized storage of various shoe types.
Video: An official product video demonstrating the features and functionality of the HOMCOM Shoe Cabinet, including drawer operation and design details.
Operating Instructions
This shoe cabinet is designed for straightforward use.
- Opening and Closing Drawers: Gently pull the handle on each flip drawer to open it. The drawer will tilt forward, revealing the shoe compartments. Push the drawer back firmly until it clicks into place to close.
- Storing Shoes: Each flip drawer can hold up to 6 pairs of shoes, for a total capacity of 12 pairs (maximum shoe size 10 US). Place shoes with the toes facing inwards for optimal storage.
- Adjusting Dividers: The internal dividers in each flip drawer can be adjusted to different heights or removed entirely to accommodate taller footwear like ankle boots or high heels. Simply slide them out of their slots and reposition as needed.
- Top Surface Use: The top surface can be used for decorative items, keys, or small accessories. The raised edges help prevent items from sliding off.

Image: The HOMCOM shoe cabinet positioned in an entryway, demonstrating its practical use for shoe storage and as a decorative surface.
Maintenance
- Cleaning: Wipe the cabinet surfaces with a soft, damp cloth. For stubborn marks, use a mild, non-abrasive cleaner. Dry immediately with a clean cloth. Avoid harsh chemicals or abrasive cleaning tools, as they may damage the melamine finish.
- Dusting: Regularly dust the cabinet to prevent buildup.
- Hardware Check: Periodically inspect all screws and fasteners to ensure they remain tight. Retighten if necessary.
- Anti-Tip Kit Check: Verify that the anti-tip kit remains securely attached to both the cabinet and the wall.
Troubleshooting
| Problem | Possible Cause | Solution |
|---|---|---|
| Drawers do not open/close smoothly. | Misaligned drawer mechanism or obstruction. | Check that the drawer mechanisms are correctly installed and free from obstructions. Ensure shoes are not blocking the drawer's movement. |
| Shoes do not fit in compartments. | Dividers are set too high or shoe size exceeds capacity. | Adjust or remove the internal dividers to create more space. Note the maximum shoe size capacity (US size 10). |
| Cabinet feels unstable. | Anti-tip kit not installed or loose fasteners. | Ensure the anti-tip kit is properly installed and secured to a wall stud. Check and tighten all assembly fasteners. Place on a level surface. |
| Surface scratches or damage. | Improper handling or cleaning. | Use soft cloths for cleaning and avoid abrasive materials. Handle with care during assembly and relocation. |
Specifications
| Feature | Detail |
|---|---|
| Brand | HOMCOM |
| Model Number | 837-555V80RB |
| Color | Rustic Brown |
| Material | Engineered Wood |
| Product Dimensions (D x W x H) | 9.4" x 29.5" x 37" (23.9 cm x 74.9 cm x 94 cm) |
| Item Weight | 45 Pounds (20.4 kg) |
| Weight Capacity (Maximum) | 66 Pounds (30 kg) |
| Number of Drawers | 2 (Flip Drawers) |
| Shoe Capacity | Up to 12 pairs (Max US Size 10) |
| Additional Features | Anti-Tipping, Barn Door Style, Scratch Resistant Melamine Finish, Raised Edges |
| Assembly Required | Yes |
| Installation Type | Freestanding (with wall-mount anti-tip option) |
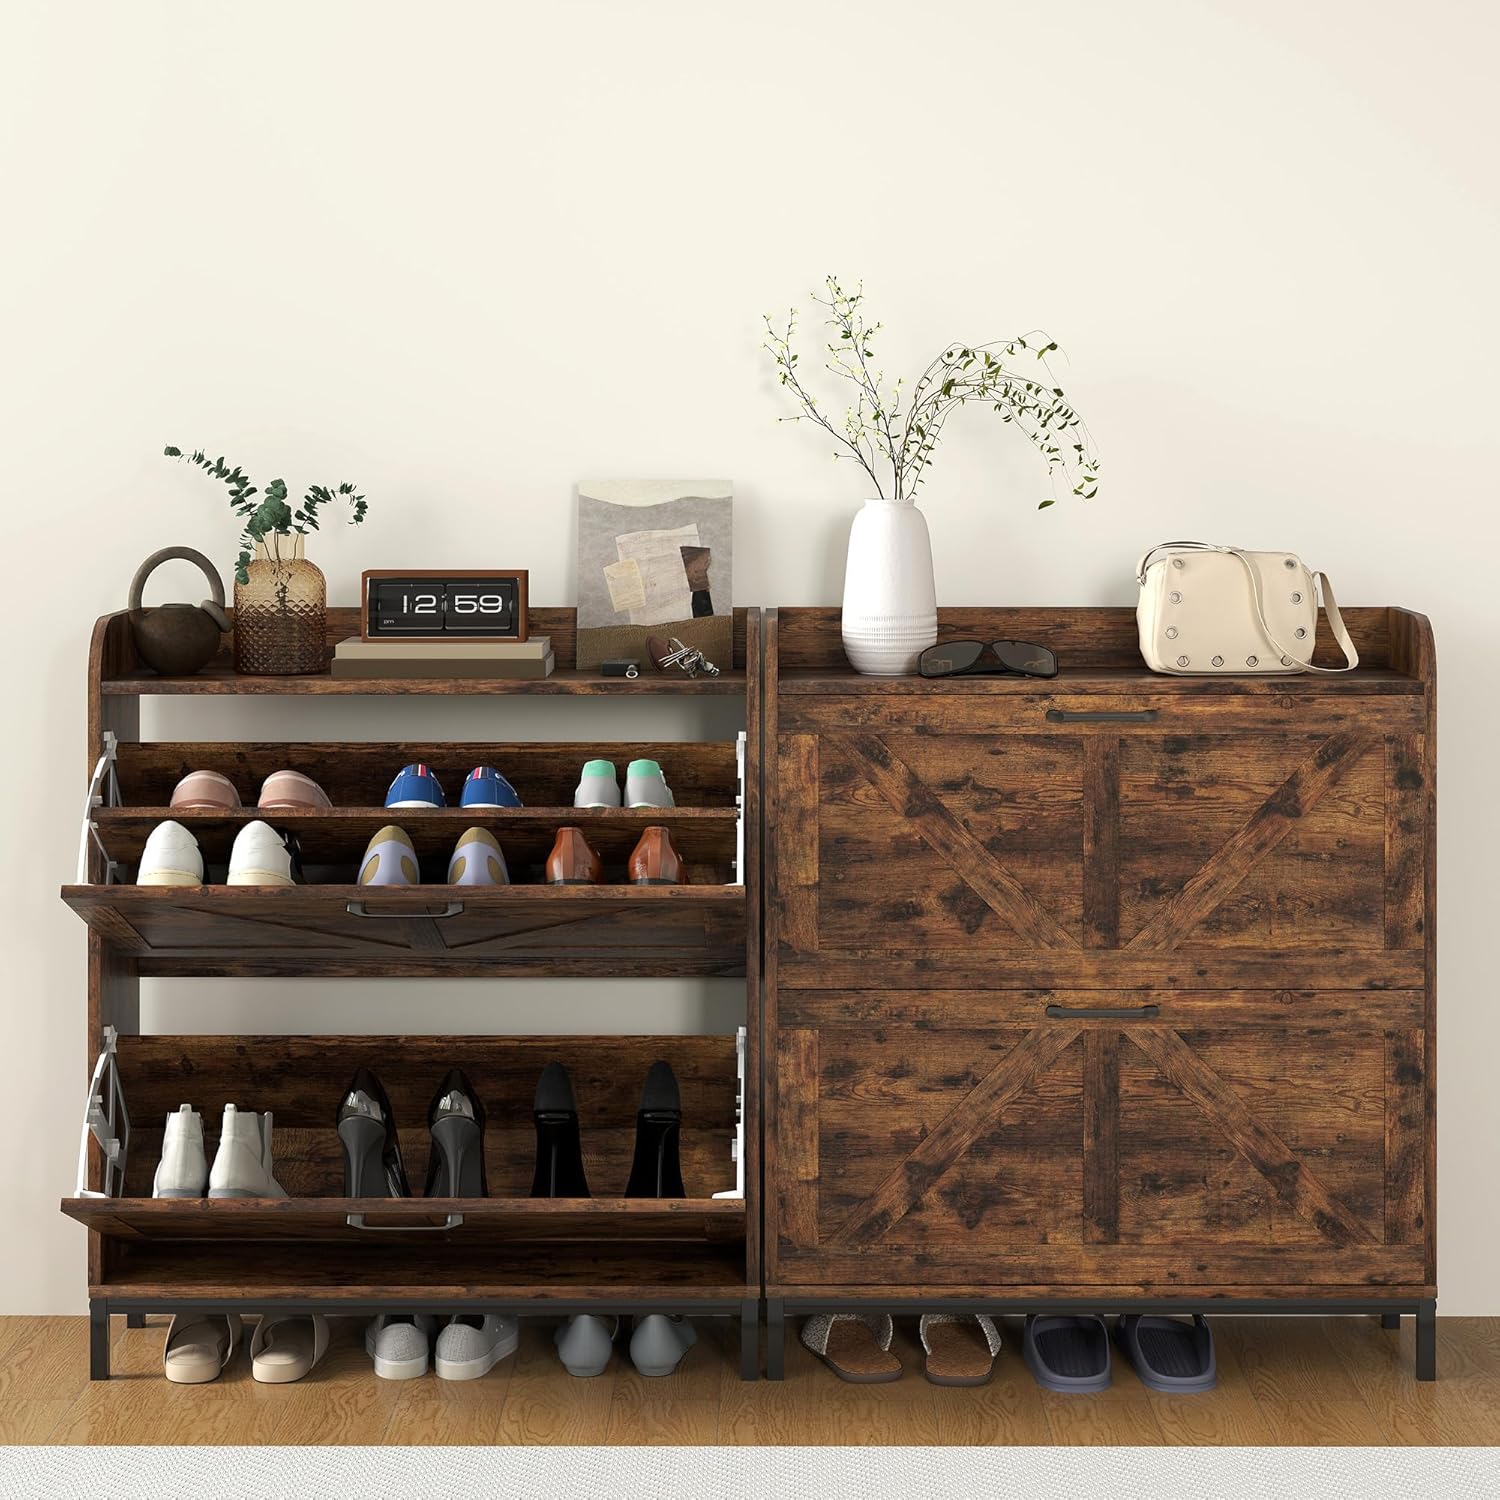
Image: A detailed diagram illustrating the dimensions of the shoe cabinet: 29.5 inches (W) x 9.4 inches (D) x 37 inches (H).
Warranty and Support
For warranty information, product support, or to order replacement parts, please refer to the documentation provided at the time of purchase or contact HOMCOM customer service directly. Keep your purchase receipt as proof of purchase.