Introduction
The KOGATA Project Mount is an ultra-compact, foldable stand designed for mini projectors. It provides a stable and adjustable solution for mounting your projector, enhancing your viewing experience. This manual will guide you through the setup, operation, and maintenance of your KOGATA Project Mount.
1. Setup
1.1 Attaching Your Projector
To attach your projector to the KOGATA Project Mount, align the projector's mounting screw hole with the mount's screw. Rotate the knob on the mount clockwise to securely fasten the projector. Ensure the projector is stable before proceeding.

Figure 1.1: Attaching the projector to the mount. The projector's base screw hole aligns with the mount's screw, which is tightened by rotating the knob.
1.2 Mounting Options
The KOGATA Project Mount offers versatile mounting options, including tabletop, ceiling, and wall installations. For ceiling or wall mounting, use appropriate screws (not included) to secure the mount's base plate to the desired surface. Ensure the mounting surface is sturdy enough to support the weight of the mount and projector.

Figure 1.2: Example of wall mounting. The mount's base plate is secured to the wall, holding the projector.
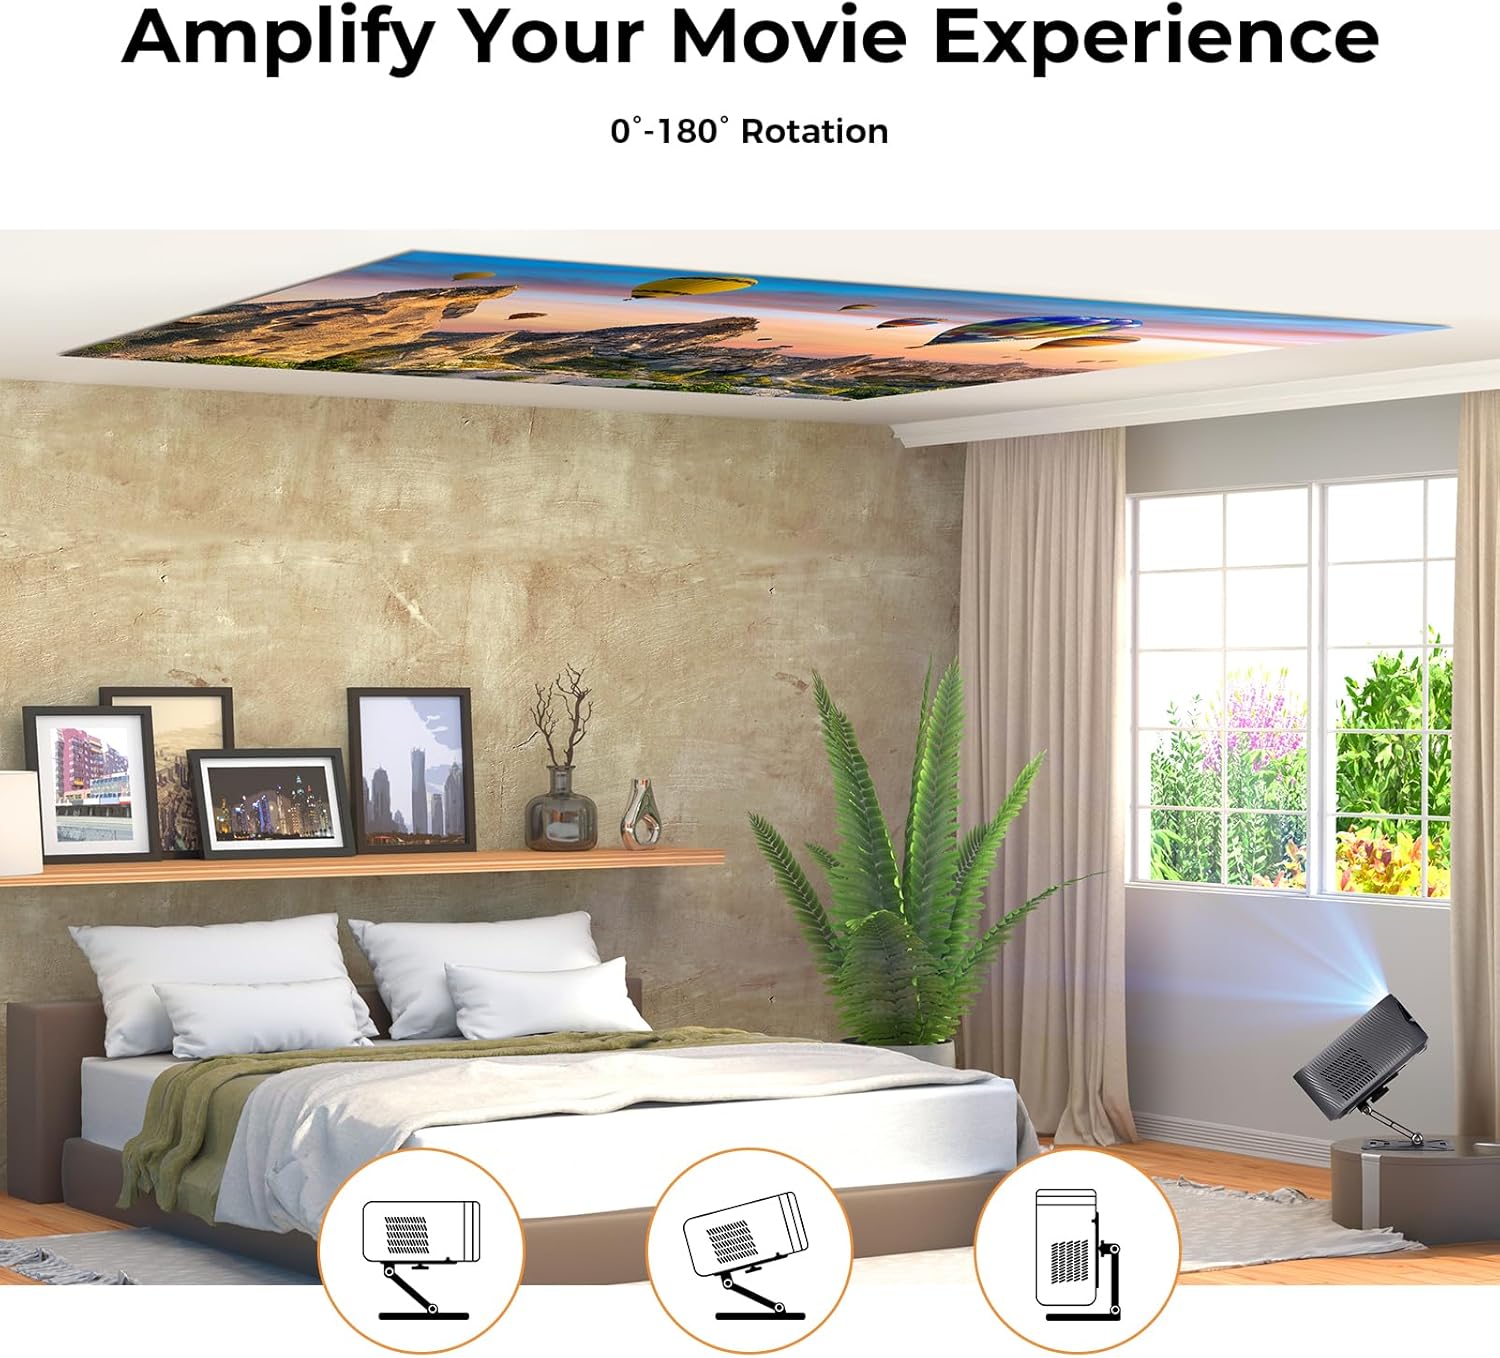
Figure 1.3: Versatile usage scenarios, including tabletop, ceiling, and wall projection.
2. Operating
2.1 Adjusting Projection Angle
The KOGATA Project Mount features a 0-180 degree rotation capability, allowing you to precisely adjust the projection angle. Loosen the adjustment knob, position your projector to the desired angle, and then tighten the knob to secure it. This flexibility ensures optimal image alignment for various viewing environments.

Figure 2.1: Adjusting the projector angle from 0 to 180 degrees.
3. Maintenance
To ensure the longevity and optimal performance of your KOGATA Project Mount, follow these maintenance guidelines:
- Cleaning: Wipe the mount with a soft, dry cloth. Avoid abrasive cleaners or solvents that could damage the finish.
- Tightness Check: Periodically check all screws and adjustment knobs to ensure they are securely tightened. Loose connections can affect stability.
- Weight Capacity: Do not exceed the maximum load capacity of 3 kg (6.6 lbs) to prevent damage to the mount or projector.
4. Troubleshooting
If you encounter issues with your KOGATA Project Mount, refer to the following common problems and solutions:
| Problem | Possible Cause | Solution |
|---|---|---|
| Mount is not stable / Projector wobbles | Loose screws or adjustment knobs; Exceeding load capacity. | Ensure all mounting screws and adjustment knobs are tightened. Verify your projector's weight does not exceed 3 kg (6.6 lbs). |
| Difficulty adjusting angle | Adjustment knob is too tight. | Loosen the adjustment knob slightly before attempting to change the angle. Tighten once the desired position is achieved. |
| Mounting screws not included | This product does not include screws for wall/ceiling mounting. | Purchase appropriate screws and anchors suitable for your wall/ceiling material and the weight of your projector. |
5. Specifications
The following are the technical specifications for the KOGATA Project Mount:

Figure 5.1: Product dimensions and weight.
- Brand: KOGATA
- Model Name: Project Mount
- Color: Gray
- Mounting Type: Tabletop Mount (also suitable for ceiling/wall with appropriate hardware)
- Special Feature: Foldable
- Material: Carbon Fiber
- Maximum Load Capacity: 3 Kilograms (6.6 lbs)
- Item Weight: 0.295 Kilograms (0.65 lbs)
- Rotation: 0-180 Degrees
- Dimensions (Approximate): 160mm x 120mm (Base Plate)
6. Warranty and Support
For warranty information or technical support, please refer to the KOGATA official website or contact customer service through your purchase platform. Keep your proof of purchase for warranty claims.
KOGATA Customer Service: Visit KOGATA Store on Amazon


