
Introduction
This manual provides detailed instructions for the installation, programming, operation, and maintenance of your Avisontek GK-R G3T-R wireless garage door opener keypad and remote system. This system is designed to replace or supplement your existing Genie Intellicode garage door opener controls, offering convenient and secure access to your garage.
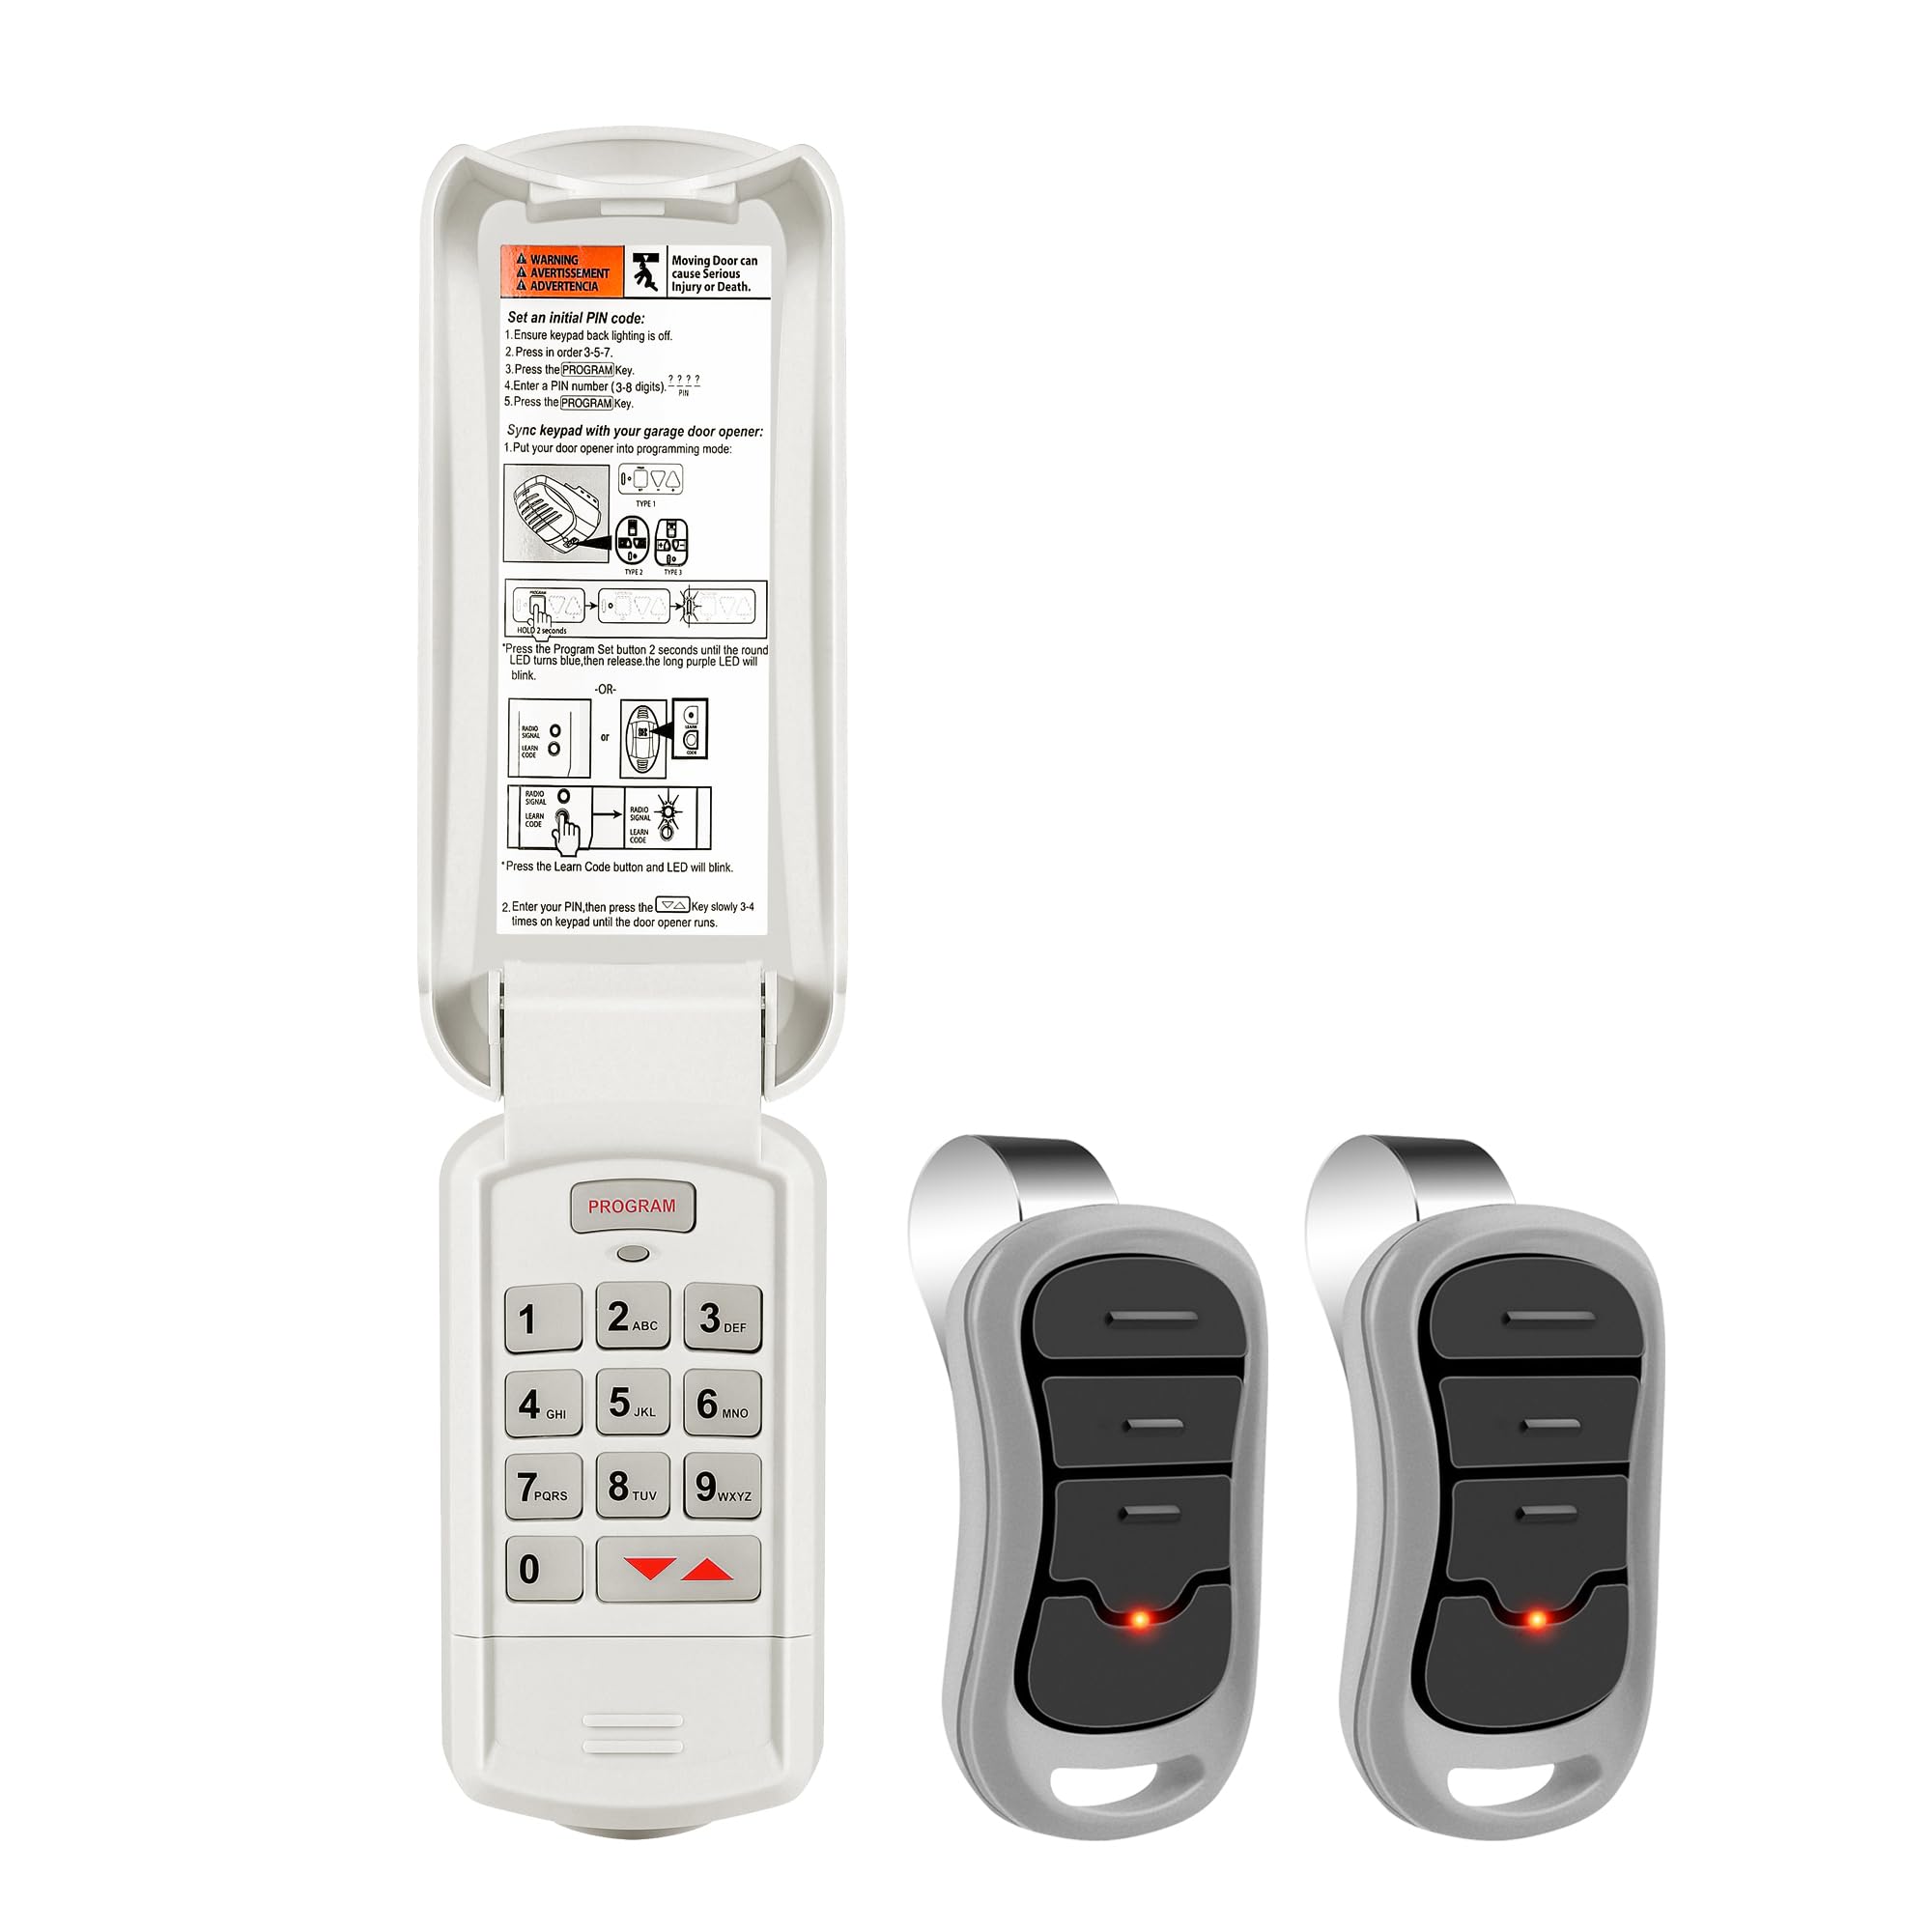
Image: The Avisontek GK-R G3T-R wireless keypad and two remote controls, showcasing the complete system.
Compatibility
The Avisontek GK-R G3T-R system is compatible with all Genie and Overhead Door garage door openers manufactured from 1995 to the present. This includes models that utilize Intellicode technology.
Important: This system is NOT compatible with garage door openers that use DIP switches (Genie from 1982 to 1996, and Overhead Door from 1995 to 1996). Please confirm your opener's compatibility before proceeding with installation.

Image: A visual guide illustrating compatibility with Genie and Overhead Door openers manufactured from 1995 to current, and explicitly stating non-compatibility with DIP switch models.
Setup and Programming
Keypad Installation
The keypad is designed for wireless DIY installation on an outdoor garage wall. No electrical wiring is required. Use the provided screws to securely mount the keypad at a convenient height, ensuring the flip cover can open and close freely for weather protection and access.

Image: An illustration showing the wireless keypad mounted on a garage wall, highlighting the ease of installation without wires.
Battery Installation
The keypad requires two AAA alkaline batteries (included). The remote control typically uses a CR2032 battery. To install, open the battery compartment on the back of the keypad or remote and insert the batteries, carefully observing the correct polarity (+/-) markings.

Image: A detailed view of the keypad with its cover open, revealing the battery compartment and the placement of AAA alkaline batteries.
Programming Instructions
Follow these steps to program your keypad and remote with your garage door opener.
Setting a Personal PIN on the Keypad
- Ensure the keypad backlight is off (do not press any buttons).
- Press 3, 5, 7 on the keypad, then press the PROGRAM button.
- The LED will blink. Enter your unique 3-8 digit PIN number.
- Press the PROGRAM button again.
- The keypad will blink twice and shut off, confirming successful PIN programming.
Syncing Keypad/Remote with Garage Door Opener
- Enter programming mode on your garage door opener. Refer to your garage door opener's manual for specific instructions. Generally, this involves pressing the "Learn Code" or "Program" button on the opener unit.
- Confirm the keypad backlight is off (do not press any buttons).
- Enter your previously set PIN on the keypad.
- Press the UP or Down key on the opener 3-4 times until it operates, confirming successful programming.
Video: This video demonstrates the programming process for the Avisontek GK-R G3T-R wireless keypad with a Genie garage door opener. It shows how to set a personal PIN and sync the keypad with the opener unit.

Image: A graphic detailing the step-by-step programming instructions for setting the keypad PIN and syncing it with the garage door opener.
Operating Instructions
Opening/Closing the Garage Door with Keypad
To operate your garage door using the keypad, simply enter your personal 3-8 digit PIN on the keypad, then press the ENTER button (or the designated button to activate the door). The door will then open or close.

Image: A person entering a PIN on the wireless keypad to activate a garage door, demonstrating keyless entry.
Opening/Closing the Garage Door with Remote
Press the desired button on the remote control to activate the garage door opener. The remote control is capable of operating up to three different garage door motors, allowing for multi-door control.

Image: An illustration showing a single remote control capable of operating three separate garage doors, indicating its multi-channel functionality.
Temporary Codes
The keypad supports generating temporary access codes for visitors, maintenance workers, or delivery personnel. This feature allows you to grant limited-time access without sharing your primary PIN. Consult your garage door opener's manual or the keypad's advanced settings for specific instructions on setting temporary codes.
Maintenance
Battery Replacement
Replace batteries in the keypad (2 AAA) and remote (CR2032) when the backlight dims, the operating range decreases, or the unit becomes unresponsive. Refer to the "Battery Installation" section for detailed instructions on how to replace the batteries.
Cleaning
Clean the keypad and remote surfaces with a soft, slightly damp cloth. Avoid using abrasive cleaners, solvents, or harsh chemicals, as these can damage the finish or internal components.
Weather Protection
The keypad features a durable, weatherproof housing and a protective flip cover. Ensure the cover is closed when the keypad is not in use to shield it from rain, snow, direct sunlight, and other harsh weather conditions, prolonging its lifespan.

Image: The wireless keypad shown in various weather conditions, including rain and snow, demonstrating its weatherproof design and durability.
Troubleshooting
Keypad/Remote Not Responding
- Check Batteries: Ensure batteries are correctly installed and not depleted. Low batteries are a common cause of unresponsiveness. Replace if necessary.
- Reprogram: Attempt to reprogram the keypad/remote with your garage door opener. Refer to the "Programming Instructions" section for detailed steps.
- Compatibility: Verify your garage door opener is compatible with the GK-R G3T-R system (manufactured 1995-present, not DIP switch).
Reduced Operating Range
- Replace Batteries: Low battery power can significantly reduce the effective operating range of both the keypad and remote.
- Obstructions: Ensure there are no physical obstructions (e.g., vehicles, large objects, metal structures) between the keypad/remote and the garage door opener unit that might block the signal.
- Interference: Check for potential sources of radio frequency interference in the vicinity, such as other wireless devices, power lines, or electronic equipment.
Keypad Backlight Not Working
- Check Batteries: A dim or non-functional backlight is often an early indication of low battery power. Replace the batteries.
Garage Door Opens/Closes Unexpectedly
- Rolling Code Security: The Avisontek system utilizes rolling code encryption to prevent unauthorized access. If unexpected operation occurs, reprogram the keypad/remote and consider changing your PIN to ensure security.
Specifications
| Feature | Detail |
|---|---|
| Brand | Avisontek |
| Model Name | Garage Door Opener Keypad |
| Model Number | GK-R G3T-R |
| Compatible Devices | Genie Garage Door Openers Manufactured 1995 to Present |
| Connectivity Technology | Radio Frequency |
| Operating Frequencies | 315MHz and 390MHz (Auto-Seek Dual Frequency) |
| Maximum Range | 164 feet |
| Max Number of Supported Devices | 3 (channels) |
| Keypad Button Quantity | 12 |
| Keypad Battery Type | 2 AAA batteries (included) |
| Remote Battery Type | CR2032 (for G3T-BX remote) |
| Special Features | Auto-Seek Dual Frequency, Glow In The Dark Button, Weatherproof, Wireless DIY Install |
| Warranty | 3 Year |
| FCC Certified | Yes |
| UPC | 713038693211 |

Image: A detailed chart outlining the product parameters, including dimensions, working range, frequency, battery type, and warranty for both GK-BX (keypad) and G3T-BX (remote) models.
Warranty and Support
Warranty Information
This Avisontek product is covered by a 3-year quality warranty from the date of purchase. This warranty covers defects in materials and workmanship under normal use. Please retain your proof of purchase for warranty claims.
Customer Support
For technical assistance, troubleshooting, or warranty claims, please contact Avisontek customer service. Refer to the product packaging or the seller's contact information for support details. Our team is available to help with any questions you may have regarding your product.

Image: An illustration of customer service representatives, symbolizing available support for product inquiries and assistance.