
Introduction
This manual provides essential information for the safe and effective use of your Palogreen 12V 5200mAh Lithium-ion Battery Pack. Please read these instructions carefully before operating the product and retain them for future reference.
Safety Information
WARNING: Failure to follow these safety instructions may result in fire, electric shock, injury, or damage to the product or property.
- Do not disassemble, modify, or attempt to repair the battery pack.
- Do not crush, puncture, incinerate, or short-circuit external contacts.
- Keep the battery pack away from fire, water, damp environments, and corrosive substances.
- Use only the provided charger or a compatible 12.6V/1A charger.
- Ensure the working voltage of connected devices is between 9V and 12.6V.
- The normal operating current of connected devices must be less than 5A. Avoid prolonged use with devices exceeding this maximum current or voltage.
- The battery pack includes an integrated protection circuit board (BMS) to safeguard against over-charging, over-discharging, over-voltage, short-circuits, and over-current.
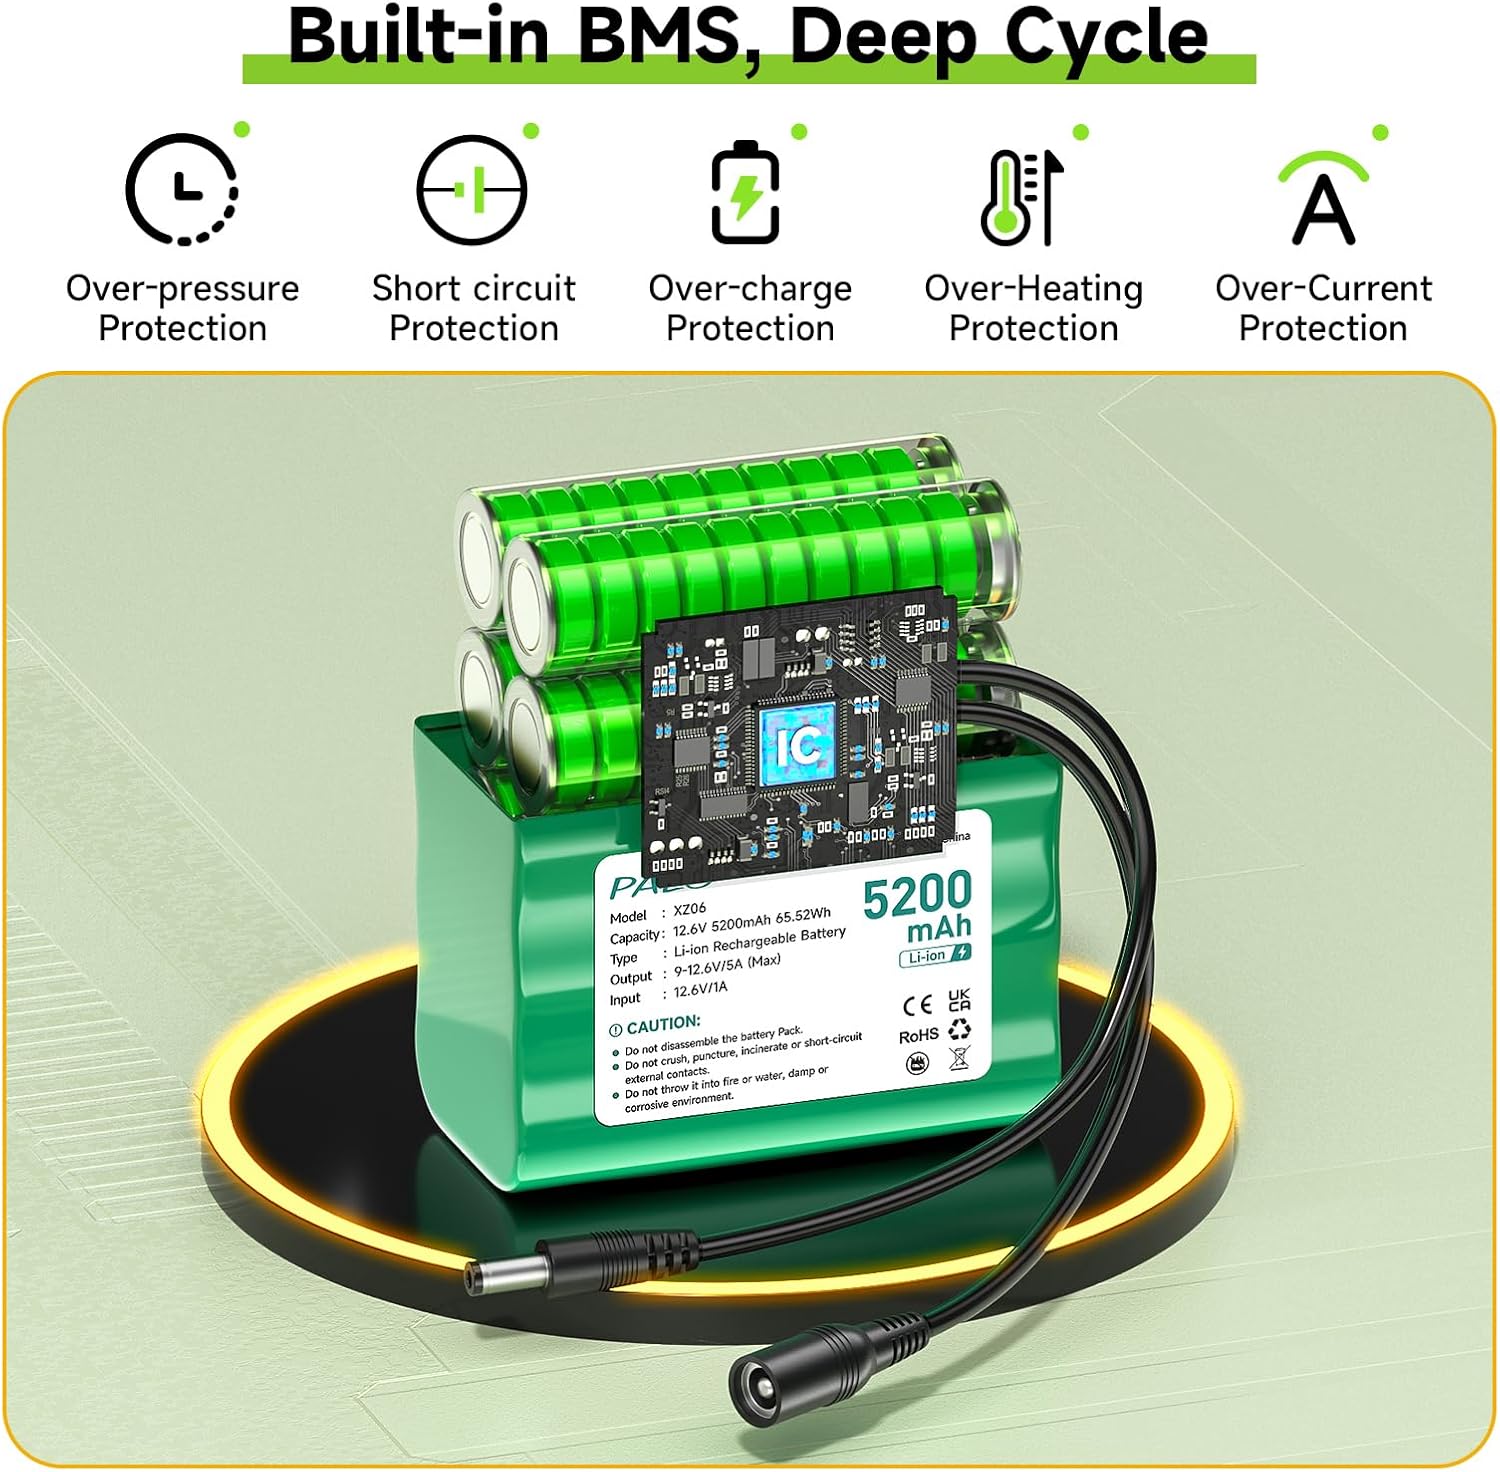
Image: Internal view of the battery pack highlighting its built-in BMS for various protections.
Package Contents
Verify that all items are present in your package:
- 1 x Palogreen 12V 5200mAh Lithium-ion Battery Pack
- 1 x 12.6V/1A Charger
- 1 x Male DC Extension Cord
- 1 x Female DC Extension Cord
- 2 x DC Male + Female Connectors (Screw Terminal Adapters)
- 1 x Cable Connector (Lever Nut Connector)
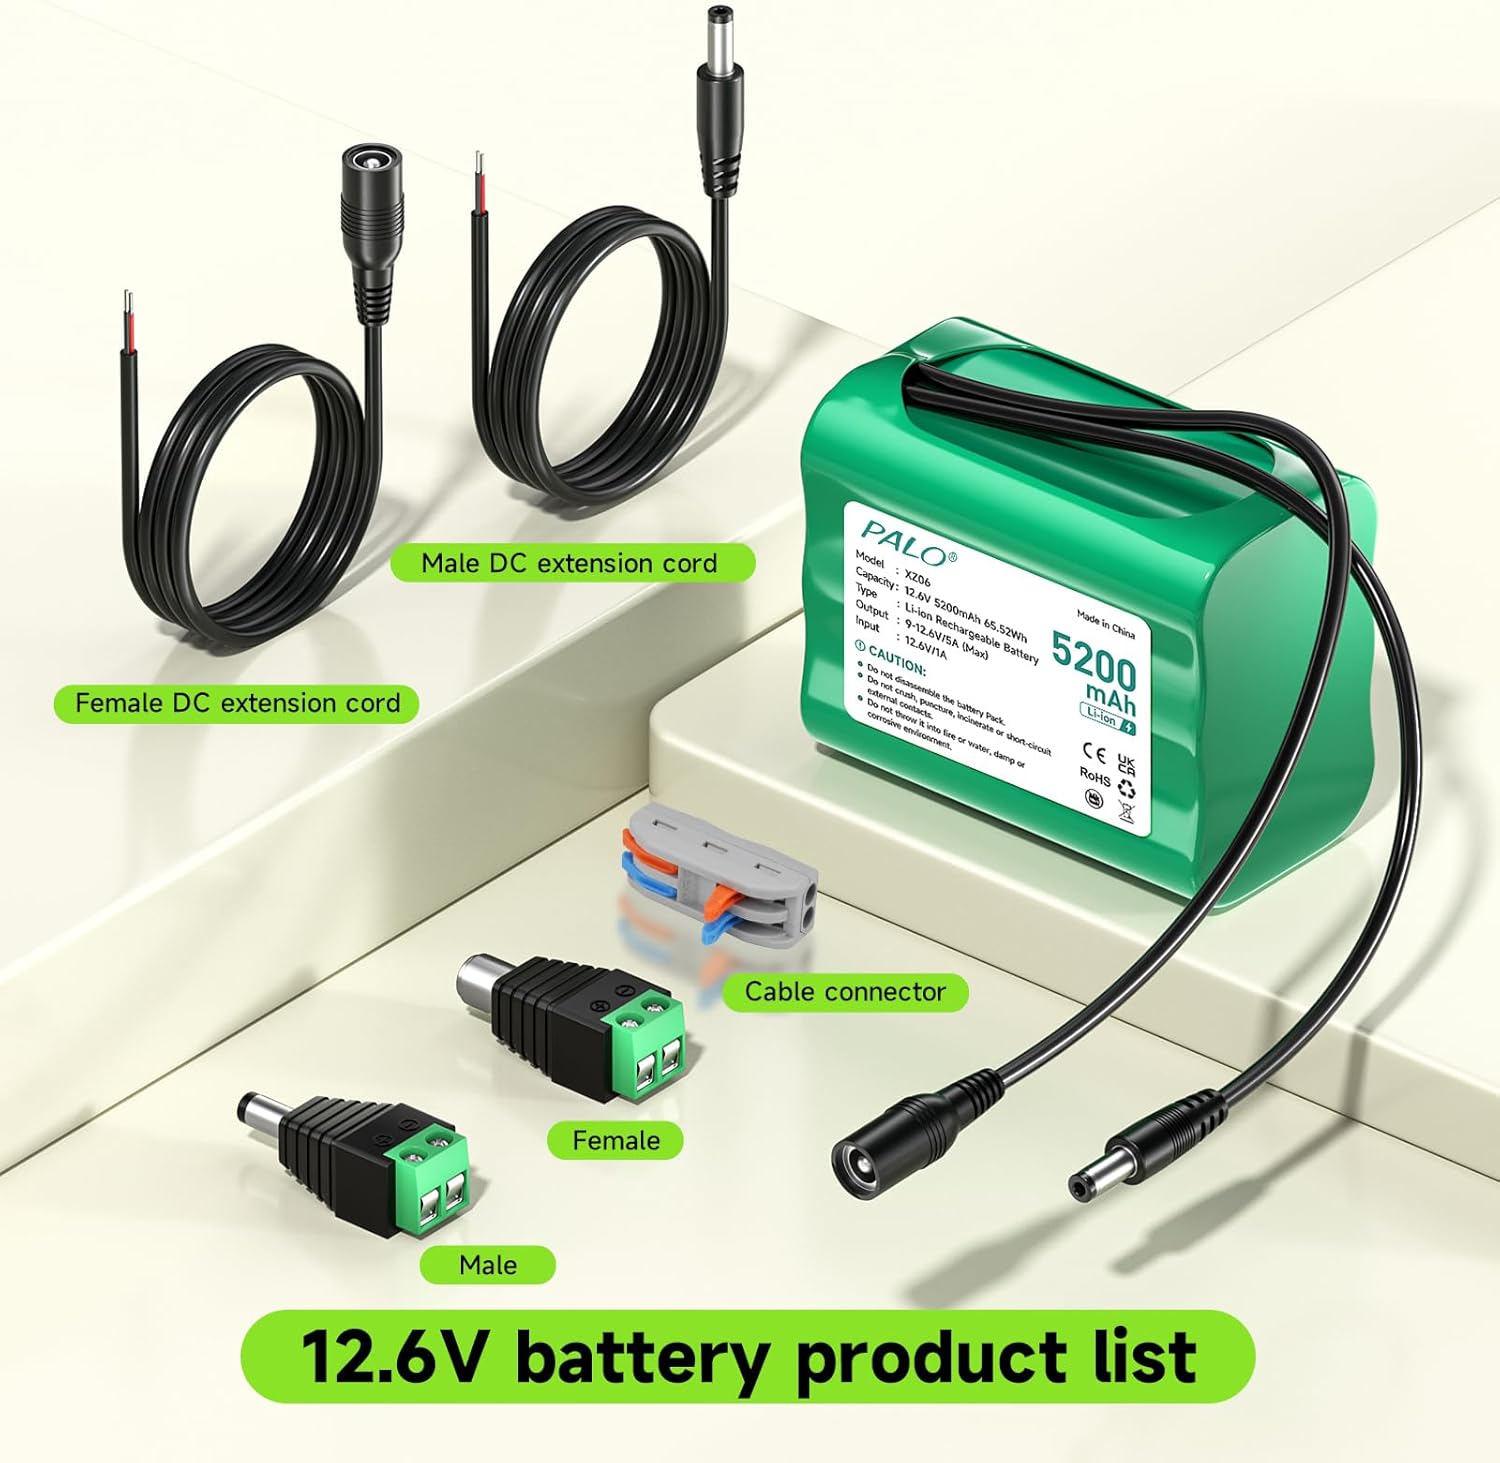
Image: All components included in the Palogreen 12V battery pack kit.
Specifications
| Feature | Specification |
|---|---|
| Battery Type | Lithium-ion |
| Capacity | 5200mAh (65.52Wh) |
| Input | DC 12.6V / 1A |
| Output | DC 9.0-12.6V / 5A (Max) |
| Charger Output | 12.6V / 1A |
| Model Number | XZ06 |
| Dimensions | Approximately 67mm x 37mm x 57mm (L x W x H) |
| Weight | Approximately 14.8 ounces |

Image: Overview of the battery pack and its key specifications.
Setup
1. Charging the Battery Pack
- Connect the provided 12.6V/1A charger to a standard wall outlet.
- Connect the charger's output plug to the input port (DC5521) of the battery pack.
- The indicator light on the charger will show RED during charging.
- Once the battery pack is fully charged, the indicator light will turn GREEN. Disconnect the charger when charging is complete.

Image: Steps for charging the battery pack and indicator light status.
2. Connecting to Devices
The battery pack features a DC5521 output port. Use the included cables and adapters to connect to your 12V devices. Ensure correct polarity when making connections.
- Direct Connection: For devices with a compatible DC5521 input, connect the battery pack directly using the integrated cable.
- Using Extension Cords: Utilize the male or female DC extension cords for increased reach.
- Using Screw Terminal Adapters: For devices requiring bare wire connections, use the DC Male + Female screw terminal adapters. Connect the device's positive wire to the '+' terminal and the negative wire to the '-' terminal.
- Using Cable Connector: The lever nut connector can be used for secure, tool-free wire connections.
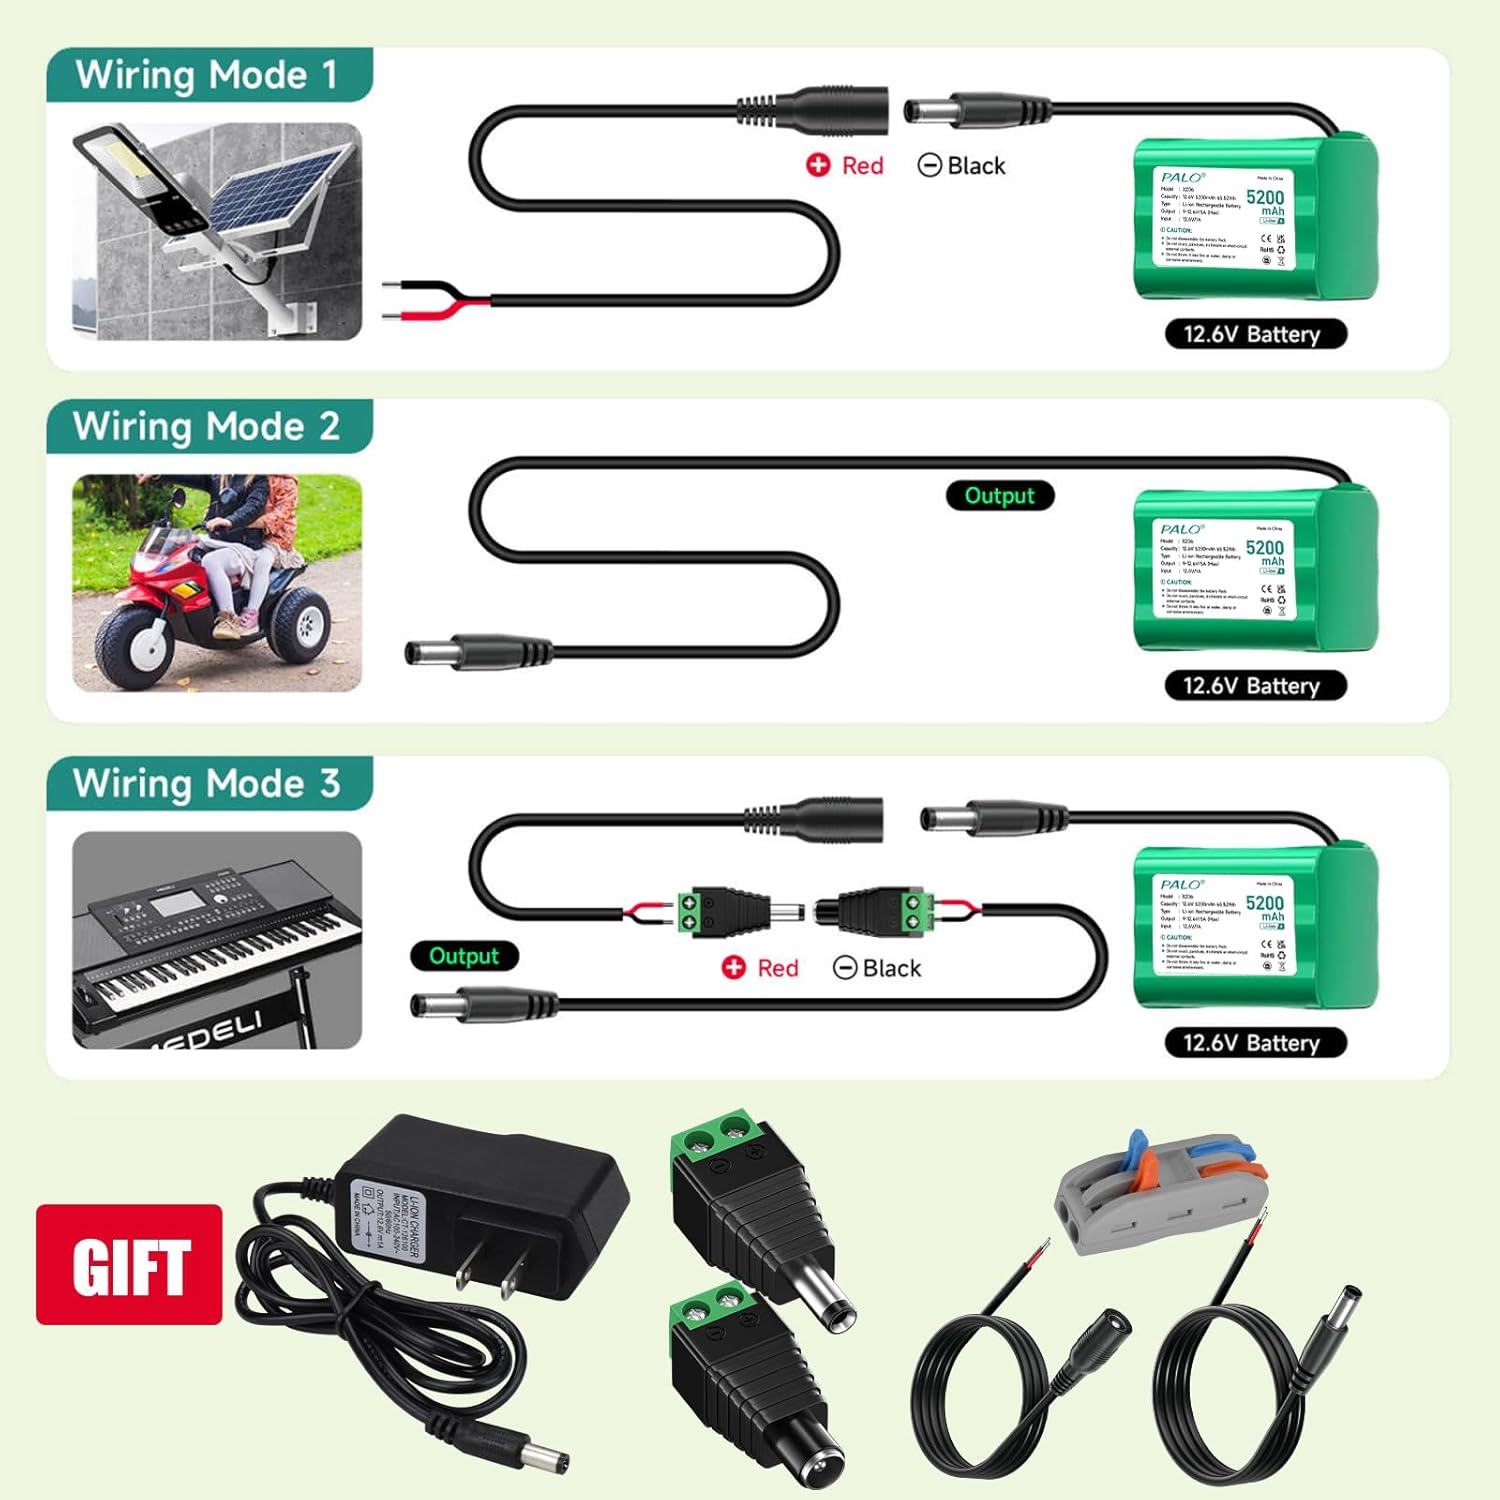
Image: Examples of different wiring configurations for various 12V devices.
Operating Instructions
Once connected, the battery pack will supply power to your 12V device. Ensure the device is within the specified voltage and current limits (9V-12.6V, max 5A).
Compatible Applications
This battery pack is suitable for a wide range of 12V devices, including but not limited to:
- Routers
- Radio Stations
- Bike Lights
- Aircraft Toys
- Remote-controlled Cars
- Electronic Pianos
- Robotic Toys
- Solar Panels
- CCTV Cameras
- Fishing Lights
- Outdoor Devices
- MP3 Players
- LED Light Strips
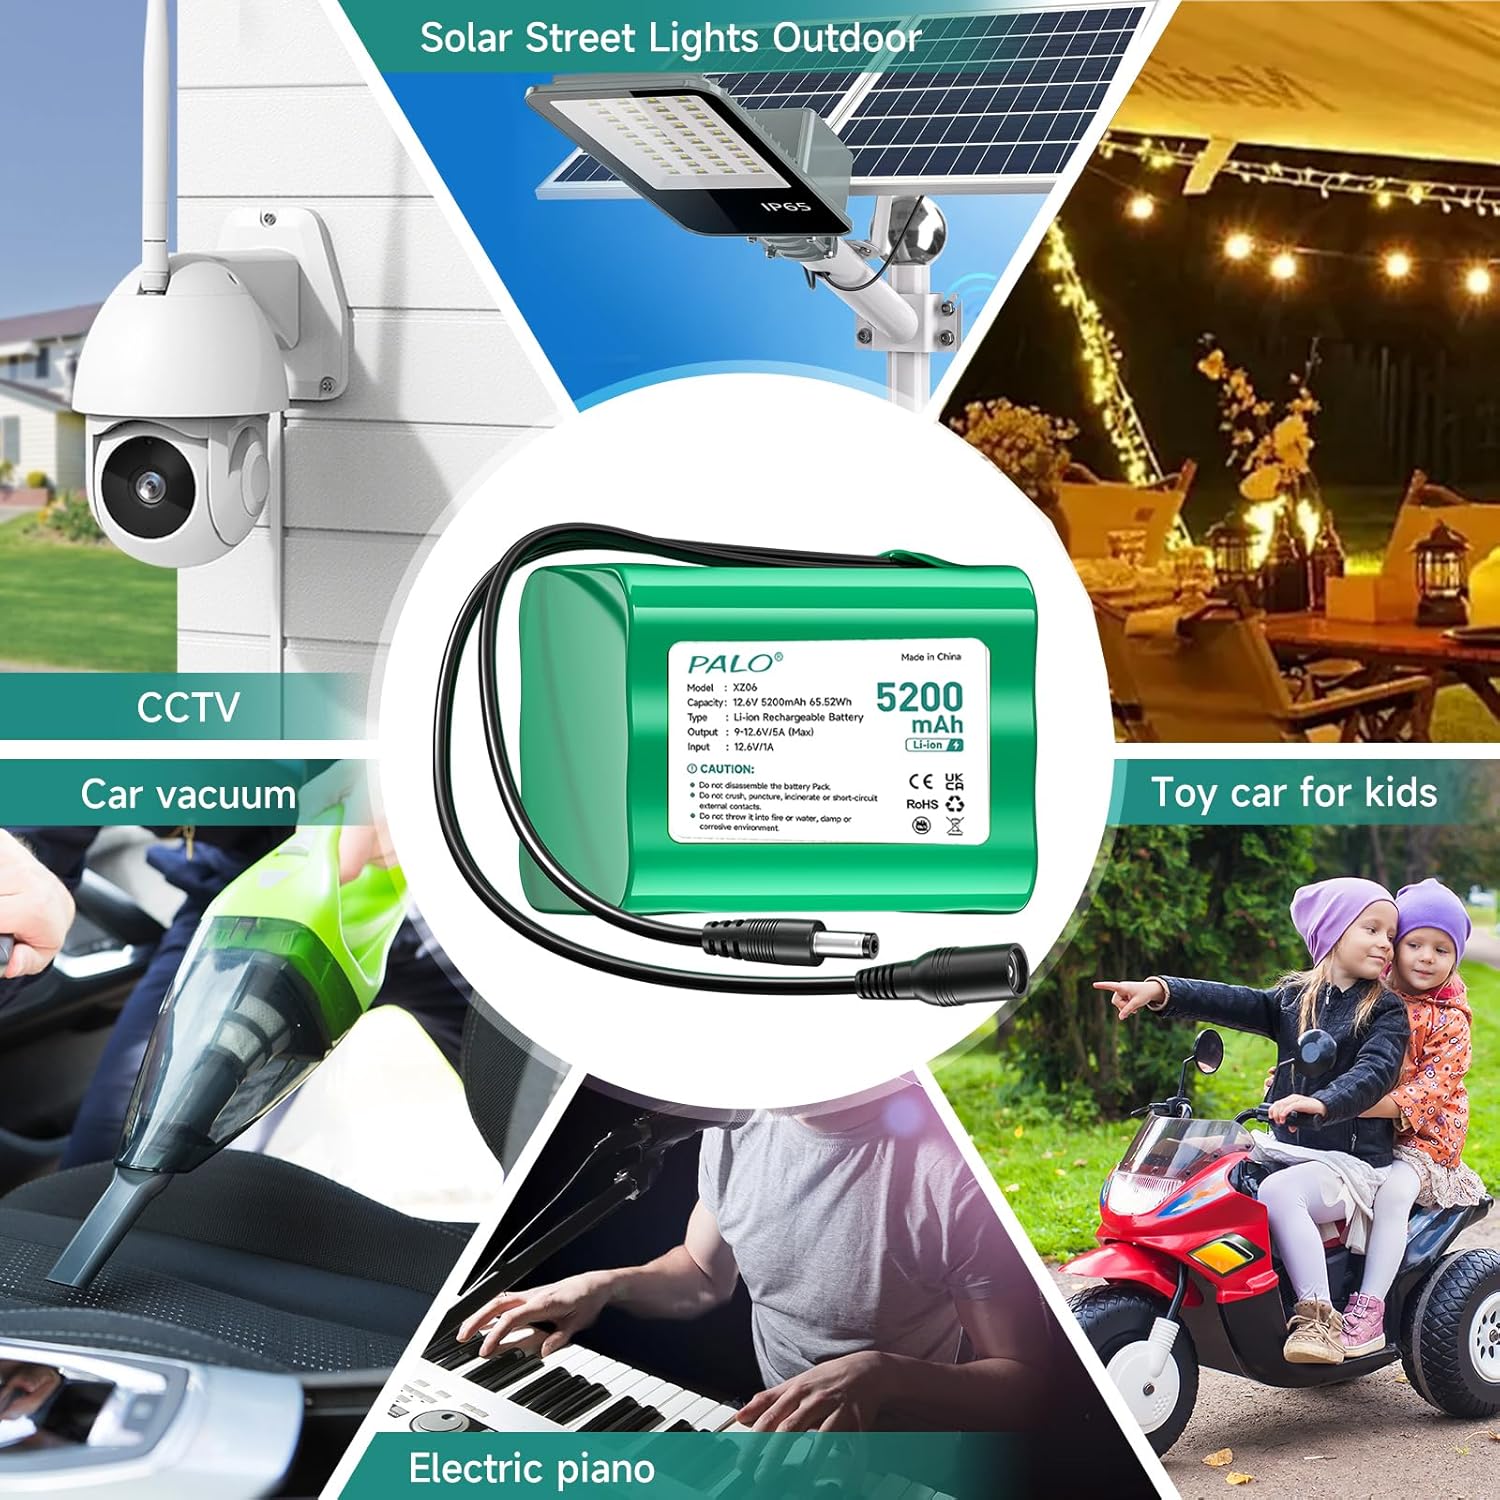
Image: Examples of common applications for the 12V battery pack.

Image: The battery pack powering an LED light strip, illustrating a typical use case.
Maintenance
- Storage: Store the battery pack in a cool, dry place away from direct sunlight and extreme temperatures.
- Charging: For optimal lifespan, avoid completely draining the battery before recharging. Recharge the battery at least once every three months if not in regular use.
- Cleaning: Use a dry, soft cloth to clean the battery pack. Do not use liquids or abrasive cleaners.
- Lifespan: The battery boasts no memory effect and can endure over 1,500 charge-discharge cycles, offering extended usability.
Troubleshooting
| Problem | Possible Cause | Solution |
|---|---|---|
| Battery not charging | Charger not connected properly; Faulty charger or battery; Power outlet issue. | Ensure charger is securely connected to both the outlet and battery. Test the charger with another device if possible, or try a different outlet. |
| Device not powering on | Battery is depleted; Incorrect connection; Device incompatible; Overload protection activated. | Charge the battery fully. Verify all connections are secure and correct. Confirm device voltage and current requirements are within battery specifications. Disconnect and reconnect to reset protection. |
| Short battery life | High power consumption device; Battery not fully charged; Aging battery. | Ensure the battery is fully charged before use. Check if the connected device's power draw is excessive. Battery capacity naturally degrades over time. |
Warranty and Support
Palogreen products are designed for reliability and performance. For any questions, technical support, or warranty inquiries, please refer to the contact information provided with your purchase or visit the official Palogreen website. Please have your product model number (XZ06) and purchase details ready when contacting support.