
DWVO MADWVb5y88
DWVO 9x6 FT Outdoor Storage Shed Instruction Manual
Model: MADWVb5y88 | Brand: DWVO
1. Introduction and Safety Information
Thank you for choosing the DWVO 9x6 FT Outdoor Storage Shed. This manual provides essential information for the safe and efficient assembly, operation, and maintenance of your new storage shed. Please read all instructions carefully before beginning assembly or use.
Important Safety Warnings:
- Assembly Assistance: Due to the size and weight of the components, it is highly recommended to seek assistance during setup. Assembly typically requires at least two adults.
- Wear Gloves: To prevent scratches or cuts from metal components, always wear protective gloves during handling and assembly.
- Level Surface: Ensure the shed is assembled on a completely flat and level surface to ensure proper alignment of parts and structural integrity. An uneven surface can lead to misaligned holes and difficulty in assembly.
- Secure Anchoring: Once assembled, securely anchor the shed to the ground to prevent damage from strong winds or other environmental factors. Anchoring hardware may be sold separately or included as specified in your parts list.
- Ventilation: The shed features ventilation windows. Ensure these are not obstructed to maintain proper air circulation and prevent dampness inside.
- Locking Mechanism: Utilize the robust locking mechanism on the door to secure your stored items and deter unauthorized access.
2. Parts List and Hardware
Before beginning assembly, carefully unpack all components and verify them against the detailed parts list provided in your product packaging. Ensure all panels, frame pieces, doors, roof sections, and hardware (screws, nuts, washers, etc.) are present and undamaged.
Typical components include:
- Wall Panels (Electro-galvanized steel with protective paint)
- Roof Panels (Sloping design for water runoff)
- Steel Framework (Upgraded for strength and durability)
- Double Doors with Locking Mechanism
- Ventilation Louvers (4 units)
- Various Screws, Nuts, Washers, and Fasteners
- Protective Gloves (often included)
Note: Some components may have a protective film that needs to be removed prior to assembly. This can be a time-consuming process but is essential for the shed's appearance and longevity.
3. Assembly Instructions
This section provides a general overview of the assembly process. For detailed, step-by-step instructions, please refer to the comprehensive assembly manual included in your product packaging. It is crucial to follow those instructions precisely.
3.1 Site Preparation
Choose a flat, level, and well-drained area for your shed. A concrete slab or a sturdy wooden foundation is recommended for optimal stability and longevity. Ensure there is enough clearance around the shed for assembly and future access.
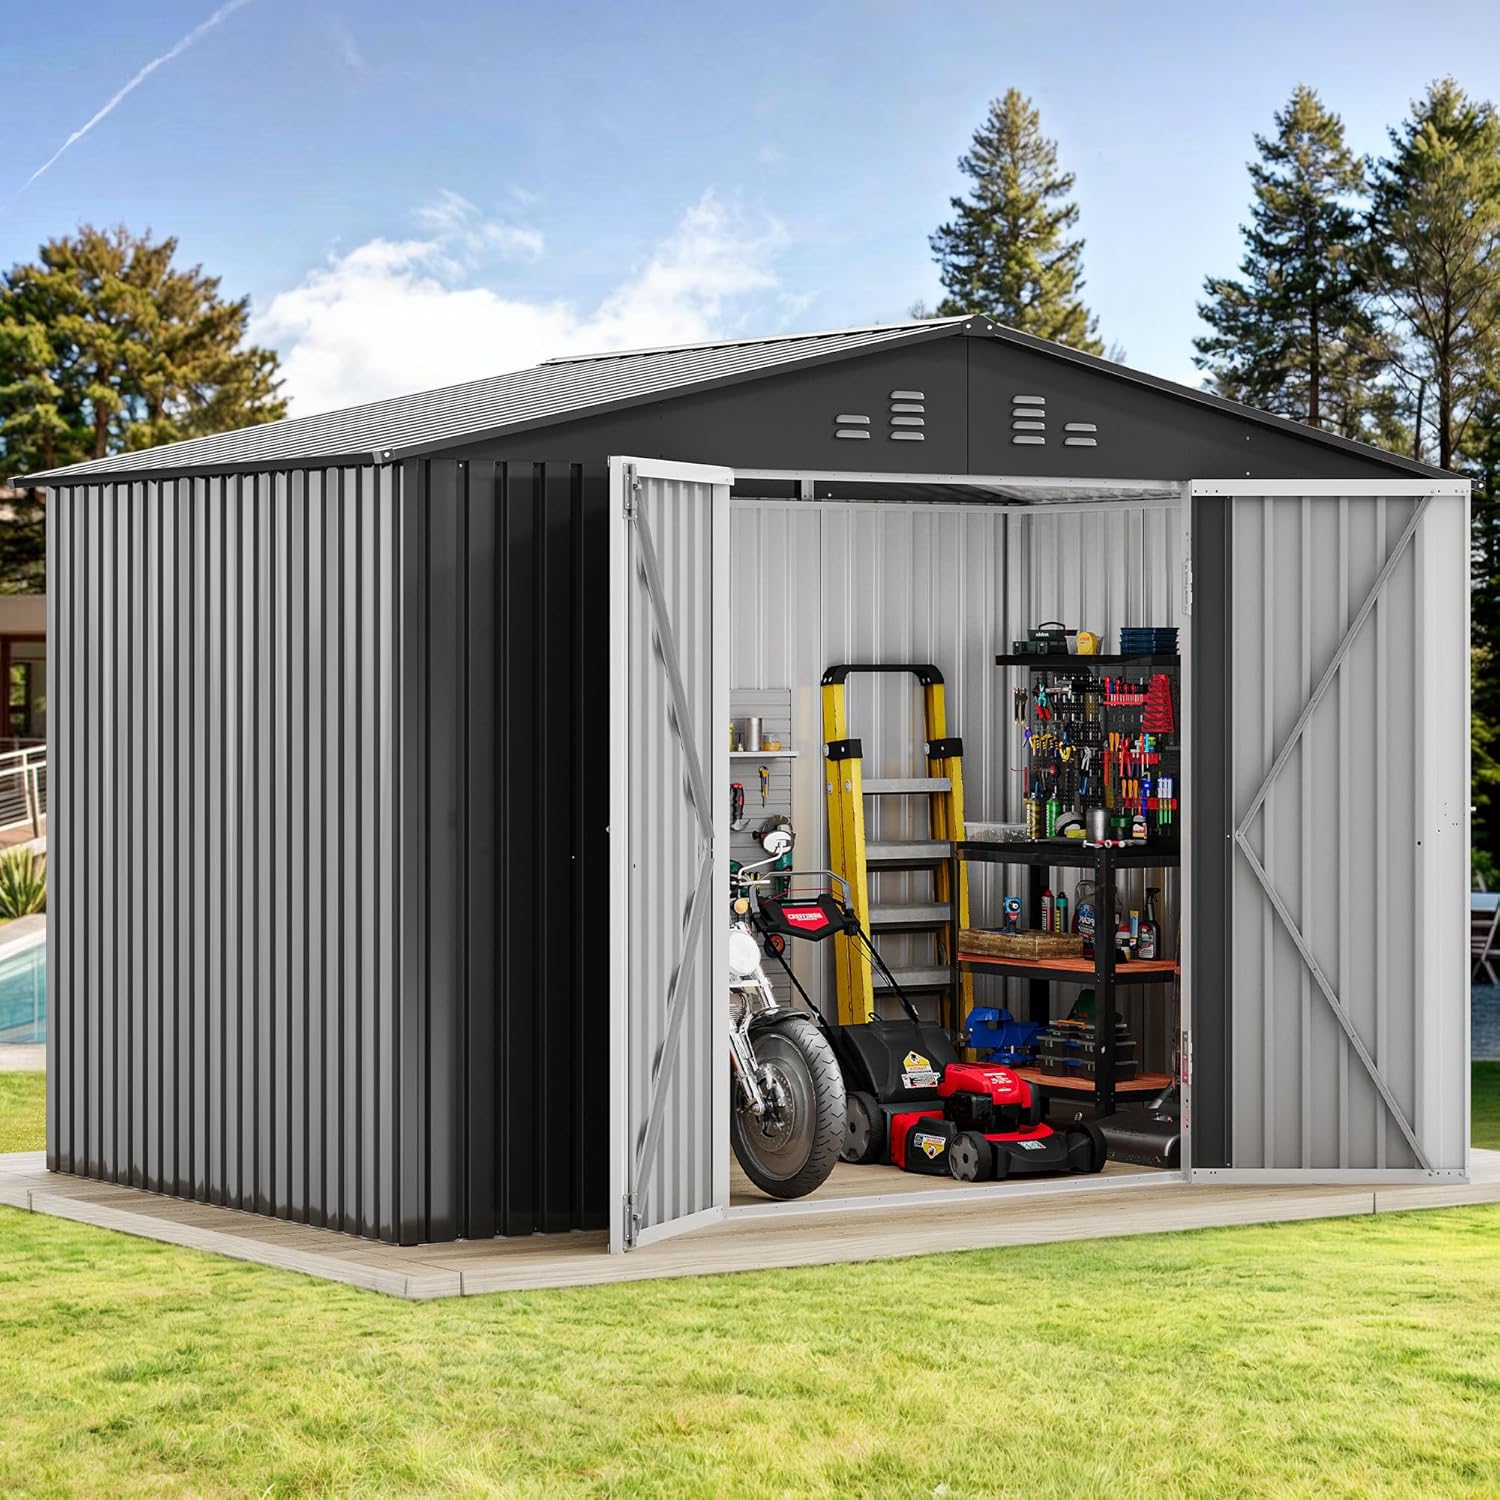
Image: Interior view of the shed, demonstrating ample storage space for various tools and equipment.
3.2 Base and Frame Assembly
Begin by assembling the base frame according to the manual. This forms the foundation of your shed. Next, erect the vertical and horizontal steel framework. This shed features an upgraded steel framework designed for improved strength and durability.

Image: Illustration of the shed's internal upgraded steel framework, highlighting its robust construction.
3.3 Wall Panel Installation
Attach the wall panels to the assembled frame. Ensure panels are correctly oriented and securely fastened. Pay close attention to the alignment of pre-drilled holes; some users have reported minor discrepancies, which can often be resolved with careful adjustment and ensuring the base is perfectly level.
3.4 Roof Assembly
Assemble the sloping roof sections. The design is engineered to prevent rainwater accumulation. Install the 4 louver vents as directed to ensure proper air circulation within the shed, preventing dampness and keeping contents dry.

Image: Detail of the shed's roof, illustrating the four louver vents designed to promote air circulation.
3.5 Door Installation
Install the double doors. Ensure they swing freely and the locking mechanism aligns correctly. The high door design allows for easy access and storage of larger items.
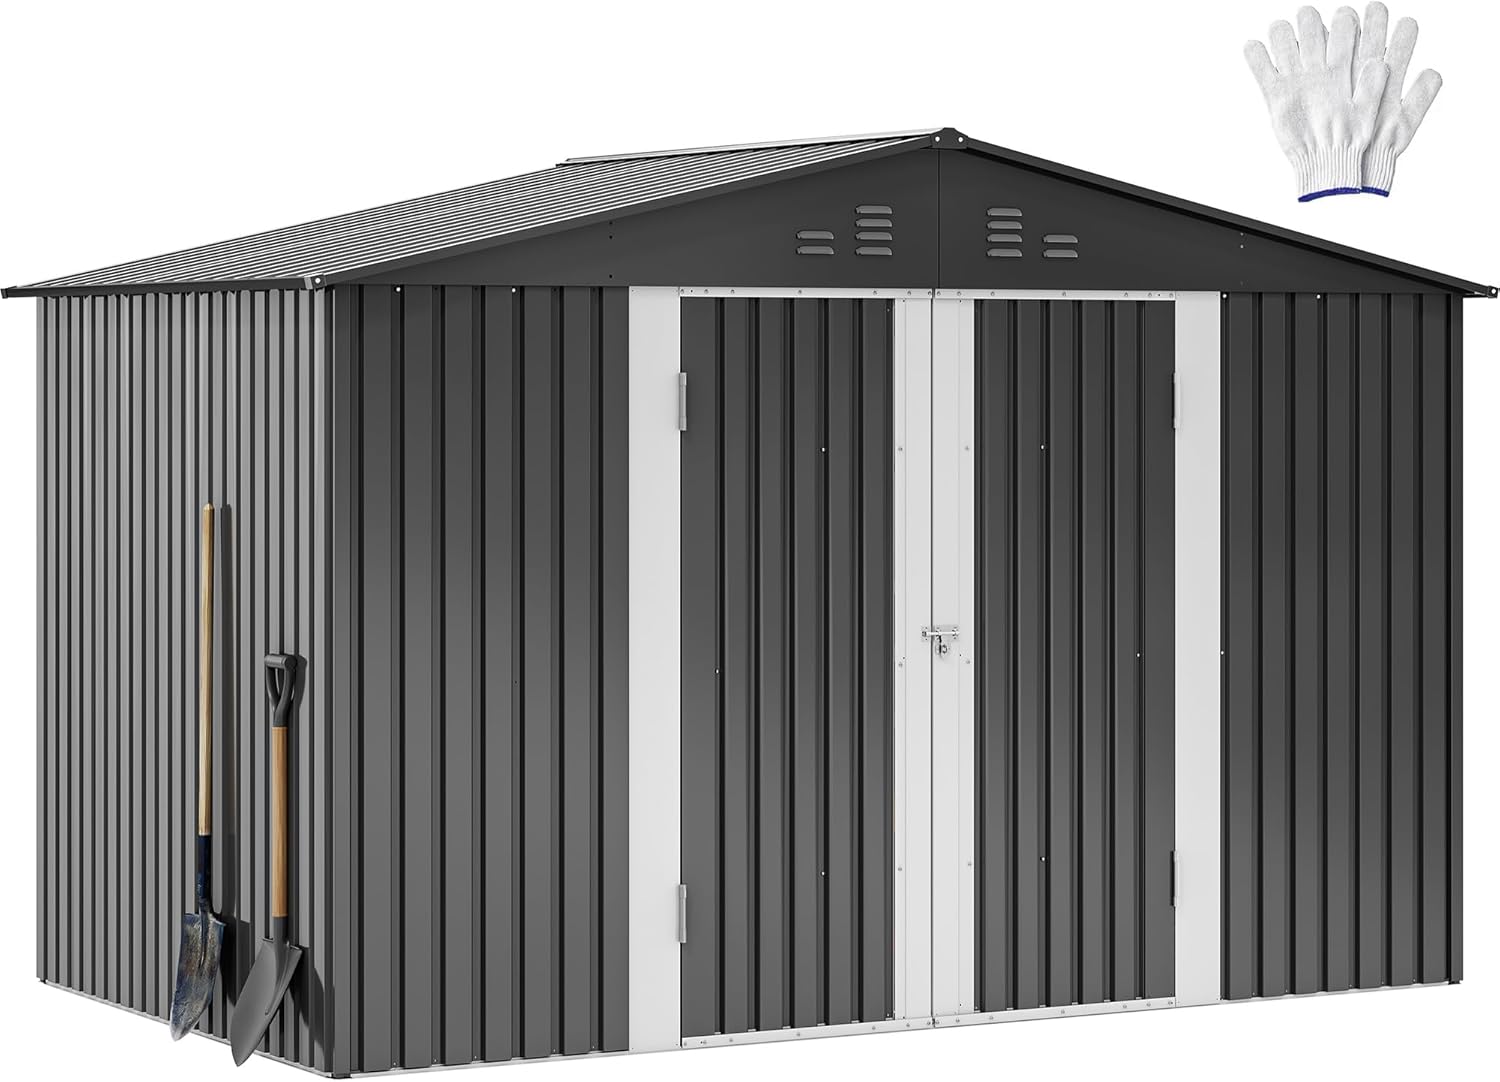
Image: The assembled DWVO 9x6 FT Outdoor Storage Shed, showcasing its dark gray exterior, double doors, and roof vents.
4. Operating Instructions
The DWVO storage shed is designed for straightforward operation.
- Access: Open and close the double doors by pulling or pushing them. The high door provides ample clearance for moving large items such as lawnmowers or bicycles.
- Security: Utilize the integrated locking mechanism on the doors to secure your belongings. Always ensure the shed is locked when not in use to protect against theft and animal intrusion.
- Ventilation: The four louver vents on the roof are designed to promote continuous air circulation. Ensure they remain unobstructed to prevent moisture buildup and maintain a dry environment inside the shed.

Image: A close-up view of the robust lockable door mechanism, designed to secure the shed's contents.
5. Maintenance
Regular maintenance will ensure the longevity and optimal performance of your DWVO storage shed.
- Cleaning: Periodically clean the exterior of the shed with mild soap and water. Avoid abrasive cleaners or harsh chemicals that could damage the protective paint.
- Inspection: Regularly inspect all fasteners (screws, nuts) to ensure they remain tight. Re-tighten any loose hardware to maintain structural integrity.
- Drainage: Ensure the area around the shed is clear of debris to allow for proper water runoff from the sloping roof. Prevent water from pooling around the base.
- Rust Prevention: Although made with electro-galvanized steel and protective paint, inspect for any signs of rust, especially in areas where the paint might be chipped. Touch up with appropriate rust-inhibiting paint if necessary.
6. Troubleshooting
Here are solutions to common issues you might encounter:
| Problem | Possible Cause | Solution |
|---|---|---|
| Holes do not align during assembly. | Uneven base surface; panels not properly seated; manufacturing tolerance. | Ensure the base is perfectly level. Loosen adjacent fasteners, adjust the panel/frame slightly, then re-tighten. If necessary, use a metal drill bit to slightly widen misaligned holes (use caution). |
| Doors do not close or latch properly. | Shed is not level; door hinges or frame are misaligned. | Verify the shed is on a level surface. Adjust door hinges or the door frame as per the detailed assembly manual. Small adjustments can make a significant difference. |
| Water accumulation inside the shed. | Obstructed vents; improper sealing; pooling water around base. | Clear any obstructions from the louver vents. Inspect all seams and fasteners for proper sealing; apply silicone sealant if gaps are found. Ensure the ground around the shed slopes away to prevent water pooling. |
| Difficulty removing protective film. | Film adhered tightly due to heat or time. | Peel slowly and steadily. For stubborn areas, a hairdryer on a low setting can sometimes help loosen the adhesive, but use extreme caution to avoid damaging the paint. |
7. Product Specifications
| Feature | Detail |
|---|---|
| Brand | DWVO |
| Model Number | MADWVb5y88 |
| Color | Dark Gray |
| Material | Alloy Steel |
| Product Dimensions (L x W x H) | 103.5"D x 65.7"W x 73.4"H (262.8cm D x 167cm W x 186.4cm H) |
| Item Weight | 75.8 Pounds |
| Style | Contemporary |
| Water Resistance Level | Water Resistant |
| Assembly Required | Yes |
| Ventilation | 4 Louver Vents |
| Roof Type | Sloping |
| UPC | 197839553729 |

Image: Detailed dimensions diagram of the DWVO 9x6 FT Outdoor Storage Shed.
8. Warranty and Support
DWVO stands behind the quality of its products. This product typically comes with a 30-day easy return policy. For specific warranty details, including coverage and duration, please refer to the warranty information provided with your purchase or contact DWVO customer support directly.
Customer Support: If you have any questions, require assistance with assembly, or need to report missing/damaged parts, please contact DWVO customer support. Contact information can usually be found on the product packaging or the official DWVO website.
We are committed to providing excellent service and ensuring your satisfaction with your DWVO storage shed.
Ask a question about this manual
Ask about setup, troubleshooting, compatibility, parts, safety, or missing instructions. Manuals+ will review the question and use this page’s manual context to help answer it.