
1. Introduction
This manual provides essential instructions for the assembly, operation, and maintenance of your QUEMARQUE 14U PA DJ Rack with Large Table Top & Wheels. This heavy-duty rolling studio rack cabinet is designed to securely house DJ equipment, network gear, and stereo components, offering both storage and a functional workspace. Please read this manual thoroughly before use to ensure proper setup and safe operation.
2. Safety Instructions
- Weight Capacity: Do not exceed the maximum load capacity of 661.39 lbs (300 kg). Overloading can lead to instability and damage to the rack or equipment.
- Stable Placement: Always ensure the rack is placed on a level, stable surface. Engage the wheel brakes when the rack is stationary to prevent accidental movement.
- Equipment Loading: Distribute equipment weight evenly within the rack. Secure all equipment using appropriate rack-mounting hardware.
- Movement: When moving the rack, ensure all doors and latches are securely closed. Move slowly and carefully, especially over uneven surfaces.
- Assembly: Follow all assembly instructions carefully. Ensure all fasteners are tightened securely before placing any equipment in the rack.
- Children and Pets: Keep children and pets away from the rack during assembly and operation to prevent injury.
3. Package Contents
Verify that all components are present before beginning assembly:
- 1 x PA DJ Rack (main cabinet structure)
- 1 x DJ Table Top
- Other Accessories for Installation (e.g., screws, nuts, washers, wheels, handles, latches)
4. Product Features & Components
The QUEMARQUE 14U PA DJ Rack is constructed from durable plywood boards with thermosetting resin impregnated paper layer, featuring robust metal hardware for enhanced longevity and protection.

Figure 4.1: The QUEMARQUE 14U PA DJ Rack in its closed, transportable configuration.

Figure 4.2: Overall view of the QUEMARQUE 14U PA DJ Rack with the large table top extended, showing key dimensions.
Key Components:
- 14U Rack Space: Provides ample vertical space for standard 19-inch rack-mountable equipment.
- Large DJ Table Top: An extendable work surface for additional equipment or accessories.
- Heavy-Duty Wheels: Four universal rubber wheels, two with locking brakes, for smooth movement and stable positioning.
- Spring Handles: Ergonomically designed spring handles for comfortable grip and easy portability.
- Latches: Secure latch mechanisms to keep panels and the table top firmly in place during transport.
- Reinforced Edges and Corners: Thickened metal wrapped edges and corner protectors enhance stability and safety.

Figure 4.3: Close-up of a heavy-duty rubber wheel with a locking brake mechanism.
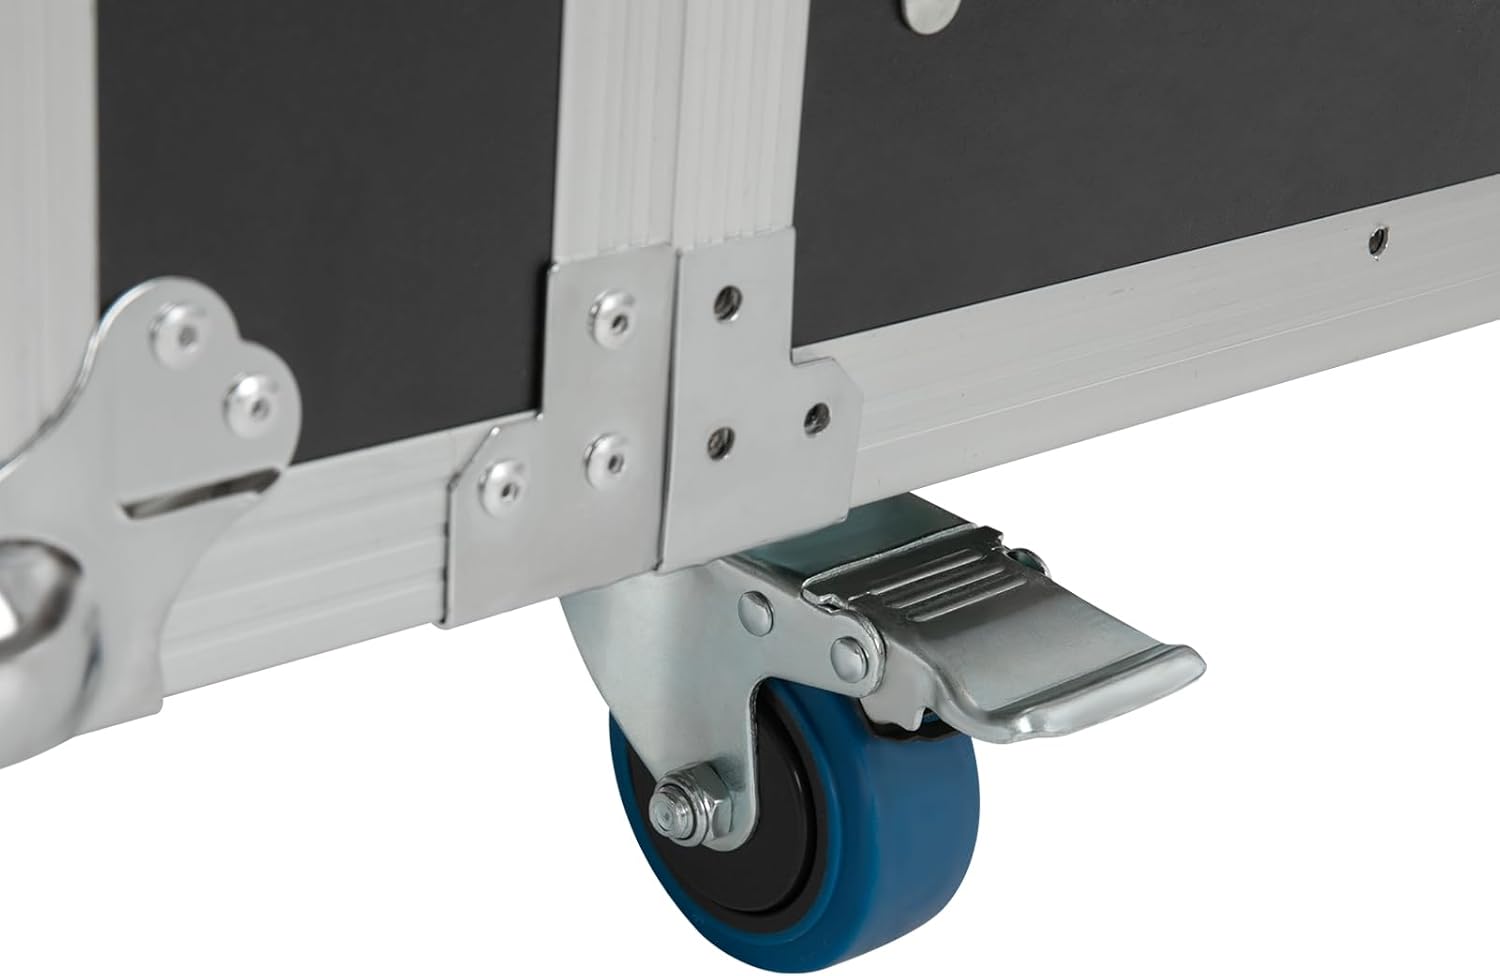
Figure 4.4: Detail of the recessed spring-loaded handle for easy lifting and transport.

Figure 4.5: Close-up of a durable latch mechanism used to secure panels and the table top.
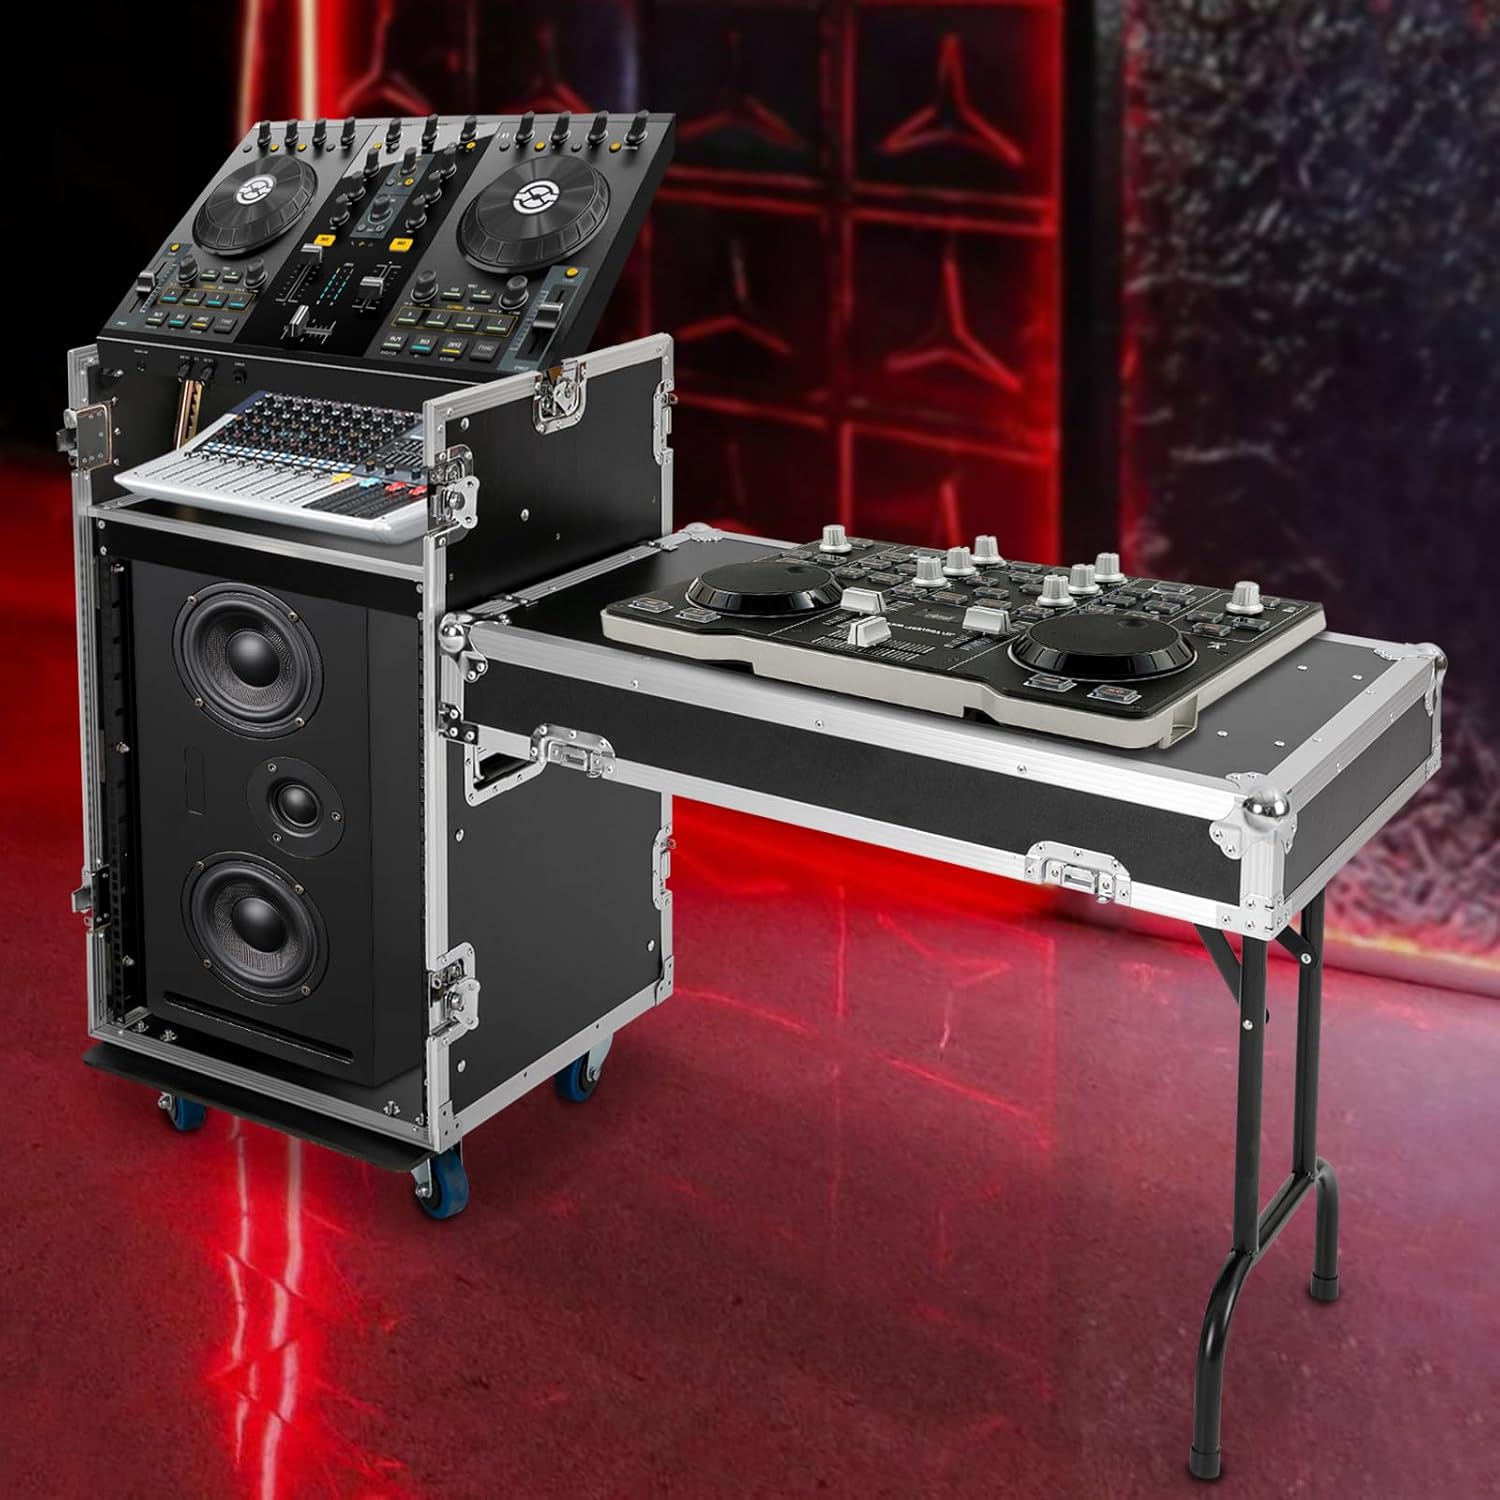
Figure 4.6: Detail of the reinforced metal corner protector and aluminum edging, highlighting the robust construction.
5. Assembly Instructions
The QUEMARQUE 14U PA DJ Rack is designed for straightforward assembly. While specific step-by-step diagrams are not provided in this manual, the general process involves securing the structural panels and attaching the hardware components.
- Unpack Components: Carefully remove all parts from the packaging and verify against the 'Package Contents' list.
- Assemble Main Rack Body: Connect the plywood panels to form the main 14U rack structure. Use the provided screws and fasteners to secure all joints. Ensure all connections are tight and stable.
- Attach Wheels: Secure the four rubber wheels to the bottom of the rack. Ensure the two wheels with brakes are positioned on the same side for easy access.
- Install Handles and Latches: Attach the spring handles and latch mechanisms to the designated areas on the rack panels.
- Attach DJ Table Top: Secure the large DJ table top to the side of the main rack unit using the provided support shelves and hardware. Ensure it is firmly attached and can be extended and retracted smoothly.
- Final Inspection: Once assembled, gently shake the rack to confirm stability. Re-tighten any loose fasteners.

Figure 5.1: An example of a reinforced corner, showing secure fastening points for structural integrity during assembly.
6. Operating Instructions
6.1 Loading Equipment
- Open Rack Access: Unlock and open the front and rear panels of the rack to access the interior.
- Mount Equipment: Install your 19-inch rack-mountable equipment into the 14U rack rails using appropriate rack screws and cage nuts (not included). Distribute heavier equipment towards the bottom for better stability.
- Cable Management: Route cables neatly to prevent tangling and ensure proper airflow.
- Close Panels: Once all equipment is installed and cabled, securely close and latch all panels.
6.2 Using the DJ Table Top
- Extend Table Top: Unlatch the DJ table top and extend it to its full working position. Ensure the support legs are fully deployed and locked for stability.
- Place Equipment: Use the table top for mixers, controllers, laptops, or other accessories. Do not exceed the table top's weight capacity.
- Retract Table Top: When not in use or for transport, fold the support legs, retract the table top, and secure it with the latches.

Figure 6.1: The QUEMARQUE 14U PA DJ Rack in use, displaying various DJ and audio equipment mounted within the rack and on the extended table top.
6.3 Moving the Rack
- Secure All Components: Ensure all rack equipment is securely mounted, and all doors, panels, and the table top are latched and closed.
- Unlock Wheels: Release the brakes on the two locking wheels.
- Maneuver: Use the spring handles to push or pull the rack to its desired location. Exercise caution on ramps or uneven surfaces.
- Lock Wheels: Once in position, engage the brakes on the locking wheels to prevent unintended movement.
7. Maintenance
- Cleaning: Wipe down the exterior surfaces with a soft, damp cloth. Avoid abrasive cleaners or solvents that could damage the finish.
- Hardware Inspection: Periodically check all screws, latches, handles, and wheel attachments for tightness. Re-tighten as necessary.
- Wheel Functionality: Ensure wheels rotate freely and brakes engage properly. Clean any debris from the wheel casters.
- Structural Integrity: Inspect the plywood panels and metal edging for any signs of damage or wear. Address any issues promptly to maintain safety and stability.
8. Troubleshooting
- Rack Instability: If the rack feels unstable, check that it is on a level surface. Verify all assembly fasteners are tight and that equipment weight is evenly distributed.
- Difficulty Moving Rack: Ensure wheel brakes are disengaged. Check for debris obstructing wheel movement. If wheels are damaged, consider replacement.
- Latches Not Securing: Inspect latches for damage or misalignment. Ensure the mating surfaces are clear of obstructions.
- Table Top Wobbles: Confirm that the table top support legs are fully extended and locked. Check the attachment points to the main rack for tightness.
9. Specifications
| Feature | Specification |
|---|---|
| Material | Plywood Boards, Rubber |
| Process | Thermosetting Resin Impregnated Paper Layer |
| Mounting Type | Free Standing |
| Color | Black |
| Capacity | 14U |
| Number of Tiers | 2 |
| Load Capacity | Approximately 300 kg / 661.39 lbs |
| Product Size (L*W*H) | 64.2 x 51.6 x 76.97 cm / 25.3 x 21.5 x 30.3 inches |
| DJ Table Top Size (L*W*H) | 68.58 x 54.61 x 8.64 cm / 27 x 21.5 x 3.4 inches |
| Height of Support Shelf | 63.5 cm / 25 inches |
| Net Weight | 30 kg / 66.14 lbs |
| Model Number | 14UDJRACK |
10. Warranty and Support
For warranty information or technical support, please refer to the documentation provided at the time of purchase or contact QUEMARQUE customer service directly. You can often find support contact details on the manufacturer's official website or through your retailer.
Note: This product does not contain any electronic equipment. Equipment shown in images is for illustrative purposes only.