
Kangnice RN120
Kangnice USB Rechargeable LED Bike Tail Light User Manual
Model: RN120
Introduction
Thank you for choosing the Kangnice USB Rechargeable LED Bike Tail Light. This manual provides essential information for the safe and effective use of your new bike light. Please read it thoroughly before installation and operation, and retain it for future reference.
This tail light is designed to enhance your visibility during night riding and in low-light conditions, featuring multiple modes and a USB rechargeable interface for convenience and performance.
Package Contents
- 1x LED Bike Tail Light (Model RN120)
- 1x USB Charging Cable
- Mounting Brackets and Straps (e.g., for seat post or saddle rails)
- Zip Ties (if included for specific mounting options)

Image: Contents of the Kangnice LED Bike Tail Light package, including the light unit, USB charging cable, and various mounting hardware.
Safety Information
- Always ensure the light is securely mounted before riding.
- Do not look directly into the light beam to avoid eye injury.
- Keep the light clean and free from obstructions for optimal visibility.
- While the light is IPX6 waterproof, avoid prolonged submersion.
- Regularly check battery level and recharge as needed to prevent unexpected power loss.
- This light is intended to enhance visibility; it does not replace the need for safe riding practices.
Setup
1. Charging the Battery
- Locate the USB charging port on the light unit.
- Connect the provided USB cable to the light and to a standard USB power source (e.g., computer, wall adapter).
- The charging indicator light will illuminate (e.g., red for charging, green for fully charged).
- Allow approximately 2-3 hours for a full charge.

Image: The Kangnice bike tail light connected to a USB cable, illustrating the charging process.
2. Mounting the Light
The light can be mounted on your bike's seat post or saddle rails using the provided brackets and straps.
- Seat Post Mounting:
- Attach the rubber strap mount to the back of the light.
- Wrap the rubber strap around your bike's seat post and secure it firmly.
- Adjust the angle of the light to ensure maximum visibility to traffic behind you.
- Saddle Rail Mounting:
- Secure the saddle rail bracket to the underside of your bicycle saddle rails using the provided zip ties or screws (if applicable).
- Slide the light unit onto the bracket until it clicks securely into place.
- Ensure the light is stable and facing directly backward.

Image: The Kangnice bike tail light securely mounted beneath a bicycle saddle, demonstrating proper installation.
Operating Instructions
Power On/Off
- To Turn On: Press and hold the power button (usually located on top of the light) for approximately 2 seconds.
- To Turn Off: Press and hold the power button for approximately 2 seconds.
Changing Modes
The light features 8 different lighting modes, including various brightness levels and flicker patterns.
- Switching Modes: With the light on, single-click the power button to cycle through the available modes.
- Brightness Adjustment (for steady modes): Double-click the power button to switch between different brightness levels within a steady mode.
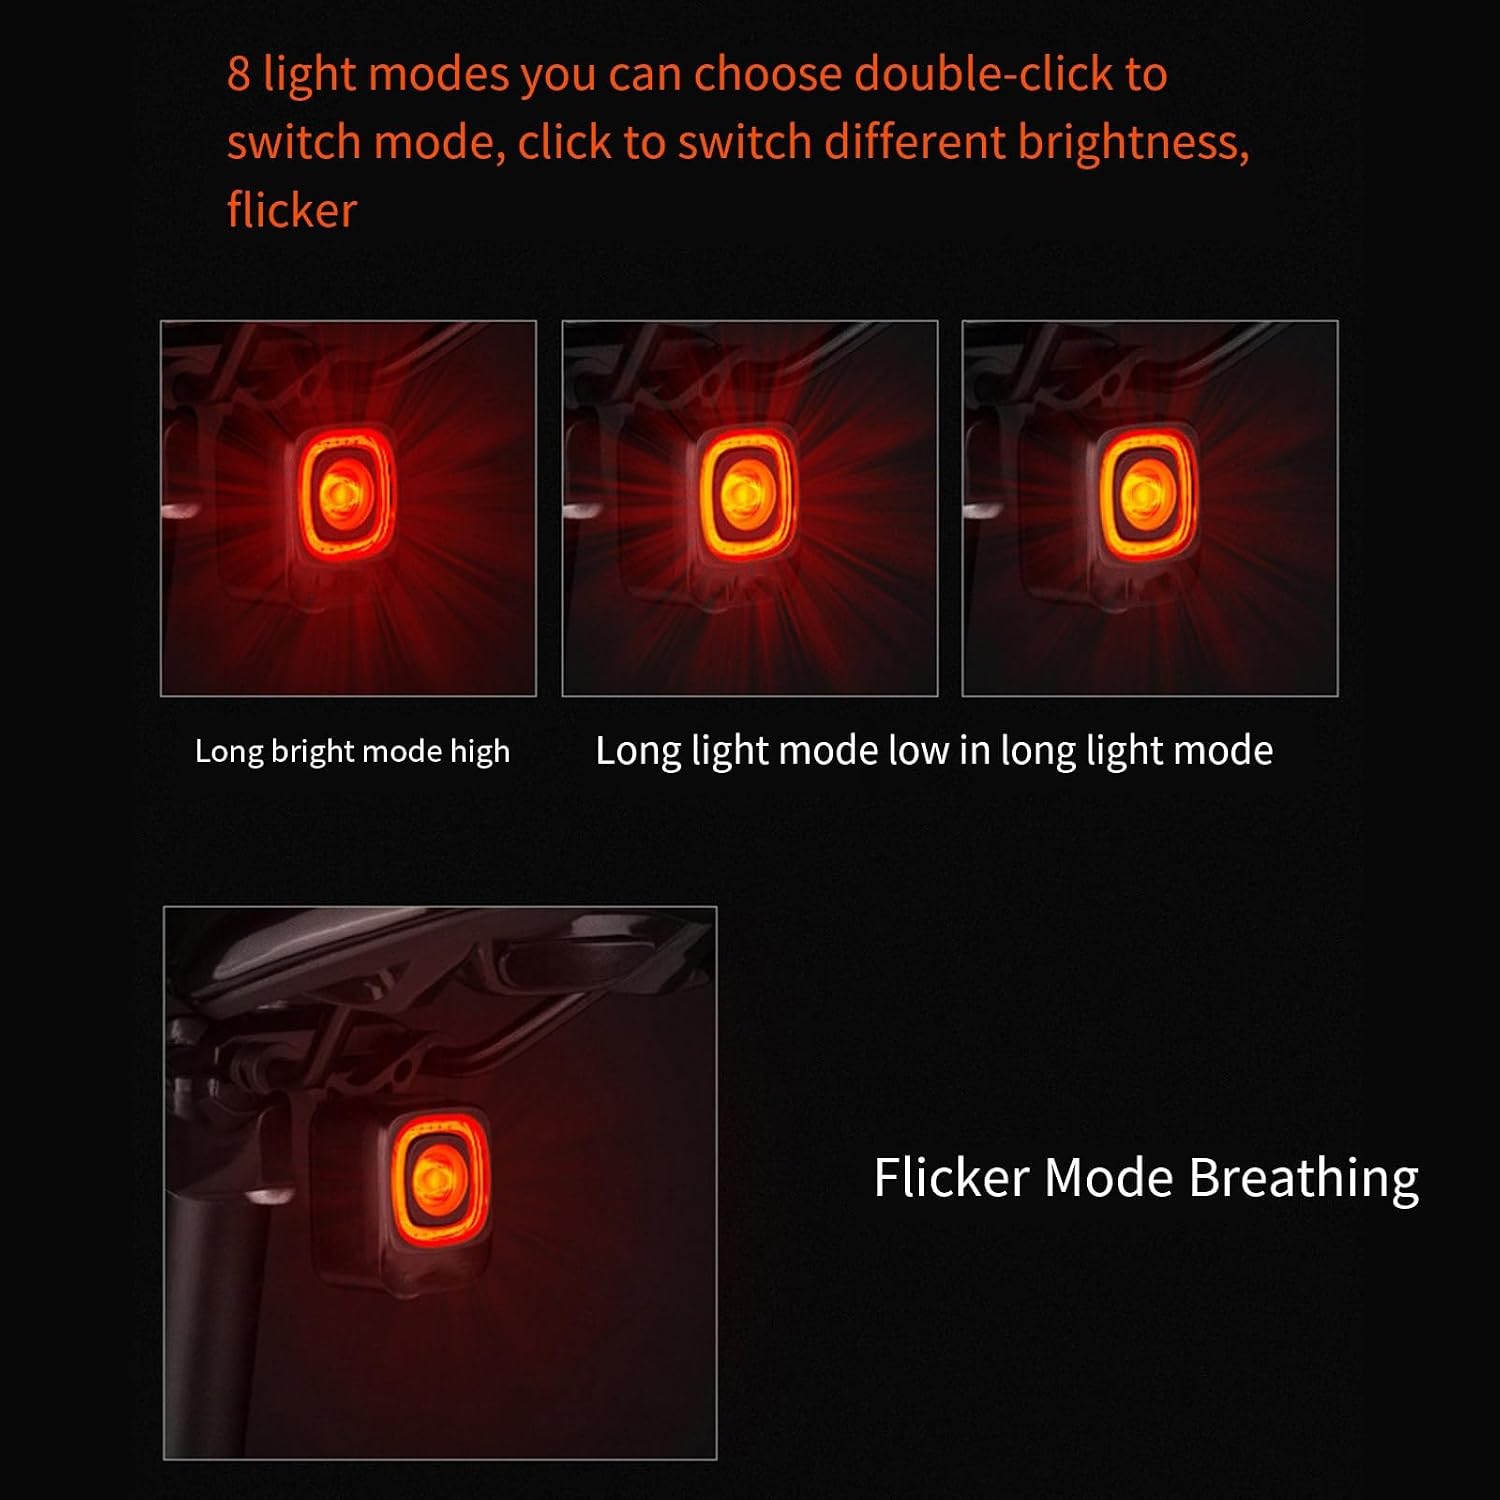
Image: Visual representation of the 8 available light modes, including high brightness, low brightness, and various flicker patterns like breathing mode.
Automatic Features
- Brake Sensing: The light is equipped with an automatic brake sensor. When deceleration is detected, the light will temporarily increase in brightness to signal braking to following traffic.
- Ambient Light Sensing: The light may adjust its output based on ambient light conditions to optimize visibility and battery life.
- Automatic Safety Mode: This feature helps conserve battery and ensures visibility.
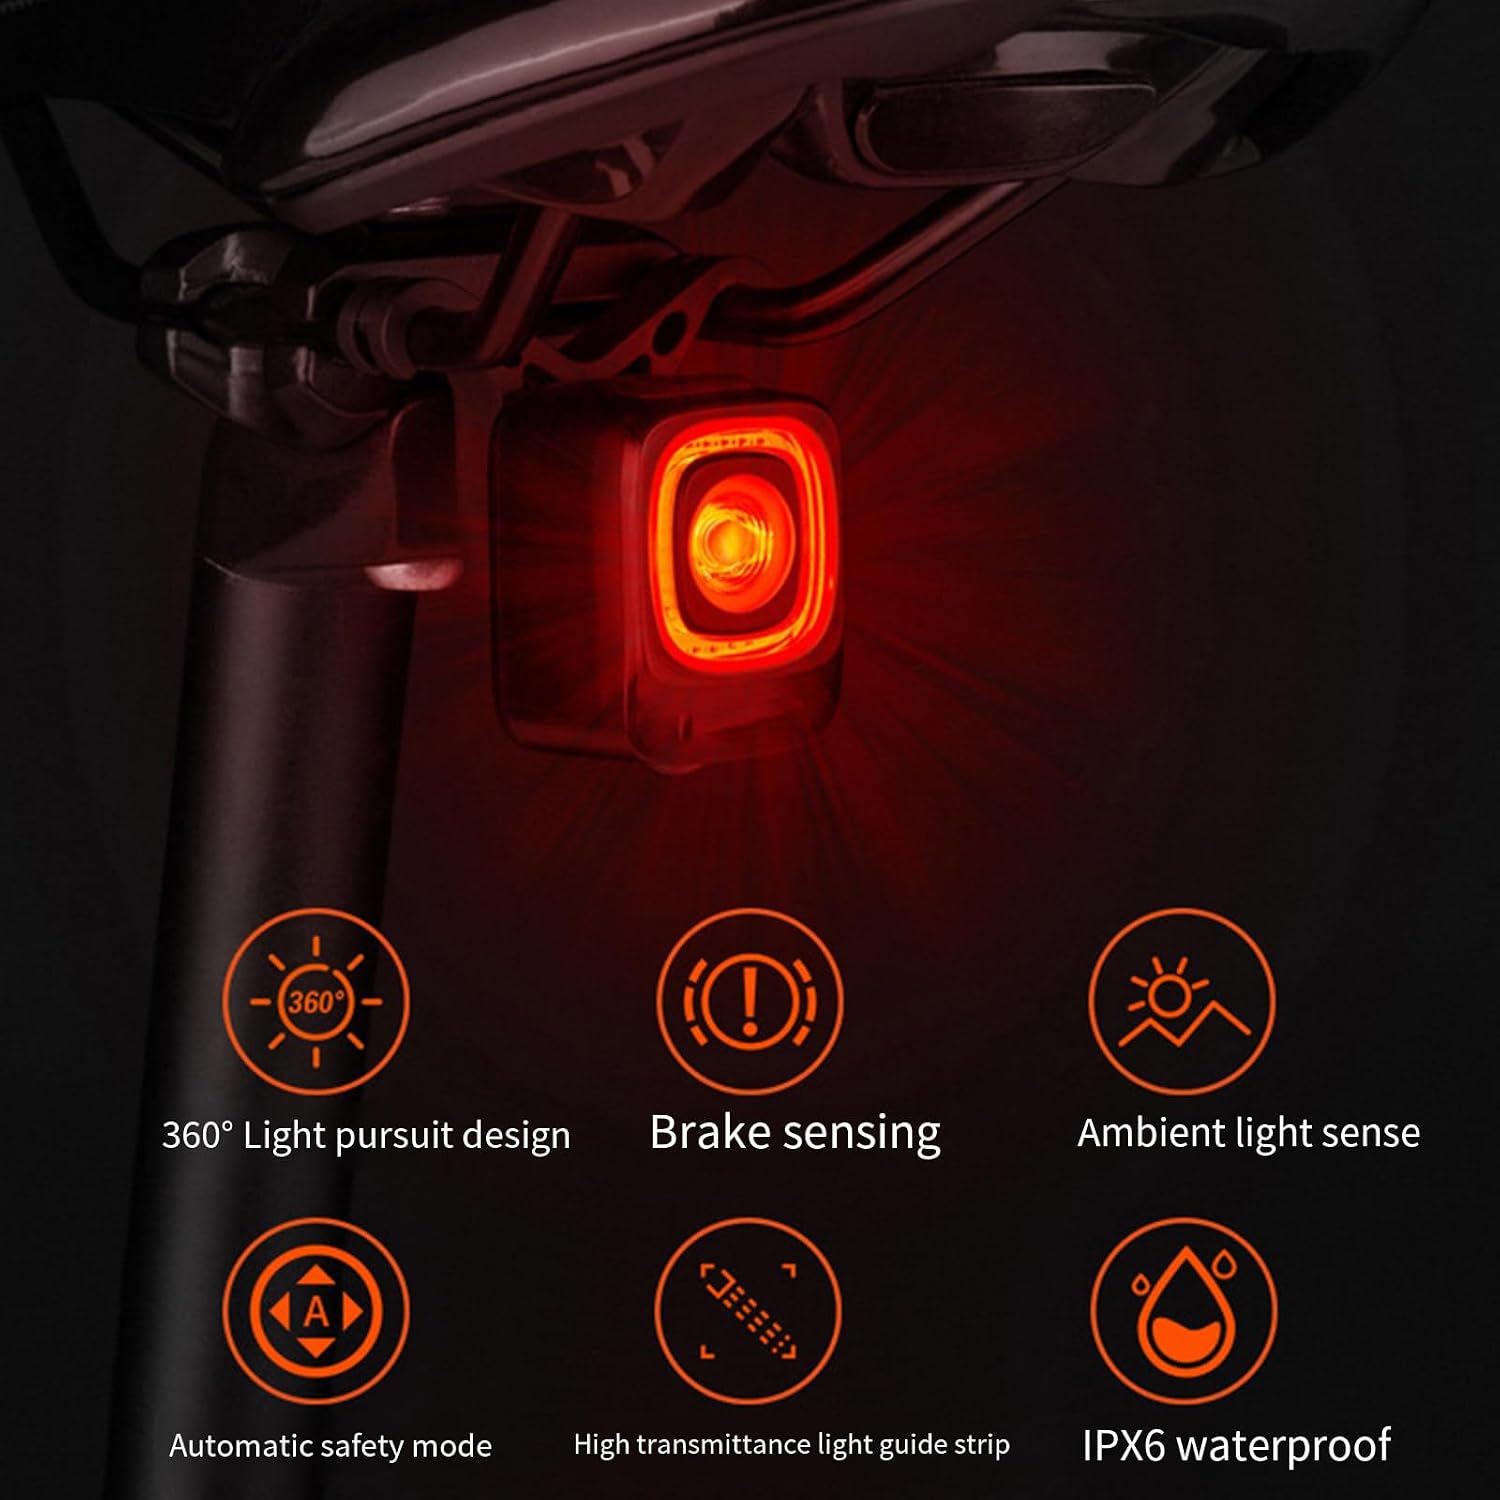
Image: Icons illustrating key features of the tail light, including 360-degree light design, brake sensing, ambient light sensing, automatic safety mode, high transmittance light guide strip, and IPX6 waterproof rating.
Battery Indicator
The power button often doubles as a battery indicator:
- Green Light: 21% - 100% battery remaining.
- Red Light: 6% - 20% battery remaining.
- Red Flashing Light: 0% - 5% battery remaining (recharge immediately).

Image: A close-up of the light's power button, illustrating the color codes for battery level indication: green for high, red for medium, and red flashing for low battery.
Maintenance
- Cleaning: Wipe the light with a soft, damp cloth. Do not use abrasive cleaners or solvents.
- Charging: Recharge the battery regularly, especially if the light will not be used for an extended period, to maintain battery health.
- Storage: Store the light in a cool, dry place when not in use.
- Inspection: Periodically check the mounting bracket and strap for wear and tear, ensuring the light remains securely attached.
Troubleshooting
- Light does not turn on:
- Ensure the battery is charged. Connect to a USB power source and check the charging indicator.
- Press and hold the power button for the required duration (approx. 2 seconds) to turn on.
- Light does not hold a charge:
- Try a different USB charging cable or power adapter.
- The battery may have reached the end of its lifespan and may need replacement (contact support if within warranty).
- Light flickers unexpectedly or modes don't change:
- Ensure the battery is sufficiently charged.
- Clean the power button area to ensure no debris is interfering with its operation.
- Brake sensing not working:
- Ensure the light is mounted securely and is not vibrating excessively, which could interfere with the sensor.
- The sensor requires a noticeable deceleration to activate.
Specifications
| Feature | Detail |
|---|---|
| Brand | Kangnice |
| Model | RN120 (Available in variants A and B) |
| Light Output (Variant A) | 200 Lumens |
| Visibility Distance (Variant A) | 3000 meters |
| Light Output (Variant B) | 120 Lumens |
| Visibility Distance (Variant B) | 2000 meters |
| Waterproof Rating | IPX6 |
| Charging Interface | USB Rechargeable |
| Light Modes | 8 modes (including steady and flicker) |
| Special Features | Automatic Brake Sensing, Ambient Light Sensing, Automatic Safety Mode, 360° Light Pursuit Design |
| Dimensions (Variant A) | Approx. 3.2x2.8x4.3cm / 1.26x1.1x1.69in |
| Dimensions (Variant B) | Approx. 3x3.4x3.2cm / 1.18x1.34x1.26in |

Image: Detailed dimensions for two variants of the tail light (A and B), illustrating their physical sizes.
Warranty and Support
For warranty information or technical support, please refer to the retailer where you purchased this product or visit the official Kangnice website (if available).
Please retain your proof of purchase for warranty claims.
Ask a question about this manual
Ask about setup, troubleshooting, compatibility, parts, safety, or missing instructions. Manuals+ will review the question and use this page’s manual context to help answer it.