1. Introduction
Thank you for choosing the FLEXMAN Digital Multimeter. This device is designed for safe and accurate measurement of various electrical parameters, including AC/DC voltage, resistance, continuity, capacitance, frequency, diode, and temperature. It features auto-ranging, a large backlit display, and a built-in flashlight for ease of use in diverse environments. Please read this manual thoroughly before operation to ensure proper use and to prevent potential hazards.
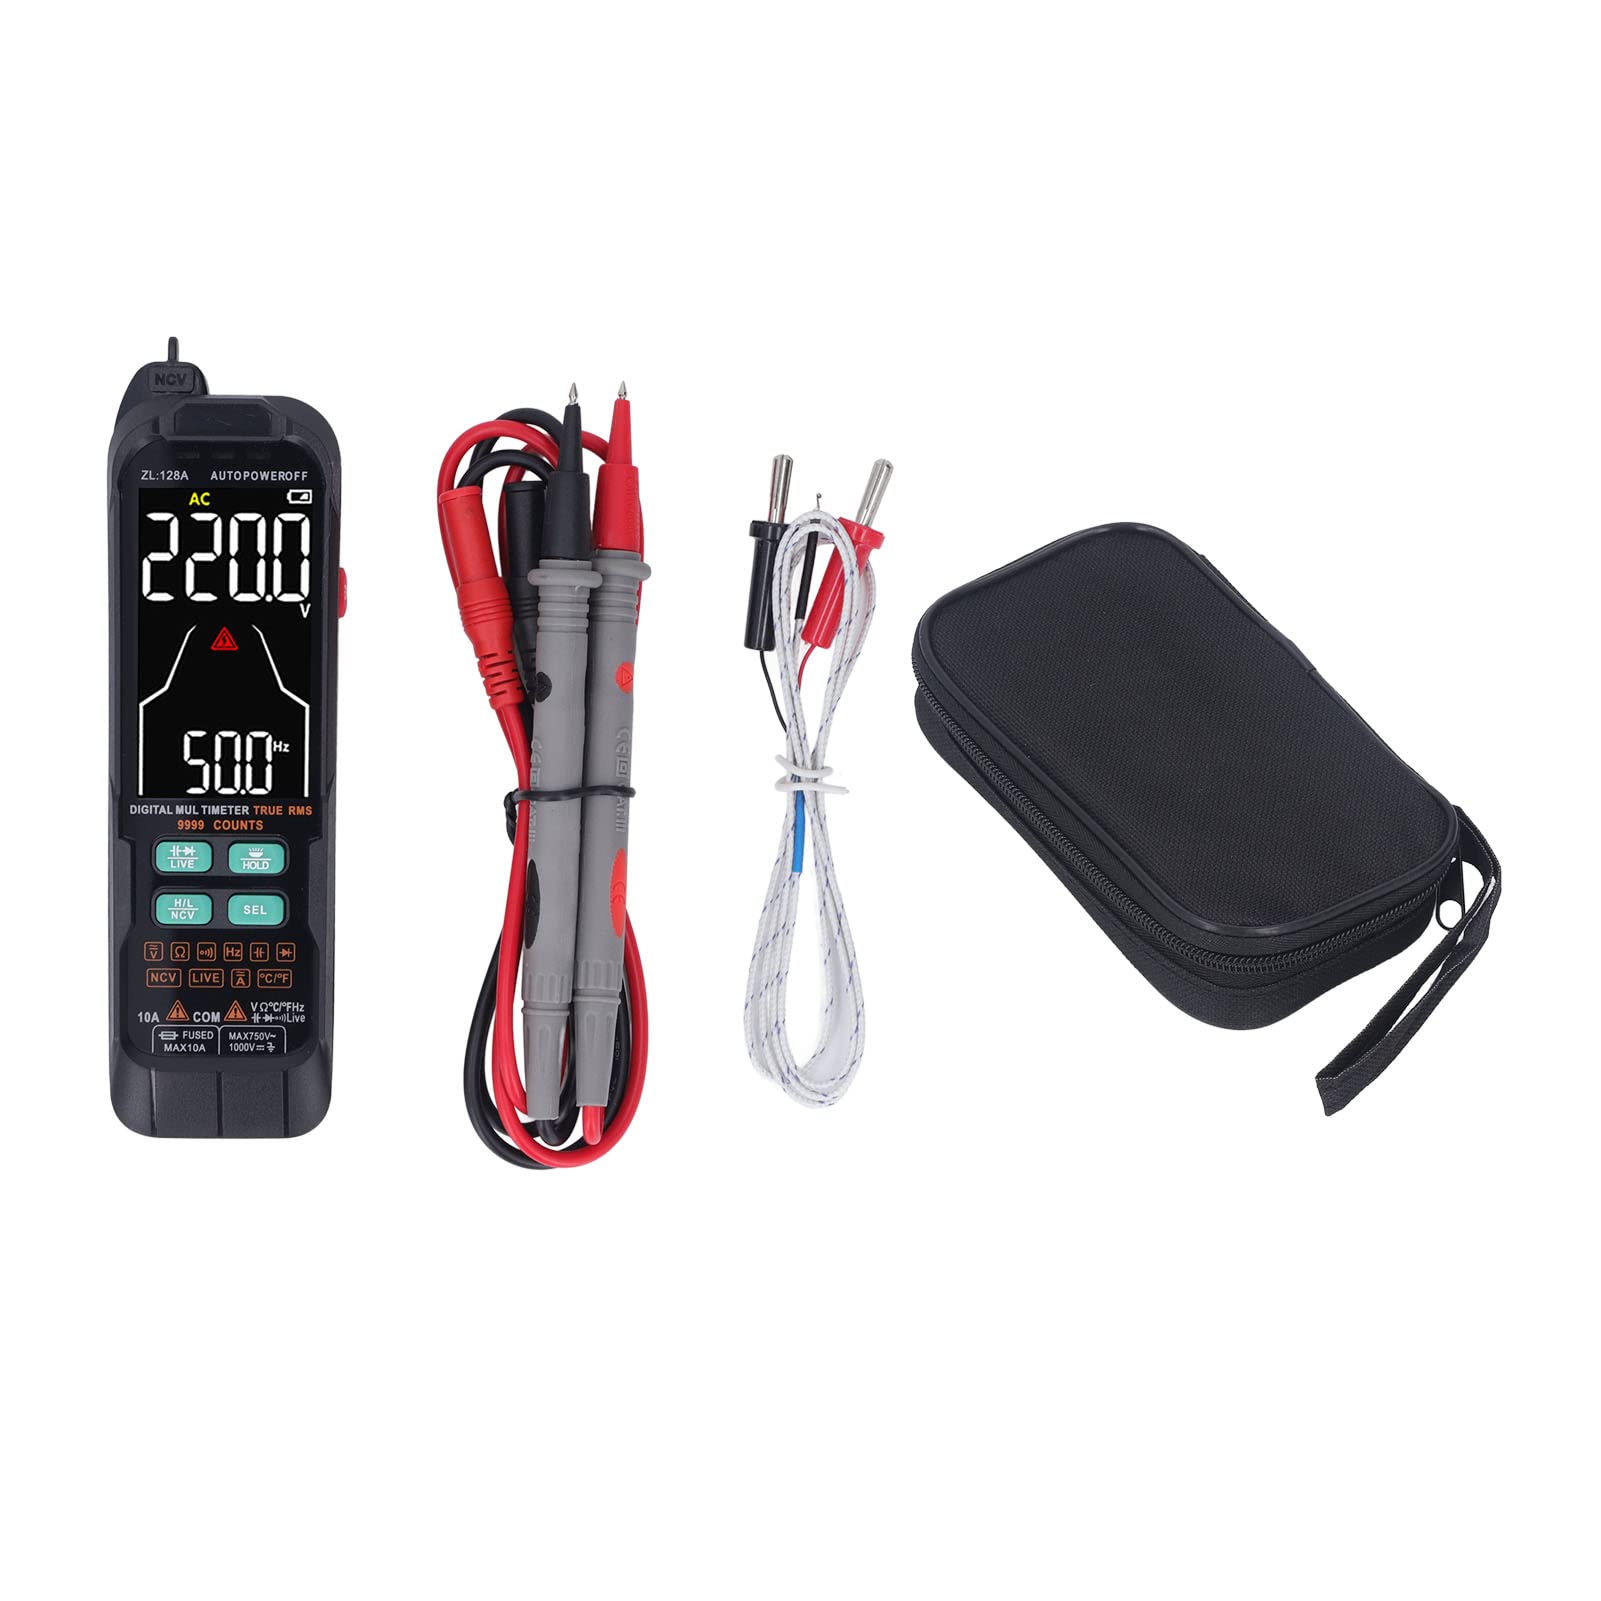
Image: Front view of the FLEXMAN Digital Multimeter, showing its display and function buttons.
2. Safety Information
WARNING: To avoid electric shock or personal injury, please observe the following safety precautions:
- Always ensure the multimeter is in the correct function and range before making any measurements.
- Do not measure voltages exceeding the maximum rated input value (IEC Cat III 600 V).
- Never use the multimeter if it appears damaged or if the test leads are compromised.
- Remove test leads from the circuit before changing functions.
- Exercise extreme caution when working with live circuits. Use appropriate personal protective equipment.
- Before opening the battery compartment, ensure all test leads are disconnected from the meter and the circuit.
- Replace batteries immediately when the low battery indicator appears to ensure accurate readings.

Image: Rear view of the FLEXMAN Digital Multimeter, showing the battery compartment and a warning label regarding battery replacement and safety.
3. Package Contents
Verify that all items listed below are present and undamaged:
- 1 x FLEXMAN Digital Multimeter
- 2 x Test Pens (Test Leads)
- 1 x User Manual (this document)
- 1 x Cloth Bag (for storage and transport)
- 1 x Accessory (likely a temperature probe, based on images)

Image: The FLEXMAN Digital Multimeter displayed alongside its red and black test leads and a white temperature probe, indicating included accessories.
4. Product Features
The FLEXMAN Digital Multimeter offers a range of features for versatile electrical testing:
- Safe and Accurate Measurement: Automatic range for precise measurement of AC and DC voltage, continuity, capacitance, frequency, diode, and temperature.
- Multifunctional Capabilities: Includes Non-Contact Voltage (NCV) testing, Live wire detection, low battery indication, data hold, maximum/minimum data recording, and auto shutdown. Complies with IEC Cat III 600 V, EC, and RoHS classifications.
- Easy-to-Read Display: Features a large, backlit LCD screen for clear and intuitive readings, even in low-light conditions.
- Integrated Flashlight: A rear flashlight assists in illuminating work areas for easy reading and recording in dark environments.
- Durable Construction: Made of ABS material for high durability and longevity.
- Portable Design: Compact size fits easily in a pocket and comes with a practical transport pouch.

Image: The FLEXMAN Digital Multimeter with its built-in LED flashlight illuminated, demonstrating its utility in dark environments.
5. Setup
5.1 Battery Installation
The multimeter requires 3 x AAA dry batteries (not included) for operation.
- Ensure the multimeter is powered off and disconnect all test leads from the input terminals.
- Locate the battery compartment cover on the back of the device.
- Use a screwdriver to loosen the screw(s) securing the battery cover.
- Remove the battery cover.
- Insert 3 x AAA batteries, observing the correct polarity (+ and -) as indicated inside the compartment.
- Replace the battery cover and tighten the screw(s).
5.2 Connecting Test Leads
To perform measurements, connect the test leads to the appropriate input terminals:
- Insert the black test lead into the "COM" (Common) terminal.
- For most measurements (voltage, resistance, continuity, capacitance, frequency, diode, temperature), insert the red test lead into the "VΩHz" terminal.
- For current measurements (up to 10A), insert the red test lead into the "10A" terminal.

Image: The FLEXMAN Digital Multimeter with test leads connected, demonstrating a current measurement setup on an electrical outlet.
6. Operating Instructions
The FLEXMAN Digital Multimeter features automatic ranging for most functions, simplifying operation. Use the function buttons to select specific modes.
6.1 Power On/Off
- Press the red power button to turn the multimeter ON.
- The multimeter will automatically power off after a period of inactivity to conserve battery life. Press the power button again to turn it back ON.
6.2 Function Selection
The multimeter typically defaults to an auto-ranging mode. Use the "SEL" button to cycle through different measurement functions within a category (e.g., AC Voltage, DC Voltage, Resistance, Continuity, Diode, Capacitance, Frequency).
6.3 Voltage Measurement (AC/DC)
- Connect the black test lead to "COM" and the red test lead to "VΩHz".
- Turn on the multimeter. It will likely auto-detect AC or DC voltage. If not, press "SEL" to select the desired voltage type (AC or DC).
- Connect the test probes in parallel to the circuit or component you wish to measure.
- Read the voltage value on the display.
6.4 Resistance Measurement
- Ensure the circuit is de-energized before measuring resistance.
- Connect the black test lead to "COM" and the red test lead to "VΩHz".
- Press "SEL" until the resistance symbol (Ω) is displayed.
- Connect the test probes across the component to measure its resistance.
- Read the resistance value on the display.
6.5 Continuity Test
- Ensure the circuit is de-energized.
- Connect the black test lead to "COM" and the red test lead to "VΩHz".
- Press "SEL" until the continuity symbol (a speaker icon) is displayed.
- Touch the test probes to the two points you want to check for continuity.
- If there is continuity (low resistance), the multimeter will emit an audible beep.
6.6 Capacitance Measurement
- Ensure the capacitor is fully discharged before measurement to prevent damage to the meter.
- Connect the black test lead to "COM" and the red test lead to "VΩHz".
- Press "SEL" until the capacitance symbol (F) is displayed.
- Connect the test probes across the capacitor terminals.
- Read the capacitance value on the display.

Image: The FLEXMAN Digital Multimeter displaying a capacitance measurement, with test leads connected to a capacitor.
6.7 Temperature Measurement
- Connect the temperature probe (thermocouple) to the "VΩHz" and "COM" terminals, observing polarity if indicated.
- Press "SEL" until the temperature symbol (°C or °F) is displayed.
- Place the tip of the temperature probe on or near the object whose temperature you wish to measure.
- Read the temperature value on the display.

Image: The FLEXMAN Digital Multimeter displaying a temperature measurement, with the temperature probe tip placed on a motor.
6.8 Non-Contact Voltage (NCV) Detection
- Press the "NCV" button (or "H/L NCV" button) to activate NCV mode.
- Move the top tip of the multimeter close to a conductor or outlet.
- If AC voltage is detected, the NCV indicator will light up, and an audible beep will sound, with the frequency of beeps increasing as the meter gets closer to the voltage source.

Image: The FLEXMAN Digital Multimeter demonstrating Non-Contact Voltage (NCV) detection near an electrical wire, with an indicator showing detection.
6.9 Live Wire Detection
This function helps distinguish between live and neutral lines.
- Press the "LIVE" button to activate Live wire detection mode.
- Insert the red test probe into the socket or touch the conductor.
- The display will indicate "LIVE" and an audible alarm will sound if a live wire is detected.
6.10 Data Hold
Press the "HOLD" button to freeze the current reading on the display. Press it again to release the hold function.
6.11 Backlight and Flashlight
- The display backlight can be activated for better visibility in low light. Refer to the device's specific button for backlight control (often combined with another function or a dedicated light button).
- The built-in flashlight can be turned on to illuminate the work area. Refer to the device's specific button for flashlight control.
7. Maintenance
7.1 Battery Replacement
When the low battery indicator appears on the display, replace the batteries promptly to ensure accurate measurements. Refer to Section 5.1 for detailed battery installation instructions.
7.2 Cleaning
Wipe the meter's casing with a damp cloth and a mild detergent. Do not use abrasives or solvents. Ensure the meter is completely dry before use.
7.3 Storage
If the multimeter is not used for an extended period, remove the batteries to prevent leakage. Store the device in a cool, dry place, away from direct sunlight and extreme temperatures.
8. Troubleshooting
| Problem | Possible Cause | Solution |
|---|---|---|
| Meter does not power on. | Dead or incorrectly installed batteries. | Check battery polarity; replace batteries. |
| Inaccurate readings. | Low battery; incorrect function selected; poor test lead connection. | Replace batteries; verify function selection; ensure test leads are securely connected. |
| No continuity beep. | Open circuit; continuity function not selected. | Check the circuit for breaks; ensure continuity mode is active. |
| Display shows "OL" (Overload). | Measurement exceeds the selected range or meter's maximum capacity. | The meter is auto-ranging, but if "OL" persists, the value is beyond its maximum. Ensure correct function for the expected value. |
9. Specifications
| Parameter | Value |
|---|---|
| Item Type | Digital Multimeter |
| Material | ABS |
| Size | Approx. 16.2 x 4.8 x 2.8 cm (6.38 x 1.89 x 1.1 in) |
| Power Supply | 3 x AAA Dry Batteries (not included) |
| True Root Mean Square Value | 0-1KHz |
| Resistance Range | 0-100MΩ |
| Ambient Temperature Range | 0-60℃ |
| Maximum Count | 9999 Counts |
| Measurement Mode | Automatic + Manual |
| Weight | Approx. 268g (9.45 oz) |
| Safety Rating | IEC Cat III 600 V |
10. Warranty and Support
FLEXMAN products are manufactured to high-quality standards. For warranty information, technical support, or service inquiries, please contact your retailer or the FLEXMAN customer service department. Keep your purchase receipt as proof of purchase.
For further assistance, please visit the official FLEXMAN website or contact their support channels.