1. Product Overview
The Blütezeit MJ-300 Sliding Gate Opener is designed for lightweight sliding gates up to 900 lbs (408 kg). It features a 130W AC110V pure copper motor, providing a smooth travel speed of 0.7 ft/s (0.21 m/s). This bundle includes 13.12ft (4 meters) of reinforced nylon gear racks and an infrared photobeam sensor for enhanced safety and quiet operation. It is suitable for residential wood, vinyl, chain-link, and light metal gates.

Image 1.1: Blütezeit MJ-300 Sliding Gate Opener highlighting its compact design, copper motor, weather resistance, and easy setup.
2. Safety Information
Read all instructions carefully before installation and operation. Failure to follow these instructions may result in serious injury or property damage.
- Ensure the gate area is clear of obstructions before operating the opener.
- Keep children and pets away from the gate area during operation.
- The included infrared photobeam sensor is a critical safety device. Install it correctly to prevent the gate from closing on people, pets, or vehicles.
- Do not attempt to repair the opener yourself. Contact qualified personnel for service.
- Always use the manual release key in case of power failure or emergency.

Image 2.1: Infrared Photobeam Sensor, essential for detecting obstructions and ensuring gate safety.
3. Package Contents
Verify that all components are present and undamaged before beginning installation.
- Blütezeit MJ-300 Sliding Gate Opener Unit
- Reinforced Nylon Gear Racks (4 pieces, 3.28 ft/1 meter each, total 13.12 ft/4 meters)
- Infrared Photobeam Sensor (Transmitter and Receiver)
- Remote Controls (Quantity may vary, typically 2)
- Mounting Hardware (Screws, washers, brackets)
- Manual Release Key
- Magnetic Limit Switches (Red for close, Blue for open)

Image 3.1: Four pieces of reinforced nylon gear racks included in the bundle.

Image 3.2: Remote control and magnetic limit switches for precise gate positioning.
4. Specifications
| Feature | Specification |
|---|---|
| Model | MJ-300 |
| Motor Power | 130W AC110V Pure Copper Motor |
| Max Gate Weight | 900 lbs (408 kg) |
| Gate Travel Speed | 0.7 ft/s (0.21 m/s) |
| Gear Rack Length | 13.12 ft (4 meters) total, 4 x 3.28 ft sections |
| Gear Rack Material | Reinforced Nylon with Metal Core |
| Infrared Sensor Power | 12-24V AC/DC |
| Remote Control Range | Up to 100 ft (30 meters) |
| Auto-Close Timer | Adjustable (0-60 seconds) |
| Operating Temperature | -13°F to 122°F (-25°C to 50°C) |
| Pull Force | Over 400N |
| Motor RPM | 1400 rpm |

Image 4.1: Detailed view of the MJ-300 motor and gear mechanism.
5. Installation and Setup
Proper installation is crucial for the safe and efficient operation of your gate opener. Refer to the detailed diagrams and instructions provided in the full manual for specific steps.
5.1 Mounting the Opener
Securely mount the gate opener unit on a stable, level surface next to the gate. Ensure the drive gear aligns correctly with the gate's path for the gear racks.

Image 5.1: The steel base provides a stable foundation for the gate opener.
5.2 Installing Gear Racks
Attach the nylon gear racks along the bottom edge of your gate. Ensure they are level and maintain proper engagement with the opener's drive gear. The bundle includes four 3.28 ft sections, which can be joined to cover the gate's length.

Image 5.2: Example of screw mounting for the gear racks on a wooden gate.
5.3 Wiring the Infrared Photobeam Sensor
Install the infrared photobeam sensor units on opposite sides of the gate opening, ensuring the beam is unobstructed. Connect the sensor to the control board as per the wiring diagram in the main manual. This sensor provides an essential safety feature, stopping or reversing the gate if the beam is broken.

Image 5.3: Correct placement of the infrared photobeam sensor for optimal safety.
5.4 Programming Remote Controls and Limit Switches
Follow the instructions in the main manual to program your remote controls and set the magnetic limit switches. The red magnet switch defines the gate's closed position, and the blue magnet switch defines the open position, ensuring precise control of gate travel.
Video 5.1: An official Blütezeit video demonstrating the installation and operation of a sliding gate opener, including gear rack and motor interaction.
6. Operation
6.1 Using the Remote Control
Press the designated button on your remote control to open or close the gate. The remote operates using rolling-code security for enhanced protection and has a range of up to 100 feet.
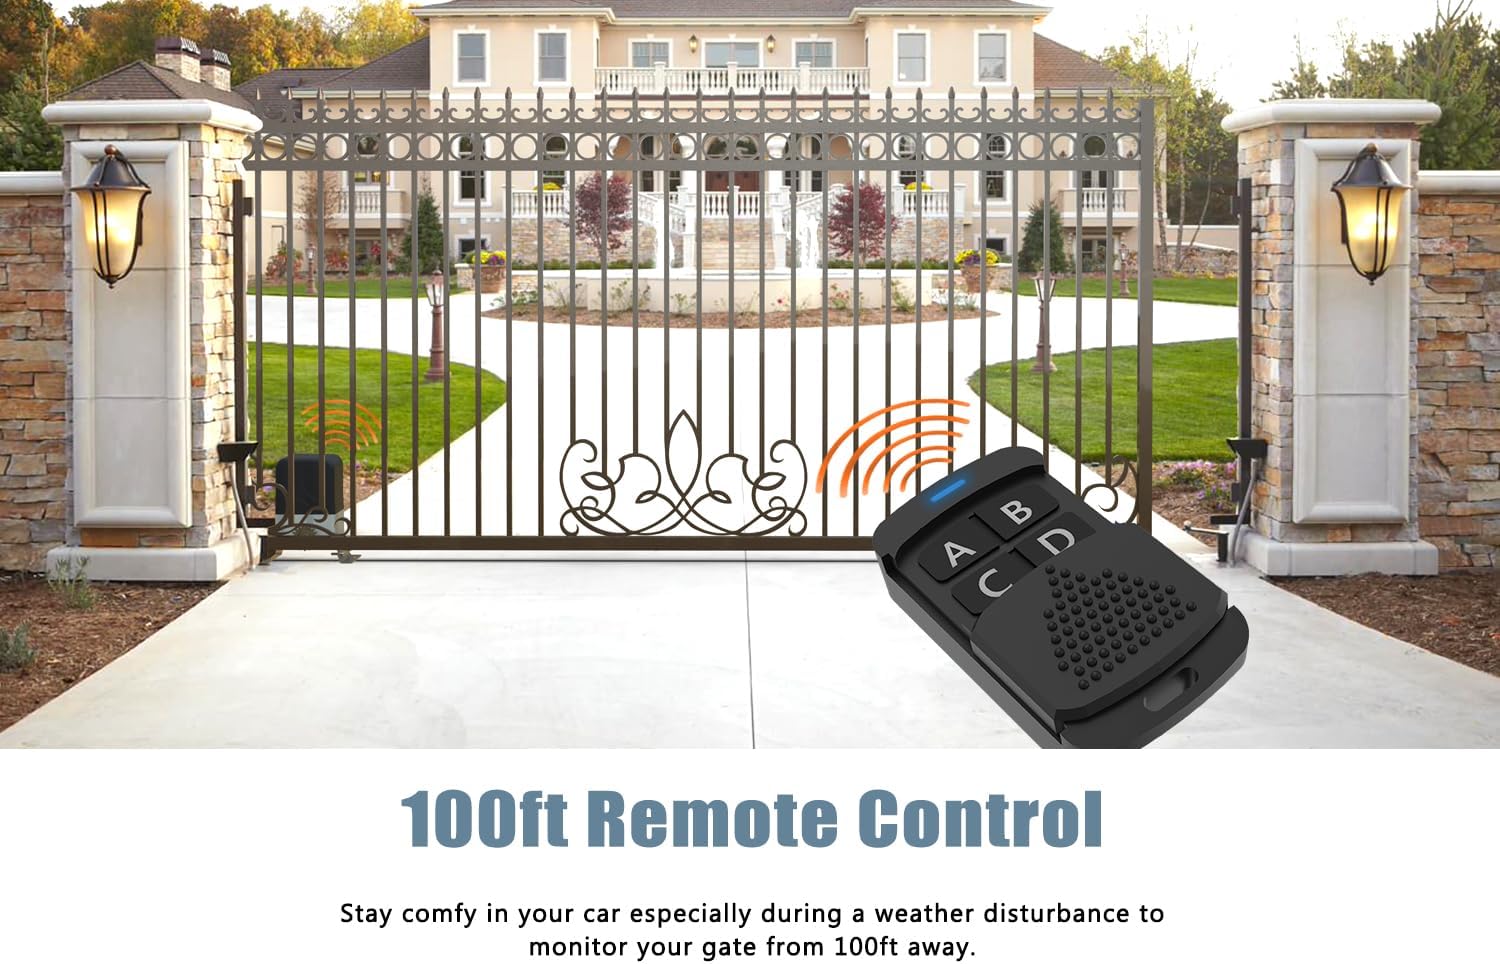
Image 6.1: Operating the gate opener with the remote control from a distance.
6.2 Auto-Close Function
The opener features an adjustable auto-close timer (0-60 seconds). This function automatically closes the gate after a set period, enhancing security. Refer to the main manual for instructions on setting this feature.
6.3 Pedestrian Mode
The pedestrian mode allows the gate to open partially, providing access for pedestrians without fully opening the gate. Consult the main manual for details on activating and customizing this mode.
6.4 Manual Release
In case of power outage or malfunction, use the provided manual release key to disengage the motor and operate the gate manually. Insert the key into the lock and turn it as indicated to unlock the clutch.

Image 6.2: Using the manual release key to operate the gate during a power failure.
7. Maintenance
Regular maintenance ensures the longevity and optimal performance of your Blütezeit MJ-300 gate opener.
- Clean Gear Racks: Periodically inspect and clean the gear racks to remove dirt, debris, or ice that could impede gate movement.
- Inspect Photobeam Sensor: Ensure the infrared sensor lenses are clean and free from obstructions. Test its functionality regularly.
- Check Mounting Hardware: Verify that all mounting bolts and screws are tight and secure.
- Lubrication: Apply appropriate lubricant to moving parts as recommended in the full manual.
- Battery Check (if applicable): If using a backup battery system (sold separately), check its charge and condition periodically.
8. Troubleshooting
This section addresses common issues you might encounter. For more complex problems, refer to the comprehensive troubleshooting guide in the full manual or contact customer support.
| Problem | Possible Cause | Solution |
|---|---|---|
| Gate does not move | No power, remote battery dead, safety sensor obstructed, manual release engaged. | Check power supply, replace remote battery, clear sensor path, disengage manual release. |
| Gate stops or reverses unexpectedly | Safety sensor triggered, obstruction in gate path, limit switch issue. | Clear sensor path/obstruction, check limit switch alignment. |
| Remote control not working | Battery dead, remote out of range, remote not programmed. | Replace battery, move closer to opener, reprogram remote. |
9. Warranty and Support
Blütezeit products undergo strict quality checks to ensure durability and performance. For technical assistance, installation guidance, or warranty inquiries, please contact Blütezeit professional support. Our team is dedicated to providing reliable assistance and solutions.
Contact information can be found on our official website or through your purchase platform.

Image 9.1: Blütezeit offers professional and comprehensive technical support.