
1. Overview
This manual provides instructions for the installation, operation, and maintenance of your Avisontek 300MHZ Multicode Gate Opener Keypad, model 4200/420001. This wireless keypad offers convenient and secure access to your gate or garage door opener system.
1.1 Compatibility
The Avisontek keypad is designed for compatibility with 300MHZ 10 Dip Switch MultiCode gate opener and garage door opener systems. It serves as a direct replacement for MultiCode 4200/420001 keypads.
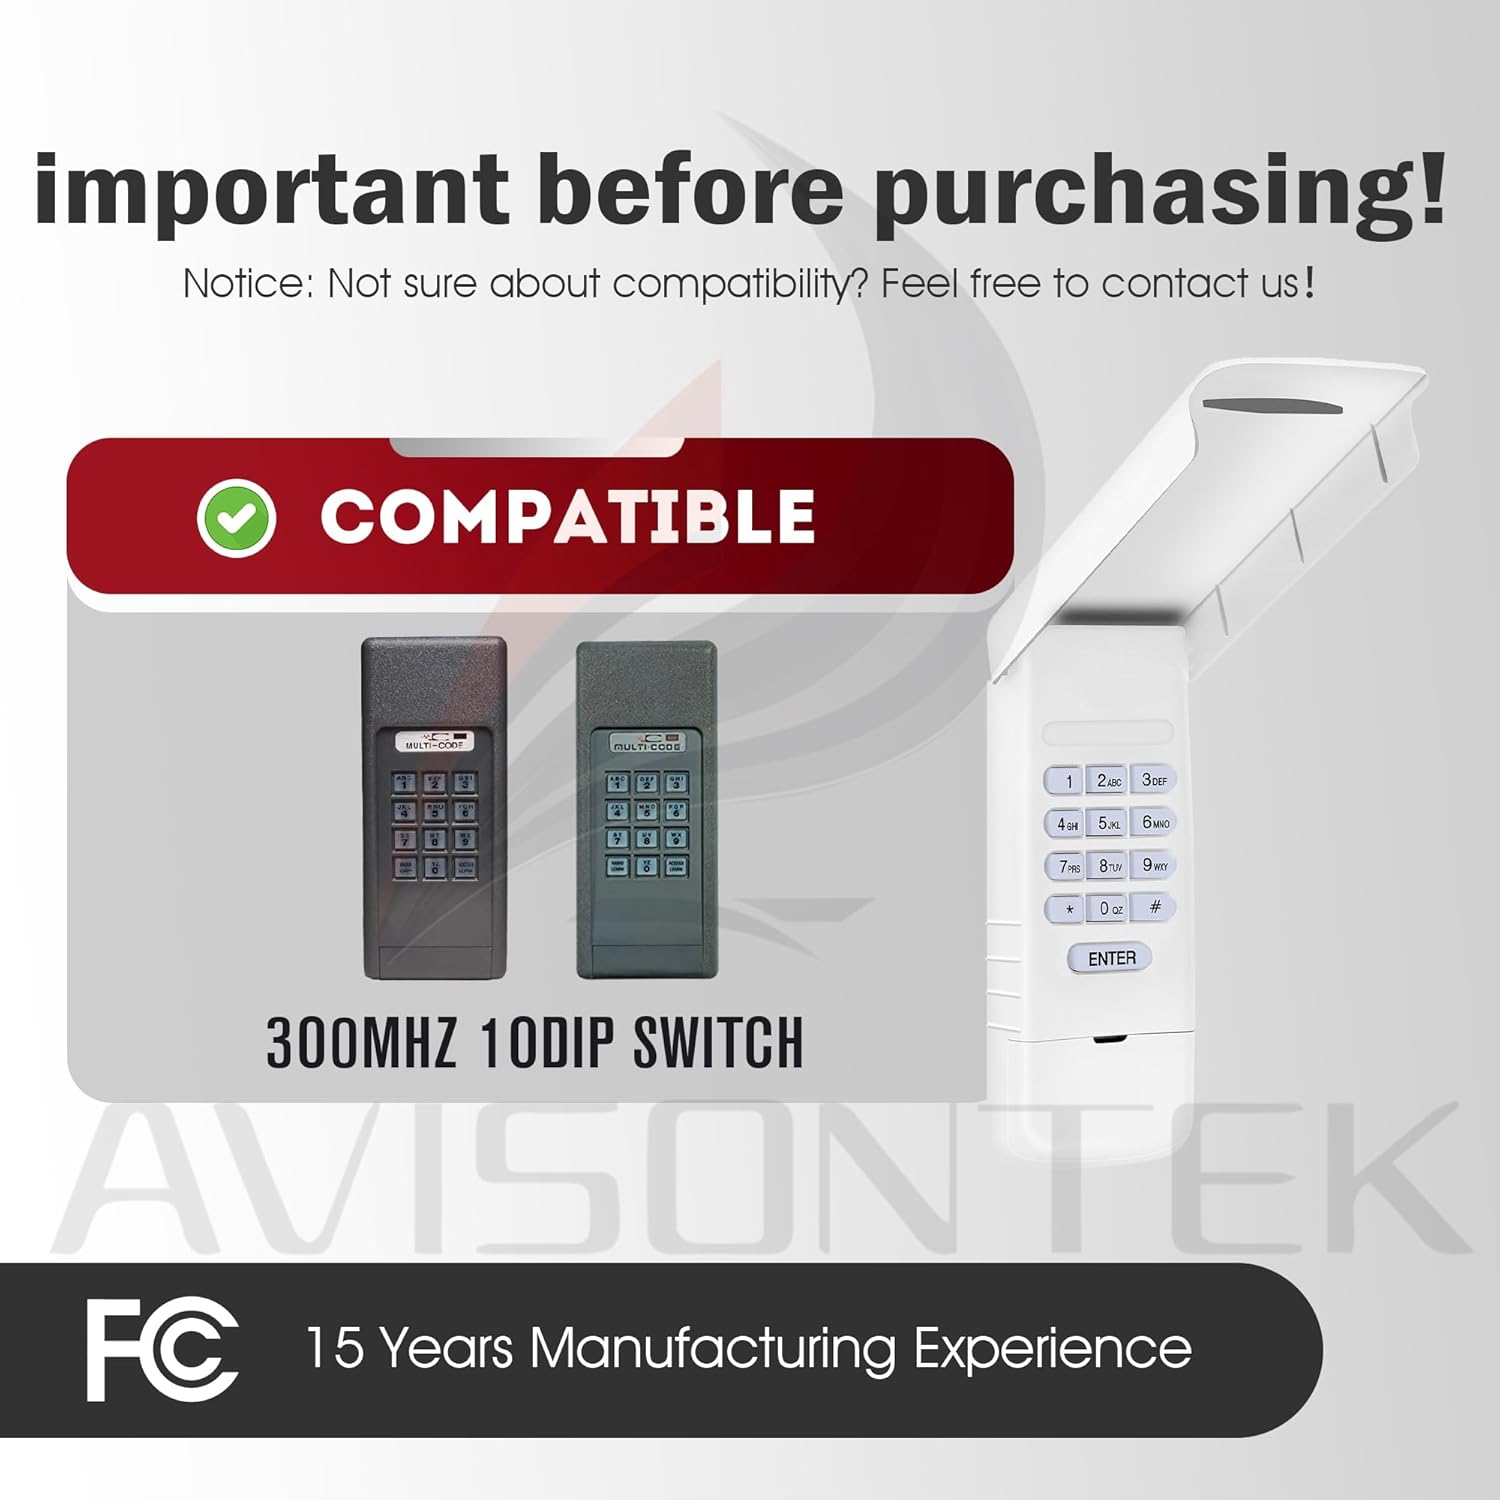
Figure 1: Avisontek keypad demonstrating compatibility with 300MHz 10-dip switch MultiCode systems. This image illustrates the compatibility of the Avisontek keypad with existing 300MHz 10-dip switch MultiCode gate and garage door opener systems, showing older compatible models alongside the new keypad.
2. Setup Instructions
Follow these steps for proper installation and initial setup of your Avisontek keypad.
2.1 Battery Installation
- Open the battery compartment cover on the back of the keypad.
- Insert one 9V Alkaline battery, ensuring correct polarity.
- Close the battery compartment cover securely.

Figure 2: Avisontek keypad with a 9V battery, highlighting quick setup and battery type. The image displays the Avisontek keypad in a residential setting, emphasizing its straightforward setup process and the use of a standard 9V battery for power.
2.2 Mounting the Keypad
The keypad is designed for wireless installation. Choose a suitable location near your gate or garage door, ensuring it is within the operational range of your opener. Use appropriate screws and anchors (not included) to mount the keypad securely to a flat surface.
2.3 Programming the Keypad
To program the keypad, you will need to match its internal dip switches to those of your existing MultiCode receiver or remote. Refer to your gate or garage door opener's manual for specific instructions on locating and setting the dip switches.
- Open the keypad's housing to access the internal dip switches.
- Match the 10 dip switch settings on the keypad to the settings on your MultiCode receiver or existing remote.
- Close the keypad's housing.
- Set your desired personal identification number (PIN) on the keypad. Consult the keypad's internal instructions for PIN setting procedures.

Figure 3: Avisontek keypad showing lit-up keys and temporary password functionality. This image highlights the keypad's illuminated buttons for night use and its capability to configure temporary access passwords.
3. Operating Instructions
3.1 Opening the Gate/Garage Door
To open your gate or garage door, simply enter your programmed PIN on the keypad and press the ENTER button. The keypad will transmit the signal to your opener.
3.2 Using Temporary Passwords
The keypad supports a temporary password function for guest access. Refer to the keypad's internal programming guide for instructions on how to set and manage temporary PINs.
3.3 Night Light Function
The keypad features a night light function to illuminate the buttons for easy use in low-light conditions.

Figure 4: Avisontek keypad transmitting signal over a long distance to multiple garage doors. This image depicts the keypad's extended operational range, showing it transmitting a signal up to 164 feet to control garage doors or gates, operating on a 300MHz fixed code frequency.
4. Maintenance
4.1 Battery Replacement
When the keypad's performance degrades or the night light dims, it may be time to replace the 9V battery. Follow the battery installation steps in Section 2.1.
4.2 Cleaning
Clean the keypad's exterior with a soft, damp cloth. Avoid using abrasive cleaners or solvents, as these can damage the casing and buttons. Ensure the keypad is dry before use.

Figure 5: Avisontek keypad in rainy conditions, showcasing its weatherproof casing and temporary PIN feature. The image shows the keypad enduring rain, highlighting its weatherproof casing, luminous design for visibility, and the functionality to set temporary PINs, indicating its resilience to various weather conditions including sun, snow, and rain.
5. Troubleshooting
- Keypad not responding: Check the battery. Ensure the dip switch settings match your opener. Verify the keypad is within the operational range of the receiver.
- Poor operational range: Replace the battery. Ensure there are no obstructions between the keypad and the receiver. The maximum range is approximately 164 feet.
- PIN not working: Re-enter your PIN carefully. If issues persist, re-program the PIN according to the internal instructions.
- Keypad not lighting up: Replace the battery.
6. Product Specifications
| Feature | Specification |
|---|---|
| Model Name | Gate Opener Keypad |
| Model Number | 4200/420001 |
| Brand | Avisontek |
| Compatible Devices | 300MHZ 10 Dip Switch MultiCode Gate Opener |
| Connectivity Technology | Radio Frequency |
| Maximum Range | 164 Feet |
| Number of Supported Devices | 5 |
| Battery Type | 1 x 9V Alkaline (included) |
| Shell Material | ABS Alloy |
| Item Weight | 0.15 Kilograms |
| Color | White |
| Code Type | Fixed Code |

Figure 6: Product parameter table for Avisontek keypad model 4200/420001. This image presents a detailed table of product parameters for the Avisontek keypad, model 4200/420001, including working range, frequency, channels, battery model, shell material, product size, weight, color, code type, and warranty.
7. Warranty Information
The Avisontek 300MHZ Multicode Gate Opener Keypad comes with a 3-year warranty. This warranty covers defects in materials and workmanship under normal use. For warranty claims, please retain your proof of purchase.
8. Customer Support
For technical assistance or support, please contact Avisontek customer service. Online technical support is available to assist with any questions or issues you may encounter.

Figure 7: Customer service representative offering support for Avisontek products. The image shows a customer service representative, symbolizing the availability of 24-hour online technical support for Avisontek products, along with FCC certification and a 3-year warranty.