1. Introduction and Overview
Thank you for choosing the Poloma LD1102 Electric Heated Towel Warmer Rack. This appliance is designed to provide warm, dry towels, enhancing comfort and hygiene in your bathroom. It offers versatile installation options, allowing it to be either freestanding or wall-mounted, and can be connected via a standard plug-in or hard-wired setup. Please read this manual thoroughly before installation and operation to ensure safe and efficient use.
2. Safety Instructions
WARNING: To reduce the risk of fire, electric shock, or injury, observe the following:
- Read all instructions before using this towel warmer.
- This appliance is for household use only. Do not use outdoors.
- Do not immerse the towel warmer in water or other liquids.
- Ensure the power supply matches the voltage specified on the product label.
- Always unplug the appliance from the electrical outlet before cleaning or when not in use.
- Do not operate any appliance with a damaged cord or plug, or after the appliance malfunctions or has been damaged in any manner. Contact customer support for assistance.
- Do not allow the cord to hang over the edge of a table or counter, or touch hot surfaces.
- Do not use this towel warmer to dry wet clothing or shoes. It is intended for warming and drying towels only.
- The surface of the towel warmer will become hot during operation. Avoid direct contact with heated surfaces.
- Keep children and pets away from the appliance during operation.
- This appliance has an IPX4 waterproof rating, making it safe for bathroom use. However, avoid direct water spray onto the control panel.
3. Package Contents
Verify that all components are present before beginning installation:
- Towel Warmer Rack Unit
- Freestanding Base Feet (2x)
- Wall Mounting Brackets (4x)
- Installation Hardware (screws, anchors)
- User Manual
4. Installation
The Poloma LD1102 offers two installation methods: freestanding or wall-mounted.
4.1 Freestanding Installation
- Attach the two freestanding base feet to the bottom of the towel warmer unit using the provided screws. Ensure they are securely fastened.
- Place the assembled towel warmer on a flat, stable surface in your desired location. Ensure it is away from direct water sources and has adequate clearance from other objects.
4.2 Wall-Mounted Installation
- Choose a suitable wall location, ensuring it is structurally sound and can support the weight of the towel warmer and towels. Avoid mounting directly above a bathtub or shower.
- Mark the positions for the four wall mounting brackets. Use a level to ensure proper alignment.
- Drill pilot holes at the marked positions. Insert wall anchors if necessary (for drywall or hollow walls).
- Secure the wall mounting brackets to the wall using the provided screws.
- Carefully align the towel warmer unit with the mounted brackets and secure it in place.

Figure 1: Freestanding and Wall-Mounted Usage Options
This image illustrates the two primary ways to use the Poloma towel warmer: as a freestanding unit with its base feet, or securely mounted to a wall to save space. Both configurations provide stable support for the heated rack.
5. Power Connection
The Poloma LD1102 offers two power connection methods: plug-in or hard-wired.
5.1 Plug-In Option
For quick setup, simply plug the towel warmer's power cord into any standard 110V electrical outlet. Ensure the outlet is grounded and located in a safe area, away from direct water exposure.
5.2 Hard-Wired Option
For a clean, built-in appearance, the towel warmer can be hard-wired directly into your wall power source. This installation should only be performed by a qualified electrician to ensure compliance with local electrical codes and safety standards.

Figure 2: Plug-In and Hard-Wired Installation Options
This image demonstrates the flexibility of the Poloma towel warmer's power connection. It can be easily plugged into a standard wall outlet for convenience or hard-wired into the electrical system for a seamless, integrated look.
6. Operating Instructions
The Poloma LD1102 features an intuitive control panel with an LED display for easy operation.
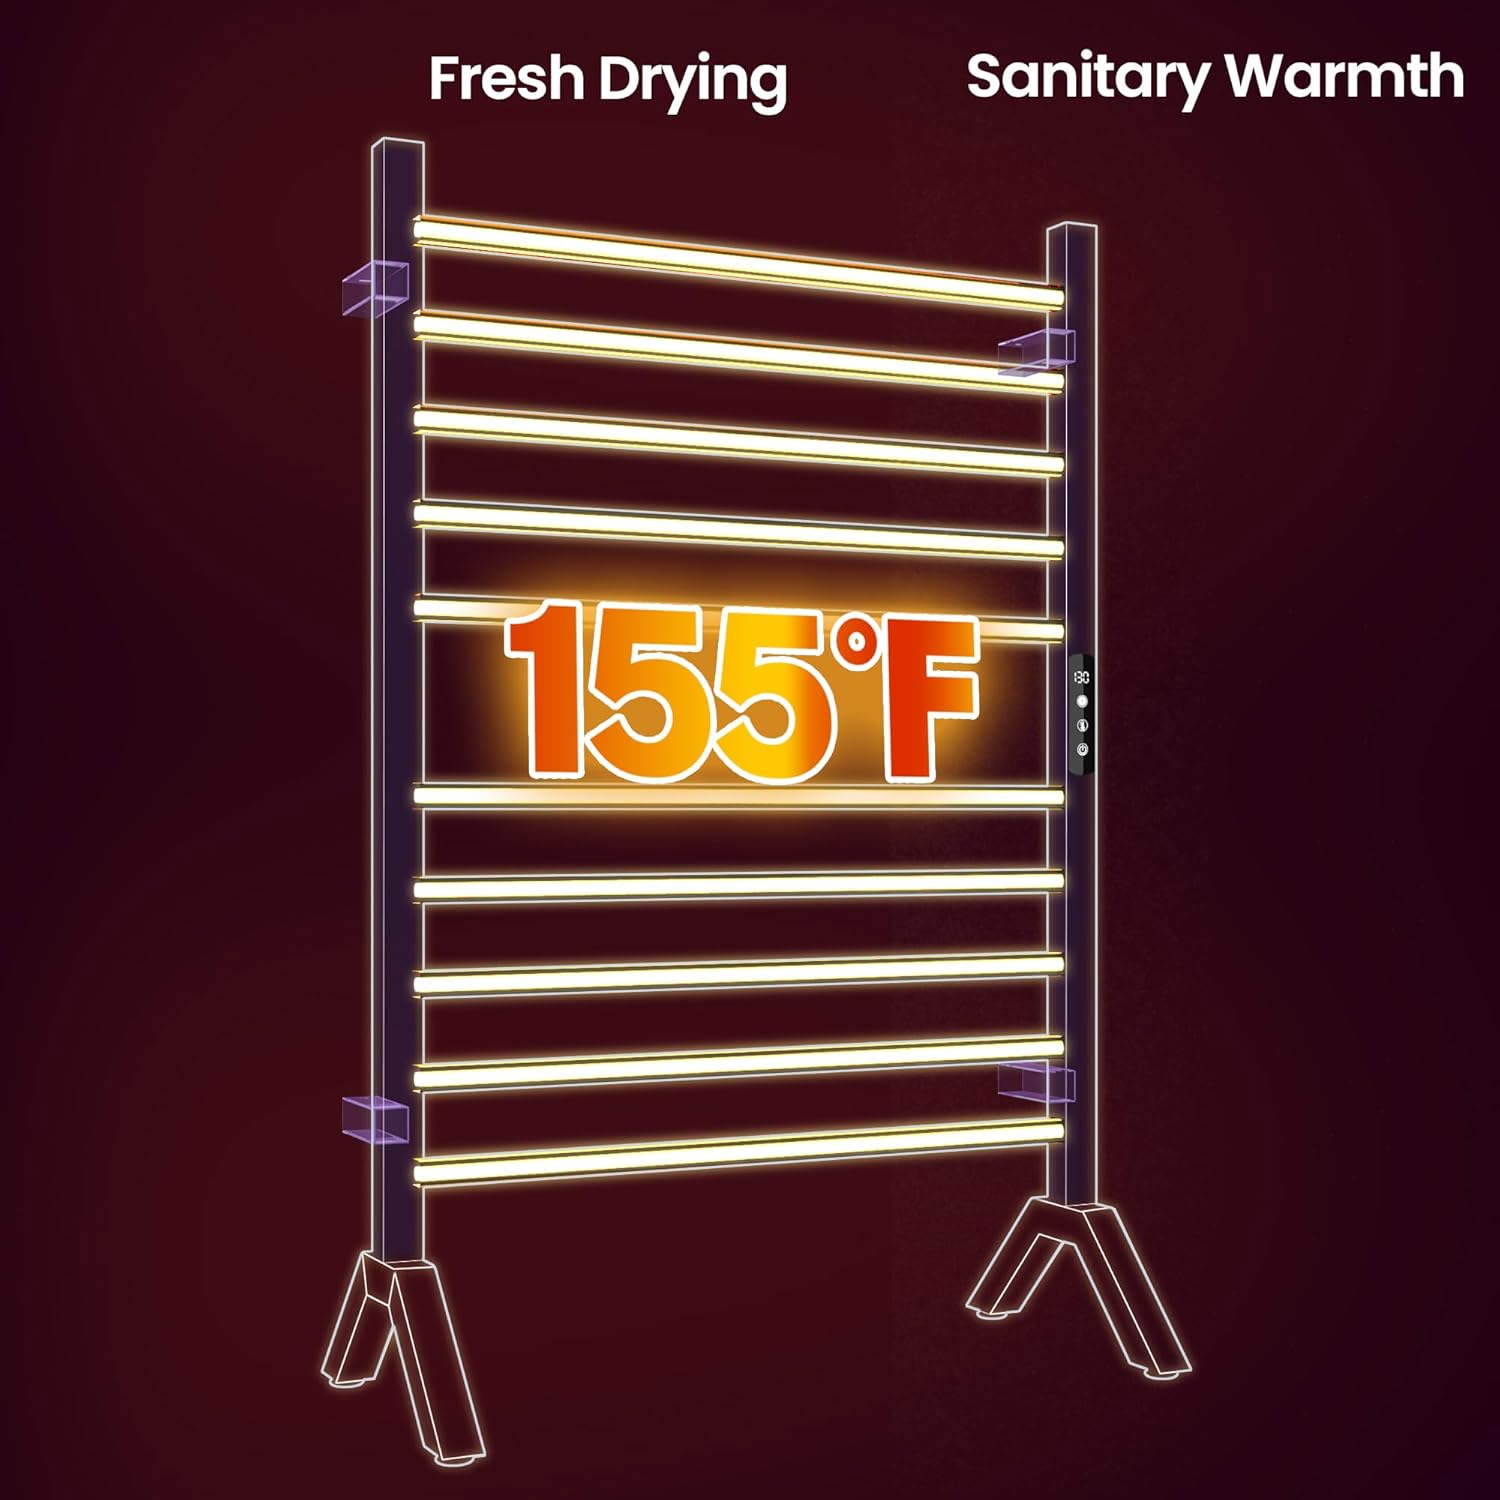
Figure 3: Control Panel with Timer and Temperature Settings
This image highlights the digital control panel integrated into the side of the towel warmer. It features an LED display for clear visibility of settings, along with buttons for adjusting the timer and temperature.
6.1 Power On/Off
- Press the power button (O) once to turn the unit on. The LED display will illuminate.
- Press and hold the power button for a few seconds to turn the unit off.
6.2 Adjusting Temperature
- With the unit powered on, press the temperature button (°F) to cycle through available temperature settings.
- The temperature can be adjusted between 115°F (46°C) and 155°F (68°C).
- The LED display will show the selected temperature.
6.3 Setting the Timer
- Press the timer button (CLOCK ICON) to set the operating duration.
- The timer can be set from 1 to 9 hours. Each press will increase the duration by one hour.
- The LED display will show the remaining operating time.
- Once the set time expires, the towel warmer will automatically turn off.
The towel warmer typically reaches its set temperature within 10-15 minutes. For optimal warmth, place towels on the rack and allow sufficient time for heating.
7. Care and Maintenance
Proper care ensures the longevity and performance of your towel warmer.
- Cleaning: Always unplug the unit before cleaning. Wipe the surface with a soft, damp cloth. Do not use abrasive cleaners, solvents, or harsh chemicals, as these can damage the finish.
- Storage: If storing the towel warmer for an extended period, ensure it is clean, dry, and unplugged. Store it in a cool, dry place.
- Inspection: Regularly inspect the power cord and plug for any signs of damage. If damage is found, discontinue use and contact customer support.

Figure 4: IPX4 Waterproof Rating Detail
This image provides a close-up view of the towel warmer's surface, demonstrating its IPX4 waterproof rating. This rating confirms its resistance to splashing water, making it suitable for bathroom environments.
