1. Introduction
The Testboy Testavit Schuki 6 is a versatile socket tester designed for quick and safe verification of socket wiring and for tripping 30 mA FI/RCD circuit breakers at 230 V AC. Its simple operation and clear 2.0-inch LCD display make it an essential tool for electricians, tradespeople, and anyone needing to ensure electrical installation safety. The robust construction ensures durability for regular use.
This manual provides detailed instructions for the safe and effective use of your Testboy Testavit Schuki 6. Please read it thoroughly before operation.
2. Safety Instructions
- Always ensure the device is in good working condition before use. Do not use if damaged.
- This device is intended for testing standard electrical sockets. Do not use it for purposes other than those specified.
- Observe all local and national safety regulations for electrical work.
- Do not touch the metal contacts of the plug during operation.
- The RCD test function will trip the circuit breaker. Ensure all connected devices can withstand a power interruption.
- If you are unsure about any aspect of electrical testing, consult a qualified electrician.
- Keep the device dry and clean. Do not expose it to extreme temperatures or humidity.
3. Product Overview
The Testboy Testavit Schuki 6 is a compact and robust device designed for ease of use and clear result display.
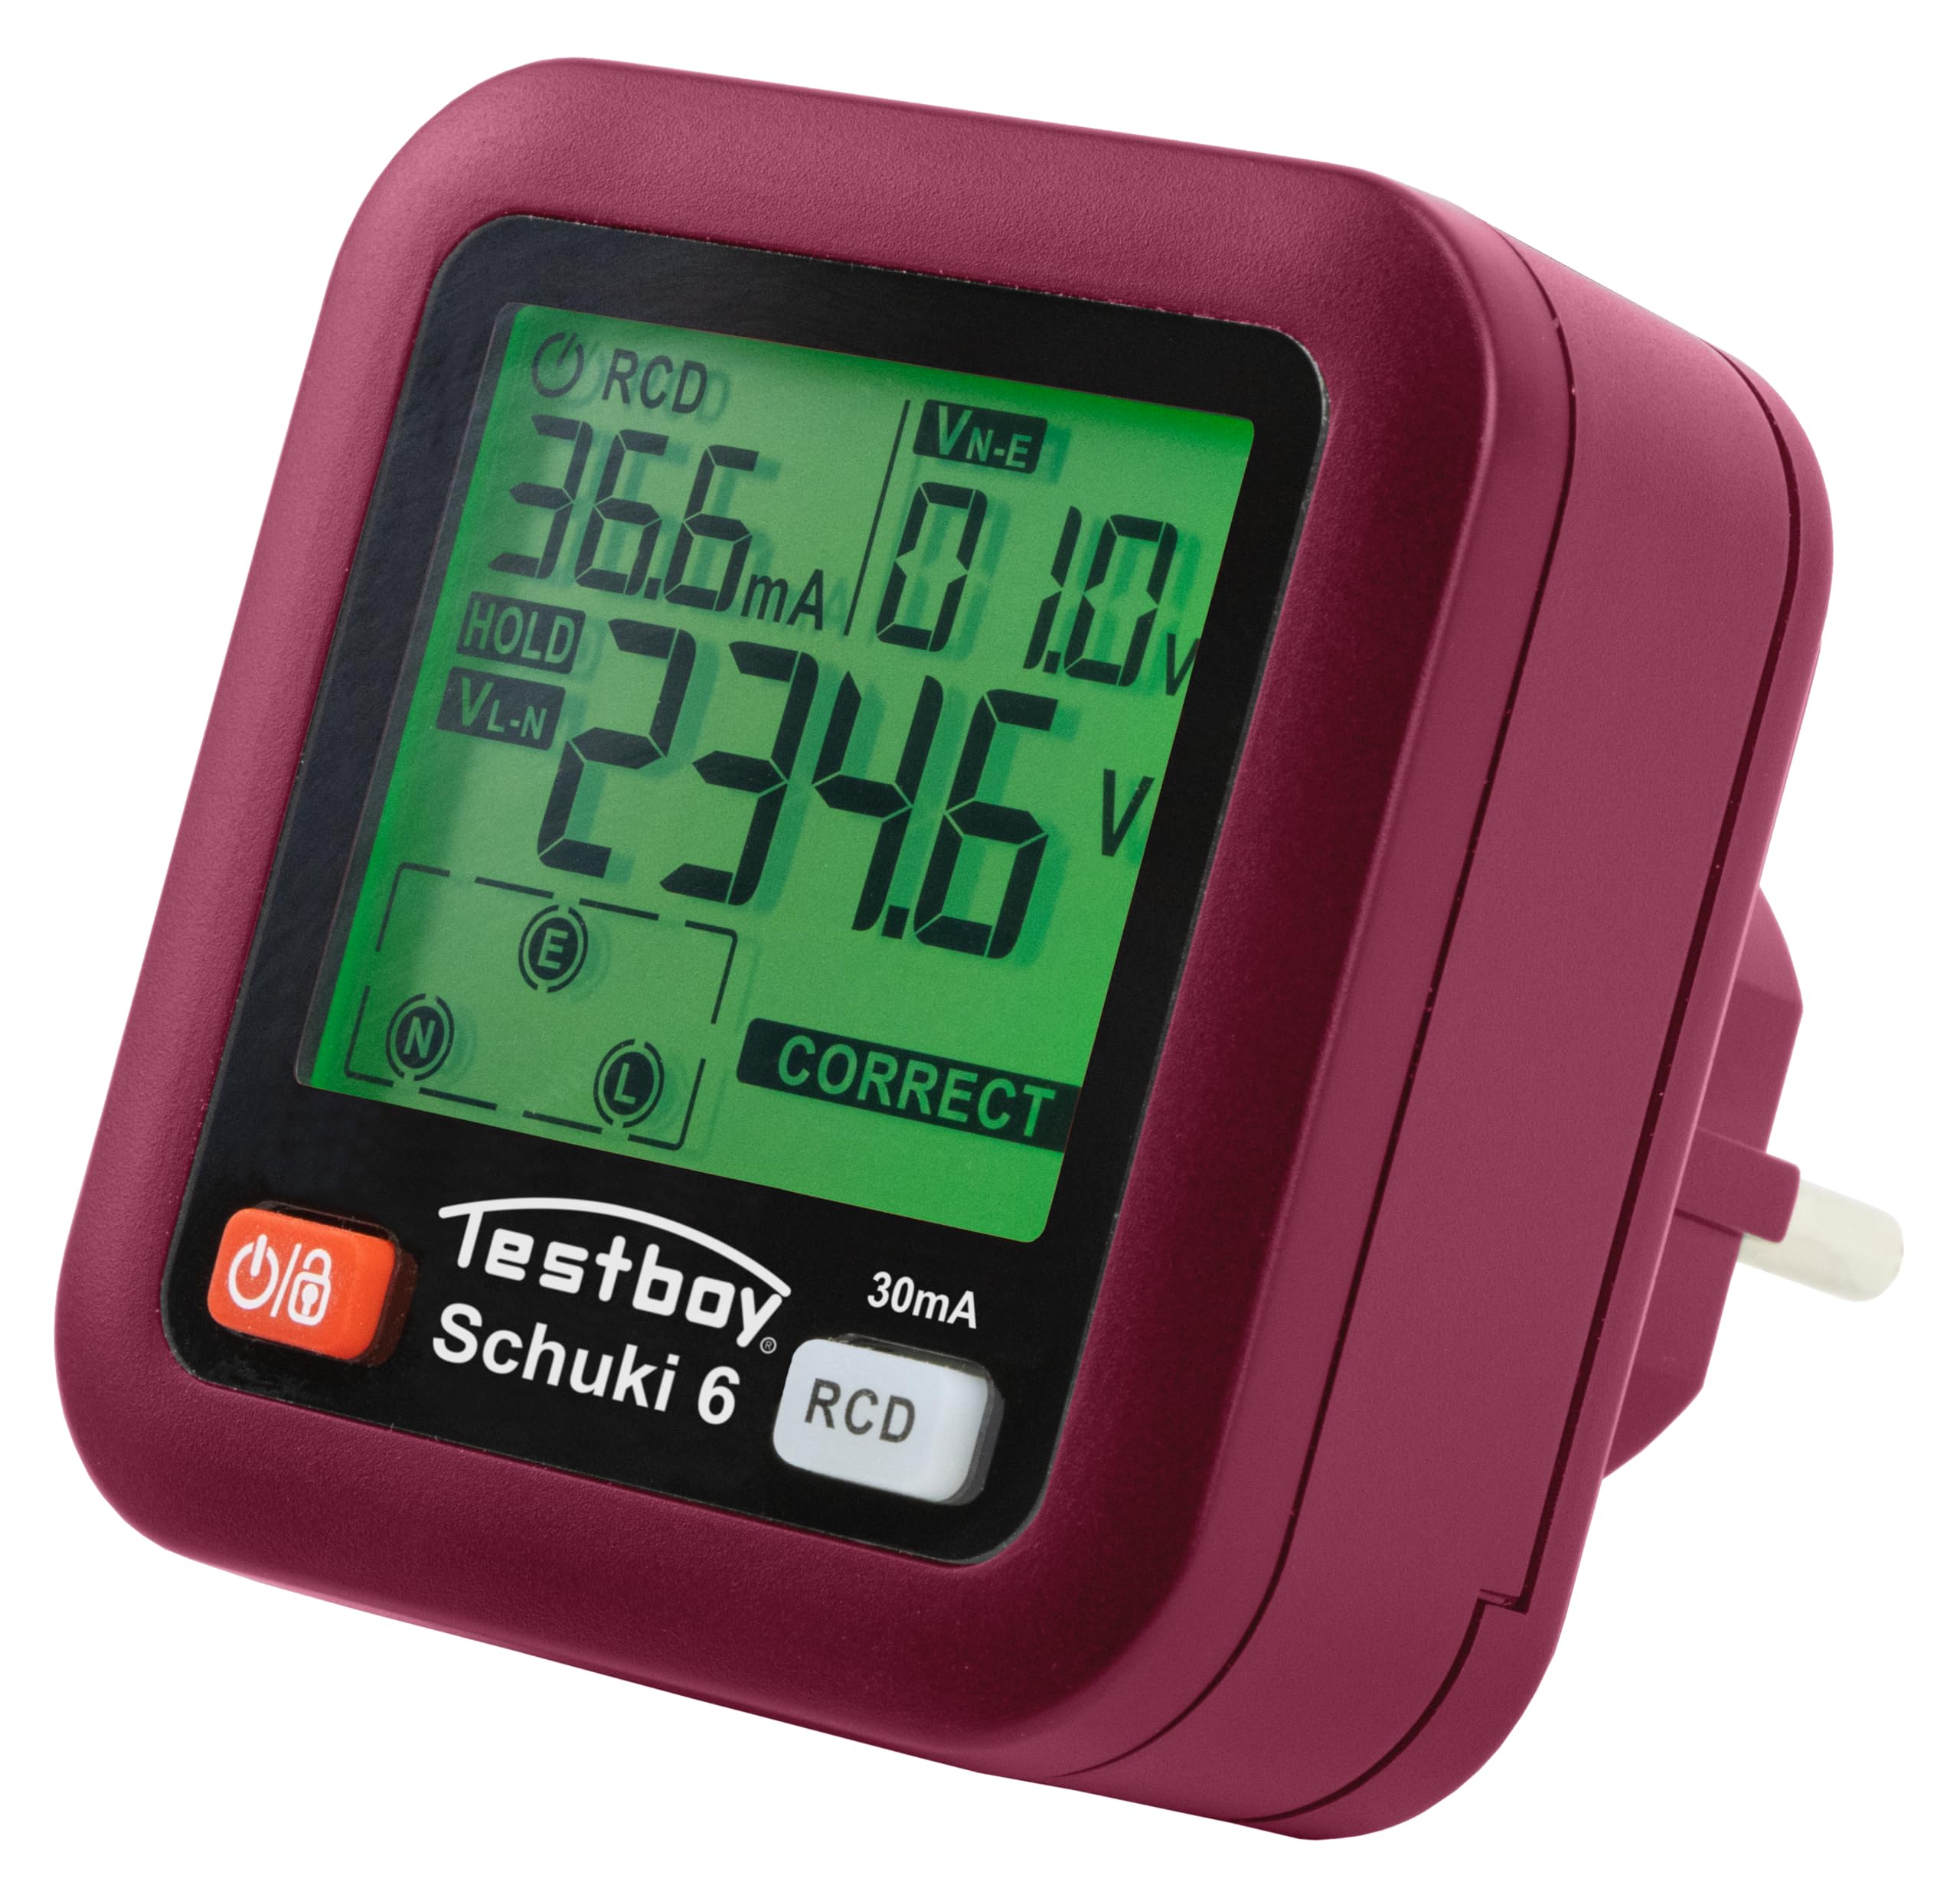
Figure 1: Front view of the Testboy Testavit Schuki 6 Socket Tester.

Figure 2: The Testboy Testavit Schuki 6, showcasing its compact design.
3.1. Device Components

Figure 3: Key components of the Testavit Schuki 6.
- LCD Display: Shows voltage, leakage current, and wiring status.
- Power/Hold Button: Turns the device on/off and holds the current reading.
- RCD Test Button: Initiates the Residual Current Device (RCD) test.
4. Setup
The Testboy Testavit Schuki 6 is ready for use immediately after inserting the batteries. It requires 2x 1.5V AAA batteries (included).
4.1. Battery Installation
- Locate the battery compartment cover on the back of the device.
- Open the cover and insert two 1.5V AAA batteries, observing the correct polarity (+/-).
- Close the battery compartment cover securely.
The device will automatically power on when plugged into a live socket, or can be manually powered on using the Power/Hold button.
5. Operation
5.1. Socket Wiring Check
- Plug the Testboy Testavit Schuki 6 into the socket you wish to test.
- The LCD display will immediately show the voltage and the wiring status.
- Refer to the wiring interpretation table (Figure 4) to understand the displayed status.

Figure 4: Wiring Interpretation Table.
Interpretation of Display:
- L / N / E - CORRECT: All wiring is correct (Live, Neutral, Earth).
- E - OPEN: Earth wire is open or missing.
- N - OPEN: Neutral wire is open or missing.
- ---: Live wire is open or missing.
- L / E - REVERSE: Live and Earth wires are reversed.
- L / N - REVERSE: Live and Neutral wires are reversed.

Figure 5: LCD display showing a 'CORRECT' wiring status.
5.2. RCD (FI) Test Function
The RCD test function checks the functionality of Residual Current Devices (FI/RCD circuit breakers) by simulating a fault current.
- Plug the Testboy Testavit Schuki 6 into the socket protected by the RCD you wish to test.
- Ensure no critical equipment is connected to the circuit, as the RCD test will trip the circuit breaker.
- Press the RCD Test Button (3).
- The RCD should trip within the specified time (10-1000 ms).
- If the RCD does not trip, it indicates a potential fault with the RCD or the electrical installation. Consult a qualified electrician immediately.
- After the test, reset the RCD at your electrical panel.
6. Technical Specifications

Figure 6: Visual representation of Testavit Schuki 6 and its specifications.
| Parameter | Value |
|---|---|
| Model Number | 61610000 |
| Voltage Range | 30 ~ 260 V / 45 ~ 65 Hz (Tolerance: ± (2.0 %+2)) |
| Leakage Voltage (N-PE) | 0 ~ 99 V / 45 ~ 65 Hz (Tolerance: ± (2.0 %+2)) |
| Trip Time | 10 – 1000 ms (Tolerance: ± (2.0 %+4)) |
| Operating Temperature | 0°C ~ 40°C |
| Operating Humidity | 20 % ~ 75 % RH |
| Storage Temperature | -10°C ~ 50°C |
| Storage Humidity | 20 % ~ 80 % RH |
| Altitude | ≤ 2000m |
| RCD Test | >30mA (at 230 V AC) |
| Power Supply | 2x 1.5V AAA batteries |
| Product Dimensions (L x W x H) | 6.6 x 6.5 x 7.5 cm |
| Weight | 210 grams |
| Compliant Specifications | TÜV/GS, IEC/EN |
| Country of Origin | China |
7. Maintenance
7.1. Cleaning
Clean the device with a dry, soft cloth. Do not use abrasive cleaners or solvents. Ensure no moisture enters the device.
7.2. Battery Replacement
When the battery indicator on the LCD shows low power, replace the batteries promptly to ensure accurate readings. Follow the battery installation steps in Section 4.1.
7.3. Storage
Store the device in a cool, dry place, away from direct sunlight and extreme temperatures. If storing for extended periods, remove the batteries to prevent leakage.
8. Troubleshooting
| Problem | Possible Cause | Solution |
|---|---|---|
| Device does not power on when plugged in. | No power in the socket, or dead batteries. | Check the socket with another device. Replace batteries. |
| Incorrect wiring indication (e.g., E-OPEN). | Actual wiring fault in the socket. | Consult a qualified electrician to inspect and repair the wiring. Do not use the socket until repaired. |
| RCD test does not trip the circuit breaker. | Faulty RCD or issue with the electrical circuit. | Do not rely on this RCD for protection. Have a qualified electrician inspect the RCD and circuit immediately. |
| LCD display is dim or flickering. | Low battery power. | Replace the AAA batteries. |
9. Warranty and Support
Testboy products are known for their robustness and longevity. For warranty information and technical support, please refer to the documentation provided with your purchase or visit the official Testboy website. Keep your proof of purchase for warranty claims.


