Introduction
Thank you for choosing the Raysfung 10x13FT Outdoor Wall-Mounted Hardtop Gazebo. This gazebo features a durable aluminum frame, a polycarbonate roof, and includes curtains for enhanced comfort and privacy. This manual provides essential information for the safe and correct assembly, operation, and maintenance of your new gazebo. Please read all instructions carefully before beginning assembly and retain this manual for future reference.
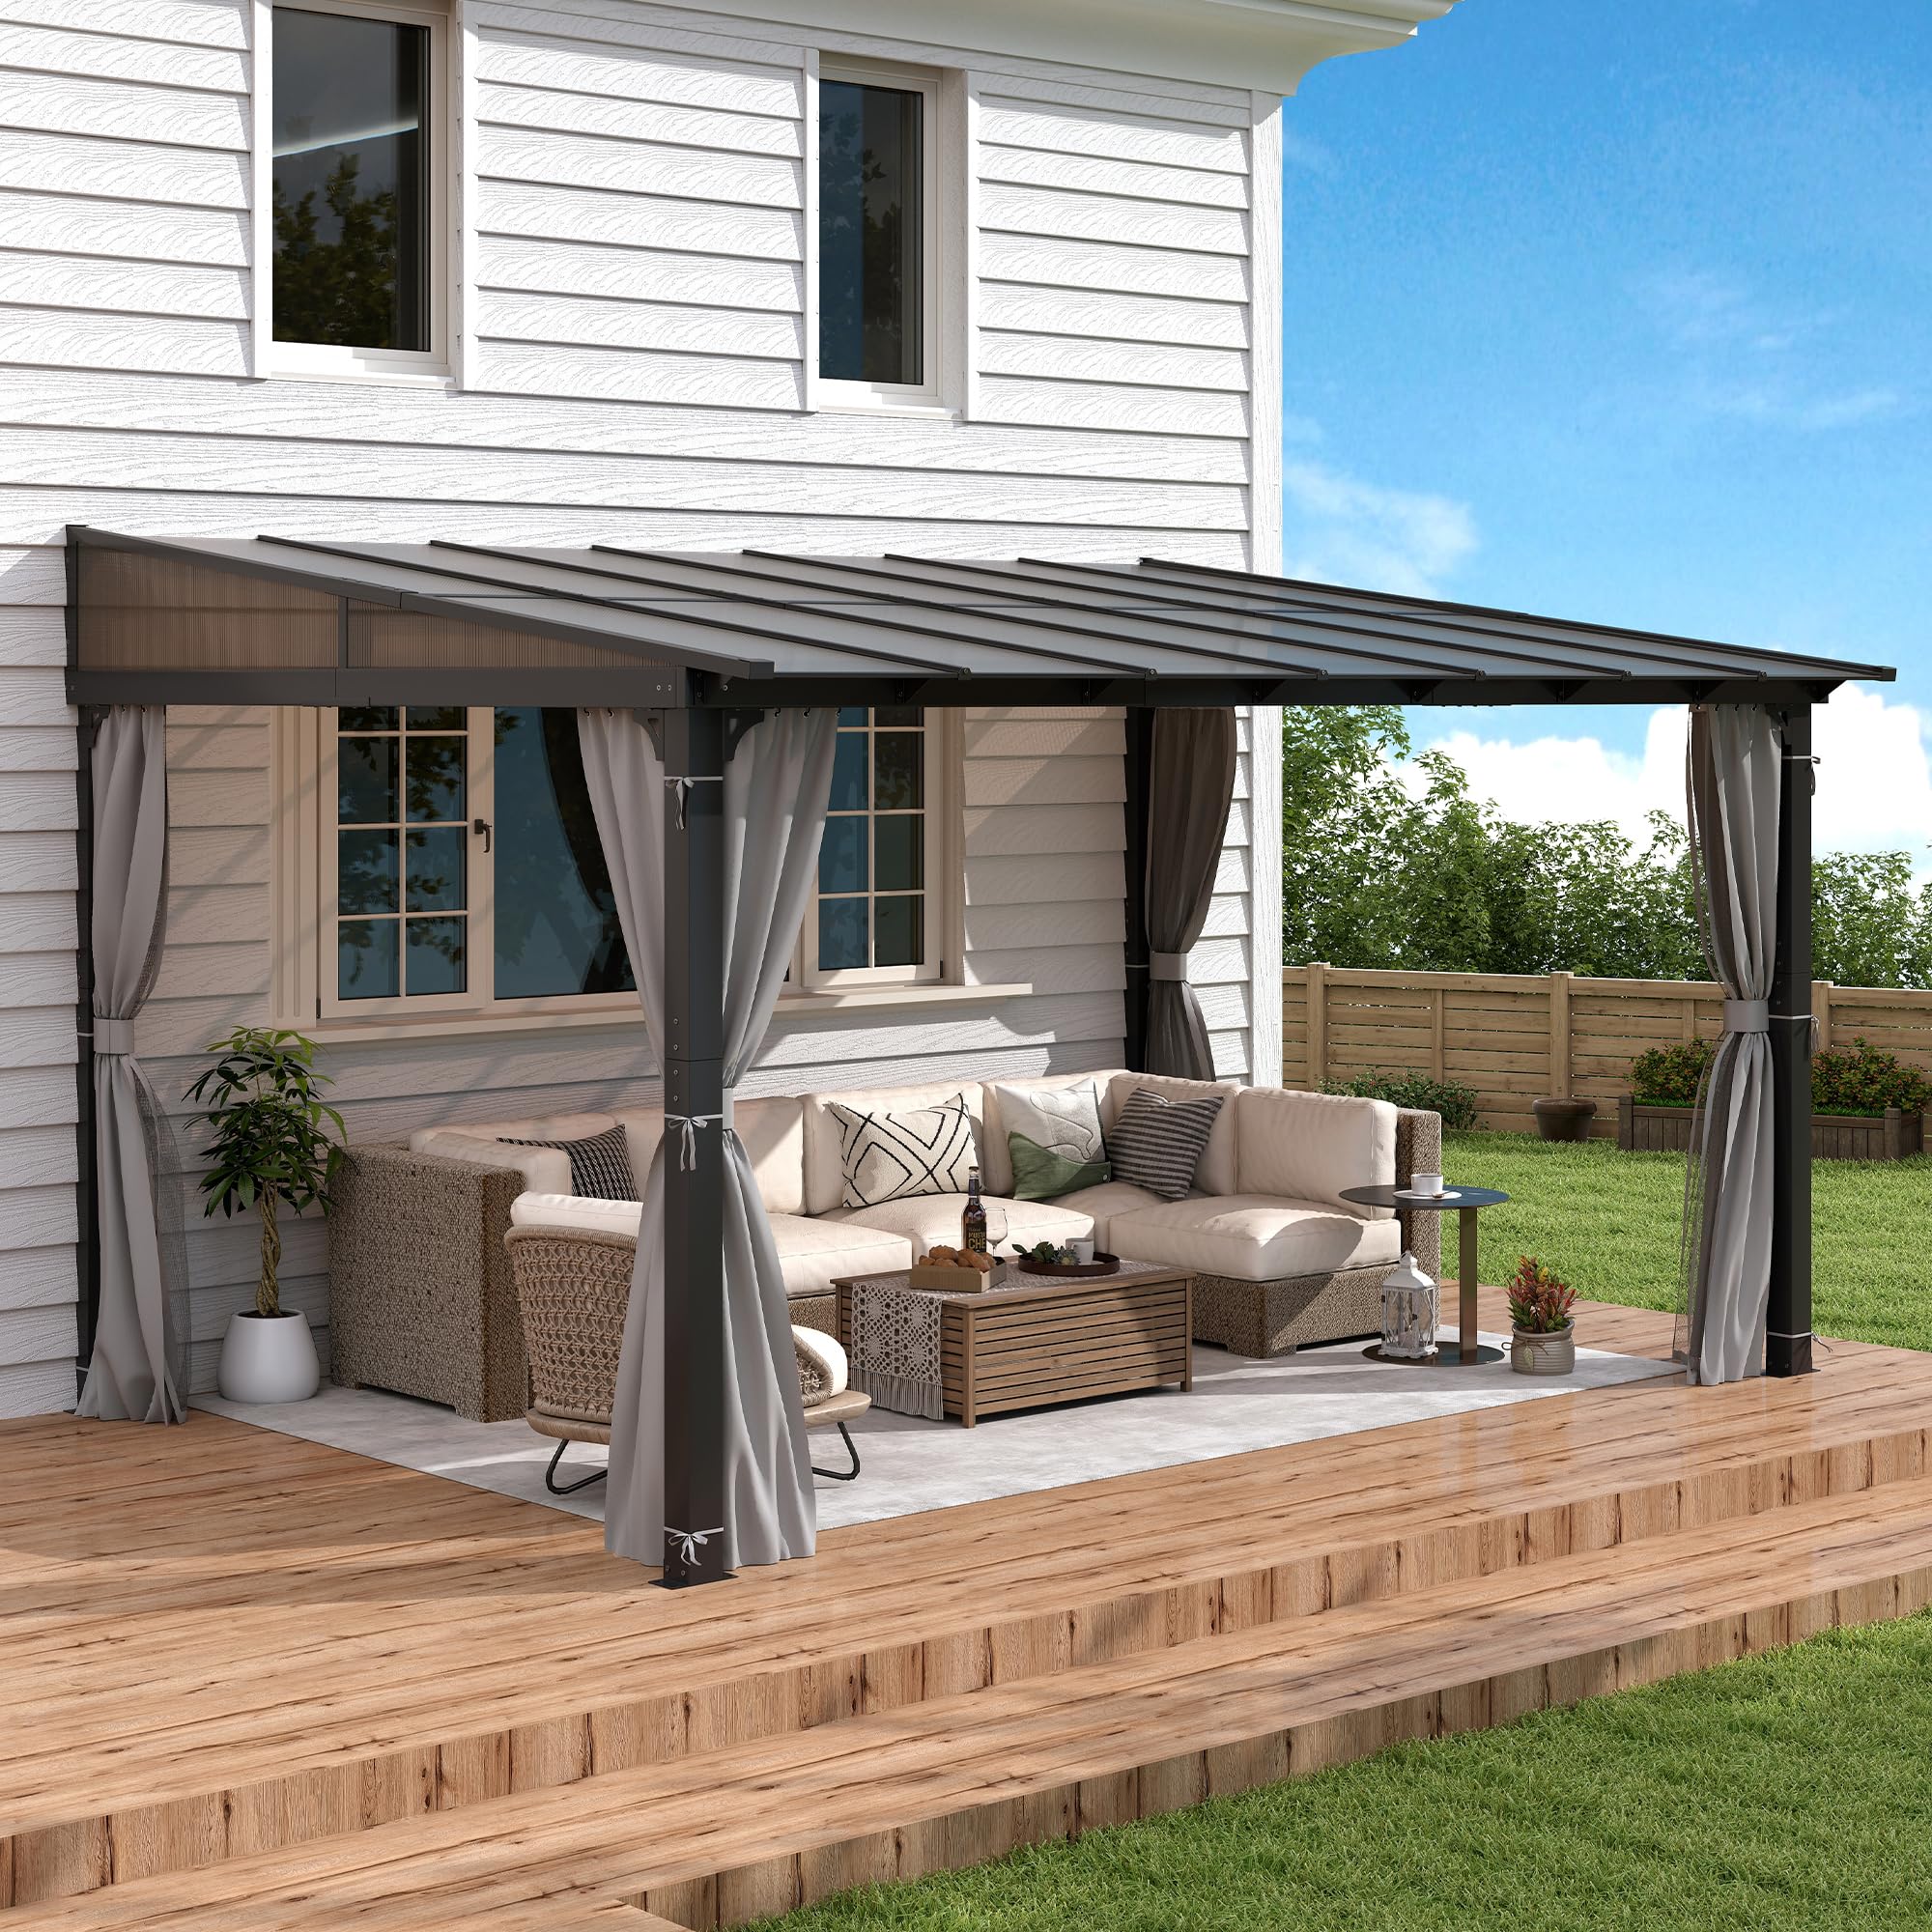
Image: The Raysfung 10x13FT Wall-Mounted Hardtop Gazebo, showcasing its overall design, dimensions, and included curtains. The image highlights the spacious area created by the gazebo, suitable for outdoor furniture and relaxation.
Important Safety Information
- Securely mount the gazebo to a stable wall or structure using appropriate hardware.
- Do not exceed the weight limit of 146.9 pounds on the structure.
- Exercise caution during assembly and disassembly to prevent injury. It is recommended to have multiple people for assembly.
- Ensure all bolts and fasteners are tightened securely before use and periodically check for looseness.
- Clear snow accumulation from the roof to prevent structural damage, especially in heavy snowfall areas.
- In strong winds, consider removing curtains and netting to reduce wind resistance.
Package Contents
Your Raysfung gazebo will arrive in multiple boxes. Please verify all parts are present and undamaged before beginning assembly. Refer to the detailed parts list in the included printed instruction manual for specific component identification.
- Aluminum Frame Components (posts, beams, supports)
- Polycarbonate Roof Panels
- Detachable Nettings and Curtains
- Assembly Hardware (screws, bolts, washers, nuts, caps, wrenches, allen keys, expansion bolts)
- Installation Instructions Manual
Setup and Assembly
Assembly typically requires 2-5 hours with 2-3 people. Ensure you have adequate space and the necessary tools (e.g., drill, ladder) before starting.
Step 1: Prepare the Frame
Begin by laying out all aluminum frame components. Connect the main posts and beams according to the provided diagrams in your printed manual. Ensure all connections are finger-tight initially to allow for adjustments.

Image: A detailed view of the gazebo's reinforced aluminum frame, highlighting the thickened aluminum frame and durable aluminum posts designed for long-term stability and rust resistance.
Step 2: Wall Mounting and Anchoring
Position the gazebo against the desired wall. Secure the wall-mounted side of the frame to a stable structure using the provided wall mounting hardware and expansion bolts. Anchor the freestanding posts to the ground using the stable anchoring plates and appropriate screws/bolts for your surface (e.g., wood deck, concrete patio).

Image: This image illustrates the wall mounting hardware for secure attachment to a house or building, along with the stable anchoring plates for the freestanding posts, ensuring the gazebo's robust installation.
Step 3: Install Roof Panels
Carefully slide the polycarbonate roof panels into the designated channels on the frame. Ensure they are properly seated and secured to prevent leaks. The sloping design facilitates water drainage.

Image: A close-up of the polycarbonate roof, highlighting its anti-UV, waterproof, and sturdy design. The image shows the corrugated structure of the panels, which allows for efficient water runoff.
Step 4: Attach Nettings and Curtains
Hang the detachable nettings and curtains onto the double track system. The nettings provide ventilation and insect protection, while the curtains offer privacy and additional shade. Secure them with the Velcro straps as needed.

Image: This image details the detachable nettings with smooth zippers and privacy curtains with Velcro straps, both integrated into a double track system for easy adjustment and enhanced outdoor comfort.
Assembly Videos
For a visual guide to the assembly process, please refer to the following official seller videos:
Video: This video provides a comprehensive step-by-step guide for assembling the RTDTD Outdoor Gazebo, demonstrating the connection of frame components and roof panels.
Video: This video illustrates the assembly process for a Hardtop Lean-to Gazebo, focusing on the construction of the frame and the installation of the roof panels.
Operating Your Gazebo
Your Raysfung gazebo is designed for versatile outdoor use, providing shade, privacy, and protection from various weather conditions.
- Shade and UV Protection: The polycarbonate roof offers ample shade and blocks harmful UV rays, making your patio, garden, or deck a comfortable retreat.
- Weather Resistance: The hardtop roof and aluminum frame are designed to withstand sunny, rainy, and snowy conditions, ensuring year-round usability.
- Ventilation and Privacy: Utilize the detachable nettings to maintain good ventilation while keeping insects out. Close the curtains for added privacy or to block direct sunlight.

Image: This image demonstrates the gazebo's resilience in various weather conditions, including sunny, rainy, and snowy environments, highlighting its robust construction and protective features.
Product in Use
Video: This video showcases the installed wall-mounted gazebo, providing a serene view of a patio setup with outdoor furniture, perfect for enjoying coffee and sunsets.
Video: This video demonstrates the gazebo's effectiveness during rainy weather, showing how the roof channels water away, allowing users to comfortably relax outdoors even when it rains.
Maintenance
- Cleaning the Frame: Wipe the aluminum frame with a damp cloth and mild soap. Avoid abrasive cleaners that could damage the finish.
- Cleaning the Roof Panels: Gently clean polycarbonate panels with water and a soft cloth. Do not use harsh chemicals or stiff brushes, as these can scratch the surface.
- Curtains and Nettings: Detach and machine wash the curtains and nettings on a gentle cycle with cold water. Air dry to prevent shrinkage or damage.
- Seasonal Checks: Periodically inspect all bolts, screws, and connections to ensure they remain tight. Clear any debris, leaves, or snow from the roof regularly.
Troubleshooting
- Water Leaks: Check that all roof panels are correctly installed and sealed. Ensure all frame connections are tight. Verify the roof's slope is clear of obstructions for proper drainage.
- Instability: Confirm that the gazebo is securely mounted to the wall and all freestanding posts are properly anchored to the ground. Re-tighten any loose bolts.
- Curtains/Nettings Not Sliding Smoothly: Inspect the double track for any obstructions or damage. Clean the tracks and ensure the hooks are properly aligned.
- Difficulty During Assembly: Refer to the detailed diagrams and step-by-step instructions in your printed manual. Ensure all parts are correctly identified and oriented. Do not overtighten screws until all components are in place.
Specifications
| Brand | Raysfung |
| Model Number | BPYWM24G057-1 |
| Product Dimensions | 157.44"L x 116.16"W x 89.76"H (10'x13' footprint) |
| Item Weight | 146.9 Pounds |
| Frame Material | Aluminum |
| Roof Material | Polycarbonate |
| Water Resistance Level | Waterproof |
| Ultraviolet Light Protection | Yes |
| Assembly Required | Yes |
| Color | Brown |
Warranty and Support
For any questions regarding your Raysfung gazebo, including missing parts, assembly assistance, or warranty claims, please contact Raysfung customer service. Refer to your purchase documentation for specific warranty details and contact information.


