1. Introduction
This manual provides essential information for the installation, operation, and maintenance of your Crucial P510 Gen5 NVMe Solid State Drive. The Crucial P510 is designed to deliver high-speed performance for both laptops and desktops, enhancing system responsiveness and reducing load times.
Key features of the Crucial P510 SSD include:
- Serious Speed: Experience read/write speeds up to 11,000/9,500MB/s, significantly reducing load times.
- Gen5 Compatibility: Designed for easy installation and flexible use in Gen5 compatible laptops and desktops.
- Power Efficiency: Engineered with power-efficient architecture, consuming nearly 25% less power than previous Gen5 SSDs, which can support battery life in portable devices.
- Micron Quality: Built with Micron G9 NAND, ensuring reliable performance and durability.
- Seamless Upgrades: Includes Acronis True Image for Crucial software to facilitate easy data migration from old drives.

Image 1.1: The Crucial P510 Gen5 NVMe SSD, a high-performance internal solid state drive.
2. Safety Information
Please read and follow these safety guidelines to prevent damage to your device and ensure personal safety:
- Always power off your computer and disconnect it from the power source before installing or removing any internal components.
- Discharge any static electricity from your body by touching a grounded metal object (e.g., the computer chassis) before handling the SSD.
- Handle the SSD by its edges to avoid touching the gold connectors or components.
- Keep the SSD away from liquids and extreme temperatures.
- If you are unsure about any installation steps, consult a qualified technician.
3. What's in the Box
Your Crucial P510 Gen5 NVMe SSD package typically includes:
- Crucial P510 Internal SSD (2TB, M.2 2280 form factor)
- Documentation (Quick Start Guide, Warranty Information)
Note: Additional accessories such as mounting screws or heatsinks may be included depending on the specific product variant or retailer.
4. Installation and Setup
4.1. System Requirements
- An available M.2 slot (M-key, PCIe Gen5 x4 recommended for full performance). The drive is backward compatible with Gen4 and Gen3 M.2 slots, but performance will be limited to the maximum speed of the older generation slot.
- Compatible operating system: Windows, macOS, Linux.
4.2. Physical Installation
- Prepare Your System: Power off your computer and disconnect all cables. Open the computer case according to your system's manufacturer instructions.
- Locate M.2 Slot: Identify an available M.2 slot on your motherboard. It is typically labeled and may have a small screw stand-off.
- Insert the SSD: Gently slide the Crucial P510 SSD into the M.2 slot at a 30-degree angle. Ensure the gold connectors are fully seated.
- Secure the SSD: Push the SSD down until it is parallel with the motherboard. Secure it with the small screw provided with your motherboard or computer chassis.
- Close Case: Reassemble your computer case and reconnect all cables.

Image 4.1: Demonstrates the physical installation of an M.2 SSD into a laptop's internal slot.
4.3. Software Setup (Windows)
- Boot Your Computer: Start your computer. The operating system should detect the new hardware.
- Initialize Disk: Open Disk Management (Right-click Start button > Disk Management). You should see the new SSD listed as 'Unallocated Space'. Right-click on the disk and select 'Initialize Disk'. Choose GPT (GUID Partition Table) for modern systems.
- Create New Simple Volume: Right-click on the 'Unallocated Space' on your new SSD and select 'New Simple Volume'. Follow the wizard to create a new partition, assign a drive letter, and format it (NTFS recommended).
- Data Migration (Optional): If you intend to migrate your operating system or data from an old drive, use the included Acronis True Image for Crucial software. Download and register the software from the Crucial website following the instructions provided with your product.
5. Operating Instructions
Once installed and formatted, your Crucial P510 SSD operates like any other storage drive. Its high-speed capabilities will be automatically utilized by your operating system and applications.
- For Operating System: If the SSD is your boot drive, your system will start faster, and applications will load more quickly.
- For Data Storage: If used as a secondary drive, you will experience rapid file transfers and quick access to stored data.
- Gaming and Applications: Games and demanding applications installed on the P510 will benefit from reduced loading times and smoother performance.
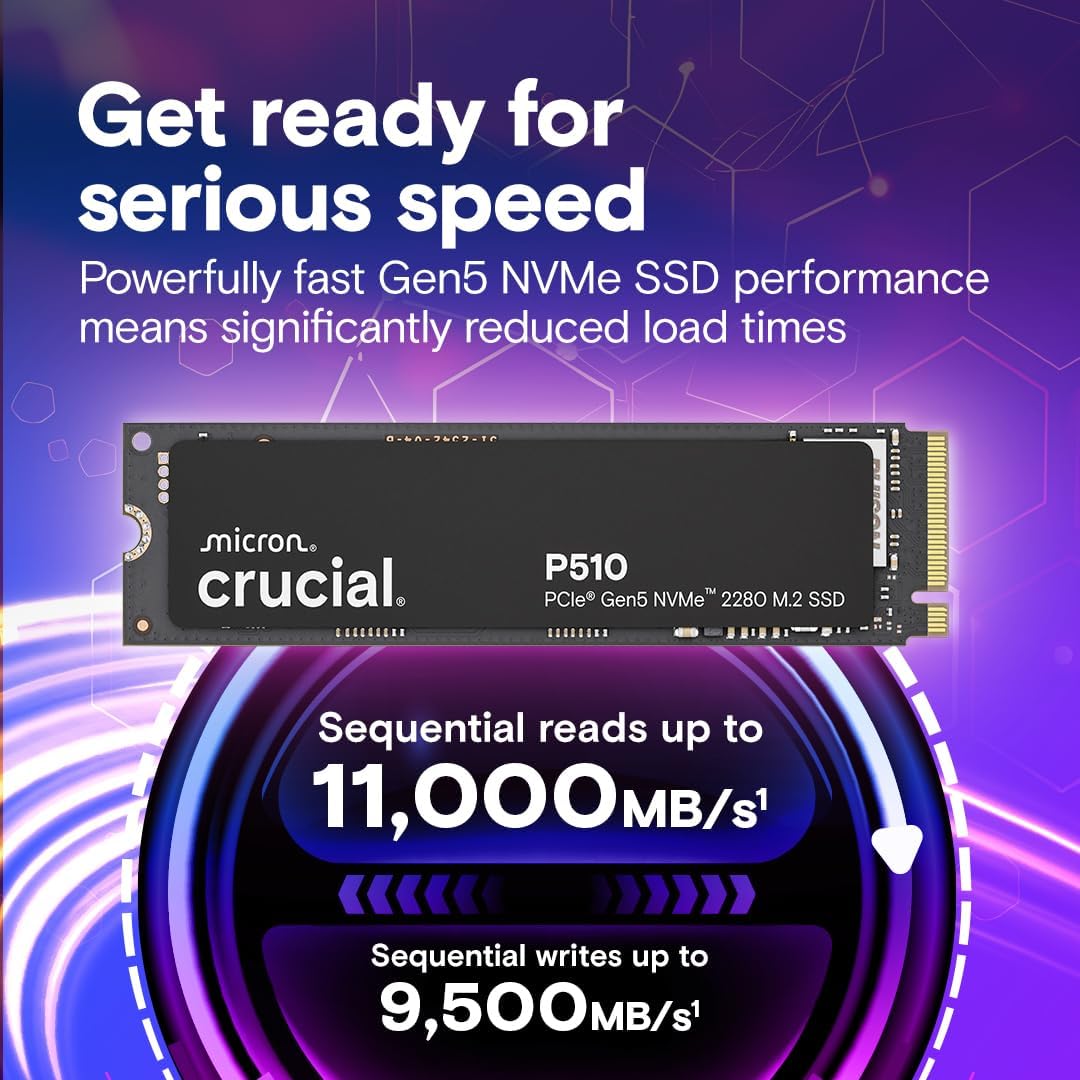
Image 5.1: Visual representation of the high sequential read and write speeds of the Crucial P510 SSD.
6. Maintenance
Solid State Drives require minimal maintenance compared to traditional hard drives. Follow these guidelines to ensure optimal performance and longevity:
- Keep Drivers Updated: Ensure your motherboard's chipset drivers and NVMe drivers are up to date. Check your motherboard manufacturer's website for the latest versions.
- Operating System Optimization: Modern operating systems (Windows 10/11, recent macOS, Linux kernels) are optimized for SSDs and handle TRIM commands automatically. Ensure this feature is enabled.
- Monitor SSD Health: Use Crucial's Storage Executive software or other third-party tools to monitor the health and temperature of your SSD.
- Avoid Full Capacity: While not strictly necessary, it is generally recommended to avoid filling an SSD to its absolute maximum capacity to maintain optimal performance.
7. Troubleshooting
7.1. SSD Not Detected
- Check Physical Connection: Ensure the SSD is fully seated in the M.2 slot and secured properly.
- BIOS/UEFI Settings: Enter your system's BIOS/UEFI settings. Verify that the M.2 slot is enabled and configured correctly (e.g., PCIe mode).
- Driver Issues: Ensure your operating system has the necessary NVMe drivers. For new installations, these are usually included.
- Initialize and Format: If detected in BIOS but not in the OS, ensure the drive is initialized and formatted in Disk Management (Windows) or Disk Utility (macOS).
7.2. Slow Performance
- M.2 Slot Compatibility: Confirm your M.2 slot supports PCIe Gen5 x4. If it's a Gen4 or Gen3 slot, the SSD will operate at the maximum speed of that generation.
- System Configuration: Ensure your system's BIOS/UEFI is set to use the M.2 slot in PCIe mode, not SATA mode if it's a shared slot.
- Drivers: Update your motherboard chipset and NVMe drivers.
- Thermal Throttling: High temperatures can cause performance degradation. Ensure adequate airflow in your system. If your motherboard has an M.2 heatsink, ensure it is properly installed.
7.3. Data Migration Issues
- Acronis Software: Refer to the Acronis True Image for Crucial documentation for detailed instructions and troubleshooting specific to the software.
- Source Drive Health: Ensure the source drive is healthy and free of errors before attempting migration.
8. Specifications
| Feature | Specification |
|---|---|
| Brand | Crucial |
| Series | P510 |
| Model Number | CT2000P510SSD8-01 |
| Digital Storage Capacity | 2 TB |
| Hard Disk Interface | Solid State |
| Connectivity Technology | NVMe |
| Form Factor | M.2 2280 |
| Sequential Read Speed | Up to 11,000 MB/s |
| Sequential Write Speed | Up to 9,500 MB/s |
| Hardware Platform | Linux, Mac OS X, Windows |
| Compatible Devices | Desktop, Gaming Console, Laptop, Workstation |
| Item Weight | 0.229 ounces |
| Product Dimensions | 3.1 x 0.86 x 0.09 inches |
9. Warranty Information
The Crucial P510 Gen5 NVMe SSD is backed by a 5-year limited warranty. This warranty covers defects in materials and workmanship under normal use. For full details regarding warranty terms, conditions, and limitations, please refer to the official Crucial website or the warranty documentation included with your product.
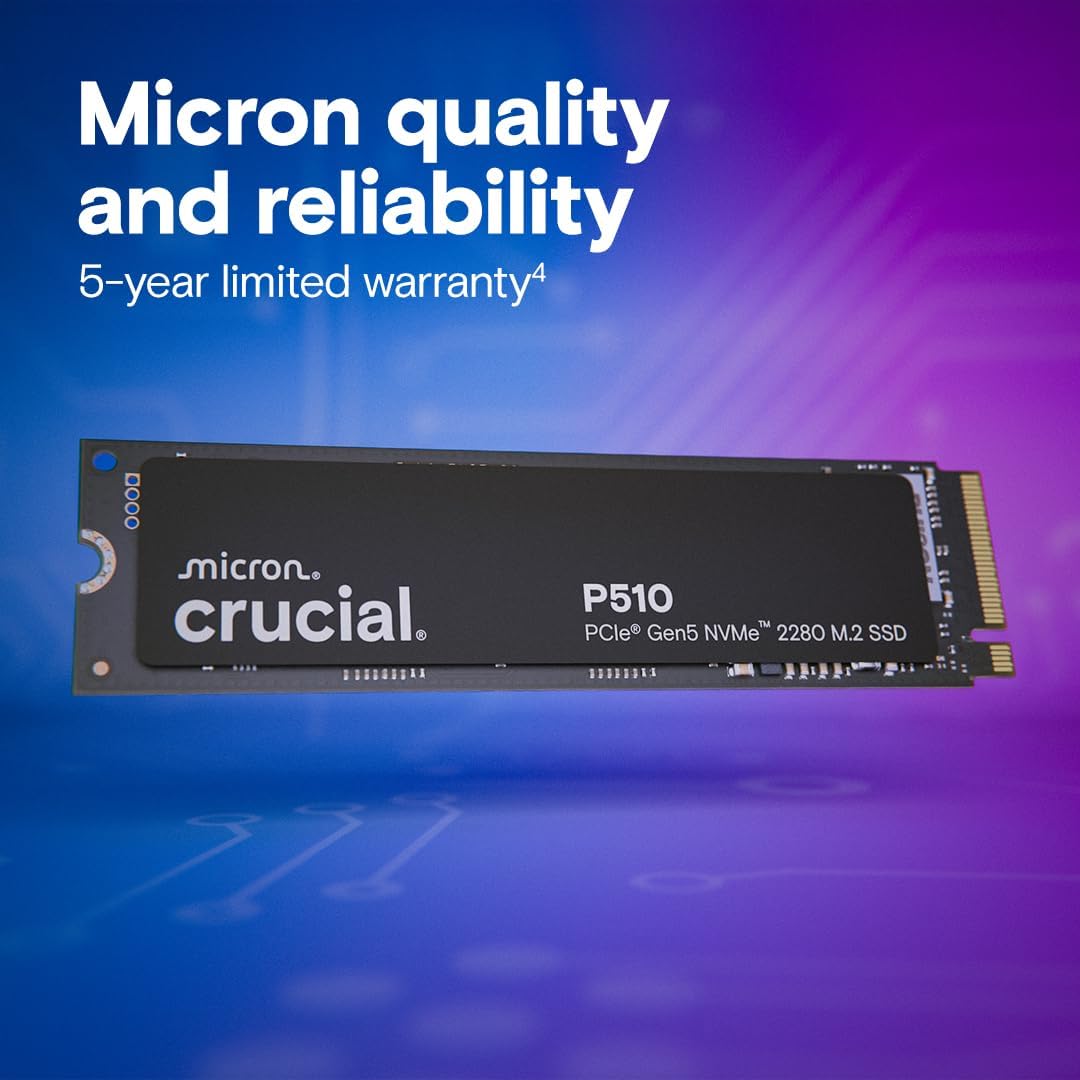
Image 9.1: A close-up view of the Crucial P510 SSD, highlighting its Micron branding and quality.
10. Customer Support
For further assistance, technical support, or to access additional resources, please visit the official Crucial support website:
You can find FAQs, driver downloads, and contact information for customer service on their website.


