1. Product Overview
This manual provides instructions for the installation, operation, and maintenance of your Generic Luxury Crystal LED Ceiling Light, model HZAIQHOOB-CHROMEFRAME-R60CM. This modern plafonnier LED lighting fixture features sparkling K9 crystals and a chrome frame, designed to enhance the ambiance of living rooms, bedrooms, dining rooms, and other indoor spaces.
The fixture is equipped with E14 bulbs (included) and offers dimmable 3-color light functionality, providing versatile lighting solutions. Its energy-efficient LED design ensures a long lifespan and reliable illumination.
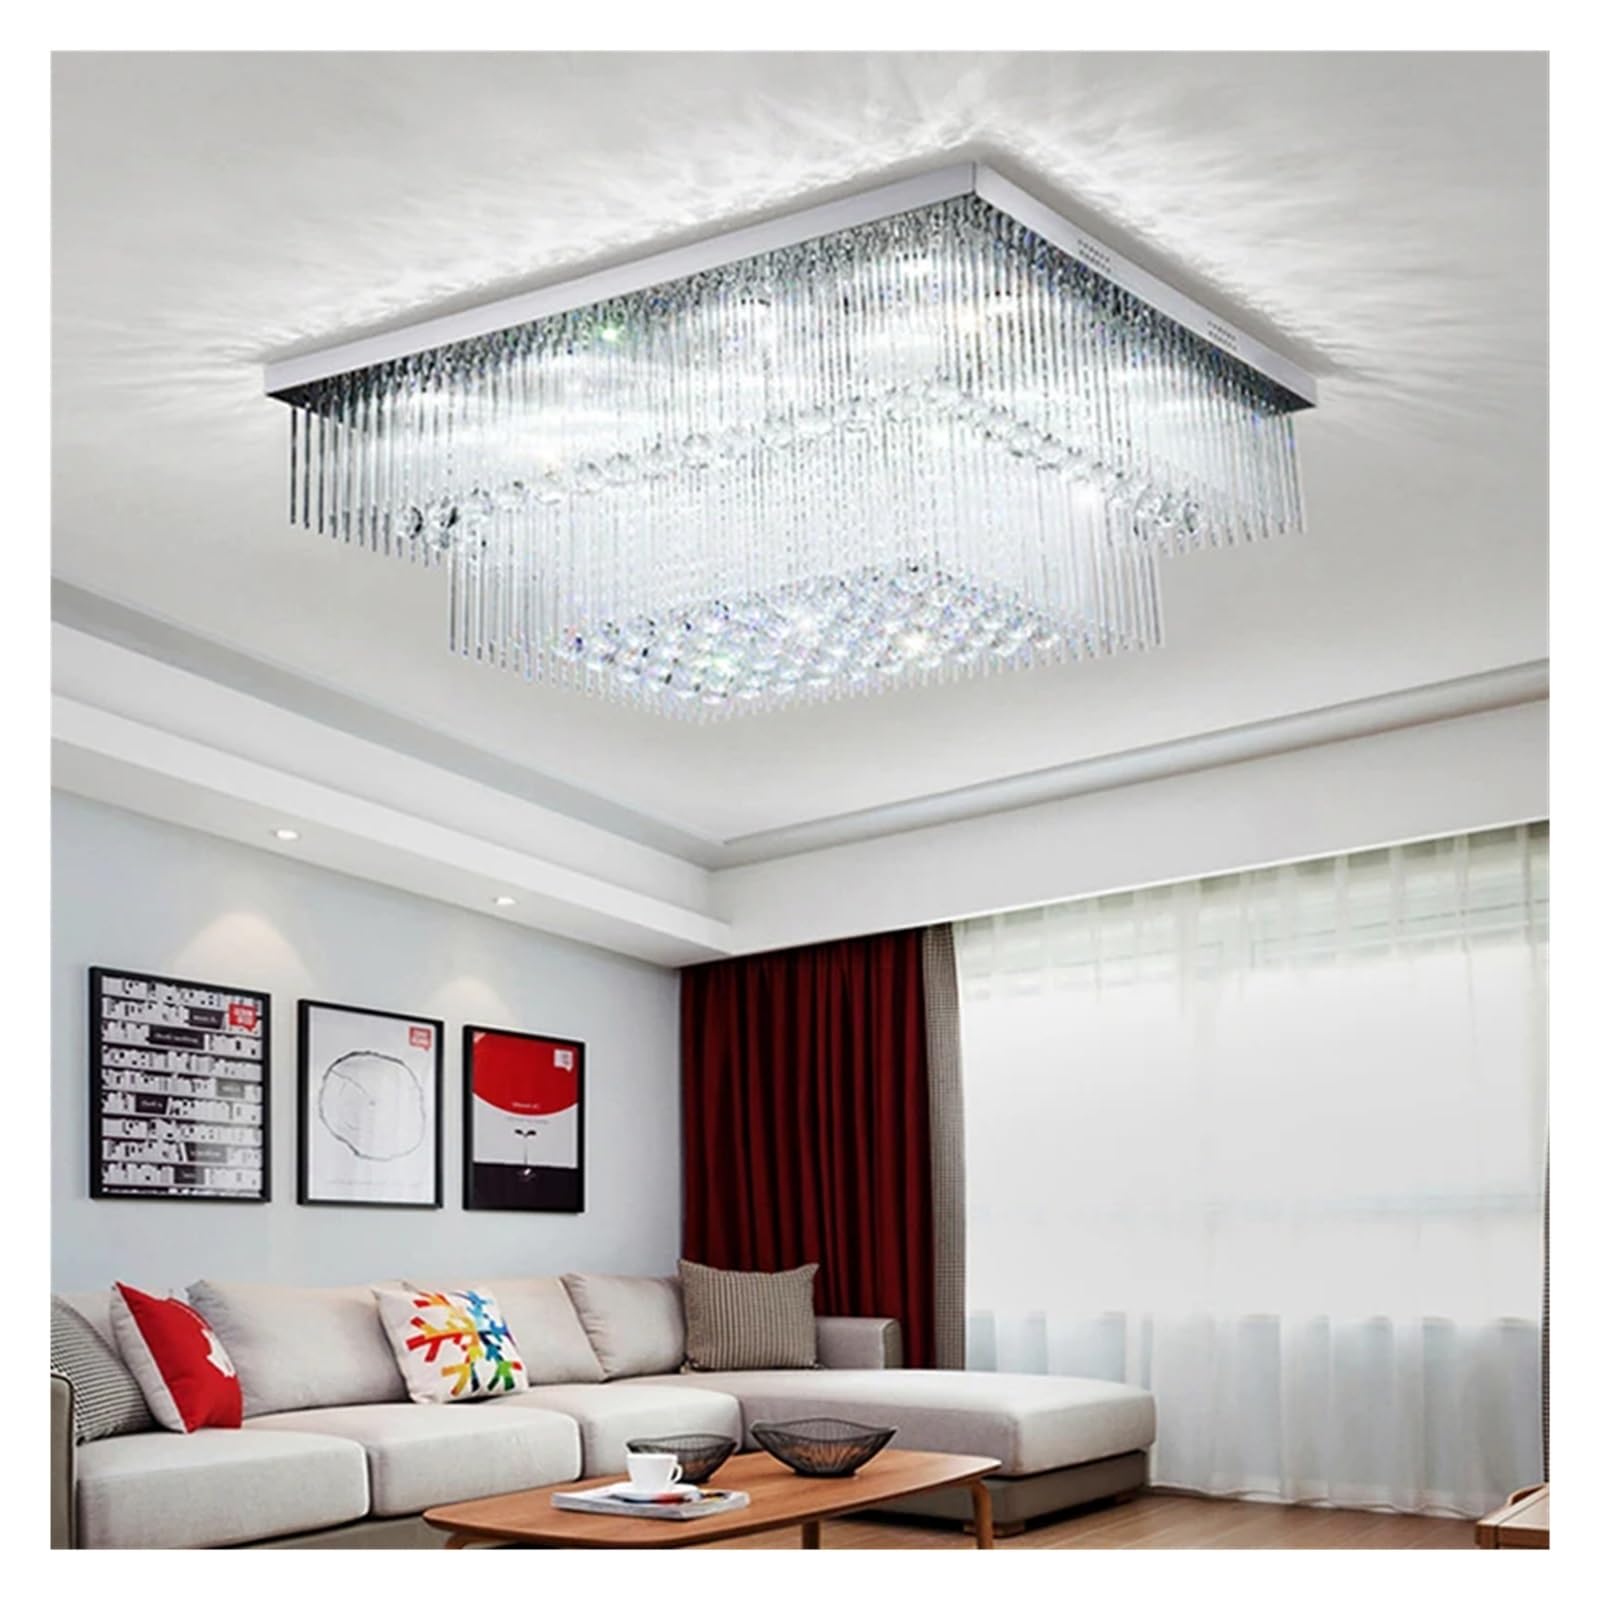
Image 1.1: Generic Luxury Crystal LED Ceiling Light (R60cm) with Chrome Frame.
2. Safety Information
Please read all safety instructions carefully before installation and use. Failure to follow these instructions may result in electric shock, fire, or other hazards.
- WARNING: Risk of electric shock. Disconnect power at the fuse box or circuit breaker before installation or servicing.
- This product must be installed in accordance with the applicable installation code by a person familiar with the construction and operation of the product and the hazards involved.
- Ensure the supply voltage is AC90-260V, as specified for this fixture.
- Do not install this fixture in wet or damp locations. It is designed for indoor use only.
- Handle crystal components with care to prevent breakage.
- Ensure all connections are secure and properly insulated.
- Do not exceed the maximum wattage for the bulbs. This fixture uses E14 bulbs.
3. Package Contents
Verify that all components are present and undamaged before beginning installation. If any parts are missing or damaged, contact your retailer.
- Crystal LED Ceiling Light Fixture (Chrome Frame, R60cm)
- E14 Bulbs (Quantity as required for the fixture)
- Mounting Hardware (screws, wire nuts, etc.)
- Instruction Manual
4. Setup and Installation
Professional installation is recommended for this product. Ensure power is disconnected at the circuit breaker before proceeding.
4.1 Pre-Installation
- Turn off power at the main circuit breaker or fuse box.
- Unpack the fixture and all components carefully. Inspect for any damage.
- Identify all parts using the package contents list.
4.2 Mounting the Fixture
- Attach the mounting bracket to the junction box in the ceiling using the provided screws. Ensure it is securely fastened.
- Connect the electrical wires: Connect the black wire from the fixture to the black (live) wire from the ceiling, the white wire from the fixture to the white (neutral) wire from the ceiling, and the ground wire from the fixture to the ground wire from the ceiling. Secure connections with wire nuts.
- Carefully tuck all wires into the junction box.
- Align the fixture base with the mounting bracket and secure it with the provided screws or nuts.
4.3 Attaching Crystal Components
- Install the E14 bulbs into their sockets.
- Carefully attach the crystal strands and elements to the fixture frame according to the design. Refer to the product images for guidance on crystal placement.

Image 4.1: Dimensions of the R60cm Ceiling Light Fixture (60cm x 60cm x 35cm).
5. Operating Instructions
After successful installation, restore power at the circuit breaker.
- Turning On/Off: Use a standard wall switch to turn the light fixture on or off.
- Dimmable 3-Color Light: This fixture supports 3-color dimming. Typically, this function is controlled by repeatedly toggling your standard wall switch (on/off/on) within a short period to cycle through different color temperatures (e.g., warm white, neutral white, cool white). Consult your specific wall switch or dimmer instructions if you are using an external dimmer.
6. Maintenance
Regular maintenance will help preserve the appearance and functionality of your ceiling light.
- Cleaning: Disconnect power before cleaning. Use a soft, dry, or slightly damp cloth to wipe the chrome frame. For crystal components, use a soft, lint-free cloth. Avoid abrasive cleaners or solvents, as they may damage the finish or crystals.
- Bulb Replacement: Ensure power is off before replacing bulbs. Allow bulbs to cool completely. Unscrew old E14 bulbs and replace with new E14 bulbs of the same type and wattage.
- Inspection: Periodically check all connections and mounting hardware to ensure they remain secure.
7. Troubleshooting
If you encounter issues with your ceiling light, refer to the following common problems and solutions:
| Problem | Possible Cause | Solution |
|---|---|---|
| Light does not turn on. | No power supply; loose wiring; faulty bulb; faulty switch. | Check circuit breaker/fuse. Ensure all wire connections are secure. Replace bulb. Test switch. |
| Light flickers. | Loose bulb; loose wiring; incompatible dimmer switch. | Tighten bulb. Check wire connections. Ensure dimmer is compatible with LED lights. |
| Crystals appear dull. | Dust or residue buildup. | Clean crystals with a soft, lint-free cloth. |
8. Specifications
| Feature | Detail |
|---|---|
| Brand | Generic |
| Model Name | HZAIQHOOB-CHROMEFRAME-R60CM |
| Color | Chrome Frame |
| Material | Stainless Steel + K9 Crystal |
| Light Source | E14 Bulbs (Bulbs included) |
| Voltage | AC90-260V |
| Emitting Color | Dimmable 3 Color light |
| Product Dimensions | 60cm L x 60cm W x 35cm H (Approx. 23.6"L x 23.6"W x 13.8"H) |
| Item Weight | Approx. 50 Grams / 1.76 ounces (Fixture only, without packaging) |
| Indoor/Outdoor Usage | Indoor |
| Assembly Required | Yes (Crystal attachment) |
9. Warranty and Support
For warranty information, technical support, or any inquiries regarding your Generic Luxury Crystal LED Ceiling Light, please contact the retailer or manufacturer directly. Keep your purchase receipt as proof of purchase.