1. Introduction
This manual provides essential information for the safe operation and maintenance of your RC ERA C138 Bell 206 RC Helicopter. Please read it thoroughly before operating the helicopter to ensure proper function and to prevent damage or injury. This 1/33 scale, 6-channel helicopter features a 6-axis gyro, aileron-free single rotor design, altitude hold, and optical flow positioning for stable flight.
Safety Precautions
- Always operate the helicopter in open areas, away from people, animals, and obstacles.
- Do not fly near power lines, roads, or water.
- Ensure the battery is fully charged before each flight.
- Supervise children during operation. Recommended age is 16+.
- Avoid touching the rotating blades during operation.
- Turn off the helicopter and remote controller when not in use.
2. Package Contents
Verify that all items listed below are included in your package:
- Helicopter (1)
- Remote Controller (1)
- Instruction Manual (1)
- USB Charger (1)
- Main Rotors (2)
- Tail Rotor (1)
- Lithium Battery (1 or more, depending on package)
- Screwdriver (1)
- Hex Wrench (1)

Image: The RC ERA C138 Bell 206 helicopter, remote controller, and various accessories including spare rotors, a USB charger, and tools.
3. Setup
3.1 Charging the Helicopter Battery
- Connect the USB charger to a compatible USB power source (e.g., computer, USB wall adapter).
- Connect the helicopter's lithium battery to the USB charger.
- The indicator light on the charger will show the charging status. Refer to the charger's specific instructions for light indications (usually red for charging, green for fully charged).
- Charging time is approximately 50 minutes. Do not overcharge.

Image: A modular lithium battery for the RC ERA C138 helicopter, showing its connector port.
3.2 Installing Helicopter Battery
Carefully insert the charged battery into the helicopter's battery compartment, ensuring it is securely latched. Refer to the helicopter's body for the correct orientation.
Video: Demonstrates how to properly secure the battery casing if it feels loose, ensuring a stable connection for the RC ERA C138 helicopter.
3.3 Installing Remote Controller Batteries
Open the battery compartment on the back of the remote controller and insert the required batteries (not included), observing correct polarity. Close the compartment securely.
3.4 Binding the Helicopter and Remote Controller
- Ensure both the helicopter and remote controller are powered off.
- Place the helicopter on a flat, stable surface.
- Turn on the helicopter. The indicator lights will flash.
- Turn on the remote controller.
- Move the throttle stick (left stick) all the way up, then all the way down. The remote controller will beep, and the helicopter's lights will become solid, indicating successful binding.
Video: Instructions on how to switch the remote controller from right-hand throttle to left-hand throttle mode, a common setup adjustment for RC helicopters.
4. Operating Instructions
4.1 Basic Controls
Familiarize yourself with the remote controller's functions:
- Throttle (Left Stick Up/Down): Controls altitude.
- Rudder (Left Stick Left/Right): Controls yaw (rotation around vertical axis).
- Elevator (Right Stick Up/Down): Controls pitch (forward/backward movement).
- Aileron (Right Stick Left/Right): Controls roll (sideways movement).
4.2 Take-off and Landing
- One-Key Take-off: After binding, press the one-key take-off button (usually marked with an arrow pointing up) to automatically lift the helicopter to a stable hovering altitude.
- Manual Take-off: Slowly push the throttle stick up to increase rotor speed and lift off.
- One-Key Landing: Press the one-key landing button (usually marked with an arrow pointing down) to automatically land the helicopter gently.
- Manual Landing: Slowly pull the throttle stick down to decrease altitude and land. Once on the ground, pull the throttle all the way down to stop the rotors.

Image: The RC ERA C138 Bell 206 helicopter lifting off the ground, demonstrating its stable flight capabilities.
4.3 Flight Modes and Features
- 6-Axis Gyro: Provides enhanced stability and control, making it easier for beginners to fly.
- Altitude Hold: The helicopter maintains a consistent altitude, allowing you to focus on directional control.
- Optical Flow Positioning: Utilizes a downward-facing camera to detect ground patterns, improving hovering precision, especially indoors or at low altitudes.
- Route Flight: Some models may support pre-programmed flight paths. Refer to the remote controller for specific button functions.
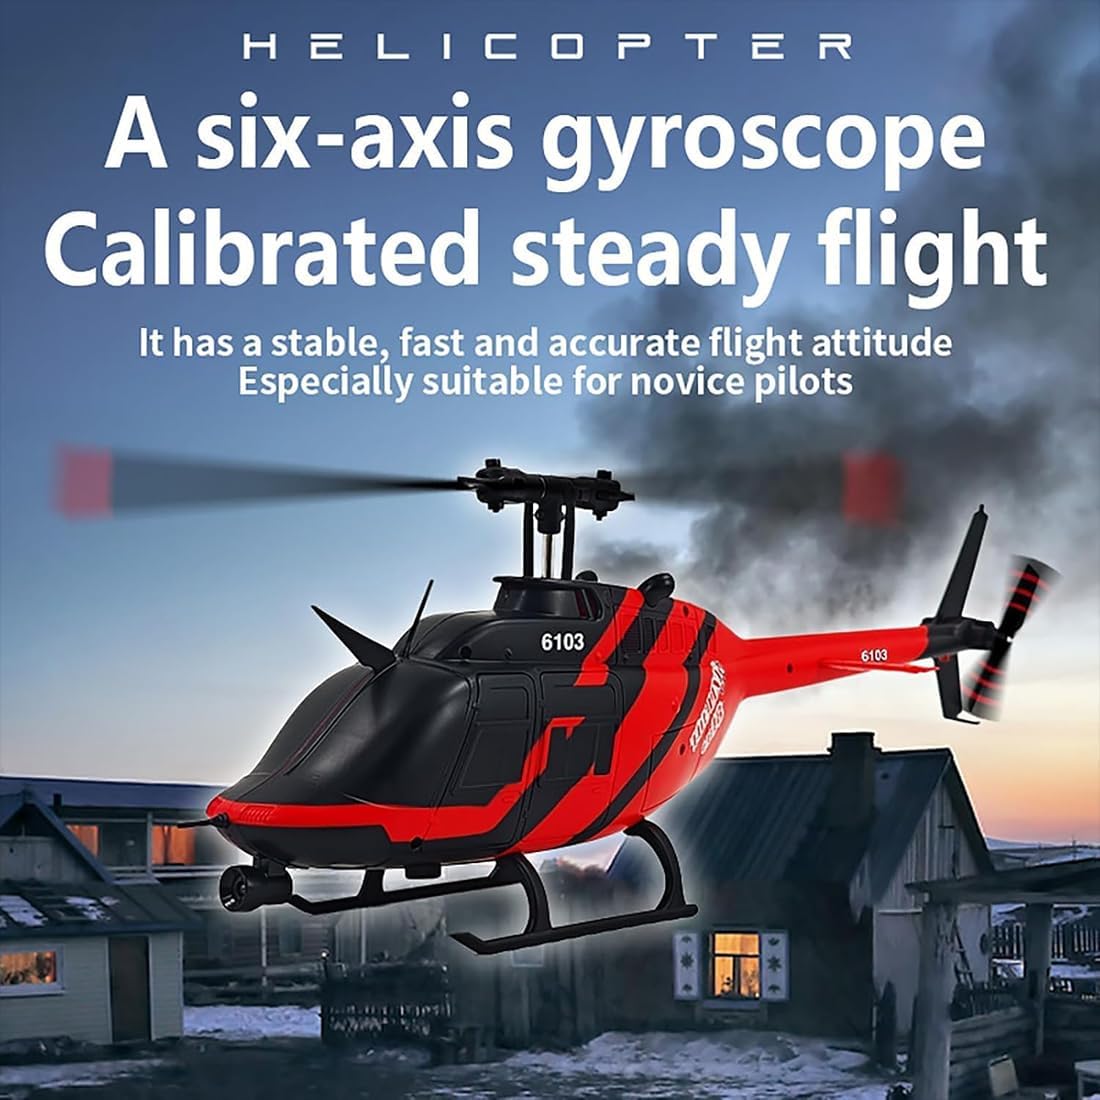
Image: The RC ERA C138 Bell 206 helicopter hovering steadily in the air, showcasing its 6-axis gyro and altitude hold features.
Video: A demonstration of the Hylukon C138 Helicopter in flight, highlighting its stability and maneuverability.
Video: Another flight demonstration of the Hylukon C138 Helicopter, showcasing its performance and control.
4.4 Stunt Actions
The C138 Bell 206 can perform various dynamic flight actions. Consult your remote controller's specific buttons for activating stunts like "brush pot" (a circular rotation) or other pre-programmed maneuvers.
5. Maintenance
- Cleaning: Use a soft, dry cloth to clean the helicopter and remote controller. Avoid water or harsh chemicals.
- Storage: Store the helicopter and remote controller in a cool, dry place, away from direct sunlight and extreme temperatures. Remove batteries from the remote controller if storing for extended periods.
- Propeller Replacement: If propellers are damaged, use the provided tools to carefully replace them with spare parts. Ensure correct orientation of new blades.
- Battery Care: Do not puncture or damage the battery. Dispose of old batteries according to local regulations.
6. Troubleshooting
| Problem | Possible Cause | Solution |
|---|---|---|
| Helicopter does not respond to remote. | Not bound, low remote battery, helicopter battery low. | Re-bind the helicopter and remote. Replace remote batteries. Charge helicopter battery. |
| Helicopter cannot take off or flies weakly. | Low helicopter battery, damaged propellers, motor issue. | Charge helicopter battery. Check and replace damaged propellers. Contact support if motor issue. |
| Helicopter drifts during hover. | Uneven surface during startup, trim settings incorrect, wind interference. | Ensure helicopter is on a flat surface for startup. Adjust trim buttons on remote. Fly in calm conditions. |
| Lights flashing, no response. | Binding failed, low battery. | Repeat binding process. Charge helicopter battery. |
7. Specifications
| Feature | Detail |
|---|---|
| Model | C138 Bell 206 |
| Scale | 1:33 |
| Rotor Diameter | 306mm |
| Fuselage Dimensions | 306 x 79 x 101mm |
| Helicopter Battery | 7.4V Lithium Battery |
| RC Distance | 80-100m |
| Charging Time | 50 minutes |
| Usage Time | 11-13 minutes |
| Helicopter Weight | 105g |
| Control Channels | 6CH |
| Gyro System | 6-Axis Gyro |
| Positioning | Optical Flow Positioning, Altitude Hold |
| Recommended Age | 16+ |
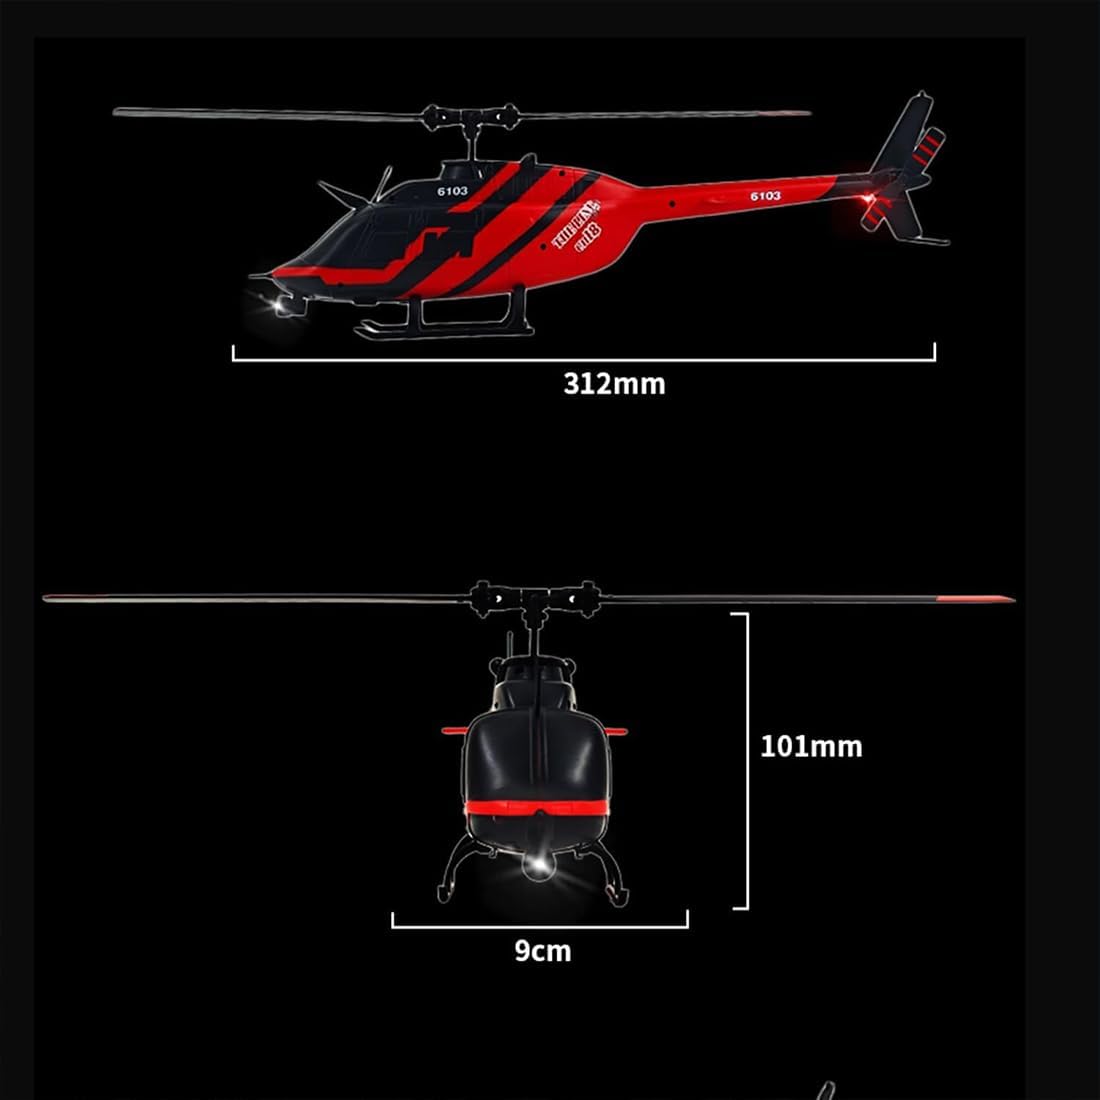
Image: Diagram showing the dimensions of the RC ERA C138 Bell 206 helicopter, including fuselage length and height.
8. Warranty and Support
For warranty information or technical support, please refer to the contact details provided with your purchase documentation or visit the official RC ERA website. Keep your proof of purchase for warranty claims.